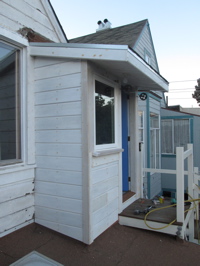
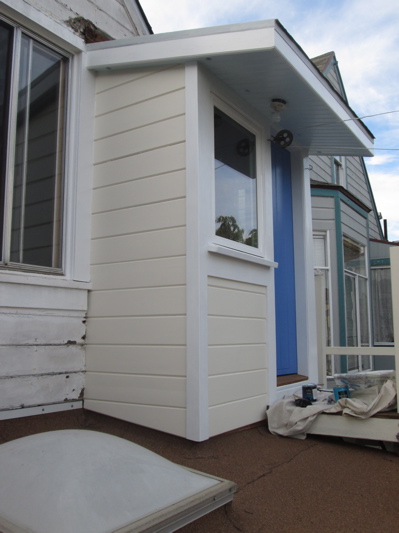
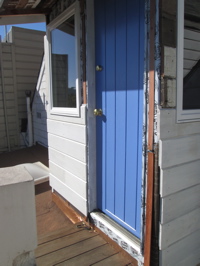
With stories of an ‘El Niño’ year abounding (maybe it’s wishful thinking), I’ve been working on finishing the weatherproofing at the back of the house. The back porch has always been a problem: It was built in stages, in the most expeditious way possible at the time. First, I think it was an open porch, with a roof covering. Then it got closed in, maybe windows added at that time. Then the roof was extended out a bit to provide cover over the new back door. But none of it was actually built with any type of water resistant membrane. It was initially just a semi-outdoor porch that became closed in. The wood framing, with lots of caulk, was directly exposed to the weather. So it leaked, paint pealed, rotted.
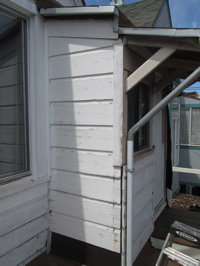
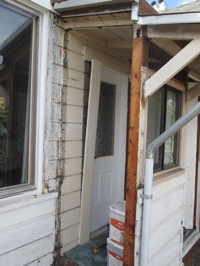
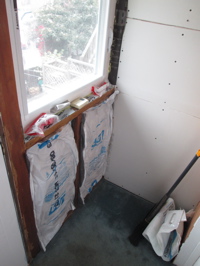
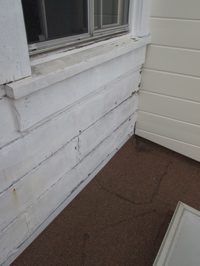
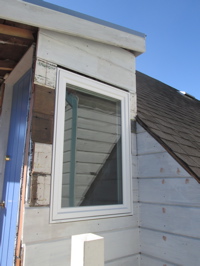
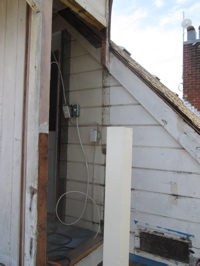
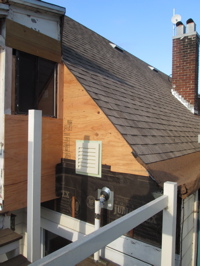
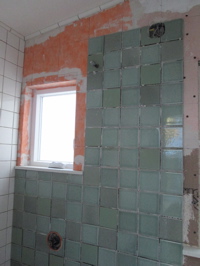
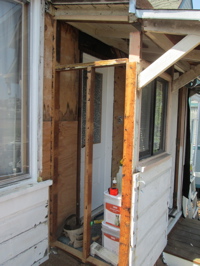
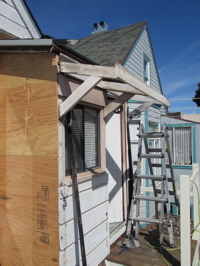
Above left is the opposite side that I’d started working on in my last post. The corner where the porch wall meets the building back wall is where the main problem is. Water gets in there, and rots even the redwood. Then it gets down into the roof below. So off with the wall! (above right)
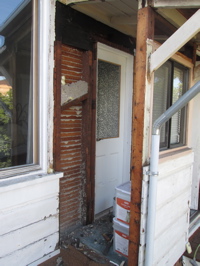
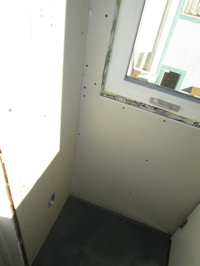
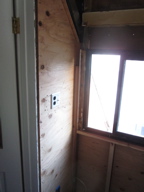
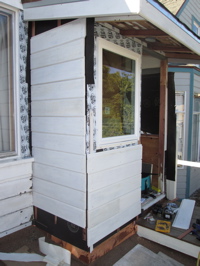
I took off all the siding at the side of the window, and cut the siding below the window back from the edge of the porch wall. Above right, I’ve put in a bent piece of metal that laps behind the siding, and will go over my new tar paper.
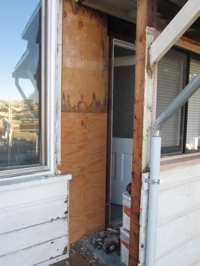
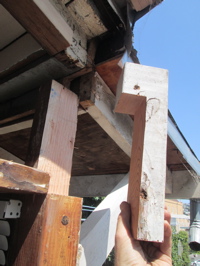
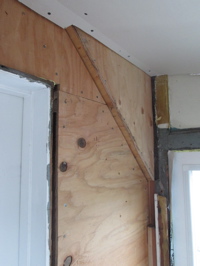
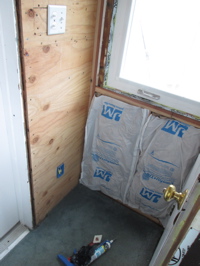
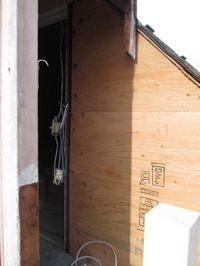
I’ve put plywood on the part of the wall that will be inside the porch. Above right: Not sure why, but the corner posts holding up this roof are all about 3 inches short – so I had to fashion some extensions that I glued and screwed in place.
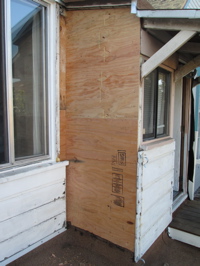
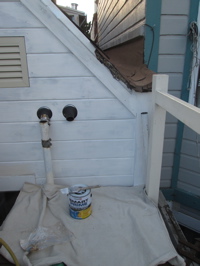
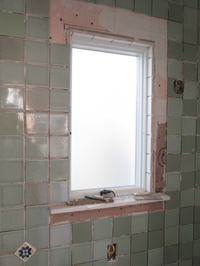
Then it’s back on with the wall, and new plywood.
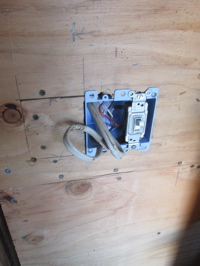
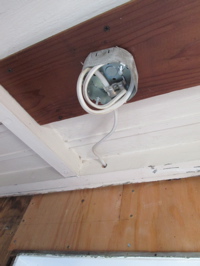
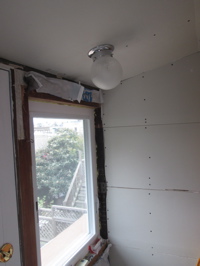
Meanwhile, I also put the wiring in for the light in the porch. It’s not working yet (needs to be connected to power), but it’s easier to pull the wires before all the wall finishes are back on.
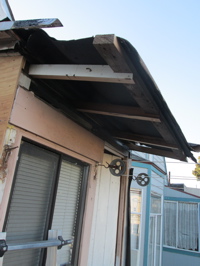
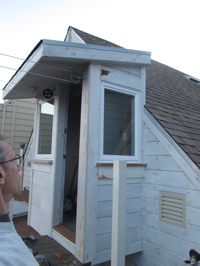
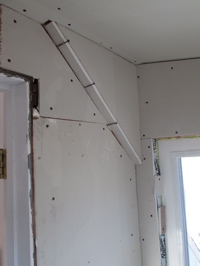
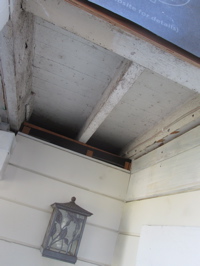
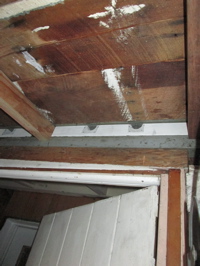
The roof extension that had been added was strange, because it stepped down from the other roof – a bit like an eyebrow. It was pretty badly rotten, so off with it! Above right I’m starting to add back in the framing, this time flush with the roof. I saved the roofing, so it was flopping around while I was working. In retrospect, I think I should have just torn the roof off completely. Faster, and the end result would have been better.
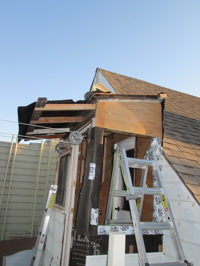

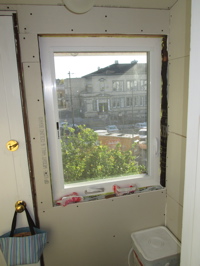
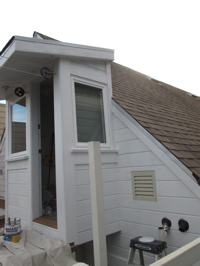
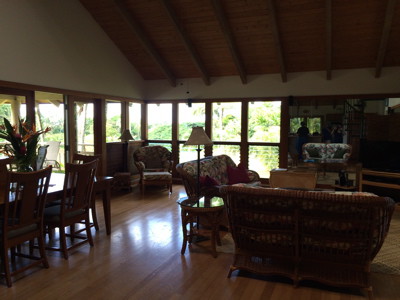
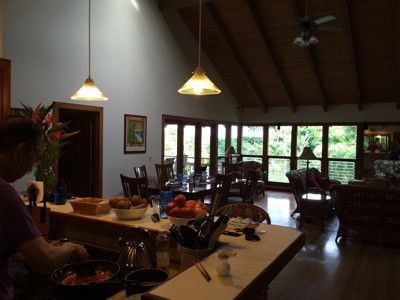
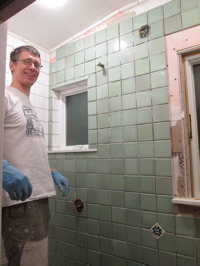
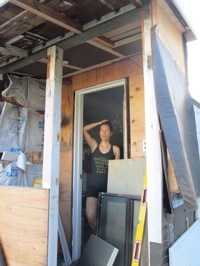
Above left is the view from the other side, and above right is the view from the kitchen, while I’m working on it!
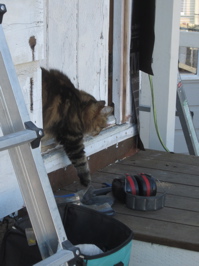
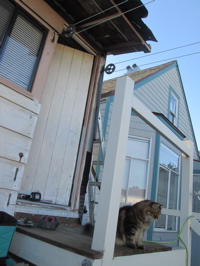
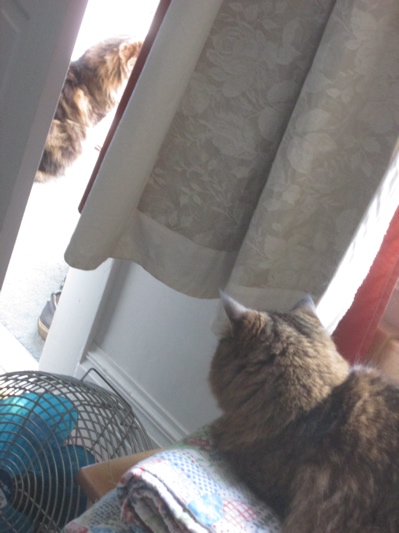
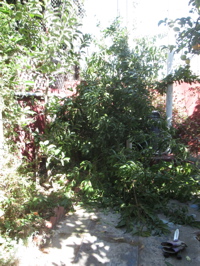
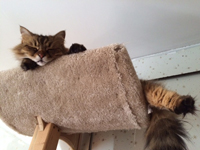
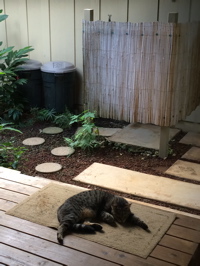
Arwen came outside to check up on me, but decided something down in the garden was much more interesting.

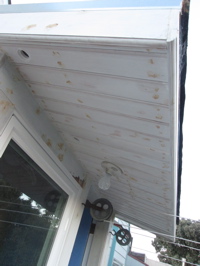
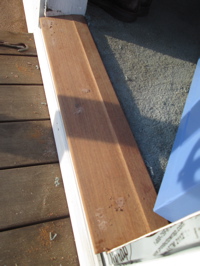
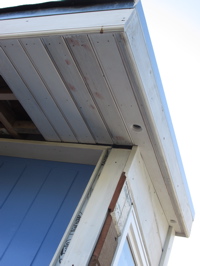
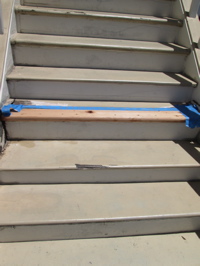
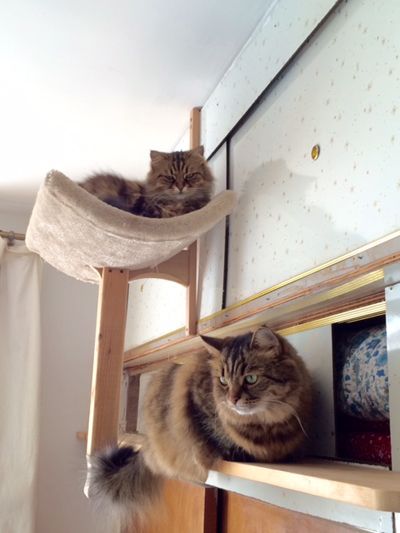
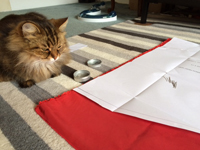
Above left: Bella wondering why I’d left the drill there. Above right, I made new fascia boards, and routed a quarter round at the bottom edge, but still need to finish the corner (by hand so that the patterns match around the corner).


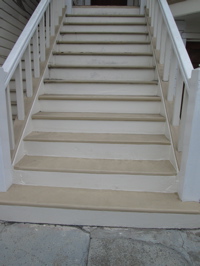
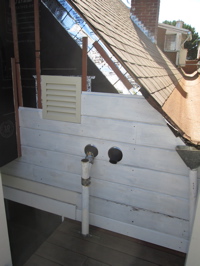
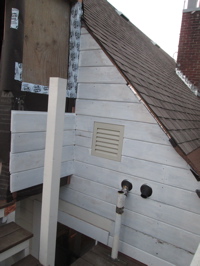
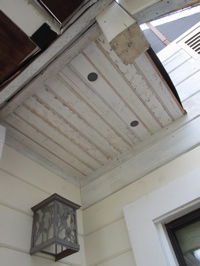
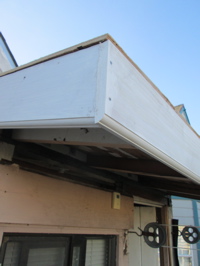
This is how the new roof looks.
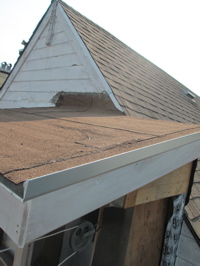
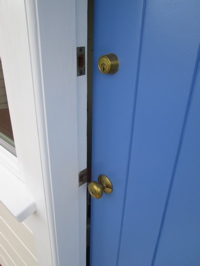
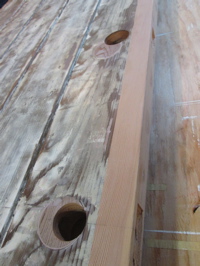
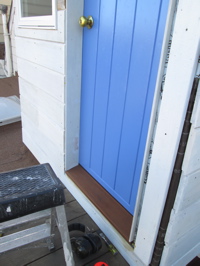
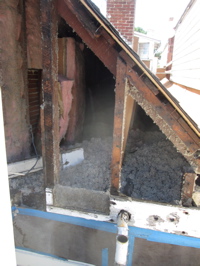
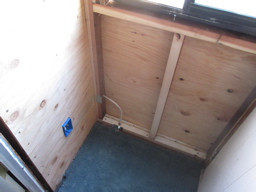
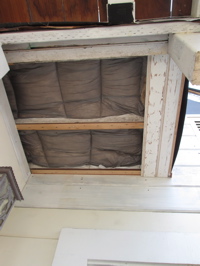
Above left: the reason I was saying I should have just replaced the roofing. You can see it ended up being a lot of joins and patches, so it won’t be as reliable as if I’d just replaced it. Oh well – I can never predict if I should just keep what’s there, or tear it all apart and rebuild. Sometimes the latter feels like a massively expanded project, but I often regret not doing it. Above right, the white pieces of wood with the two half-round cut-outs is blocking that goes between the rafters. The cutouts are to allow ventilation above the insulation. Because the rafters are so small, I’ll use rigid insulation. You can also see the back door: it was fit in with a whole bunch of pieces of tapered wood, so that I always had to duck to go through this door.

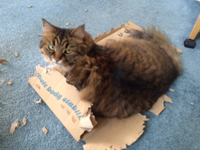
So of course, I tore it all out. Mole: “What happened to the wall?” Above right: Where’s Arwen?
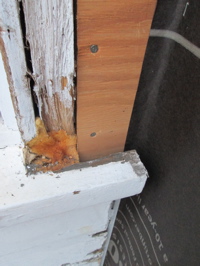
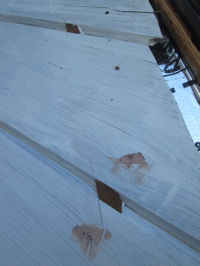
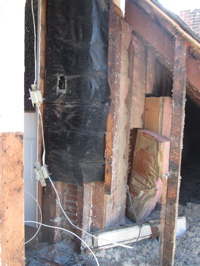
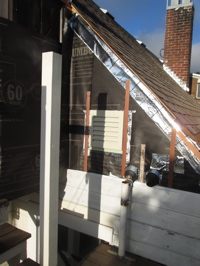
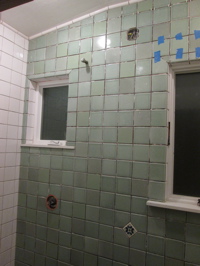
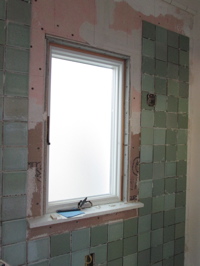
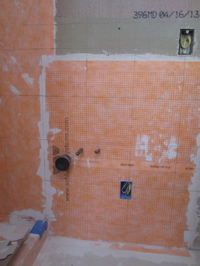
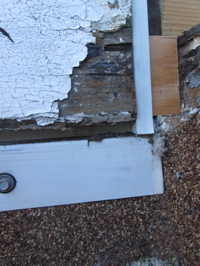
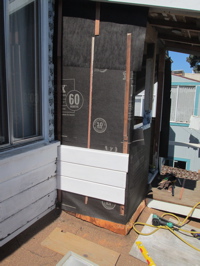
Here I’m starting to put the tar paper on. Above right, this is the rotten area that we ran into the first year we had the house. The orange is the expanding spray foam that I used to fill in where I’d cut out rotten wood. I’ll have to get back to this one day…
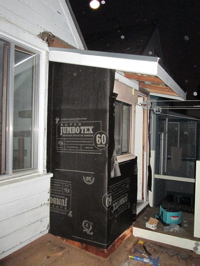
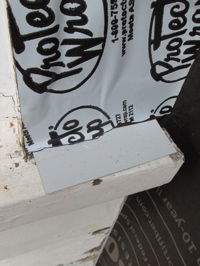
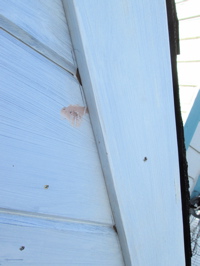
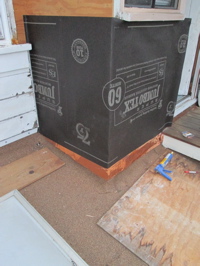
Above left: All tar papered in. We had our first rain forecast for half a year, so I had to get it water tight. Above right, I covered the rotted area with sheet metal, and flashed over it with self adhesive window flashing.
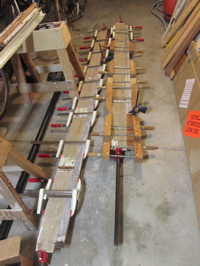
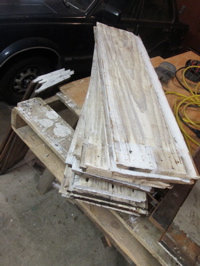
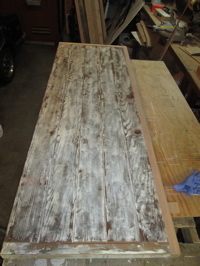
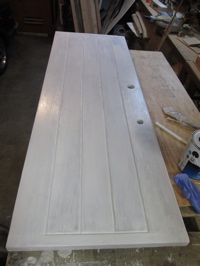
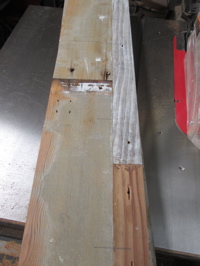
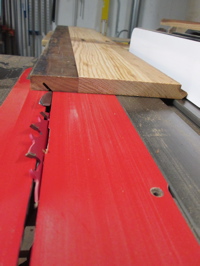
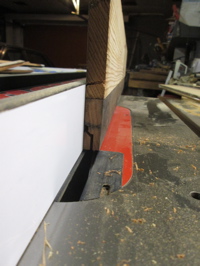
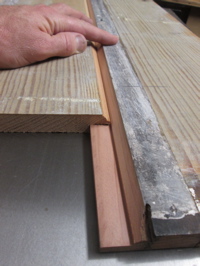
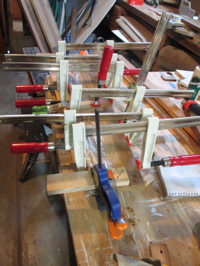
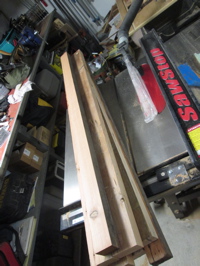
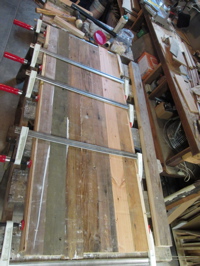
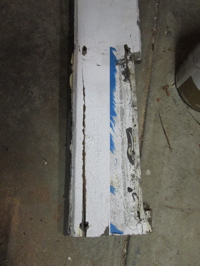
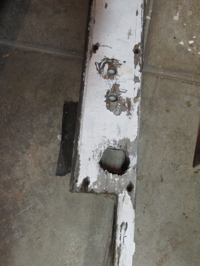
Back to the siding factory: I had lots of pieces of wood siding, but much of it was damaged, or the pattern did not match the house. I stripped the pealing paint off it all, then joined all the short pieces to make longer pieces. I also cut and shaped the profile of it all to match the siding on the rest of the house (it’s an unusual size that I’d have to get custom made).
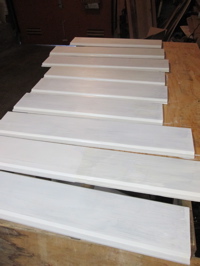
It doesn’t look like much, but those few boards are a huge amount of work.
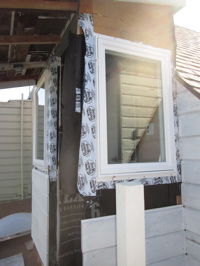
Oh, and while I was at it, I got some new windows to replace the aluminum single pane windows.