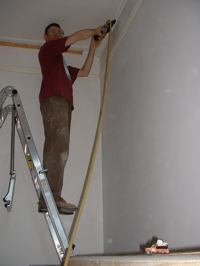
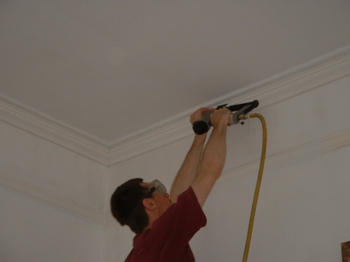
now who’s the turtle?

progress has been happening on the house, i just haven’t been very fast about documenting it. all i can say is: the kittens sure take a lot of my time!

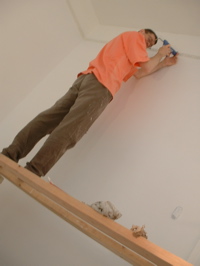
in january before mathew’s mom left, she helped mathew paint his workbench ORANGE. sue also did some planting in our garden.

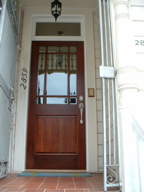
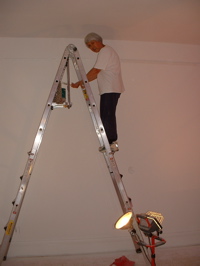
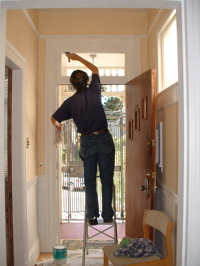
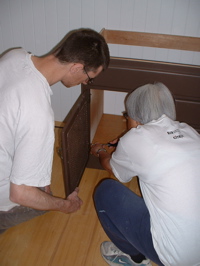
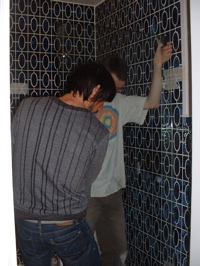
we’ve been working on lots of miscellaneous things around the house. but finally it was time for the NEW DOOR! i think we’ve had it sitting in our garage for 12 months. mathew was intimidated by the idea of working on it, getting it to fit into the existing door frame, making sure it seals well, attaching the new hardware, staining and polyurethaning it… the whole process took about three weekends and some week days.

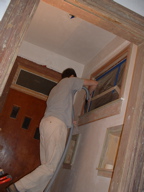
(above left) it started with carrying it upstairs. (it’s HEAVY.) then taking off the old door and pushing the new one into place, planing sides to make it fit and checking the fit, over and over again.

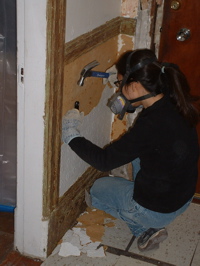
(above right) after that was done mathew chiseled out spaces for the hinges.

once the door fit into place, the hardware (pretty!) was attached and then the door frame was reworked, sanded and repainted.

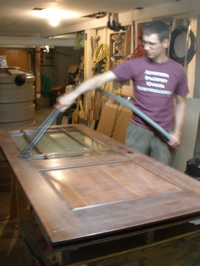
next the door was taken back down to the garage, sanded, stained and polyurethaned. i think mathew said the exterior side got 6 coats of poly!

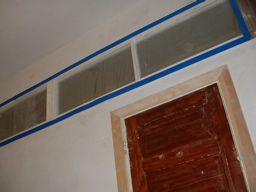
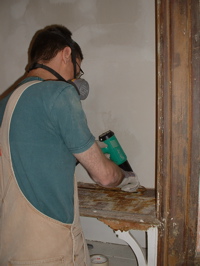
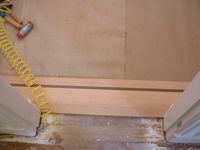
ta-da! (right) mathew even installed this automatic weather strip on the bottom of the door. it involved cutting out a groove and inserting this metal contraption that when you close the door, it actually pushes down on the floor. mathew had to plane down the hardwood floor threshold because it was interfering with the weather strip. of course, that involved sanding and re-polyurethaning that section of the floor…

since mathew is self-employed again, it leaves some weekday afternoons to do things like… tear up the sidewalk! the city of san francisco has been going around tagging sidewalk squares, encouraging homeowners to repair cracks themselves. if they choose not to do the work, the city will do it and charge something like $80 per square! (i thought sidewalks were public, not private property.) we had quite a few tagged with white paint dots. mathew repaired the cracks and even went to the effort of renting a jackhammer and chipping out and refilling some squares. a lot of the dots are gone now and it makes us wonder, will the city approve of his work? will they even know which squares were once tagged?

meanwhile inside the house, the kittens are growing fast! here they are “helping” mathew change the fish tank water.

they get along the best when they’re asleep…

(right) arwen has now learned how to play fetch too! her toys of choice are bones i knit for her.

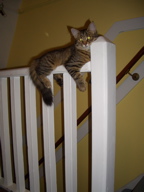
these little girls get into plenty of trouble! (left) we had this plastic film on our living room window, to act as a double pane until we install the new window. one day arwen figured out how to cut into it and step into a see-thru tunnel… (right) bella has proudly learned how to jump up onto the handrail above the stairs…

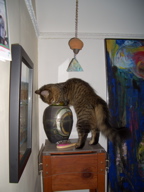
(left) and that also means she can jump onto counters and the fireplace. the big orchid had a bad fall but is recovering well. (right) bags and boxes are endless fun. and one night while we were watching a movie they even figured out how to push the chair cushions around to make forts and tunnels!

hope everyone is having a fun february!

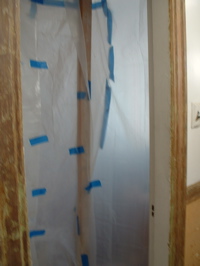
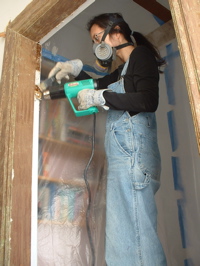
stuffing fiberglass

Spring. We spent the first half of the weekend with Janeen’s family visiting; Popo kept talking about how many lemons were on the tree and insisted that Janeen’s mum bring lemon pie for her. Before they left, Jason and John went out to the garden and picked more lemons. The photo below is just one branch — after picking two bags of lemons. We’ve probably got two boxes of lemons still on the tree! Lemonade, anyone?

The peach tree is starting to flower, as is the jasmine. Janeen planted some freesia bulbs, and the gladiola bulbs Janeen planted last year are already starting to pop through the soil. The jasmine is really growing well on the East wall of our garden; quite amazing from just a twig that we took from a neighbor’s fence and rooted!

I tore out most of the Ice plant that I’d unwisely bought as cute little plants two years ago (it has very nice blue/purple flowers, but it overtakes the whole garden in a hurry), and sprinkled native California wildflower seed in its place. The snails had a great winter, practically eating everything — except the ice plant of course. I must have found fifty of them. Janeen took a photo as I was filling up a third container. The problem with urban gardens: Nature is all out of balance. Where are the hedgehogs, frogs, toads, snakes, caterpillars and birds when we need them?

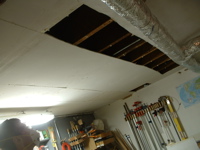
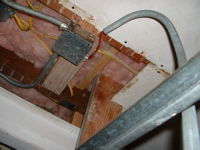
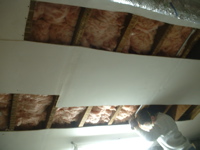
We moved on to the garage ceiling on Sunday. I’ve left open holes in the gyp board for about a year, planning to stuff insulation in. I’d been procrastinating, because it’s such unpleasant work.

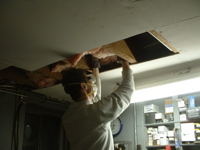
First we cut out strips of the gypsum board on the ceiling. The best method so far seems to be multiple passes with a utility knife to just cut through the board. (I’ve tried cutting it with a saw — messy! and it risks damaging the joists).

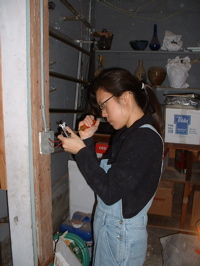
Using a magnet, I can find the nails, so that I can carefully cut around them. By not damaging the board when I take it down, we can reuse it.

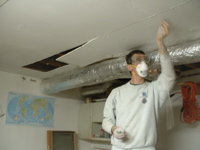
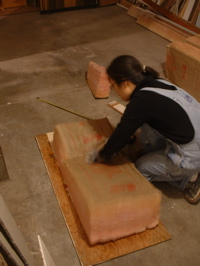
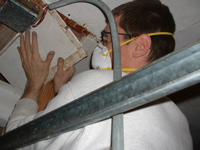
Finally, cutting and stuffing the insulation batts in between the joists is really unpleasant. Even with a dust mask, goggles, gloves, and long sleeves, it gets everywhere. I should have just rented the insulation blower, and used blow-in insulation: a) it’s easier — drill a hole and blow it in b) it gives better insulation — fills the cavity completely c) it improves the fire resistance of the house d) it’s recycled e) did I say it’s a lot easier? Can’t think why I came up with the hair-brained idea to do this. The only advantage I can think of is that it’s much easier to service wiring within the ceiling space when there’s fiberglass batt insulation.

One really itchy, sweaty, awkward day later, half of the work had been done.

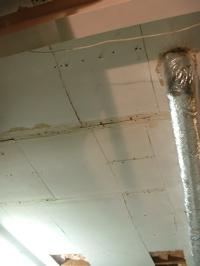
The cut out ceiling pieces fit right back in like a jigsaw puzzle. Almost no waste.

Fitting the gyp board was difficult around the new electrical box and the bracing I’d added to the beam over the garage door. We had to dismantle part of the conduit so I could slide the board underneath it. It’s no surprise the work takes us so long!

Janeen wired in the three-way switch again.

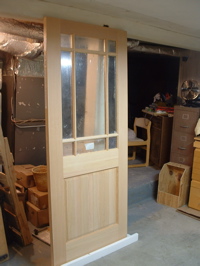
When Janeen’s family was visiting, John helped us pick up our new front door. It needs to be cut to fit into the door opening, and stained and sealed. Exciting.

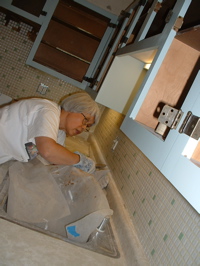
a colorful weekend

last weekend was labor day weekend. and how did we celebrate? with a house full of people and plenty of labor!

mathew1_9.5.09janeen2_9.5.09

saturday morning started with quiet picture rail filling and trim masking.

mathew4_9.5.09misha3_9.5.09

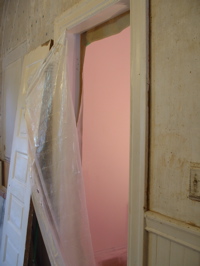
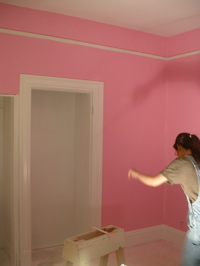
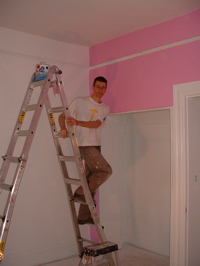
(left) then the plastic door went up and mathew started painting the walls. (right) mathew’s brother misha is visiting from new york! he put his clothes on inside out and helped with painting.

pink5_9.5.09pink6_9.5.09

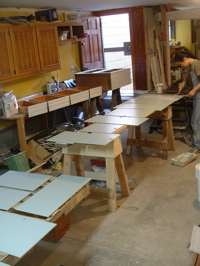
(left) i spent the entire day painting kitchen cabinet doors in the garage. when the sprayer noise finally stopped i ventured upstairs for a peek. i was shocked by how pink just the reflection of the wall color was. and when i walked into the room it was PINK. it’s actually darker than the photo (if you can believe it.) my grandmother loves pink. last year we painted the living room a very pale “i love you” pink. the plan was to paint her bedroom a slightly darker “valentine’s day” pink, but for some (insane) reason we decided to be bold and paint two walls “pretty pink.” my parents say that my grandmother painted a house this color years ago… we hope she likes it..!

aja25_9.5.09mishaja26_9.5.09

misha’s friend aja is also staying with us and she’s a personal chef! so, you guessed it, we’ve been eating yummy food. we appreciate her sunny presence and patience while misha helps us and we work late into the night.

dad7_9.5.09mom8_9.5.09

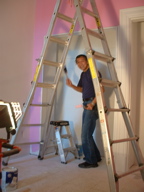
on sunday my parents arrived. my mom was raving about the new cabinet color and wondering if they needed sunglasses in the pink room.

dad10_9.5.09mathew9_9.5.09

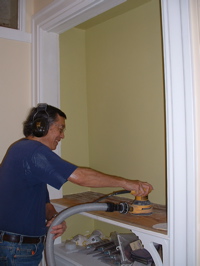
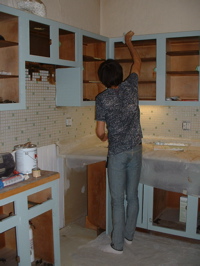
(left) my dad sanding the wood surface in the built in hall cabinet. (right) mathew priming the picture rails.

mom11_9.5.09janeen14_9.5.09

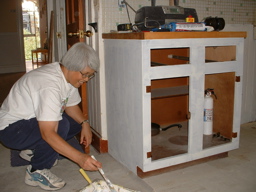
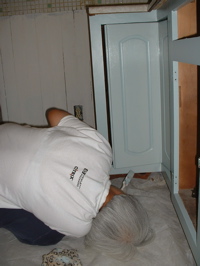
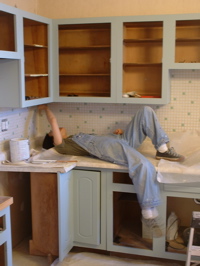
(left) while laughing uncontrollably i took this photo of my mom, amazed at her dedication to the project. i certainly hope no one will ever lie down and check to see if the underside of the swivel cabinet door is painted, but if they do, they will be impressed. (right) painting the cabinet doors with a roller and latex paint (instead of oil paint and a brush) makes the project fly by! i even felt a little guilty for keeping this fun and easy project all to myself.

dad13_9.5.09janeen12_9.5.09

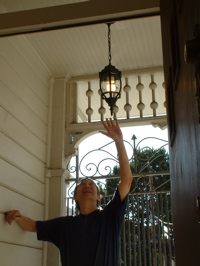
(left) my dad admiring our new porch lamp. (right) here i am painting my “sistine cabinet.” it was now my mom’s turn to laugh at me.

misha16_9.5.09mathew15_9.5.09

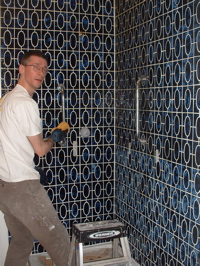
(left) misha, back with inside-out clothing to give the cabinets a second coat. (right) mathew cleaning the shower tile, prepping it for grout sealer. another late night.

mom17_9.5.09dad18_9.5.09

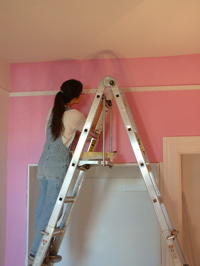
(left) monday morning. my mom, up a ladder painting picture rails with semi-gloss. (right) my dad touching up trim paint while enjoying a cool breeze.

bathroom19_9.5.09bathroom20_9.5.09

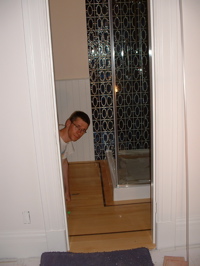
(left) mathew and my mom attaching the bathroom vanity door after it has been painted. (right) misha and mathew carefully moving the (HEAVY) glass shower walls and door up from the garage.

mom21_9.5.09janeen22_9.5.09

(left) my mom chipping away at thick ugly grout where it shouldn’t have been. (right) here i am continuing the painting of the picture rails where my mom left off.

misha23_9.5.09shower24_9.5.09

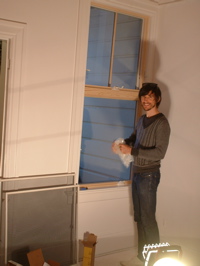
(left) misha installing the window hardware. (right) mathew and the completed shower enclosure. it was another late night. i was in the garage giving the cabinet doors a second coat and then stripping paint off the bathroom door. for the first time in the two years since we’ve been working on this house, mathew came down to tell me he was done for the night while i continued working.

i hope everyone had a nice long labor day weekend!

a BIG weekend

i hope you’ve got some time to spend here… because this is by far the biggest blog post i’ve ever made since we started this remodel/restoration.

the foyer
najiadaniel

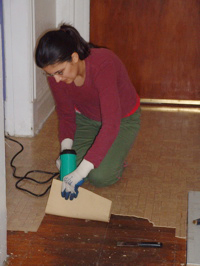
(left) in january 2008 my sister-in-law, najia pulled up the linoleum tile that was glued to the old oak floor. (right) in august 2008 mathew’s dad, daniel came over to assess the existing oak floors.
foyerfoyer

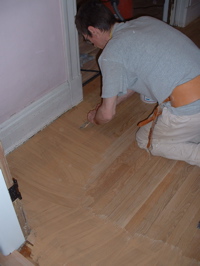
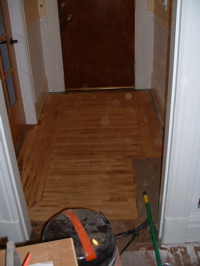
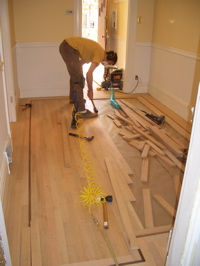
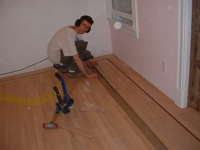
last friday morning, 4.6.09, daniel returned with lots of his flooring tools. he and mathew got to work installing floors, something they haven’t done together since 1996?

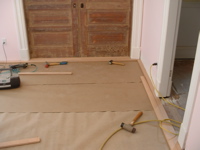
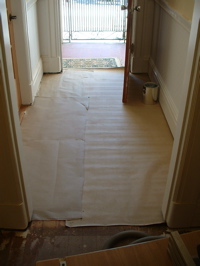
(left) after mathew has sanded the old oak. [I sanded the old floor before taking it out so that I could compost it! Also, I was thinking that maybe I’d need to reuse some of it in Janeen’s office, as the wood in the office looked so bad. – turtle] (right) after the old floor was pulled up, paper was put down. the process started with cutting the baseboards with a jamb-saw so that the oak pieces can slip underneath them. normally when installing floors daniel will remove the baseboards, install the floor then replace the baseboards. since mathew and i had already refinished and painted the baseboards, and they are large, old, brittle and intricate, it didn’t make sense to pull them out.
foyerfoyer

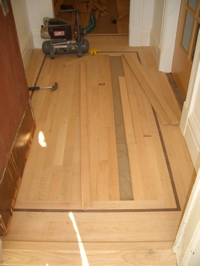
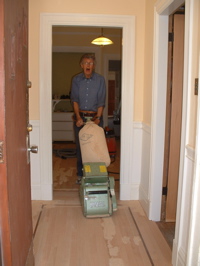
(left) oak floor boards being installed. (right) daniel doing the first sanding after filler has been added to patch any cracks or gaps.

foyerfoyer

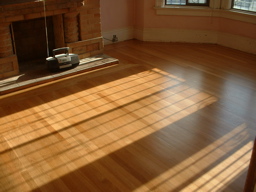
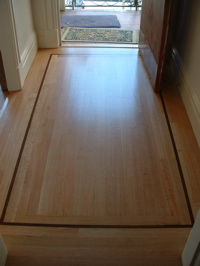
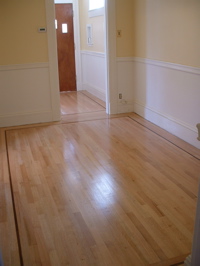
the finished foyer floor after lots of sanding and 3 coats of water-based urethane.

the hall
hallhall

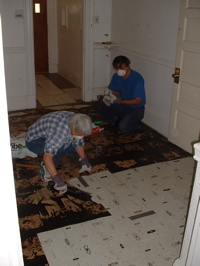
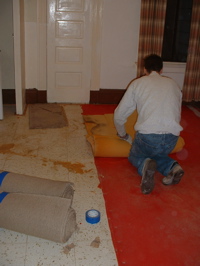
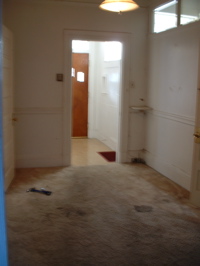
most of the rooms had carpets and linoleum when we first moved in. none of the floor coverings matched. this hall had (1) brown carpet over (2) really thick pink and blue linoleum over (3) really retro hard linoleum tile (above right, my parents removing it) over (4) a cool printed linoleum “area rug” over (5) red painted fir sub floor boards.
hallhall

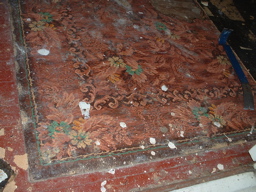
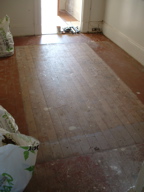
(left) the cool printed linoleum “area rug.” (right) sub floor painted red where it was exposed under the “area rug”
hallhall

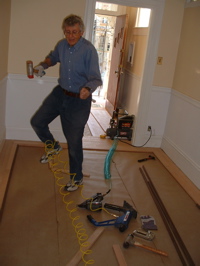
(left) daniel loves to blast music when he’s working. they’re wearing hearing protection most of the time so it makes sense that it should be loud. i’m assuming this is dancing and not some sort of flooring ritual/technique… [he’s managed to get his feet tangled in the air hose, and said he was doing the “floorman’s shuffle” (ie, trying not to trip). – turtle] (right) i took this photo right after i returned from my weekend trip on sunday evening. i surprised mathew when the flash went off after suddenly appearing in the kitchen.
hallhall

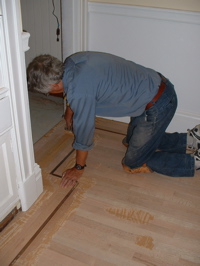
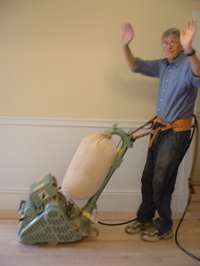
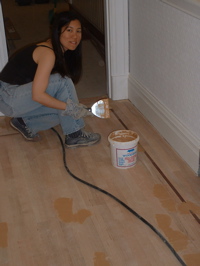
(left) filling (“gooping” is what they called it. is that the technical term?) gaps and cracks in the floor. [twenty years ago, the only filler that floormen used was a brand named “goop” – it smelled really strongly, but held better in the floor than most fillers. the filler we were using now is a water-based filler. the old stuff is probably illegal in California because it has too high VOC.- turtle]. (right) the first sanding on monday morning. “look, no hands!”
hall16hall

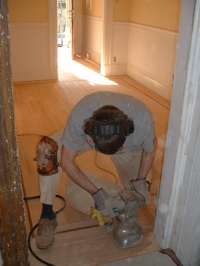
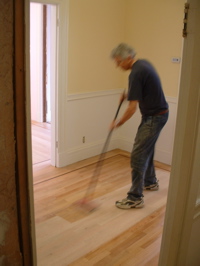
(left) mathew edge sanding with a different sander. (right) the big sander tends to pull the filler up so here i am re-filling after the first sanding on monday evening.
hallhall

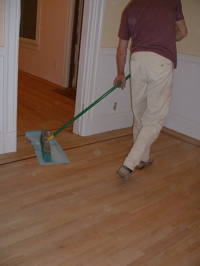
(left) i watch as the first coat of water-based urethane goes on tuesday afternoon. (right) on tuesday night after going out for indian pizza (to celebrate my birthday) mathew and daniel sweep the floors with blue paper, after vacumming most of the dust, to remove the last bits of dust from the very fine sanding between coats.
hallhall

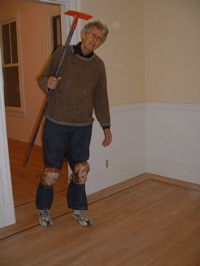
(left) after the sweep, daniel and mathew applied the second coat of urethane. (right) and here it is after it’s 3rd and final coat!

the living room
living roomliving room

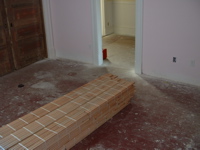
(left) here’s what the red sub floor looked like. (right) paper added and the beginnings of the border.
living roomliving room

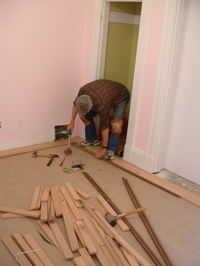
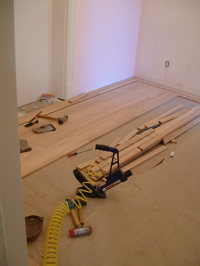
the border is pieced and installed first then the rest of the floor is installed.
living roomliving room

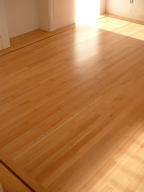
(left) mathew chose a 3/4″ walnut border to surround each room. he said that adding the border possibly doubles the work time. [at least! we did a five board border. When there’s a border around the room, every piece of wood that fits inside it must be cut perfectly to length — and with me as the perfectionist homeowner, 1/64″ undersize was barely acceptable. I know how the filler will jump out of cracks over time. – turtle] (right) approaching the final board.
living roomliving room

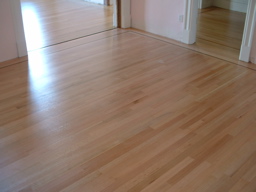
the living room after filling, sanding, filling, sanding, sanding, sanding, edge sanding, vacuuming, coating, screening, vacuuming, sweeping, coating, screening, vacuuming, sweeping, coating. did i miss a step? [fine sanding “screening” is done between each coat to smooth out raised grain (we’re using water-based urethane), help adhesion, and smooth off any dust in the previous coat. oh, the final step: everything is covered in a fine layer of dust, so vacuuming of walls, trim, etc is the final step. – turtle]


santa barbaramargaret and janeen

sooo… i spent most of the weekend in santa barbara with margaret. we walked, we talked, we ate and sort of shopped. mostly we just caught up during our yearly visit.

the office
office beforeoffice before

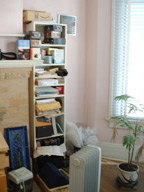
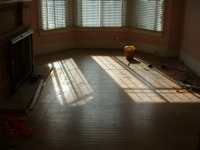
this is the CHAOS that was my office. since we moved in, in september of 2007, we haven’t bothered (or had time) to organize, plan, paint or even unpack this room.

office beforeoffice

on monday while mathew was fixing the turkish hacker fiasco (see previous post), i was packing and packing. my office has temporarily moved into our upstairs bedroom, and most of my stuff is in the downstairs kitchen and bedroom. then mathew moved all the furniture and here it is empty again.
officeoffice

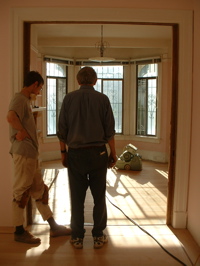
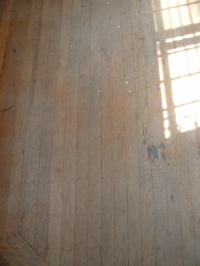
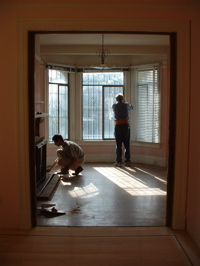
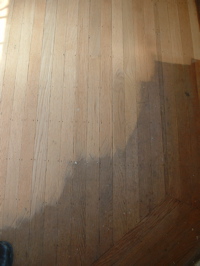
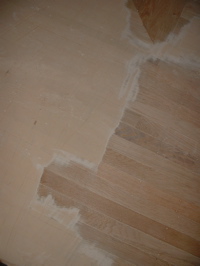
the floors in this room are quarter sawn oak. they were old, dirty, tired and stained. daniel was most excited about this transformation.
officeoffice

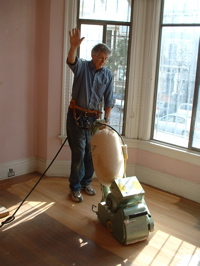
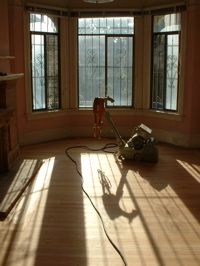
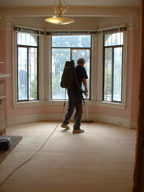
here daniel is doing the first sanding. already a dramatic difference.
officeoffice

after the sanding they discussed what the next step would be. “to goop? or not to goop?”
officeoffice

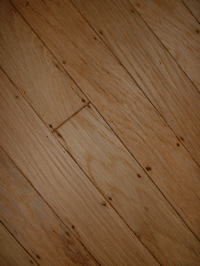
old floors like this one were nailed individually and not installed with tongue and groove boards like they are today. so there are tons of little nail holes and gaps between the boards. the decision was to “goop” the floor. (right) mathew is applying the filler with a large spackling tool, working in fast, quick strokes. he’s trying to apply pressure in two directions to make sure the filler completely fills and sticks in the holes. i helped too but only covered 1/4 of the floor that mathew covered in the same amount of time.
officeoffice

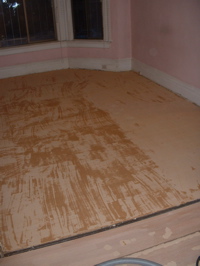
(left) completely gooped. (right) the partially sanded floor after gooping. nice!
officeoffice

(left) daniel “rocket-man” vacuuming after the sanding and before the first urethane coat on tuesday. (right) how the floors looked late on wednesday afternoon when i was allowed to walk downstairs in socks. the radio had been on all day because after the final coat it was impossible to get to. daniel coated the floors and made sure he finished at the front door to make his final exit and leave after 6 days of live-in work.

the second foyer/hall
other hallother hall

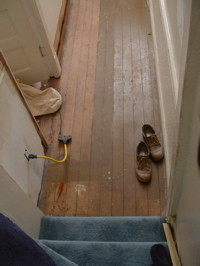
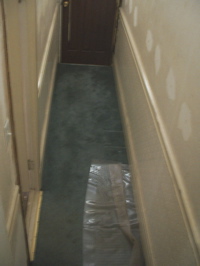
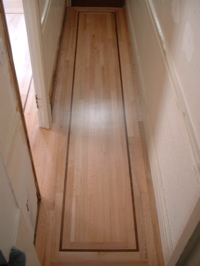
this is the hallway that leads to our upstairs unit. it started with carpet and fir sub floor underneath.
other hallmathew and daniel

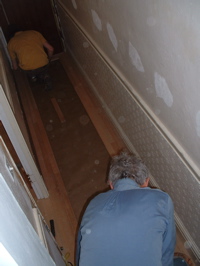
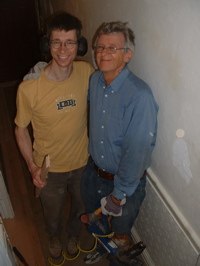
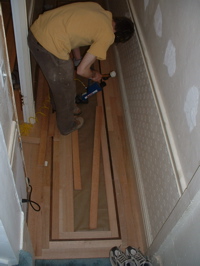
(left) mathew and daniel installing the border, then interior floor boards. (right) father and son happy to work together again. although i was told that working with mathew was like working with a really high-maintenance, picky, perfectionist client who never left the house… during the entire weekend mathew was BOSSY but daniel, as always, maintained a positive attitude with a smile on his face.
other hallother hall

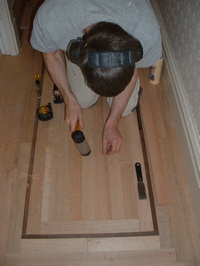
the process of flooring is NOISY, dusty and smelly. and hard on the knees, back and i’m guessing, hands. even though i had been looking forward to helping install these floors i was glad to be away for most of the noise. (right) sometimes the last piece of wood is an odd shape and size. here mathew is installing that last sliver after carefully planing and shaping it to fit perfectly.
other hallother hall

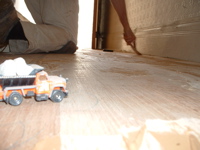
dumpy watches as mathew goops. mathew was up sanding this bit of floor till almost 10pm that sunday night…
other hallbirthday

flooring is a hugely labor-intensive process but in the end we have beautful, beautiful new floors. thank you daniel and mathew! it was possibly the biggest birthday present ever.

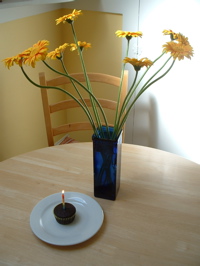
(right) flowers from daniel. (i LOVE gerber daisies.) vegan chocolate cupcakes by janeen. i plan on celebrating for at least a week… but i’m running out of cupcakes. must make more.

happy 2009

paintcolors

we spent hours sanding and filling the door taken from the basement. this photo shows where a piece of wood had been used to fill where the door handle had been moved, many years ago. janeen counted the layers of color. it was archeology:

  1. dark green
  2. dark grey green
  3. apple green
  4. dark brown
  5. medium grey
  6. mint green
  7. medium grey (again – i guess they decided they liked the color)
  8. cream
  9. pale turquoise
  10. off white
  11. white

janeenbiskitjoinerscrewing and glueing the door extension

we then added a piece of wood to the bottom of the door. the door from the garage is shorter than the opening upstairs by about 5 1/2″. We just added a piece of 2×6 from my offcuts pile onto the bottom of the door. janeen used the biscuit joiner to cut slots for wood ‘biskits’ that will hold the new piece of wood to the bottom of the door. she also screwed in two 6″ long bolts to help clamp the wood while the glue dried.

it’s not ideal. panel doors are built with vertical pieces on each side, and horizontal pieces connected between them. the vertical side members help to prevent the horizontal pieces from warping. the piece we added has no vertical pieces, so it may warp. the bolts may help. we’ll see.

woodshavings_20090103dumpy's palace

the next day, i planed the wood flush with the face of the door.

above right: dumpy has a palatial new home. janeen finished off most of the trim painting in the front entry foyer.

begin demo of closet doorlookingupcloset_20090103

meanwhile, i tore out the makeshift ceiling and walls in the closets between the bedroom and the living room and framed in a wall between the living room and the bedroom. our plan is to create a bookshelf on the living room side, and a closet on the bedroom side out of this short passage between the rooms.

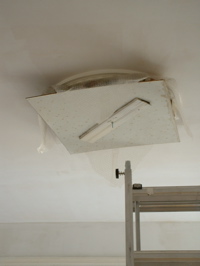
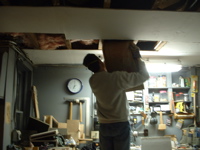
I made a hatch to get at the space over the closet in case I need to get to the plumbing under the bathroom above, and added in wiring for a light in each of the three closets.

janeensviewframing closet

above left: the view janeen saw of me on new years day. on the right, the framing is installed.

installing gypcloset ceiling

we got most of the gyp board on.

janeenfastdoorsjaneendoors

janeen painting the trim around the living room doors.

halllightclosehall light

i cleaned up the light in the entry hallway. you’ll have to look back to see how it looked before. but i really like the retro patterned glass. i also painted the cover plate at the top of the light to match the walls: janeen calls it a Mercedes hubcap.
bathroom doorbathroom door open

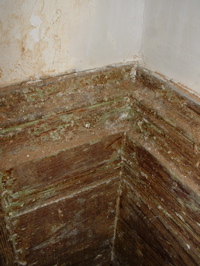
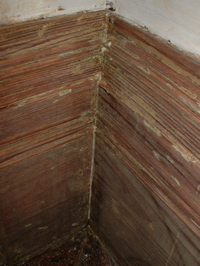
ok, one last thing: this door between the bedroom and the bathroom was closed up. we are planning to re-open it. here you can see how insulation and a wall was framed in front of the door. get ready for ugly.

way behind schedule

sorry, too much time has gone by since my last post. 1) we’ve been busy. 2) i’ve been lazy. 3) we’ve barely taken any photos (there’s only so much paint stripping you can photograph.) 4) mathew was in new york visiting his brother. 5) and there was one more reason that i’ve forgotten…

mathew installing new picture rail in the hall. (he wanted me to mention that this was a two-person job. i helped and took photos afterwards.)

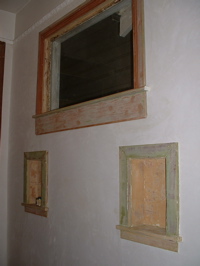
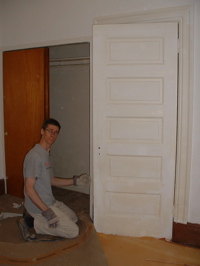
(left) yay! i stripped all the paint on the door frame and double doors between my office and the living room. (now i just need to sand them…) (right) the foyer with new plaster and stripped wood, ready for paint.

(left) foyer baseboards after paint stripping (ick.) (right) baseboards after sanding (ahh.)

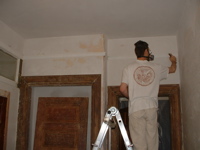
this time around we’re painting with an industrial paint sprayer, this involves masking everything we don’t want painted.

mark moved out at the end of november. mathew opened the door that was sealed shut between the bedroom and living room. and on monday he pulled up the carpet to find foam padding and linoleum.

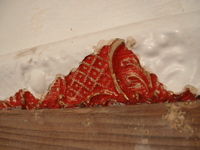
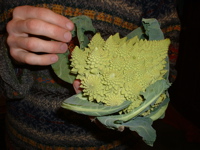
(left) the picture rail in the foyer. unfortunately in most places it has been stubbornly unstripable. the paint just chipped off of this section to reveal red and gold underneath. (right) we received this weird cauliflower cousin in our organic box delivery today. i’m sure many of our smarty-pants friends and family know what this vegetable is called. i don’t feel like looking it up at the moment, but we thought it was really cool looking.
house monsters

it’s funny (or not!) how it really does have to get ugly before it gets pretty.

(left) stripping paint. (right) stripping more paint.

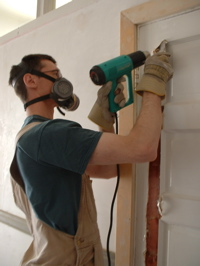
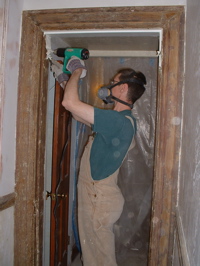
we now have two heat guns! last weekend the original heat gun died so mathew bought another one. and during the week he successfully fixed the broken one. and then there were two. now we can both strip paint at the same time. yay! more paint fumes!
(left) removing anaglypta in the entry. (right) stripping adhesive in the built-in hall cabinet.

(left) mathew built me this little paint stripping cove to protect my office from dust, paint chips and fumes. (right) and look, here i am doing more paint stripping! (big surprise.)

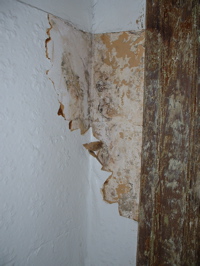
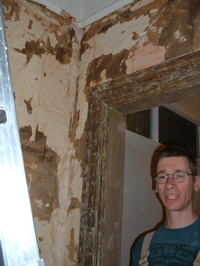
(left) the anaglypta in the entry was pretty badly damaged by a leak. (right) mold was hiding under the anaglypta.

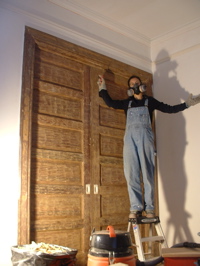
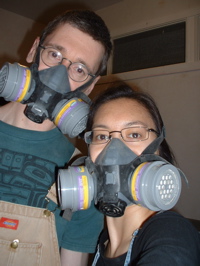
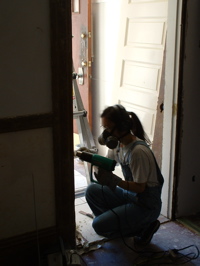
(left) mathew took over the anaglypta and wallpaper removal in the entry while i moved on to finishing the paint stripping on the built-in cabinet. (right) this is what we looked like all weekend. actually, i pretty much wear the respirator mask all weekend, every weekend. whenever mark’s girlfriend, atsuko sees me she laughs; i guess it’s a pretty funny sight. and she’s started calling us “house monsters.” yes, we are creatures who lurk around, destroying things, making bad smells, loud noises and causing chaos.

where were we..?

we are so behind in posts that this one is actually from 2 weekends ago!

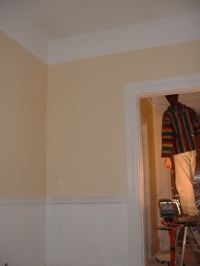
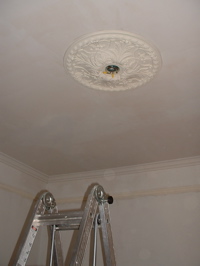
so, my “clever system” for holding up the medallion overnight wasn’t so clever because the unsupported edges drooped. i came up with another “clever system” of attaching a piece of wood to the center of the metal light fixture box. (right) ta da! the unpainted medallion.

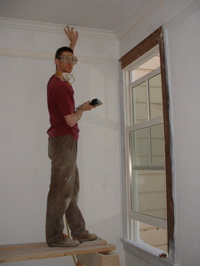
(left) mathew sanding the ceiling, it’s the nicest, smoothest ceiling by far. (right) me stripping paint, what i spend the majority of my weekends doing.

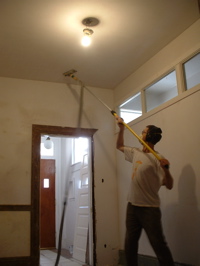
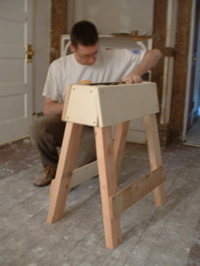
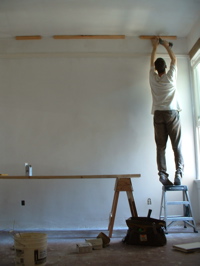
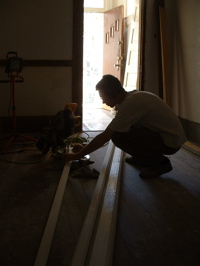
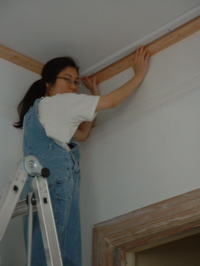
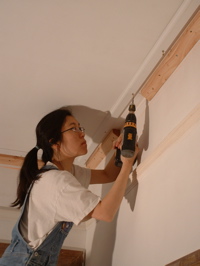
(left) mathew made two saw horses to help in installing the crown moulding in the downstairs living room. while we worked together mathew stood on the saw horse platform while i stood on the tall ladder. (right) here mathew is attaching backing pieces of wood for the crown moulding.

(left) cutting the first layer of crown moulding. (right) holding the first piece in place.

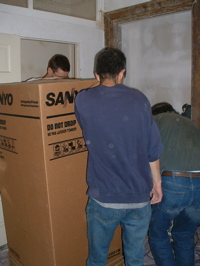
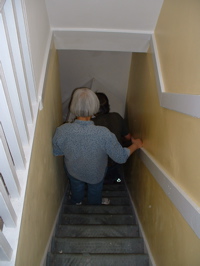
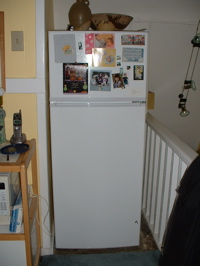
(left) we had a brief interruption as my parents and older brother stopped by to help us move our new refrigerator from the garage and up two flights of stairs. the process was a little stressful so there are no photos of the actual move. (right) the old refrigerator leaving.

(left) my dad being goofy. (right) the new refrigerator is 4 inches narrower (!) than the old one but it was the only model that would fit up our stairs. and it’s an energy star model, so it’s earth friendly.

(left) back to crown moulding installation. (right) mathew cutting the final pieces by hand. these final pieces overlay the earlier pieces and because they’re grooved and set at an angle it takes some clever cutting and assembling to get it all to lay just right.

the rest of the weekend was spent paint stripping and prepping for plaster and paint. hopefully i can create another post before thanksgiving. mathew is home this week so there’s lots of progress…