Trim and tile

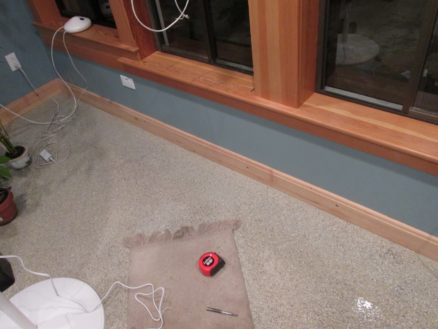
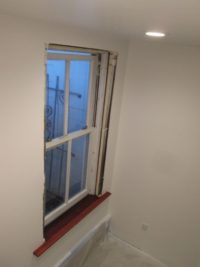
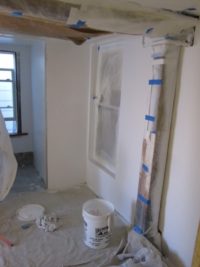
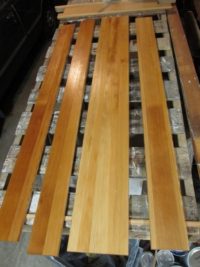
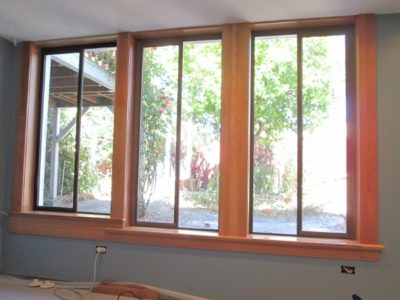
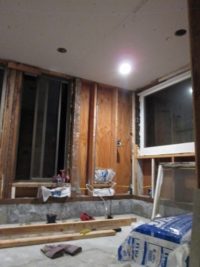
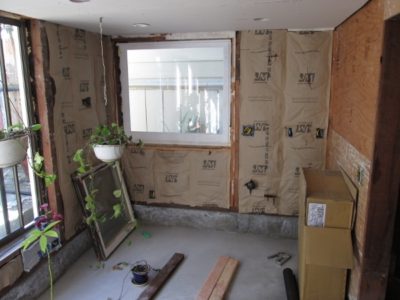
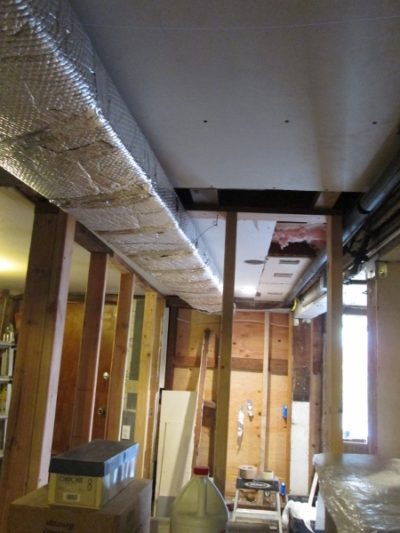
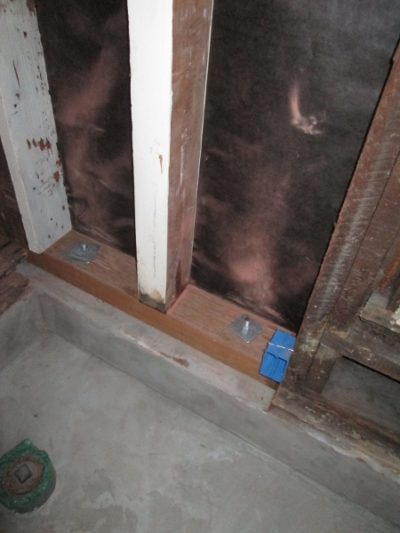
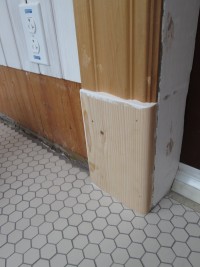
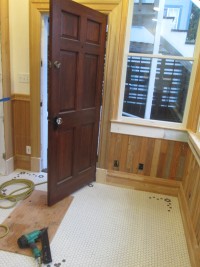
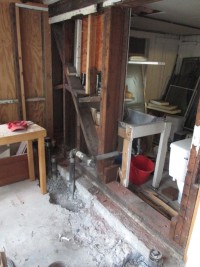
I’m adding the finishing touches to the garden room. There was still some trim around doors, and baseboards to finish.

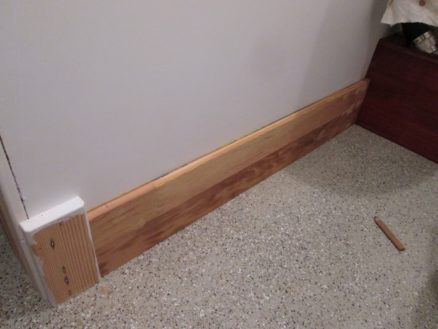
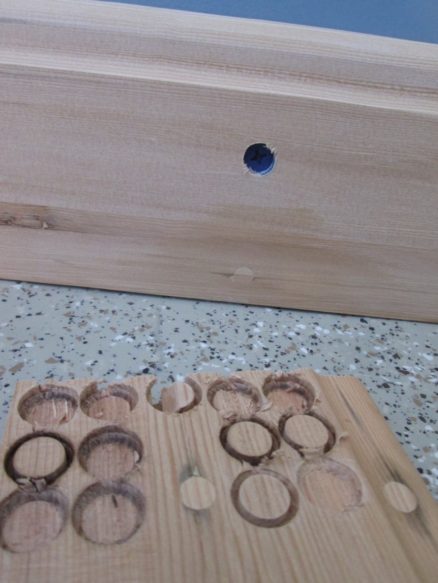
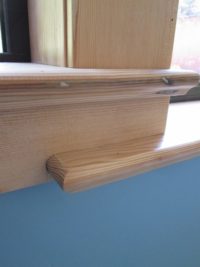
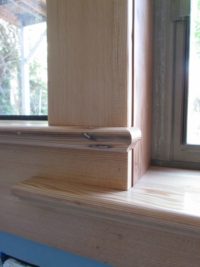
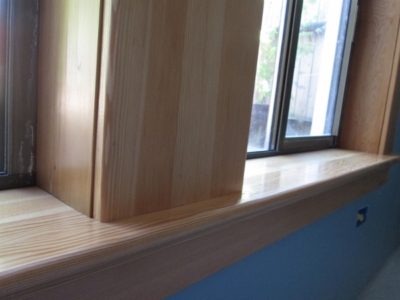
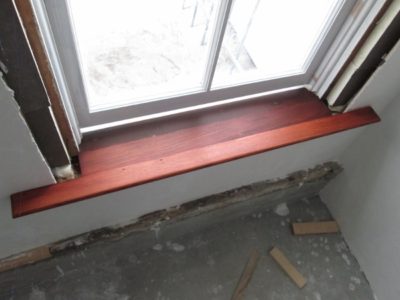
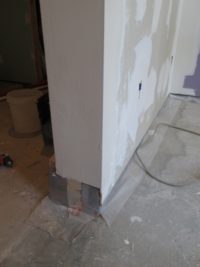
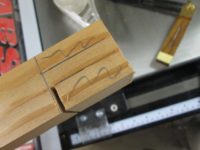
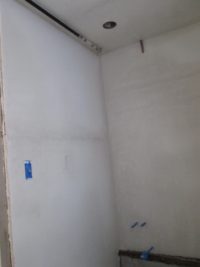
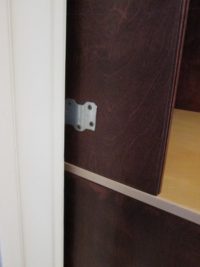
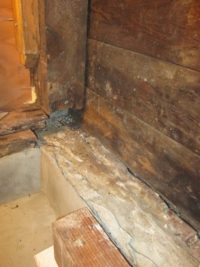
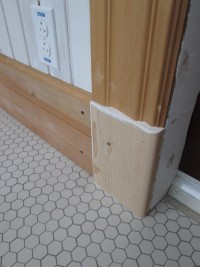
I really like the curved piece I came up with for the transition from tall baseboards around the foundation wall, to lower ones around the garden room (above).

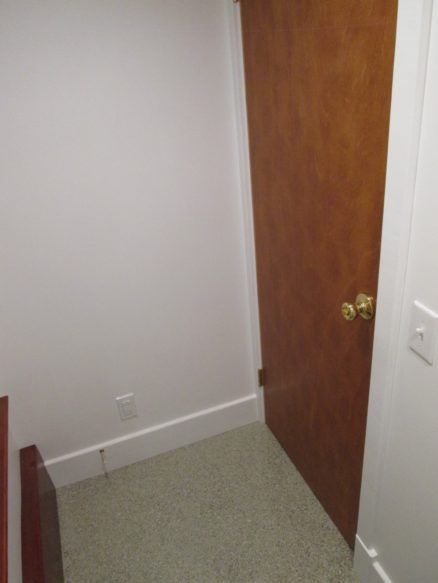
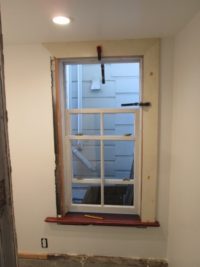
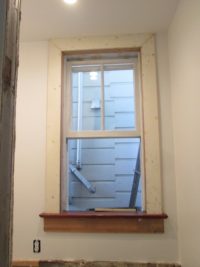
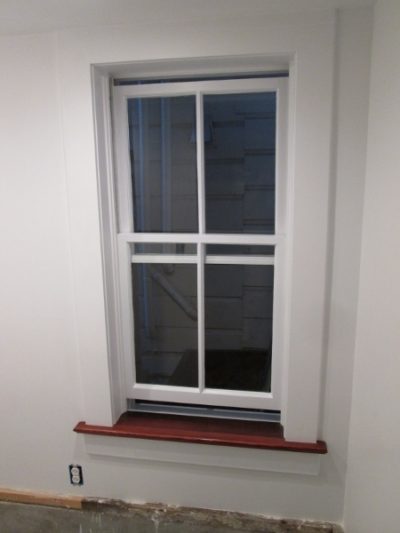
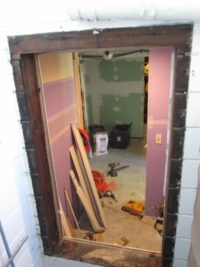
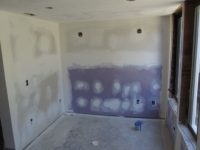
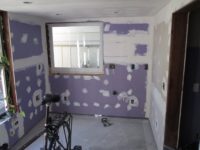
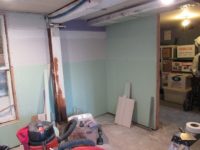
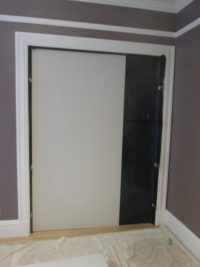
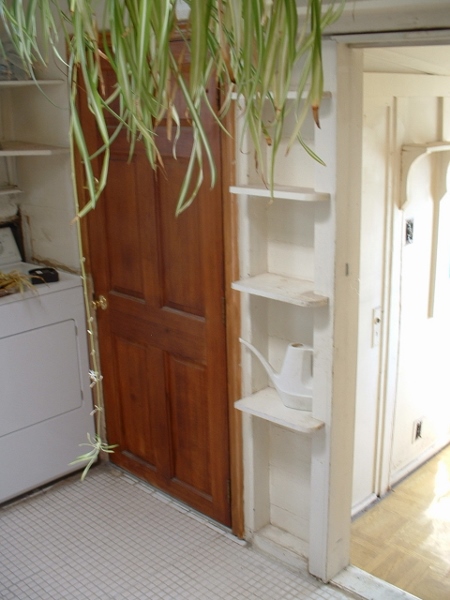
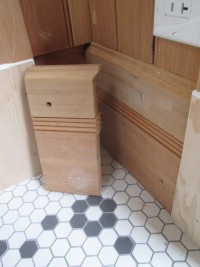
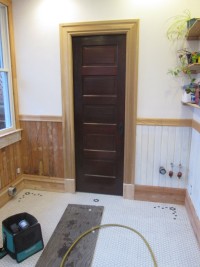
Now all the trim in the back room is also finished.

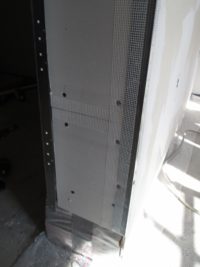
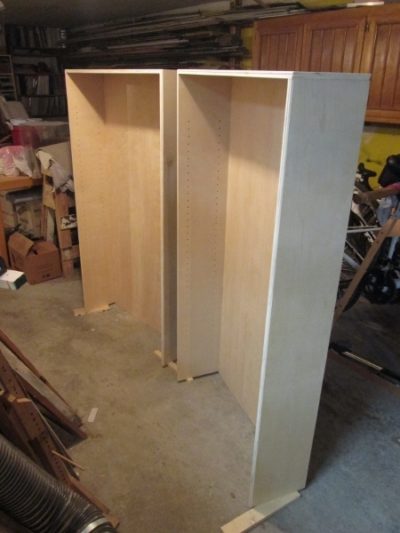
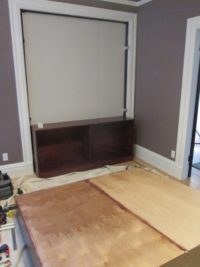
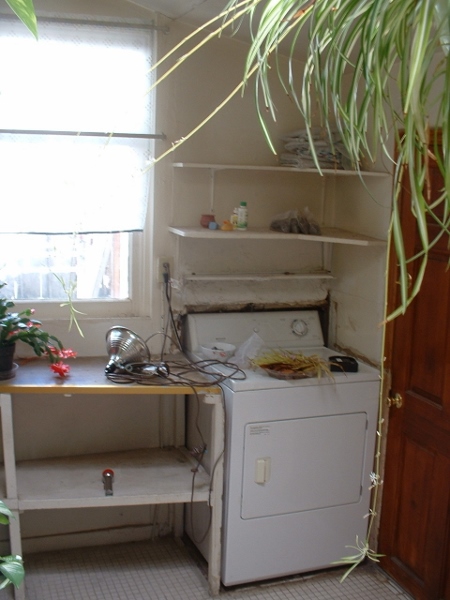
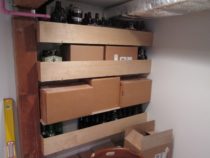
I also put some shelves into that space to store things like bottles (this is going to be my brewery room, right?) I added removable fronts on the shelves so I don’t have a disaster of broken glass after the next earthquake, hopefully.


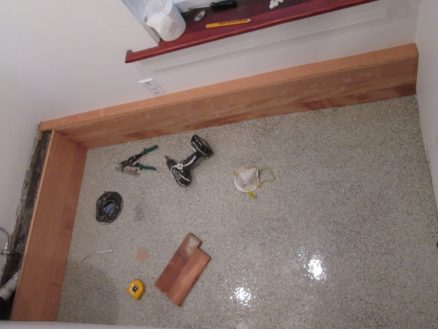
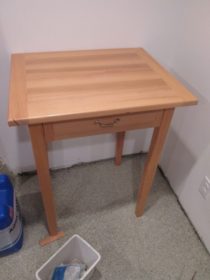
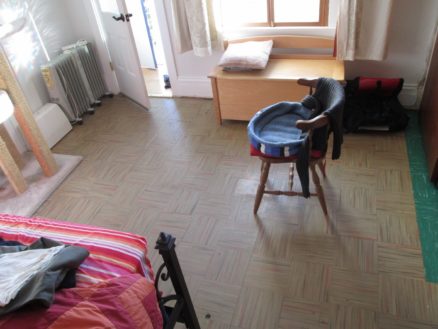
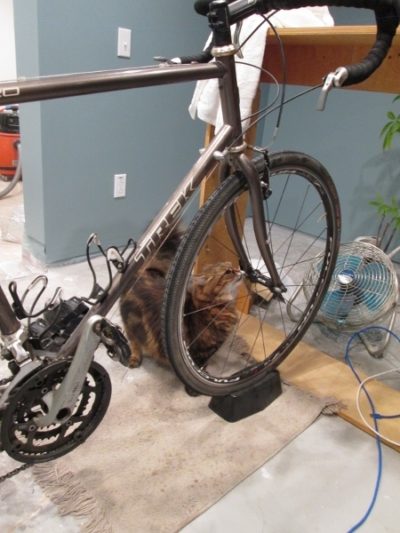
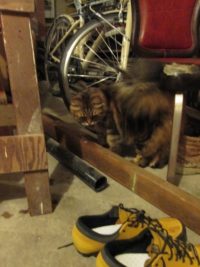
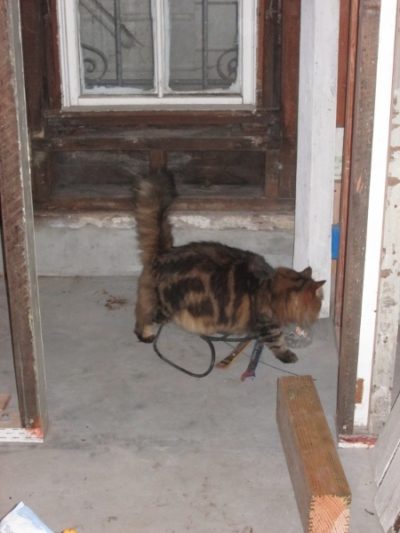
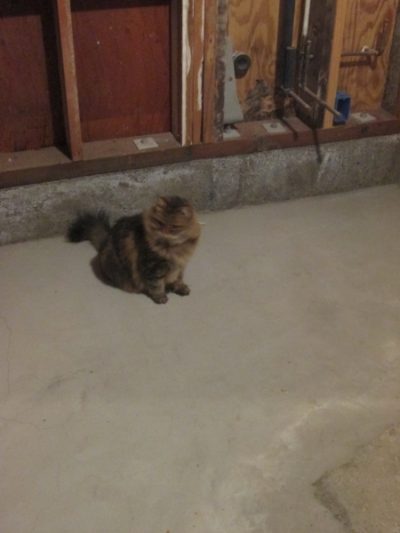
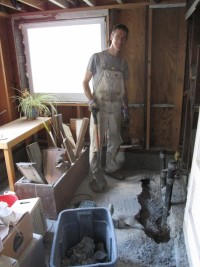
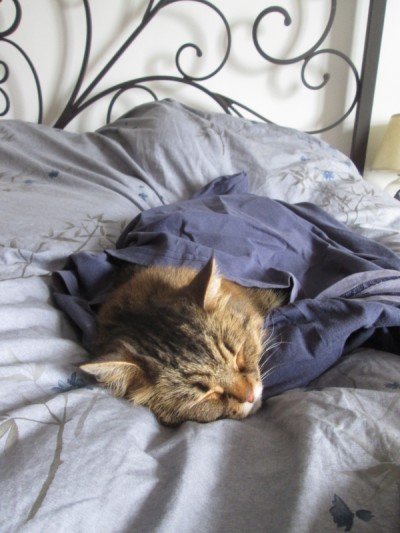
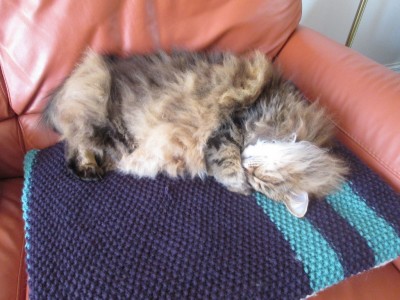
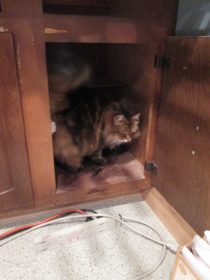
Arwen came down to inspect the garden room while I was working on the cabinet and counter top.

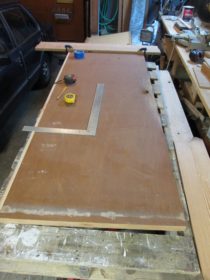
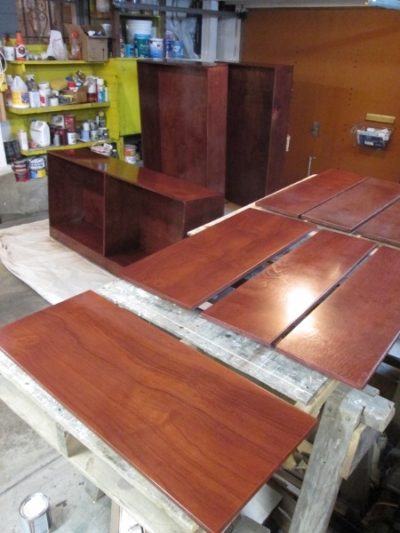
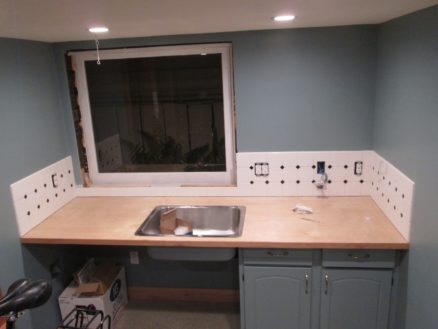
I sanded the old cabinet (from the kitchen on the ‘downstairs’ floor), and painted it.

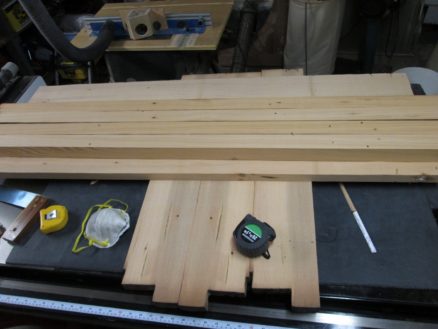
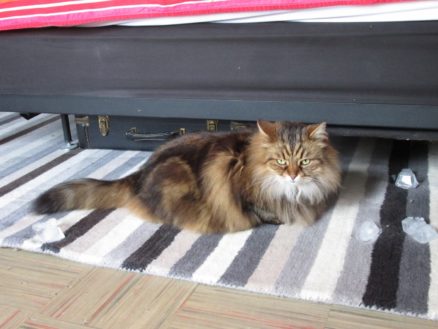
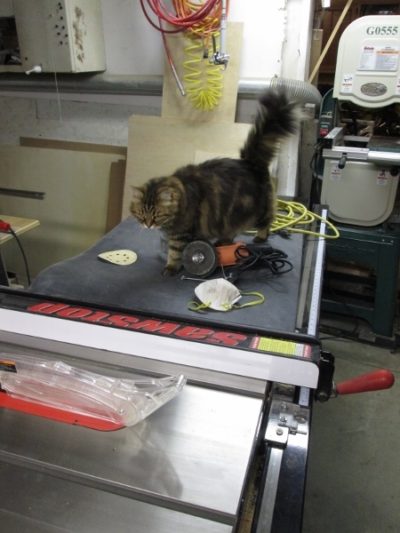
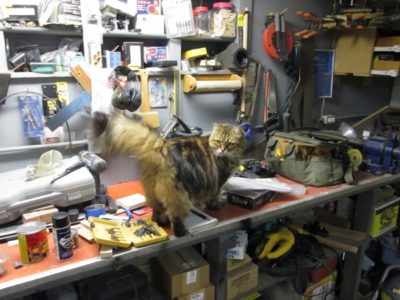
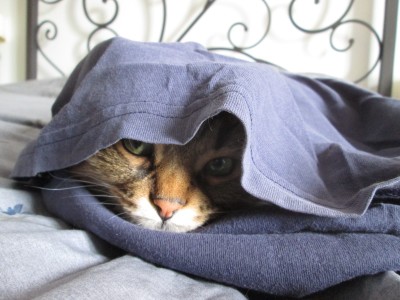
Arwen likes tools, except power tools.

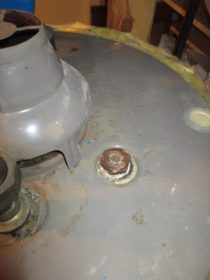
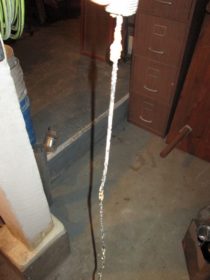
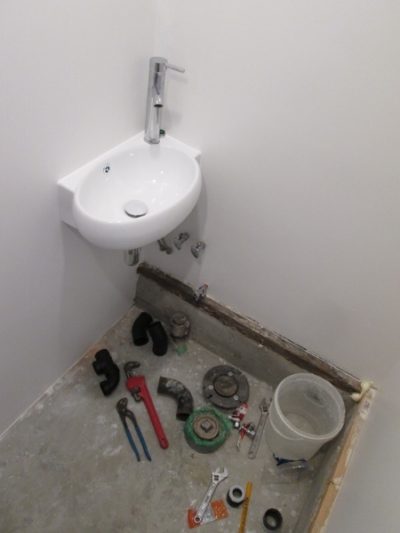
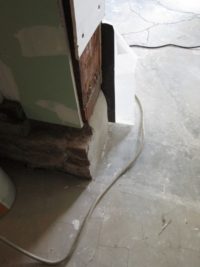
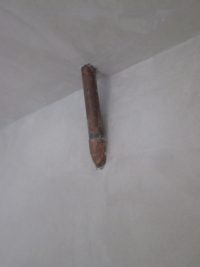
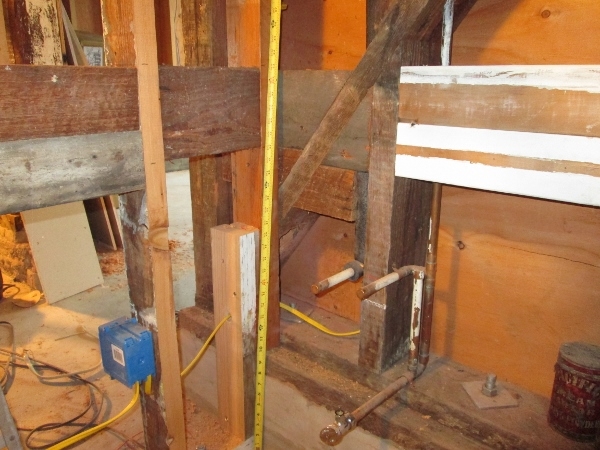
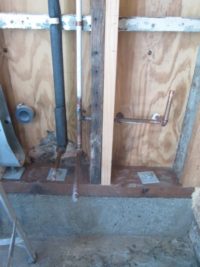
I’ve had trouble with the compression fit piping that’s commonly used under sinks. The plumbing book I have recommends the above alternative. It’s certainly easier to install, and seems quite a bit more sturdy, too.

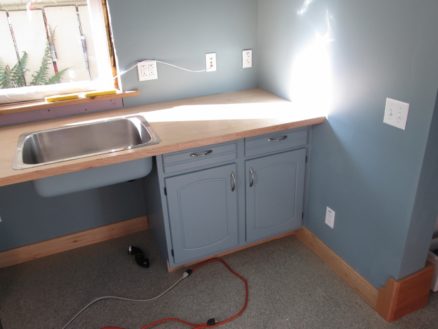
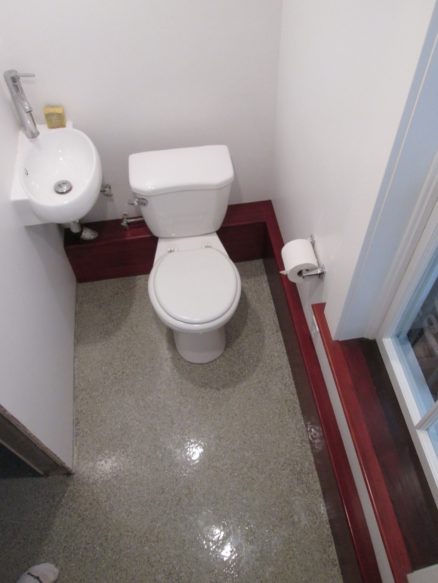
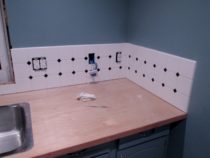
Here are the cabinets after paint, and new handles. Also, I’ve installed the sink I got from building resources (the local recycler of building materials — construction is responsible for about half of all landfill). I’m going to put the faucet in after the tiling, and a few more coats of polyurethane on the counter.

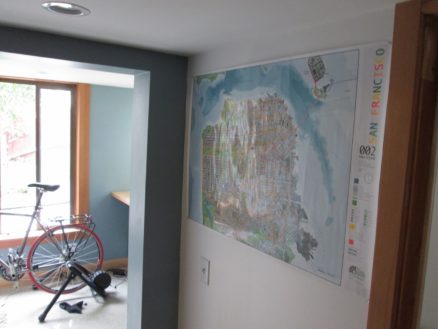
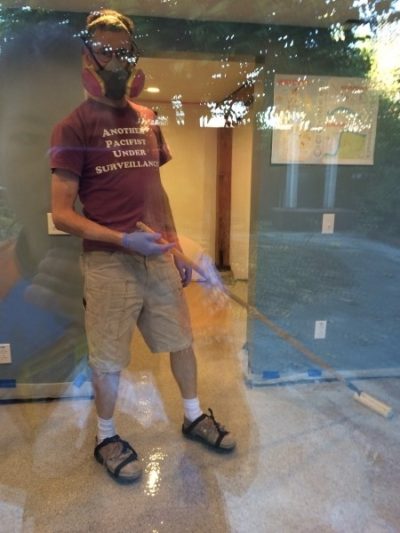
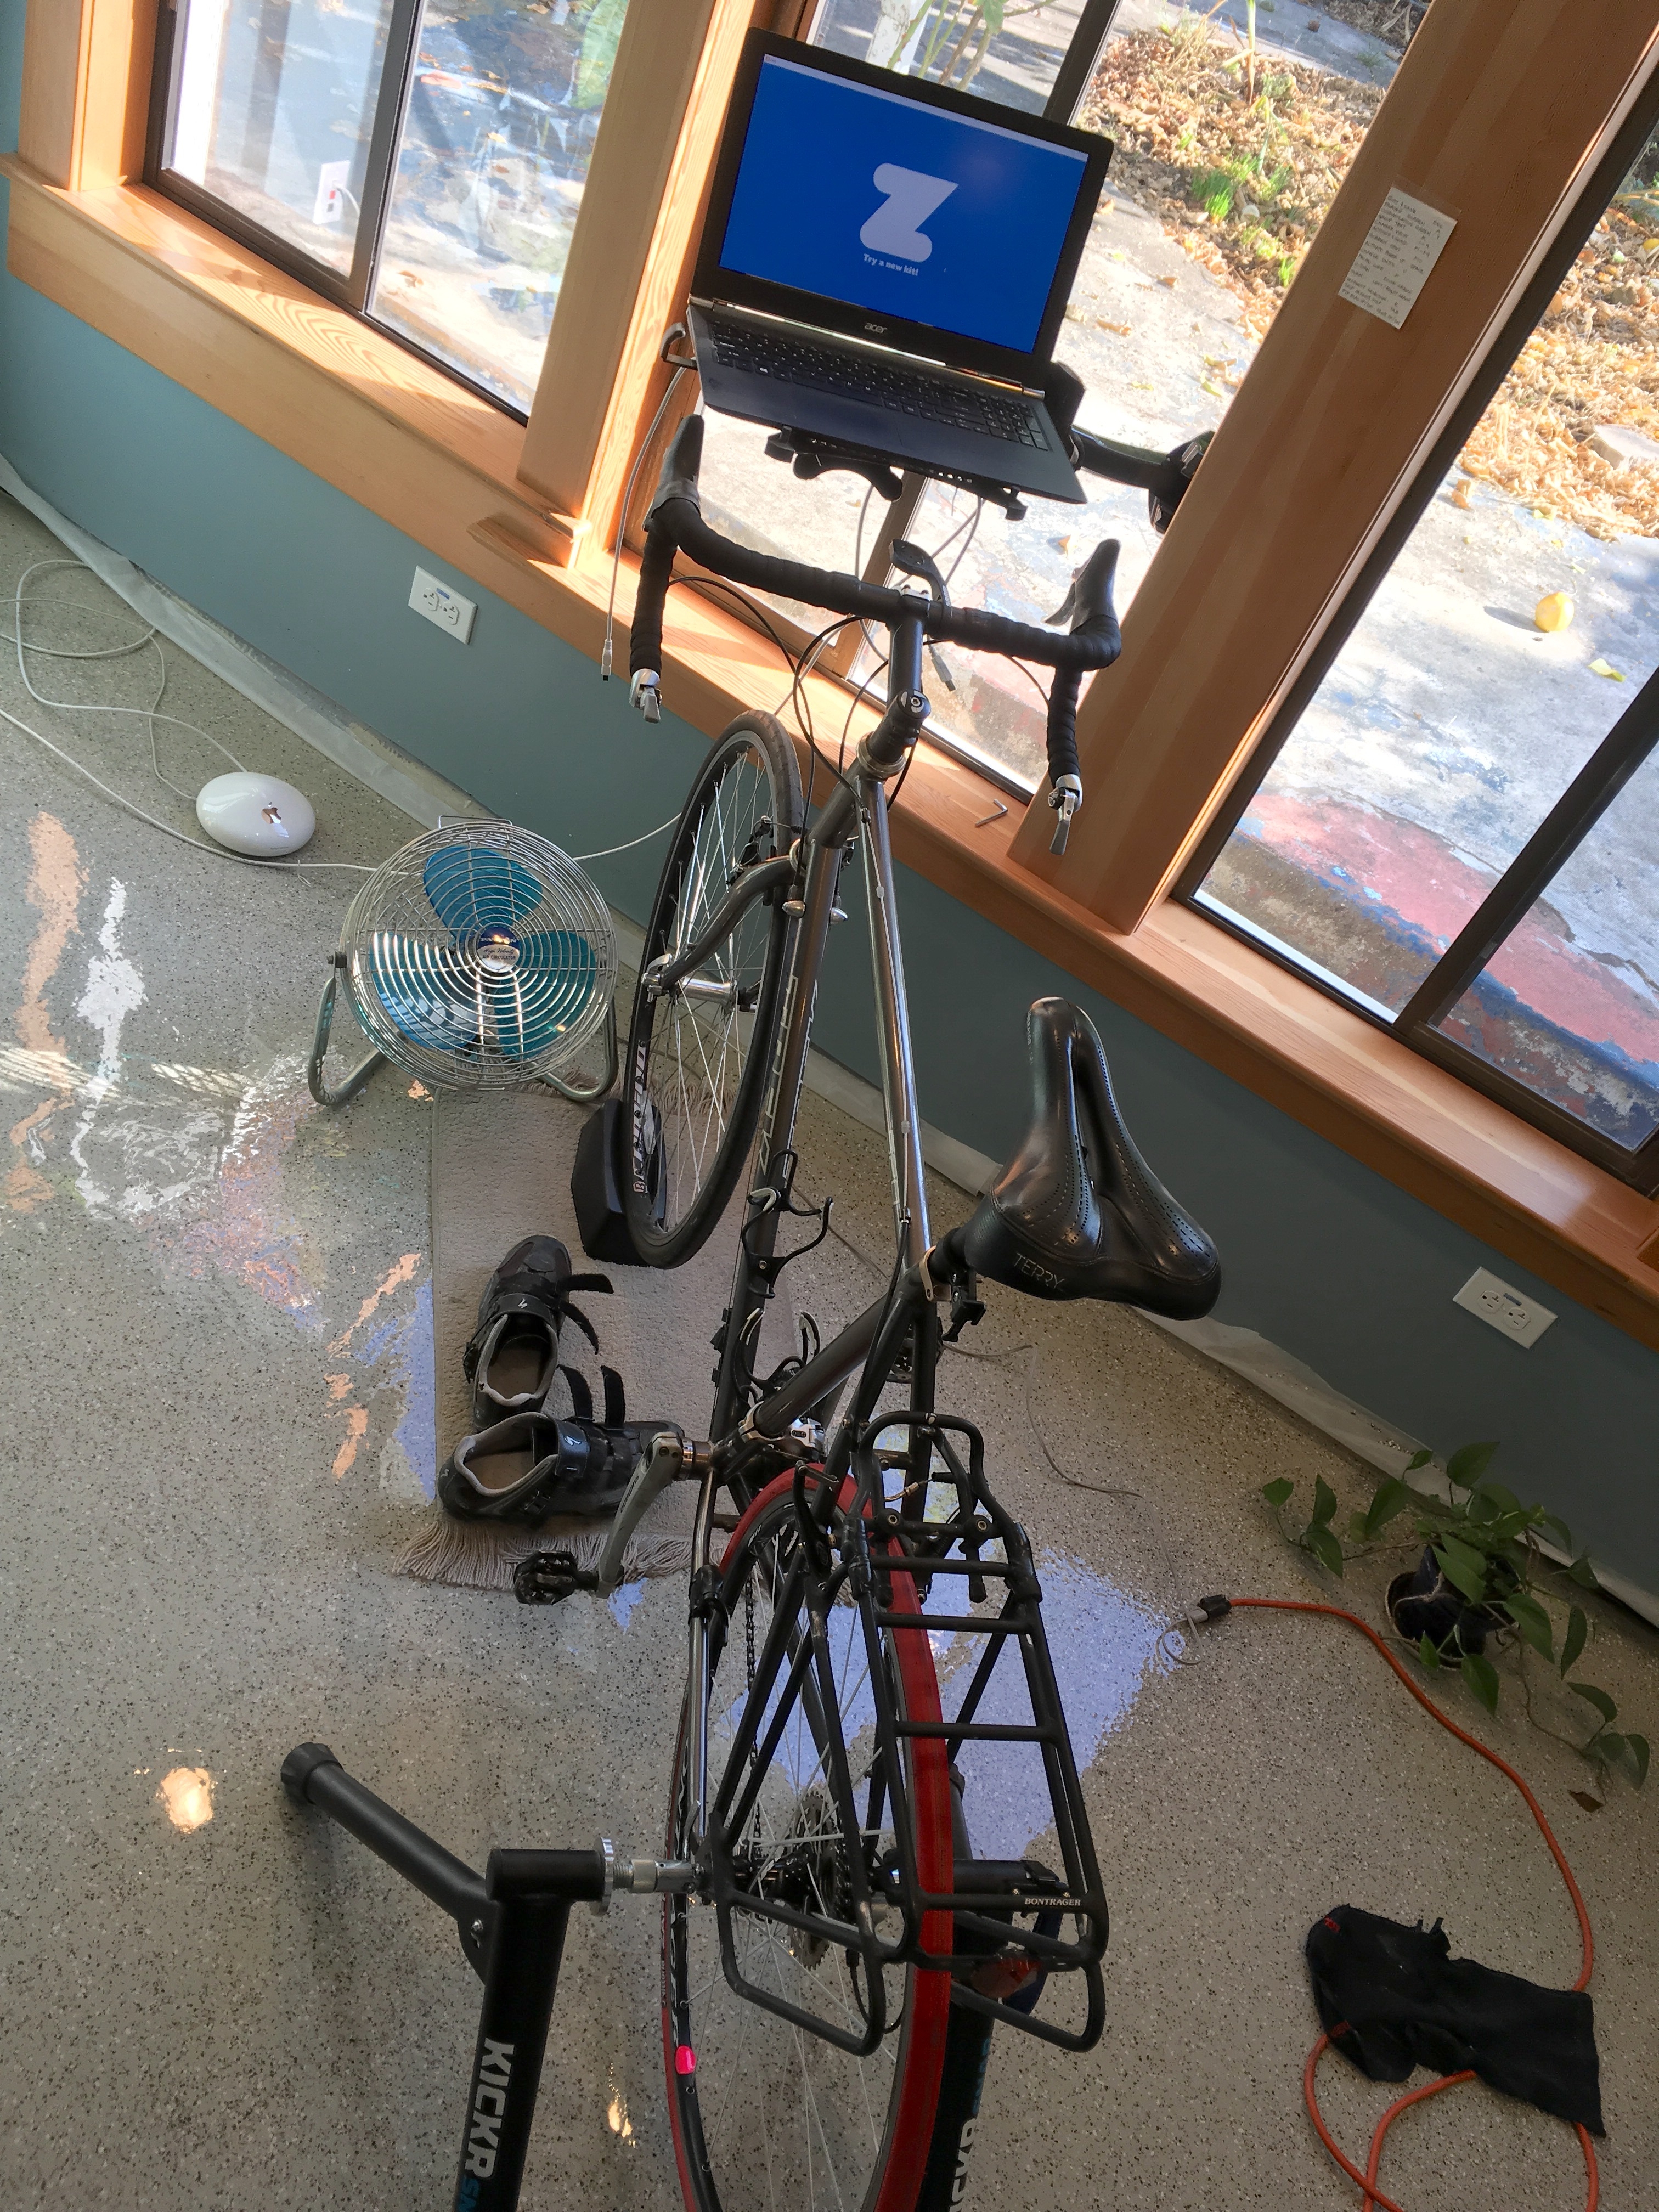
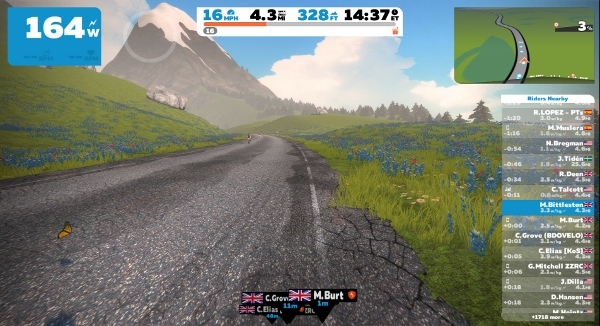
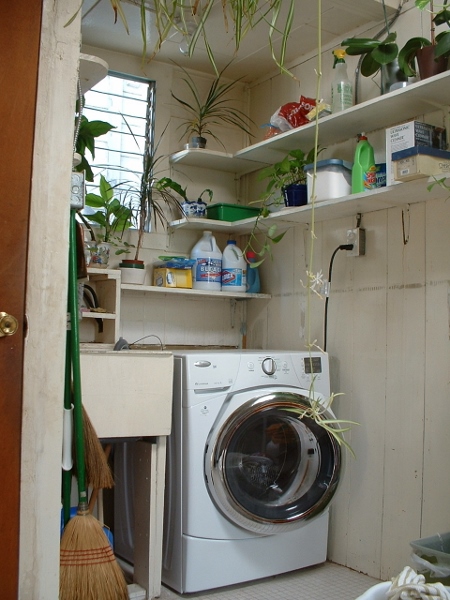
My godfather sent me a cycling map of San Francisco, and I’ve finally found a good place for it. The garden/brewery room serves mainly as a workout room these days.

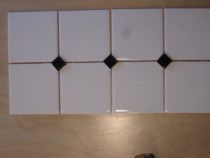
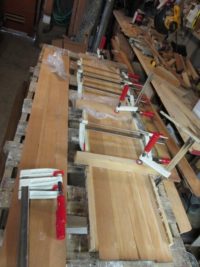
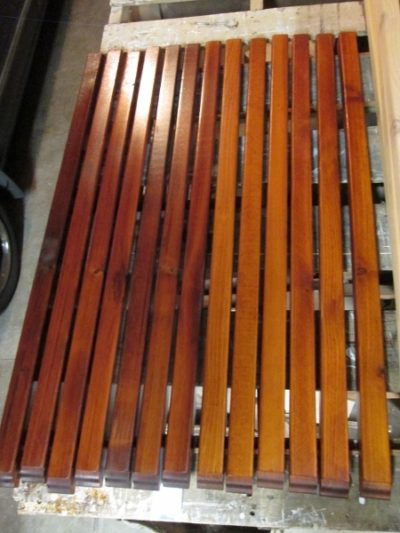
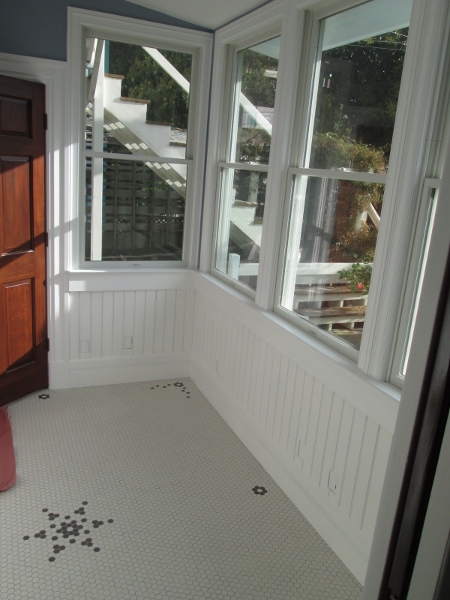
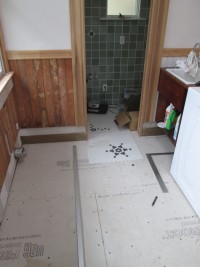
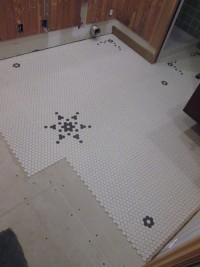
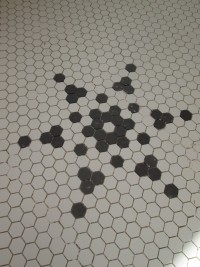
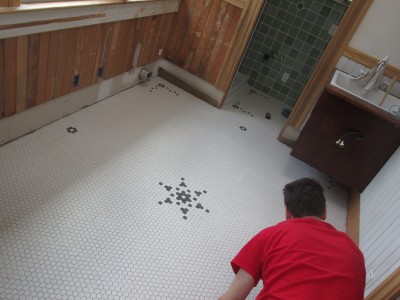
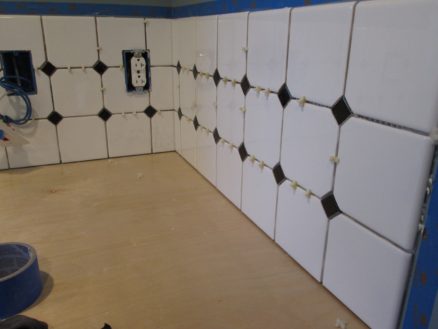
Getting started on the tile, I wanted to make it similar to the kitchen in Downton Abbey (white tile with small black squares). The photo above left was the more labor intensive option (I had to cut down the black tiles to about 1.5cm squares). Guess which one we went with.

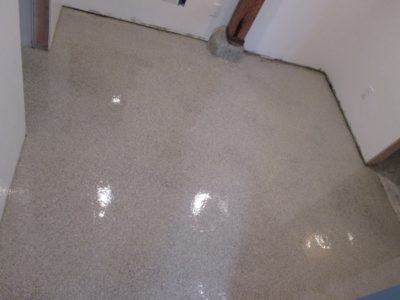
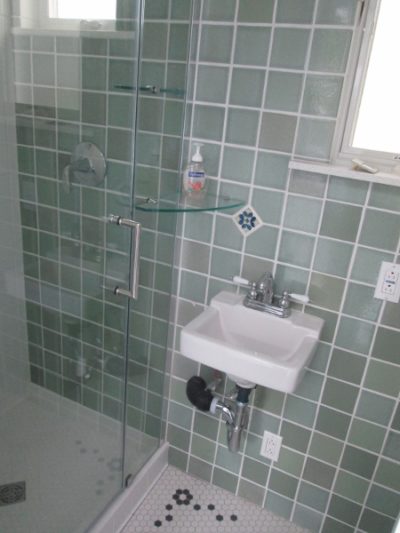
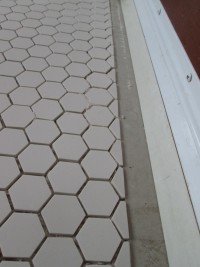
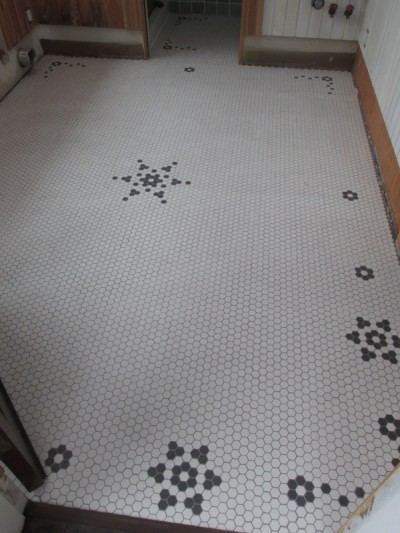
Here’s the tile after it’s grouted. Not quite as extensive as Downton Abbey, but neither is the brewery room!

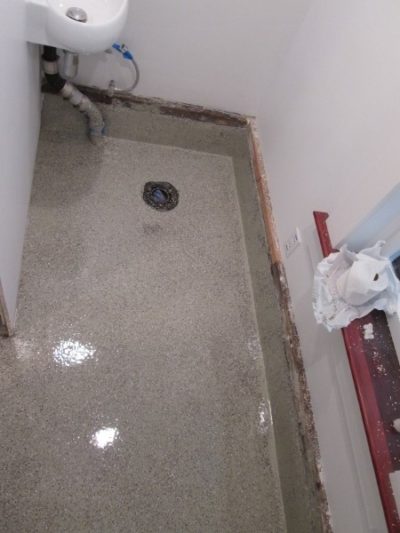
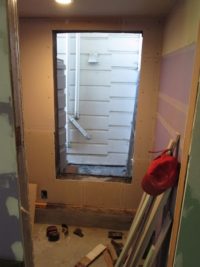
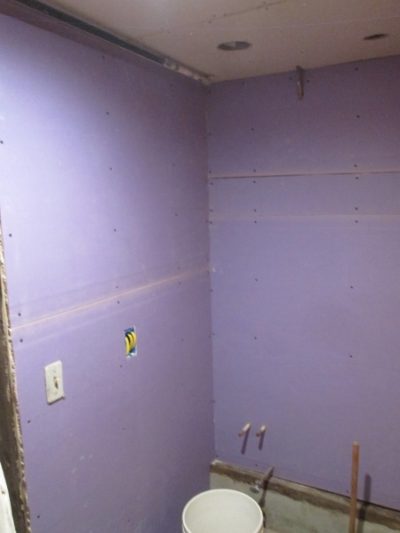
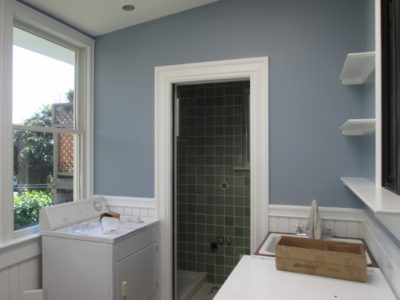
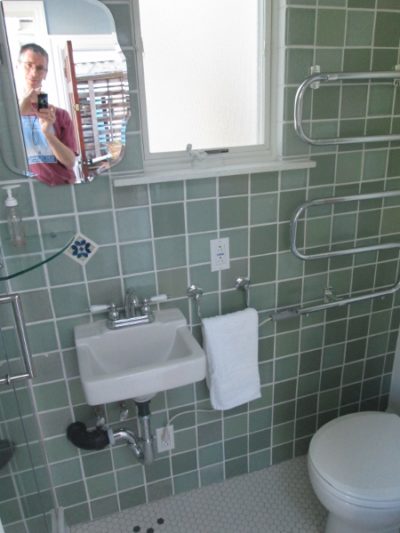
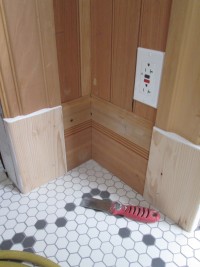
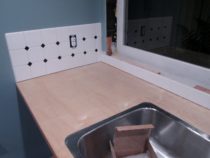
I also added a tile backsplash at the little sink in the toilet room.

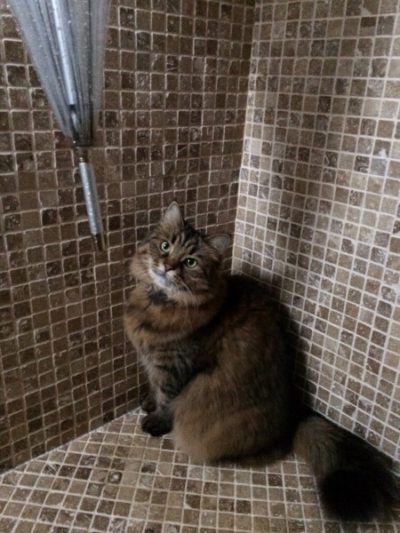
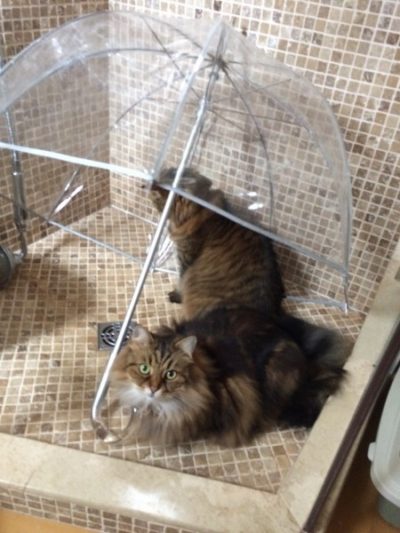
I had to do some plumbing in the shower upstairs (hair clog!) and the girls both joined in to help:

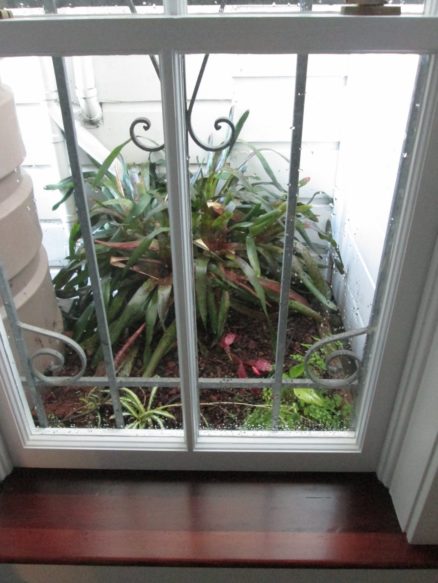
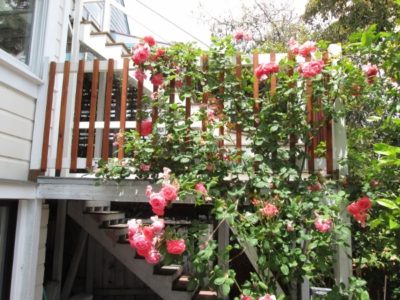
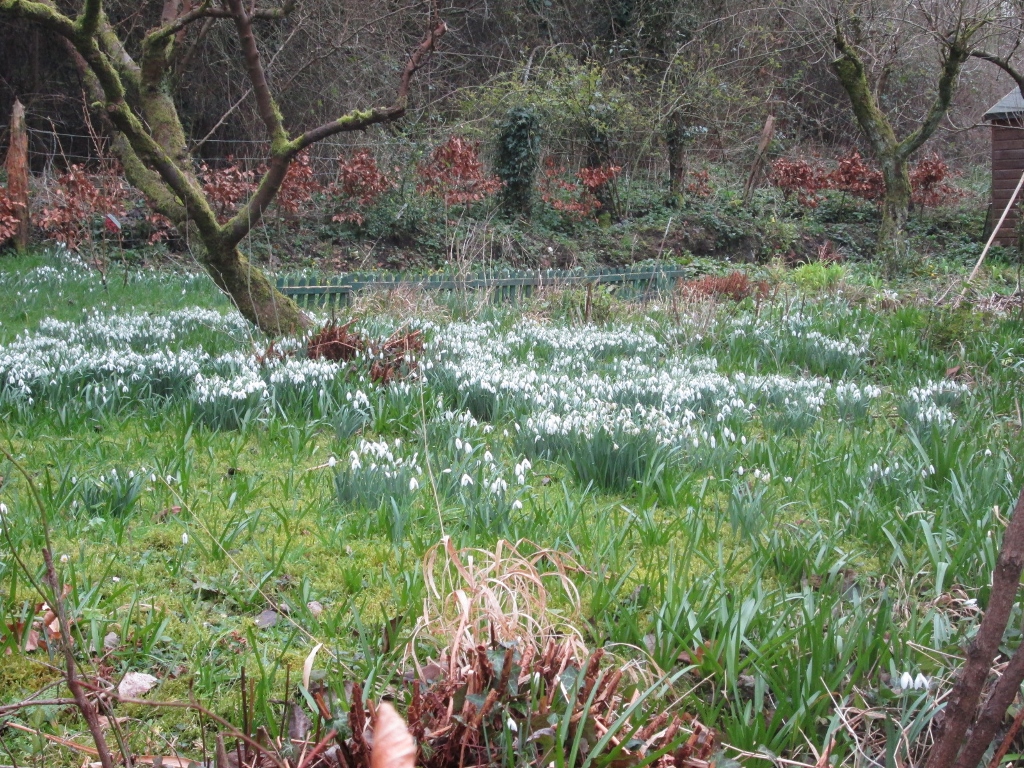
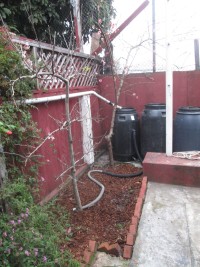
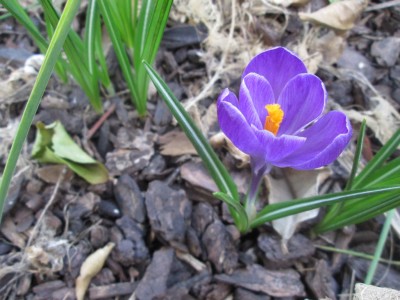
The Freesia seem to love our back yard: They increase every year (whereas there are only a couple of daffodils left).

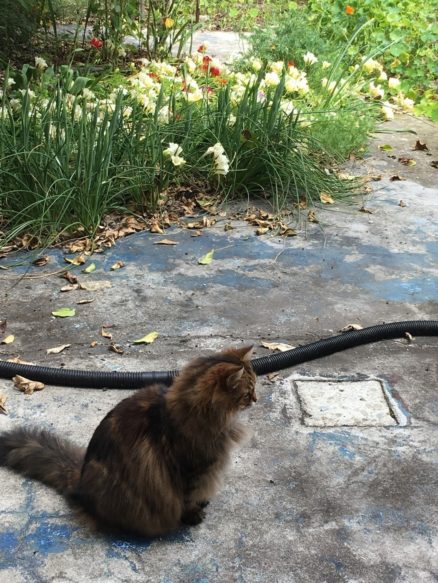
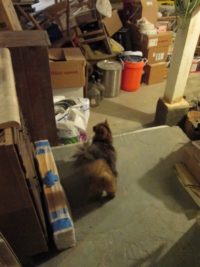
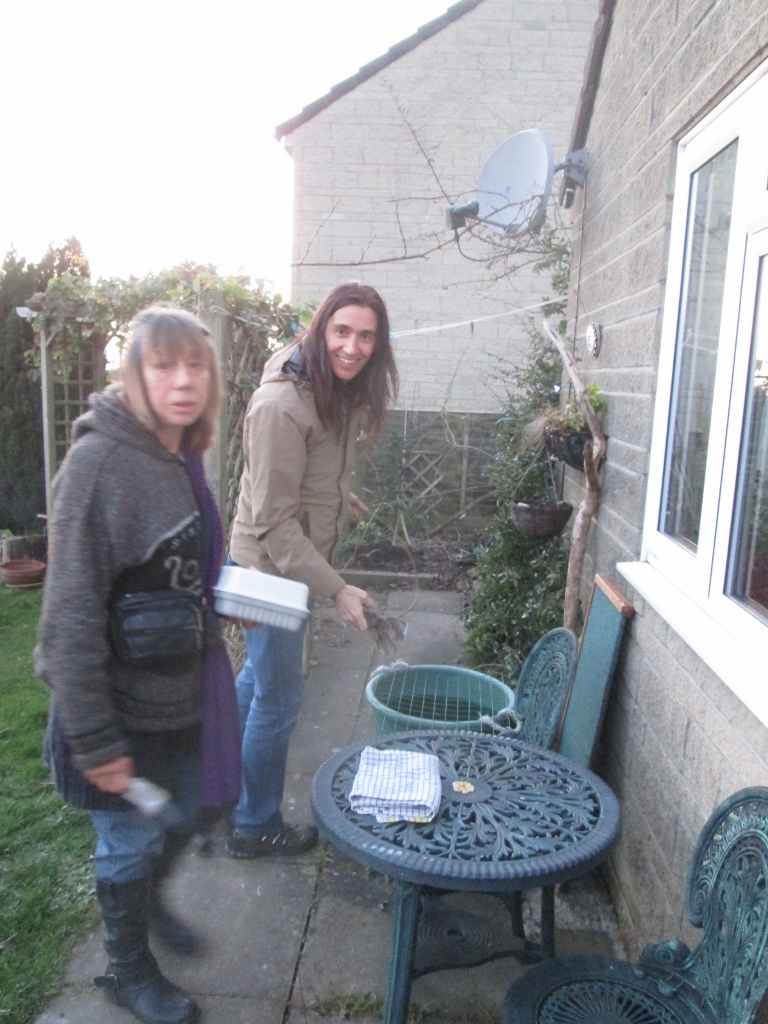
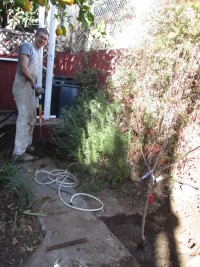
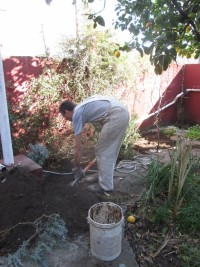
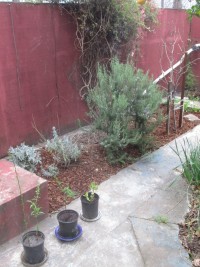
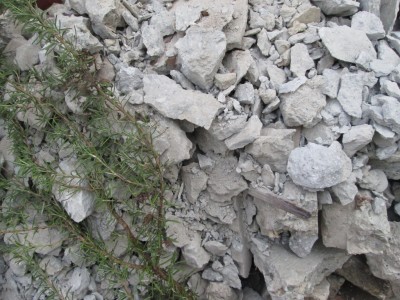
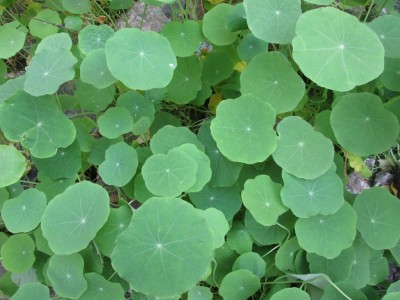
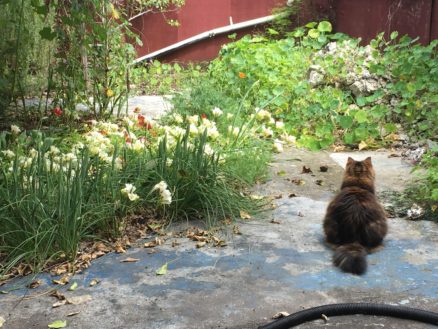
This back yard needs some inspiration: Big pile of rocks still there–volunteer Nasturtiums have covered them. Arwen is trying to figure out what to do about it all:

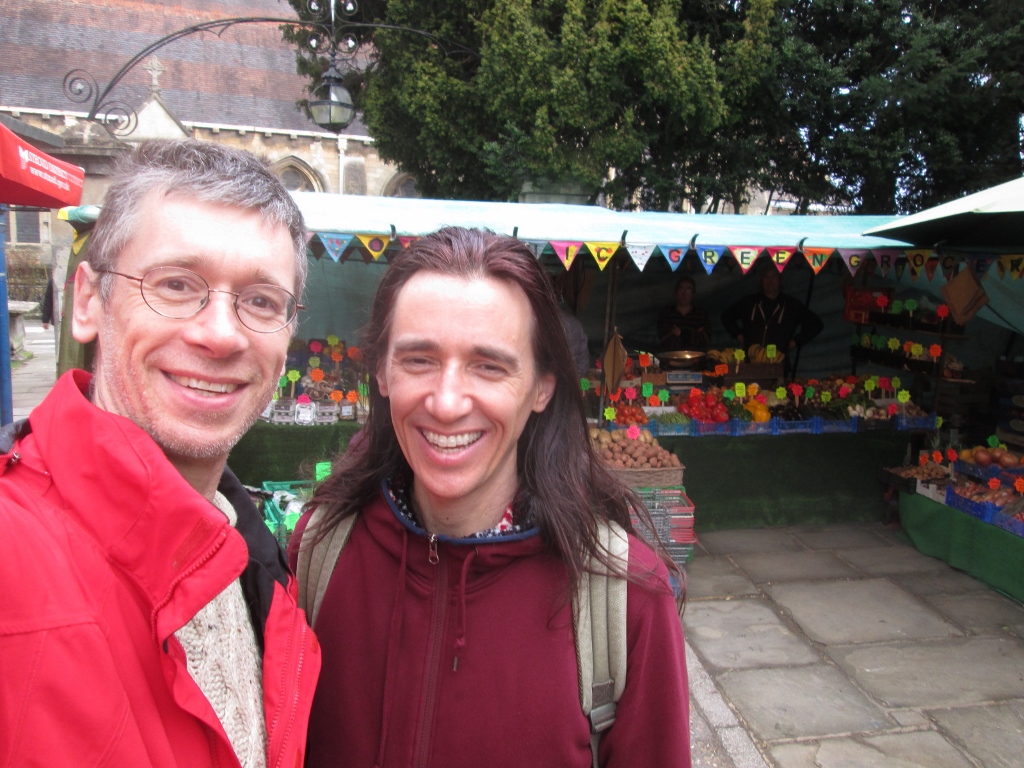
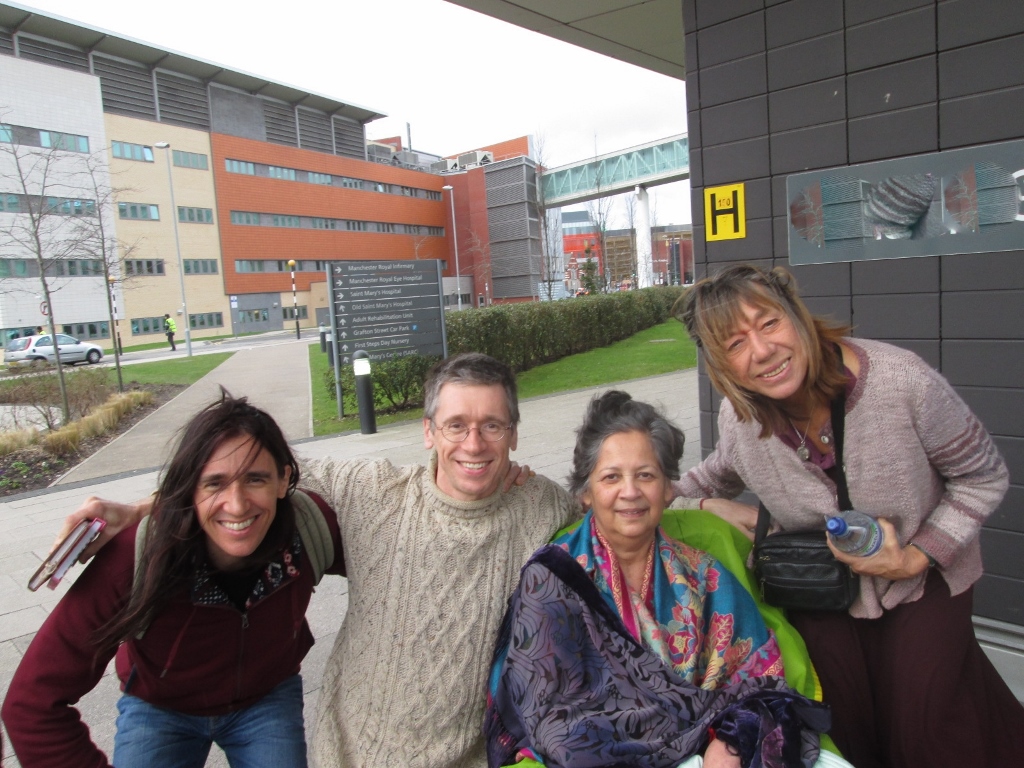
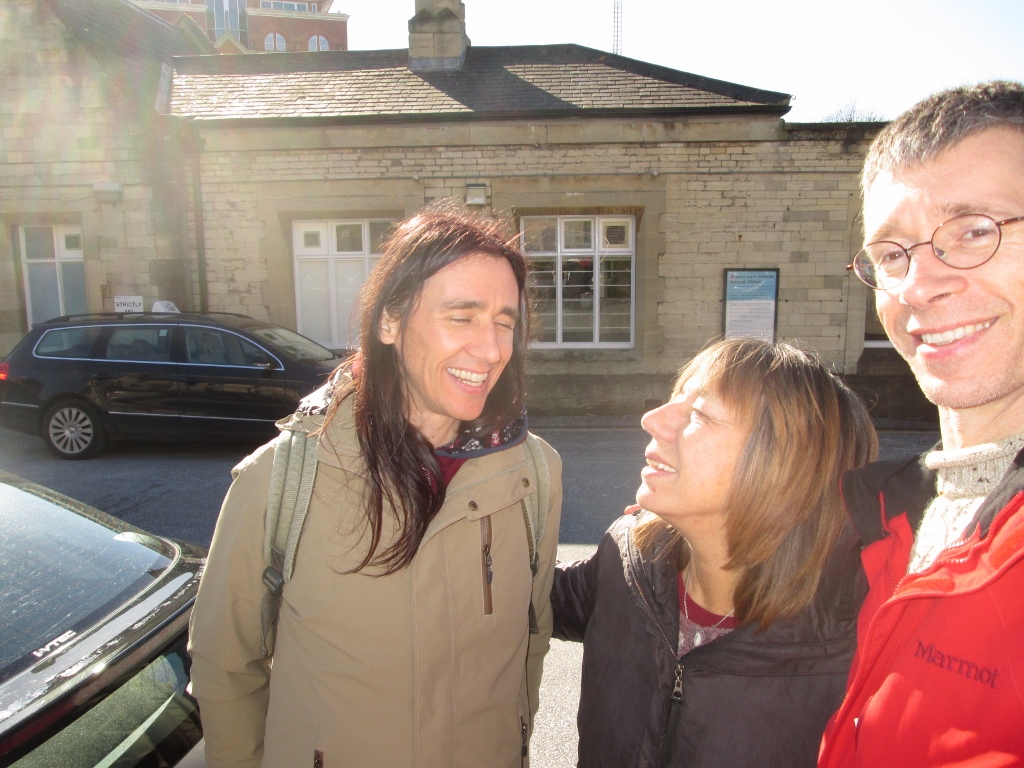
It was a rainy Friday, so Mole’s friday ride group got together to celebrate her birthday. And there was a trip to get vegan donuts, too.

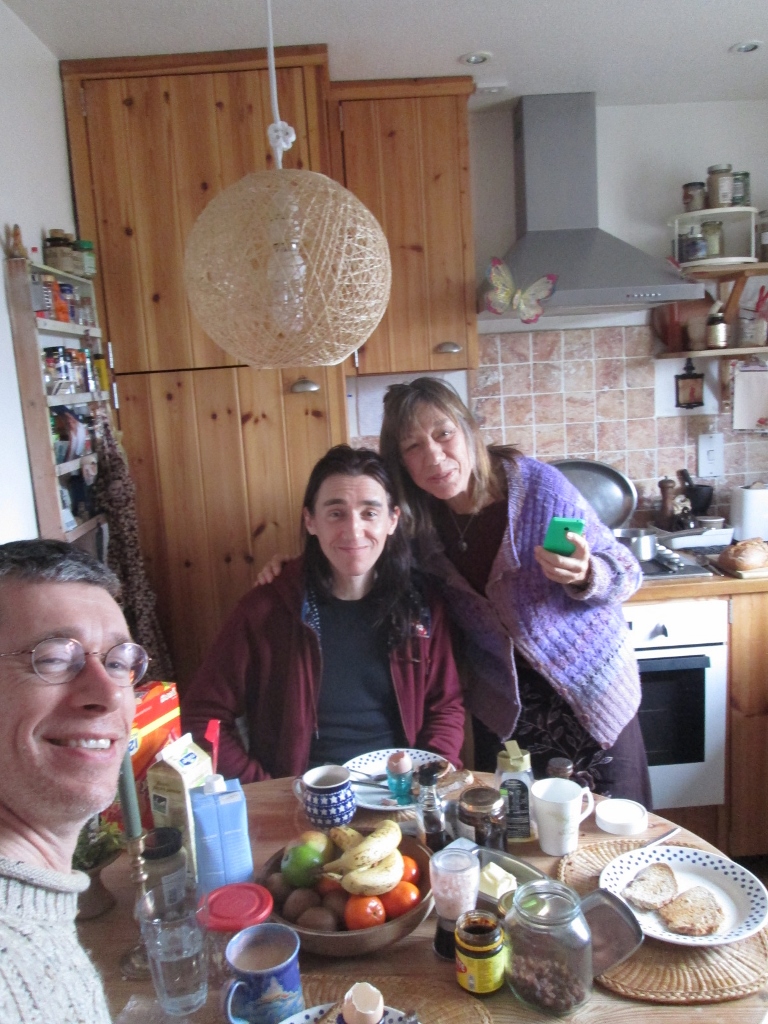
And yesterday Mole’s mum made vegan apple pie for her birthday. It was a triumphant success. Everyone had seconds.

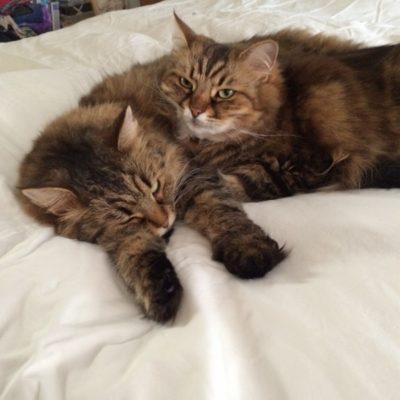
Here are Arwen and Bella pretending to be constellations.

Smorgas-baseboards

Oy vey, so much miscellany: Baseboards, door, water heater, carpet…

But first things first: Kitteys! Synchronized sleeping anyone?

I still have quite a pile of old wood, so I’ve been planing and reusing it to make the molding in the garden room.

There is a stem wall that is wider than the walls above in the toilet room, so I boxed it in with wood. The wood in the toilet room is stained dark red-brown, so I also did that with the base boards.

Here it is ready for the toilet to go back in.

A fully functional toilet in the garage. Such luxury. Except there’s no door yet: Details.

I put a planter box outside the toilet room window, and planted a variety of plants that I think can handle the low light. We’ll see.

Another project that used quite a lot of old wood: I needed to make a table for the laundry room to fit next to the dryer.

Here’s all the wood, planed to width and ready to make into a table.

I glued boards together to make the top.

Here’s the top clamping together.

Here’s the base of the table.

I also made a drawer to go under the table.

This is the finished table.


Here it is, in the laundry room. Doesn’t look like old throwaway wood.

Back to the toilet room (what, you thought I was done already??)

For the rest of the baseboards and trim in the toilet room, I decided to just paint it white instead of deal with staining and polyurethane, etc.

Well, this was instructive: I did such a nice job of fitting the strike plate for the door (above left). Pity I measured wrong. Sadly, I measured wrong not once, but twice. As usual, I do everything three times.


Above right is the door that used to be on the toilet room upstairs. I tried to give it to building resources, but they wouldn’t take a hollow core door. I was planning to cut it up and throw it away, but I needed a door for the toilet room: So I sanded and stained it.

The picture above is after the remaining baseboards and trim were finished, and door is on the toilet room. Now it’s really a functional bathroom.

Recently, a friend mentioned that they had to have their water heater replaced because it leaked all over her garage. That reminded me: Most water heaters have an anode rod that must be replaced every few years to prevent the inside of the hot water tank from rusting. And I’ve never changed the anode rod on our water heater in the ten years (!) we’ve lived here. So I ordered one:

I also had to get a large socket to remove the old anode rod.

The old rod had completely been used up. Ooops. Well, I think most people don’t replace them, so they buy a whole new water heater more often. Hopefully this will make ours last a bit longer.

While draining the tank, lots of rusty sediment came out. Looks like the inside of the tank has been rusting.

Back to wood re-use: There were a couple of solid oak boards that I saved from the floor of the “tear off room” (remember that?) I planed them down to smooth wood, and cut a rabbet into them for trim around the door into the garden room.

There were some pretty large knot holes and rusty nail holes.

I’m getting quite good at making wood plugs to repair holes (above is a knot after it’s filled).

For the baseboards, I planed, glued, filled about 180 feet of old wood subfloor. I also routed an ogee into the top edge. Getting a bit carried away.

Here are a couple of the baseboards installed. It’s quite time consuming installing baseboards over this floor because the floor is so uneven. I have to place the baseboard into position, then mark the baseboard for the shape of the floor, cut along the baseboard with a band saw, and seal the wood before attaching it.

One additional wrinkle: In the garden room, there is a concrete stem wall behind the base boards, so I have to use concrete screws. To fill over the screw, I countersunk it, then filled with wood plugs made from the same wood as the baseboards.

Here is the hole in the baseboard before I’ve filled and sanded. You can see a completed plug at the bottom of the photo.

Upstairs in our bedroom, we still have the same wall to wall carpet that was in the house when we first bought it ten years ago. Mole has been having a lot of allergy issues lately, so I decided, on a Friday evening, to tear out the carpet in the bedroom.

It’s much easier if everything is moved out – but we just shuffled things around while I pulled up the carpet, cut it into manageable rolls, and dragged it out. The hard part, actually, is pulling out all the thousands of staples in the underlayment. I was done by midnight!

Here’s the room without blue carpet: There was tile under it: That will have to do for now with a rug.

We brought the rug into the bedroom from the living room. It had deep dents in it from the furniture: I read online that you can put ice cubes on the dents, then once they melt, fluff up the fibers. Not sure why the ice cubes, not just spray it with water — but I follow directions.

And the girls love ice cubes!

So Shiny

Summer is a time for riding bikes, and not working on the house. But I’ve been chipping away at it a little. I sanded the wood beam and post that are in the space, exposing the wood. I’ll polyurethane it. Nicer than paint.

How d’you like the pink pipe? If you can’t hide it, paint it pink!

My first attempt at resurfacing the concrete floor didn’t go so well: It cracked up badly and it came loose from the concrete below. So I chipped it all out and started over:

Above is the floor after I’ve removed the cracked concrete. Then I re-did the thin layer of repair mortar.

This time, I covered the whole floor in plastic sheeting and left the sheeting on there for two weeks. There was very little cracking this time (just near the edges of the plastic where more air could get in to dry it.) I think, even though it’s supposed to be ‘low shrinkage’, when the top surface dries while the bottom cannot, it makes the mortar want to curl up.

And I finished filling, sanding, and painting the window that looks into the garage.

I went back and forth a lot on what to put on the floor in this space.

My first plan was to get some cheep Pergo flooring, and install a floating floor over a moisture barrier. This would probably be the best approach for a concrete slab that doesn’t have any moisture barrier below it. But headroom in this space is extreeeemly tight for me. Actually, we are now using the ‘garden room’ space as a workout room: I have a bike trainer set up in there. When I sit on my bike, there is about 1/2 inch between the top of my head and the ceiling. If I put in a floating floor, I’d be touching.

So I decided to try using an epoxy coating on the concrete.

Preparation is quite labor intensive. I used a diamond grinder to grind the entire surface of the concrete to make sure it bonds properly. But I’ve learned that you can get a shroud for the grinder, attach it to the HEPA filter vacuum, and it’s almost dustless.

After grinding it, I had to acid etch it, and thoroughly wash the concrete.

You can see the cracks in the old concrete slab showing up clearly when the concrete is wet.

Above left is the garage back room, looking towards the toilet and the garden room. Above right is the toilet room floor.

I filled all the large cracks with acrylic latex caulk. The black parts are where I used an epoxy filler to fill larger holes or feather edges between different concrete pours. Here’s Arwen checking on my work. There’s something about concrete she loves: she’ll walk around a bit, then roll on her back on the concrete purring.

The process of coating the concrete is quite easy. You pour it onto the floor, then use a squeegee to spread it around. After that, you just use a roller to spread it evenly. In the photo above, I’m wearing spike shoes, so I can walk around on the wet epoxy and it doesn’t leave any marks. They are tricky to walk on at first — probably much easier than high heals, but I almost fell at least four times!

Then to get a more interesting patterned surface, and to add a bit of non-skid to the surface, I sprinkled it with a mix of color flakes.

One lesson learned: You have to fill all the cracks, not just the big ones. The epoxy runs into the cracks and they show up very clearly once the epoxy sets. In fact, they are much more visible than before coating the floor. So I filled all the cracks with the same acrylic latex caulk. It was well color matched with the epoxy coating.

Here’s the same area of floor after filling the cracks. Then I did the final clear coat.

It’s shockingly shiny now! The color flakes add a bit of roughness, but I’m really impressed with this stuff.

Bella says the new floor is so clean she could lick it.

Here’s Bella checking on the plants while mole was riding on Zwift.

That’s my bike set up on the trainer, with Zwift loading on the laptop. Initially I got the trainer because I was tired of crashing on wet pavement last winter. But I’ve got hooked: It’s so easy to just go down there and ride for an hour. I don’t have to worry about cars driving erratically, debris on the roads, etc. And I can get a really good workout in just one hour. So even on sunny beautiful days, I’ve been in here riding on the trainer!

A screen capture mole made while riding on Zwift; it’s quite scenic!

In October we went to Portland and had a good time eating vegan food, and attending veg fest.

Of Paint, Guardrails and Plumbing

Well, it’s been summer: a time for bike riding, and not working on the house! I’ve done a bit though.

I managed to put up some of the muntins for the guard railing at the deck. They look really good with the roses, I think!

And I painted the garden room and the garage toilet room.

The garden room primed…

The gas pipe painted pink!

Here’s the garden room with paint.

Now for the trim in the garden room.

I still have a big pile of old wood that I want to re-use, so for the trim in the garden room, I planed and joined it. After all that work, can’t go painting it. Polyurethane!

Here’s some of the joinery I was working on. It would have been much easier if I’d just bought three windows the same size, instead of re-using the old windows from the front!

I think it’s looking really nice, even with the rust marks from old nail holes.

I also finished up the trim around the toilet room window. This time, only the window sill got stripped and stained.

This is the rebuilt window all framed in and ready for the final coat of paint.

Well, I may change my mind and paint some color at some point, but my initial thought was it’s such a tiny space, I’d just paint everything the same semi-gloss white except the window sill. We’ll see once the floor is in.

I also installed the sink in the toilet room. It’s going to be really awkward to use, but saved a lot of plumbing work. One of those things I did to try to take less time, that may bug me later.

Still not plumbed in, but close. The toilet is going to be right next to it on the right. Sigh…

Arwen came to check on my work.

“There’s a bike in the garden room! I’d better sniff the wheel.”

“OK, so while I’m in the garage, let me check out everything else. Hey, yellow cycling shoes!”

“Why is turtle’s workbench such a mess? Hardly any room to walk on it.”

This feels like progress

All of a sudden, work has slowed down a bit, so I’ve had some time to get things moving on the garden room.

I hadn’t quite finished putting the gypsum board on the wall here, because the stem wall bulged out at the base. So I used a concrete grinding wheel to grind it flush. Yes, brick foundations…

Above left is with the corner bead on and above right is after a couple of passes with joint compound.

Next is the project I’ve been procrastinating on for a few years. The window in the toilet room space is badly rotten. Plumbing pipes used to penetrate the wall directly above this window, and rainwater would run down the pipes and into the window. The upper sash has completely disintegrated, the lower one is too rotten to move, and the frame has rotted across the top and down one side. I went far enough to work out drawings and all the dimensions for the replacement window sash, but never made it. In retrospect, it would have probably been better to just buy a new complete replacement window. But this was an interesting challenge in joinery.

Here’s the wood I used: Old wood from the house some place.

Here I’m cutting some of the mortise and tenon joints. The joints at the bottom of the upper sash are a bit like finger joints.

I was quite happy with how it all fit together.

Above left is clamping during glue up. Above right is a detail at the connection of the center muntin to the top rail.

Here’s the fully assembled sash, with glass (don’t worry, I did not paint the sides where it slides.) I managed to save three of the original lites – the other was cracked so I had to use some new glass.

The window frame was also rotten, so I had to remove it and repair it too. It was at this point (after spending a full day making the new sash and another repairing the frame) that I was regretting not just buying a new window!

Well, here’s the window frame re-assembled and repaired (left), and weights and new cord going in. I had to buy two slightly heavier weights. Not sure if the new glass was slightly thicker and heavier, or if these windows were always slightly off balance before (would explain the nail holes in the frame). Anyway, they balance now!

After stripping the paint from the tracks, I waxed them, and hung both sashes in. Then primed and painted all the trim, and we have a completely repaired window. It’s the only remaining fully functioning double hung original window in the house. The previous owners had replaced all the other windows in the house before we bought it. Maybe it’s a good thing I saved it.

In the garden room, instead of veneer plaster, I’d decided to tape and use sandable joint compound. I probably was thinking it would be easier/faster/something than doing plastering. But it’s turned out to be very time consuming and messy. So I plastered the toilet room: One day and it’s done.

The toilet was a tricky space to plaster, because there are pipes sticking out of the wall. The photo above shows the gas pipe at the top left, and a water pipe in the middle.

Here’s how it looked as the plaster was drying the next day. I think I’m going to polish this little piece of pipe, and coat it with sealer.

Still working on the garden room. Here it is after sanding and feathering all the joints and screw locations. Note to self: Sanding overhead is much harder work than plastering.

Oh, and the guard railings for the deck: I stained them with a red-brown transparent stain to protect from UV – no paint. Here they are drying.

One of Bella’s favorite games is watch for water dripping

Mole was trying to dry her umbrella. I think the girls wanted us to turn on the shower.

Large bubble-wrap: fun with claws.

When your neighbor won’t lend you his truck: Tie it to your roof. The trusty ’82 Civic taking a chair to get re-upholstered.

Taking shape

Arwen just loves climbing into bags…

Phew! It’s been a long haul, but I’m starting to get drywall up. That gives some shape to the space:

Getting drywall on the ceiling, and the insulation up, was a major effort. Holding a 4ftx8ft piece of drywall over my head, by myself, while screwing it in was hard enough. But there are no 90 degree angles in this place, so every measurement seemed to be off and I had to lift it into place to test fit multiple times. Ugh.

The “before” photos would have been daytime…

Insulation…

In the toilet room (above right), I added wood into the wall behind where the sink will be (so I have something to screw into).

This is the same view with purple (moisture resistant) drywall installed.

This is looking at the doorway into the toilet on the right, and the door into the garden room on the left.

It’s actually looking like a ‘garden room’…

And the rain continues here in California: We’ve started using the garden room as a workout room. I bought a trainer and mounted my bike to it. Mole even tried it last week – we’re still not very familiar with bike trainers, so it’s been a bit bumpy (but not as bumpy as all the crashes on wet pavement I’ve been having lately).

Headroom is a big problem in this space: there’s none. A big duct runs from the furnace to the outside wall for the kitchen above. I have to walk under this duct. After I hit my head two or three times, it’s usually enough for me to do something about it. I changed the duct from round to flat and thin, so there’s just enough room for me to walk under it without losing more of my remaining limited supply of brain cells.

Here’s the duct installed. You can see bare studs around that will soon have drywall on to make walls…

More views of the space between the garden room and the garage…

Above left is the state of the slab in this space. Needs some work. Above right I’m getting drywall on the “garage back room” (between the garage and the garden room).

The green drywall is also moisture resistant – just a different brand. The photos above are the walls that were bare studs in the duct photo above.

Meanwhile, we are working on the guard railings around the stairs and deck at the back. Above left is mole sanding the pickets. I’ve lost track of how many years it’s been: This is the last unchecked item on my todo list for those stairs.

It wouldn’t be a turtle project without some intricate details. Cedar: I love the smell of it.

We still haven’t decided if we’ll paint it, or use deck stain. I’m leaning to the latter, both because it’s faster, and because it’s sad to cover up this beautiful wood.

A soundproofing bookshelf?

This is a huge post – I just never got round to posting. Fear not, there are some cat pics towards the end.

We kept the front room of the downstairs unit for our office. But in this Victorian, as in most, the front room is connected to a second front room with double sliding doors. The double doors do not seal any noise between the rooms – you can clearly hear everything in the adjoining room. Now that the second front room will be a bedroom, we had to come up with a way to provide some sound privacy: A built-in bookshelf.

Here are pictures of all the clamping and drilling…

I built the shelf in three pieces, because the door opening is so large that a single shelf would have been too tall to stand up in the garage, and would have been really difficult to move around (it wouldn’t have fit through the front door!) The design is two tall bookshelves above, and a slightly deeper cabinet at the base. The photo above is the piece of wood that joins the top and bottom part. Because I’m using plywood, I either mitered exposed edges, or glued solid wood to the edges.

This is the base cabinet all assembled.

And here are the bookshelves.

Then I stained and varnished everything to match the wood doors in the living room. The car gets to be outside for a while.

The base cabinet will have doors on the front. I made these from the remaining scraps of the plywood sheets.

Here’s a detail I’m particularly proud of. The doors are made from plywood, so I made decorative molding to glue into the edge around the panel.

An engineering problem: How to hold the bookshelves in place, without damaging the beautiful wood pocket doors. I made metal brackets that fit into the gap between the doors and the pocket in the wall. These I wrapped with fabric, and one leg slides into the gap, the second side screws to the side of the bookshelves. I’ll cover this with some wood trim attached to the side of the book case.

The sound insulating material went against the doors, but how to hold it in place while I assembled the book case? The solution: I cut drywall to fit tight into the space, and glued the sound insulating material to it with double sided carpet tape. The drywall serves to hold everything in place, and also adds to the sound absorption.

Here’s the book case almost complete. Still needs the doors on the bottom, and the trim around the outside to close the gap. But it’s working quite well to insulate sound. It’s not perfect, but enough to muffle sound between the two rooms.

Here are the doors with stain and two coats of varnish. One to go.

Oh, and what else? Yes, the “garden room” work.

Here are some photos of plumbing work preparing for a sink.

This the the plumbing for the space that will be the toilet. Beautiful.

The concrete in the garden room is a total mess. Here I’ve chipped and ground down concrete that was too high, and I need to fill in where there are holes.

The left side is after filling in the holes. But the floor still slopes, so I added a skim coat of leveling mortar to level the floor.

That’s me. Poor back.

The concrete in the area that I tore up the wood floor was extremely degraded. It was rough, and would dust every time I brushed it. So I coated the whole floor with a layer of non-shrink repair mortar. I had a great time doing it: Felt just like doing plaster.

It looked really great until it started to dry…

There must have been something wrong with one of the bags of repair mortar, or it may have reacted badly to the old concrete. But instead of being low-shrinkage, on about half the floor it shrunk like mud in a desert. Cracks everywhere.

Here I’m adding the wall to make the space for the toilet room. Yes, I still need to repair the window.

The old plumbing that used to come through here caused this wall, and the window next to it, to rot badly. So I repaired the wall. Above right is before I put in the new wall framing.

This is the repaired wall. I used mostly scraps – trying to use up the huge pile of wood I have stashed in the garage. Now I need to get the wiring in.

Arwen came to inspect my work.

“Hmm, good level concrete. Let me check the flatness…”

“Prrrfect for rolling on.”

More ugly

So I’ve started working on the ‘garden room‘. I think we used to call this the ‘creepy room’ before. Here are some photos Mole took before we bought the house:

I have big hopes for this space: I want it to be my ‘brewery room’ for brewing beer. But it could also serve as a guest room for people who are allergic to our “hypo allergenic” cats (apparently not so much). There were three major things I had to do to get started on this space.

Firstly, there was a wood floor in the ‘garage back room’ part of the space. It had no ventilation under the wood, so the wood is rotten, and it smells moldy. It also reduced the head room so I kept hitting my head on the wood beam. I swear a lot when that happens, so the floor had to come out.

IMG_3643 (450x600)IMG_3644 (450x600)

The wood was hard to take out, because all the nails had rusted, and the wood kept breaking.

IMG_3672 (450x600)

To add to the fun, they had made the wood floor slightly smaller than the room, and poured concrete to seal all around the edges. Lots of work to break out all the concrete, and another pile of concrete in the back yard to dispose of (eventually). Talking to the previous owners, apparently their grandfather used these two rooms as his storage space. He was probably trying to make sure that no mice would get into the rooms with all the concrete sealing every crevice.

The second part was to add support for the floor framing above. The previous framing to support the large wood beam and back wall was under-sized, and held in place with a couple of nails. Not secure enough for me.

IMG_3676 (450x600)

The photo above shows the temporary support (including my trusty jack) while I replace the post. Also, on the right side is an opening. I’ve put a door opening where there was an old window. I filled in the opening on the left side of the post, and put a new concrete curb and sill in, and made a good solid post to support the beam. I’ll add plywood to the wall once I’ve got all the electrical wiring installed.

IMG_3677 (450x600)IMG_3682 (450x600)

Above left you can see the new curb, above right is the new connection for the post. I re-used some old wood that has been piled up in the garage.

IMG_3685 (450x600)

Then I took out the curb at the opening on the right, and removed the rest of the concrete that had been put around the wood floor.

I also had to fix the drain plumbing. There were three drain pipes sticking up out of the concrete floor in the garden room. I had to chip out the concrete to get down to the sewer line and remove them.

IMG_3637 (600x450)IMG_3687 (450x600)

Above is before and after. I had a piece of pipe lying around that I reused for this (hence the white paint). The more difficult part: I want a toilet in the garage, so I plumbed in the sewer pipes for that on the other side of the wall.

IMG_3684 (450x600)IMG_3686 (450x600)

Above left is the hole I dug to go under the wall, above right is the plumbing in place. Then I filled it all back in again. Filling it in was actually a lot of work, because I had to compact the soil. If the soil isn’t compacted, then it will settle by itself over the years, leaving a void under the floor slab, which would eventually crack and collapse, making an uneven floor. To compact the soil, I worked in “lifts”: Put about 2″ of soil back in the hole, spray it with water to dampen it slightly, and then compacted it with a sledge hammer and a piece of wood until it will not compress any more. Then another lift of 2″, and repeat until all the soil is back in the holes.

IMG_3690 (450x600)IMG_3691 (450x600)

Here are the holes filled back in, and gravel (from the broken concrete) on top of the soil. The gravel is a ‘capillary break’ under the slab. It prevents moisture from the soil coming up through the slab. At least in this little part of the floor it will.

IMG_3692 (450x600)

Here it is after I repaired the floor with concrete. Next: the plumbing for the hot and cold water.

Five year project

The laundry room has been the project that keeps on giving. It started out that I was just going to replace the back stairs in August 2011. Then I ran into problems waterproofing, so I stopped the stairs, and started working on the laundry room. Five years later, it’s finally DONE! So I thought a before-and-after photo post is in order:

Checklist

This is the checklist I scribbled on our white board, back when I thought it would be a quick project. I kept adding items as I went. Very satisfying to have all boxes checked.

DSCF0012 (450x600)IMG_3571 (450x600)

Above left is the back door to the kitchen before. Above right is the same view after, with the door moved to approximately where the window used to be.

DSCF0009 (450x600)IMG_3583 (450x600)

Looking a bit to the right, the dryer used to be jammed into the corner so tightly that the back door wouldn’t open unless you pushed against the dryer. Actually, it was such a tight fit, that the previous owners had cut out part of the back wall to make it fit. You can see the old back door location at the right side of the photo. Now it’s all windows in that area, looking out to the garden. I’ve put a small couch in this space… Hmm, maybe I should have used a photo with the couch in it. Oh well… You’ll have to come visit to see.

DSCF0010 (450x600) DSCF0014 (450x600)

Here are two more photos of the old back wall of the laundry room. You can see the door opening into the moldy ‘tear-off’ room. Funny, in these photos it looks so sunny and airy, and you can hardly notice that to walk in there, you have to be under 5′-10″. On the right side is the wood door to the toilet. Actually, it was more like a closet with an always stinky toilet in it.

IMG_3587 (600x450)

This is the same side, now. I put a wall all the way across that side, so made the laundry room a little smaller, but a more functional bathroom. Bathroom door is now a nice restored redwood door that I hung on sliders to make it a pocket door.

DSCF0015 (450x600) IMG_3585 (450x600)

The washing machine is in a similar location, but there’s now a sink behind it, instead of next to it. The new arrangement is not perfect – but was the only way I could figure out how to make this work. One other solution was to not put a sink in this room at all, but I find it so useful to have a utility sink.

This room used to have loads of shelving, so I added some shelves. Living in earthquake country, shelves scare me a bit, so nothing on them yet… We used to have lots of plants in this space, but I’ve found that if I put plants in there now, they die because I don’t go in there often enough to remember to water them.

IMG_3600 (450x600)

Instead of that stinky little closet with the toilet in it (sorry, no photo), I expanded the space to make a tiny, but functional, bathroom. On the left is the shower.

IMG_3668 (450x600)

And last weekend, I finished putting up the mirror and an electric towel warmer. There’s no heating in this space, so hopefully this will help a little (?) I’ve still got to figure out how to deal with the power cord – probably just some white wiremold aligned over the grout lines would do it.

IMG_2031 (600x600)

prrrrr

England, the Garden, and Tile (plus kitties)

Well, one of the big things that happened last month is that I went to England with Misha. It was a short visit (the pictures are linked to a larger version).

18-farmersMkt 37-changedPriorities

On the way up to Mum’s house on the first day, we walked through the farmers market – I got a bit turned around, and didn’t realize which street we were on and assumed it was really small this time of year (above left in front of the only vege stand we found on this street). Above right: “Changed Priorities Ahead” (hopefully they are enjoying themselves more).

18-farmersMarket

We went back to the farmers market with mum – a bit late as everything was getting closed down for the day. We still got some yummy flapjacks, though.

26-badgerArt

We went on a long hike to the Woolpack (famous because the author Lorrie Lee used to love this pub), had a pint and some “chips”, then continued the hike up Swift hill. On the way up the hill, we came across paintings of badgers in many different costumes on the fence posts. There must have been over thirty paintings. They were painted as part of a protest against the “badger cull“.

28-badgerArt

27-badgerArt

29-viewFromSwiftHill

The weather was quite warm (for February), but drizzled on the day of our hike. This is the view from the top of Swift hill, looking down over the Stroud valley toward the river Severn (off in the haze somewhere…)

31-mumMisha32-snowDrops

Mum and Misha sitting at the top of Swift hill (just before Misha pulled out some energy bars to share). The snowdrops were all out – couldn’t help trying to catch a photo on the way down (above right).

25-blacksheep

Here I’m trying to take a selfie with the black sheep. Who isn’t a black sheep in some way?

24-blackSheep

The flash made their eyes glow. Kinda creepy?

23-selfies22-longwalk

21-hobbitDoor

We rented a very little house in Stroud to stay in for the week. Here’s Misha locking the front door. Yes, we did have to duck to walk in. Fortunately, the ceilings were a little higher!

20-yummyBreakfast 19-oldphoto

Above left: breakfast! Above right, a photo of Misha, Mia and me from about fifteen years ago. Maybe more.

IMG_3508 (1024x768)

We also took a trip up to Manchester to visit a family friend (our second mum Jaya, from when we lived in a house filled with eleven children and three single mums). I’d not seen her for over ten years – Misha probably more than 20!

36-gardening 35-trimming

Mum wanted us to break down a brick wall and do some hedge trimming while we were visiting. I refused to climb up a ladder on the sloping driveway to trim branches – so Misha did it!

34-MumHouse 33-gooAppetizing

Above left is a photo outside mum’s house. Above right: Does this product name look appetizing to you (Gü)?

38-lastDay

One last photo before we took a train back to London.

04-startingTile_2016031305-centerStar_20160313

Hmm, so I also did some tile work. Actually, I finally finished the tile on the floor in the laundry room. This is the hexagon tile, with some black tiles used to create patterns. Initially, I was planning to do a border in this room. Then we decided to just do the same patterns as the bathroom, and also something in the middle. And then I added an extra little circle at the center of each wall line. And then (see later)…

06-centerStarDetail_2016031308-tileEdge_20160313

Above left, a detail of the pattern in the middle, and above right is one of the only cut edges (at the door).

07-turleOnKnees_20160313

Above is how I looked all day. My knees hurt.

12-baseBoards_2016031313-baseBoards_20160313

Above left you can see why there was very little tile cutting. I could just continue the tile under the base boards, and didn’t need to finish them tight against the wall (actually, it’s much better not to, so there’s some expansion room).

14-tightCorner_2016031315-tightCorner_20160313

It’s hard to see in the photo, but instead of cutting the baseboards both at 45 degrees at the corner, I have butted them together, and hand-cut one of them so that the piece on the left fits into the grooves on the piece on the right. This is the way it was always done before power saws, and actually results in a joint that is less likely to open as the wood expands and contracts. It’s much more work (of course).

10-afterGrout_20160313

Here’s the tile all in, and grouted. When I was installing the tile, I ran out of white tile (about half a square foot short), so tried adding even more patterns at the doorways with black tiles, so that I could stretch the remaining number of white tiles. In the end, I just had to buy more tile. Now it reminds me a bit of how some people’s tattoos look: Lots of different patterns strewn around. I think it’s about as permanent, too, because I can’t see myself wanting to do this again!

17-floorDone_20160313 16-floorDone_20160313

Now the baseboards are all in, the floor is done. While I was putting the baseboards in, I stood on pieces of plywood because it’s a bit early to be walking on the tile (needs a week to cure). I’ll start painting next week.

00-2garden_20160313 00-1garden_20160313

We had a few weeks of reprieve from the El Nino rains, so I rented a jack hammer and broke out more of the concrete in the back yard. Last year, the pear tree did very poorly in the location I’d put it (even though it did gallantly give us some fruit). The poor tree had almost no leaves, and was being crowded out by some aggressively drought tolerant plants. So I decided to move it. Hopefully the move doesn’t kill it, although the previous location would have anyway.

02-garden_20160313 01-garden_20160313

Here’s after the concrete is all out, and I’ve added mulch. The pear tree used to be on the far left of the upper left photo. Now its at the far right of the same photo. More sun and space. Fingers crossed. Above right, you can see what remains of our peach tree after the tree-jumper incident. It blossomed this spring, and is looking very healthy right now, so I think it will recover.

04-debris_20160313

Mole was taking photos, so I think the texture of the pile of broken concrete appealed to her…

03-nasturtiums

Our garden grows nasturtiums!

03-gardenRmWall_20160313 03-gardenRm_20160313

While I had the jack hammer, I also broke out some of the concrete in the room underneath the laundry room. We’re calling that room the ‘garden room’. I plan to make it into a place to brew beer 😉 But there’s a bunch of plumbing sticking out of the concrete that I need to remove.

01-crocus_20160313

We didn’t get many crocuses this year – but here’s one!

10-bellaNap_20160313

Bella sometimes likes to climb inside my shirts (when they are clean)…

11-bellaNap

This time she fell asleep in it!

11-happyArwen_20160313

Here’s Arwen looking blissful on a blanket that Mole knitted specially for her!