Wow time goes by quickly. Well, I’ve actually done something in the last few months. And here’s some of it:
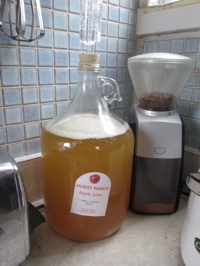
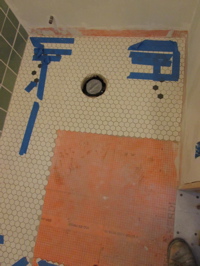
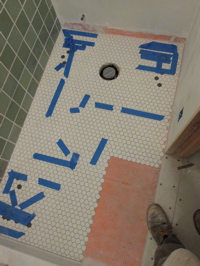
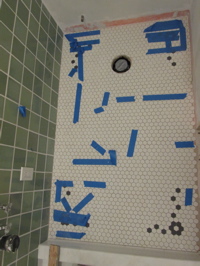
I bought a jug of apple juice at the farmer’s market, added some yeast & a bubbler: Cider! Much easier than brewing beer. I finished laying the tile in the laundry room bathroom, but am going to wait on grouting it until I’ve also tiled the laundry room.

And of course, we rode AIDS/Lifecycle together this year. Here’s a picture from the opening ceremony.
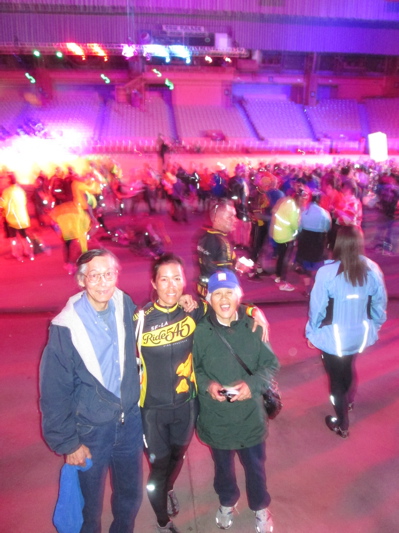
Here’s me trying to capture the party atmosphere in the Cow Palace…

A photo with our friend Alex who rode one day, but work stopped him from doing the whole week.
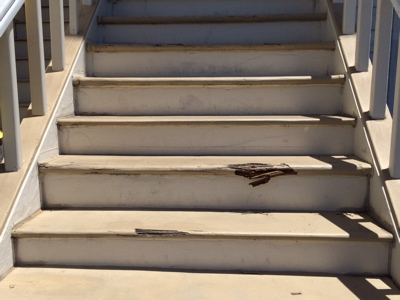
Well, these front steps have been an ongoing project. Seems I have to fix them every year. The temporary fixes from past years finally gave out. The photo shows how the front of two steps broke off completely. There is also another problem with these steps: The height between steps varies too much for code compliance, so it was high time I did something about it.
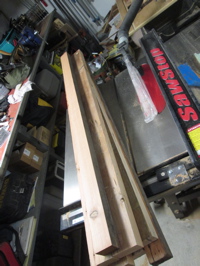
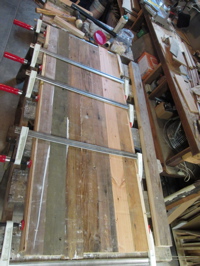
The reason the step heights vary so much is originally they were built with thick boards. Then (before we got the house), some repairs were done with thinner wood. To fix this, I had to make new steps out of thicker wood. I re-used some old wood that I still have in the garage. Lots of planing, gluing and clamping to make boards that are wide enough for the steps.
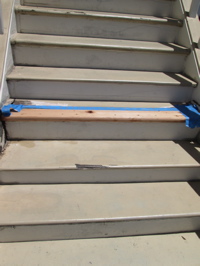
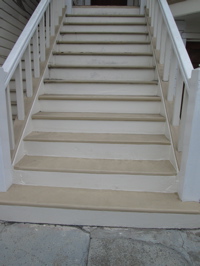
I forgot to take photos while I was working on it. There’s one photo where I’ve replaced part of one step. I also replaced the step below it. The one below that was concrete, but it had a piece of wood glued on top. This made the step heights very uneven, so I took the wood off: The reason they’d glued the wood on top was the concrete underneath was cracked and uneven. So I had to repair the concrete, also. Above right is after I’ve repaired the bottom five steps. Looking further up, you can see that some of the upper steps are also uneven and need to be fixed: Next year!
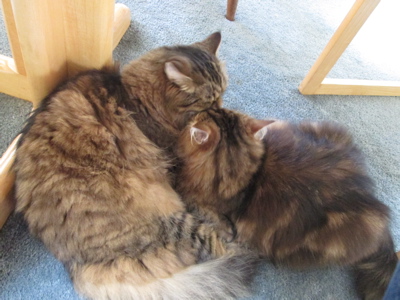
OK, to head off the ‘no cat photos’ complaint: I think Bella was sleeping under the table, and Arwen (love-bug) decided she needed some cuddling. They were actually sleeping like this for a while.
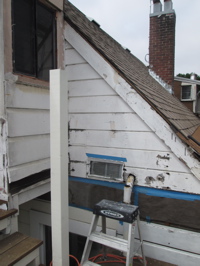
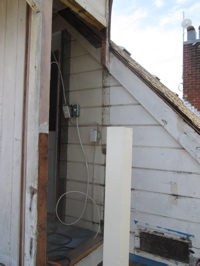
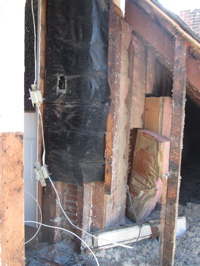
One other project that I got partially finished with, but stopped because of ALC and life, was the siding and waterproofing on the back. In the photo above left, you can see where I left things for the past two years. The building paper is exposed (getting damaged by the sun), and I’ve “sealed” the top with some blue tape. Above right, I’ve taken out the wall of the back porch, so that I can take out the siding boards and re-use them. Clearly the rear porch was not part of the original building construction.
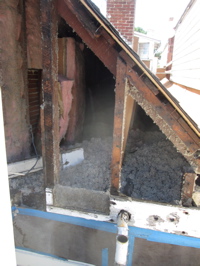
Here’s all the siding removed. The wiring for the porch lights is hanging loose, and you can see in under the roof.
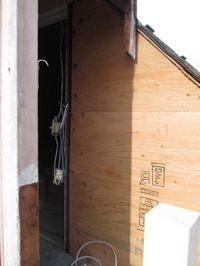
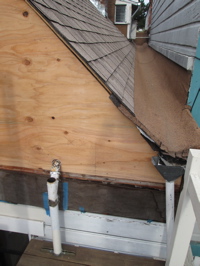
Here I’m getting plywood on. It’s a bit complicated because the drain for the kitchen sink goes through this wall. Luckily (for the house) we’ve had very little rain for the past few years. But there’s predictions of ‘el niño’ this year: hopefully lots of rain. But I have to get this properly waterproofed and finished first.
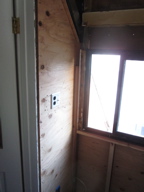
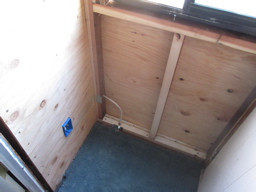
Here I’ve added the porch wall back in. Wiring is now much neater.
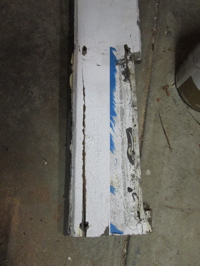
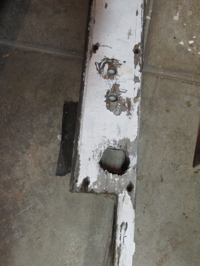
The siding was is very poor shape. Lots of holes cut for various plumbing iterations over the life of the house. But the wood, once the peeling paint is removed, is still good. Thousand-year-old redwood is too good to waste. So I carefully repaired all the boards.
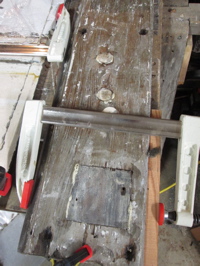
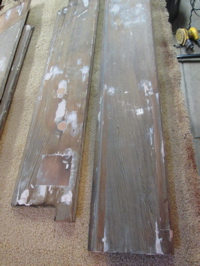
Here are the same two boards after I’ve glued in pieces to repair them, and sanded ready for primer.
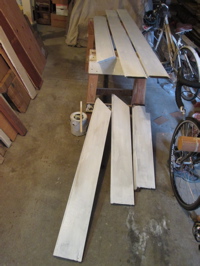
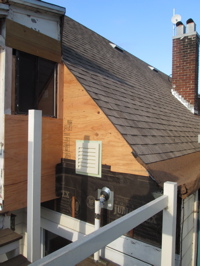
The photo above left is titled “One Weekend of Work”: Repairing and re-using the old siding takes masses of time. Six boards in two days: Not the sort of thing a contractor would do. Above right, I’m getting the building paper on, and waterproofing around the drain pipes. I also got a new wall vent for the attic space.
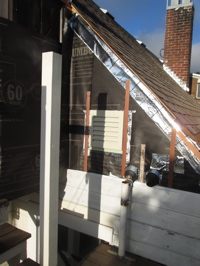
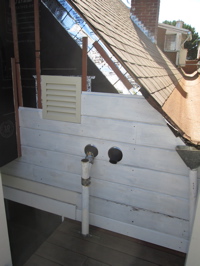
Here are photos of the process of putting the siding back on. Cutting around the pipe penetrations is tricky.
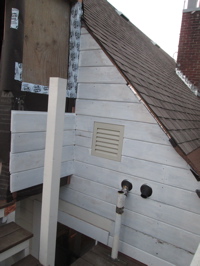
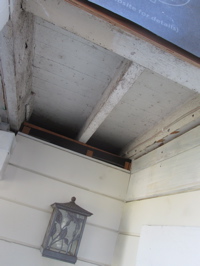
And here’s where I’ve got to. I’ve ordered new windows for the porch, so can’t go much further here until they arrive. Above right is a view under the porch.
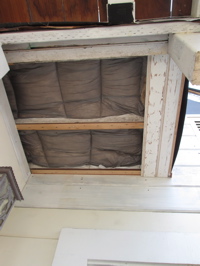
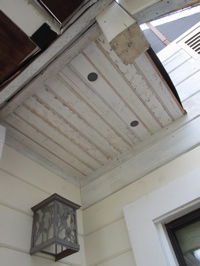
Here I’ve added insulation, and installed wood to cover it. This is re-used wood left over from the laundry room wainscot. It still needs some trim around the edges and paint, but looks much better – and the porch will be more insulated now.
