At long last, we ordered the tile. We waited so long, that the original color was discontinued! So now, because we already have a couple of boxes of the discontinued color, we ordered three other close shades, and will be mixing them up. More on that in a later post. We also decided, since the Fireclay tile is so expensive ($28 per square foot!!), that we’d just use that tile on the wall that’s facing the door, and use white ceramic tile ($1.30 per square foot) on the other two walls. It also is in stock (we have to wait about a month for the fancy tile to be made). Value engineering!
So I got started on the white tile. I covered about half a wall before I realized I hadn’t been thinking.
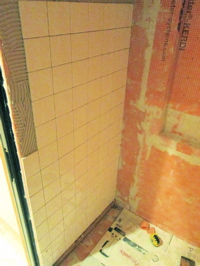
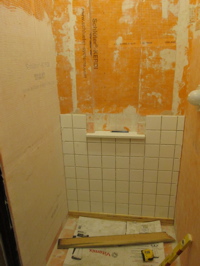
The white tile has special spacers built into the edges, so you can lay it out with very tight gaps. It’s almost perfectly uniform, too. So I thought “great, I’ll make the grout gaps as small as possible.” Then I realized that the Fireclay tile requires a minimum gap of 1/8″ because it’s hand made and dimensionally irregular. So I need to also space the white tile to match, if I want the grout lines to match up (of course I do — you know me). Luckily I realized this before the end of the day, so I spent the rest of the day pulling tile OFF the wall, and scraping thinset off the back. One day, and I’d have got just as far by going for a bike ride!
The next time I started I decided to start with the wall had has a niche (photo above right). I’m making the shelves out of a piece of stone back-splash.
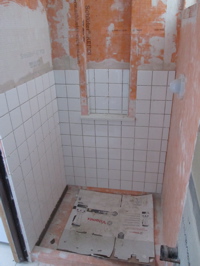
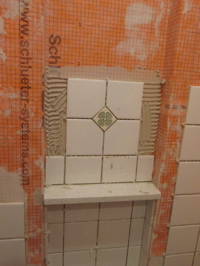
Above right, you can see one of the decorative Fireclay tiles we got at their “boneyard” (over-runs and imperfect pieces at discount). I’m adding it as an accent in the white tile.
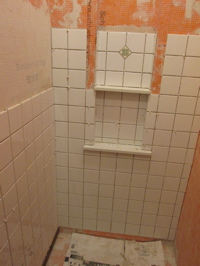
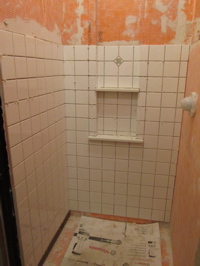
After three days tiling, above right is where I’m at. All the grout lines are 1/8″ and lining up. I have to make one more shelf, and continue the tile up to the ceiling…
And I have to include a picture of Arwen. I hope you’re keeping as cozy as she is:

