I just need a couple of weeks

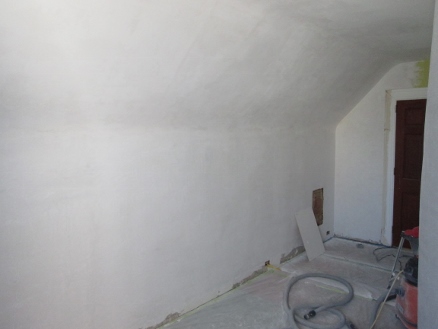
A friend texted me asking if I knew of a place that a UCSF student could rent for the rest of the year. Hmm. I guess if she doesn’t mind ongoing construction outside her room, she could get low rent… “I just need a couple of weeks to get the room ready.” Gulp.
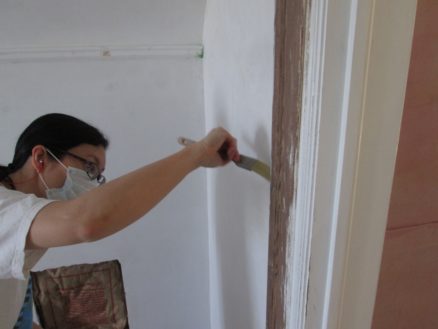
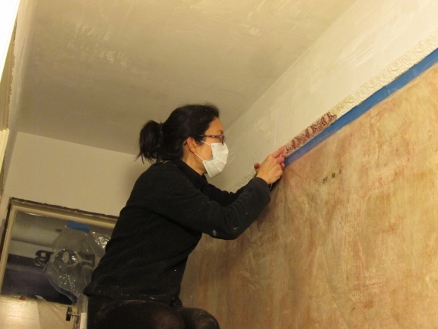
Here’s mole painting the trim in the room. Need to get the baseboards on, the whole room painted, and the floor tile fixed. Plus get some furniture together. Not to mention the bathroom…
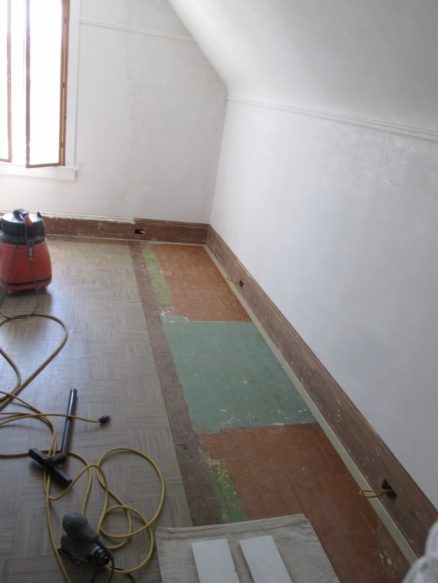
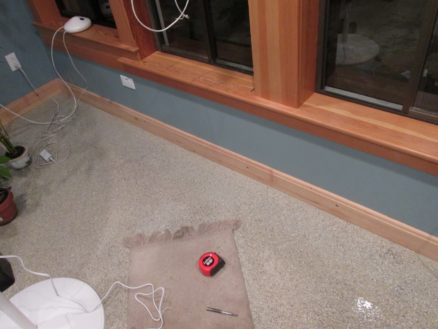
Oh, and I also added plugs. There used to be no outlets on this side of the room. When we first got the house, I really didn’t like the plugs in the baseboards, so downstairs I moved them all to the walls. But I’ve grown to really appreciate this old detail. It fits better with the character of a house built in 1902. So now I always put them in the baseboards.
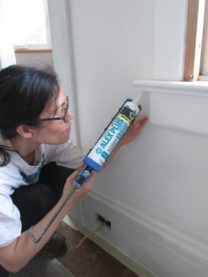
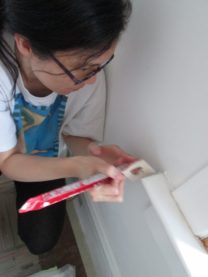
Mole is super good with the AlexPlus. I love the caulking tool: it makes perfect caulked joints possible. Before I got that tool, I’d try to get the caulk line just right when first applying it. But any stops or bumps and there’s a dimple… then your fingers get involved, and the whole thing turns into a mess. This tool makes it so clean.

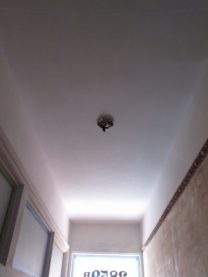
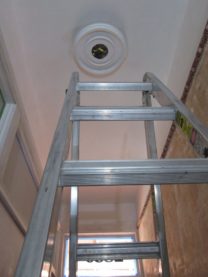
For the ceiling, we ordered a small medallion to go around the junction box. Mole says the hardest part of this project was getting the ladder downstairs by herself without killing herself and the walls.
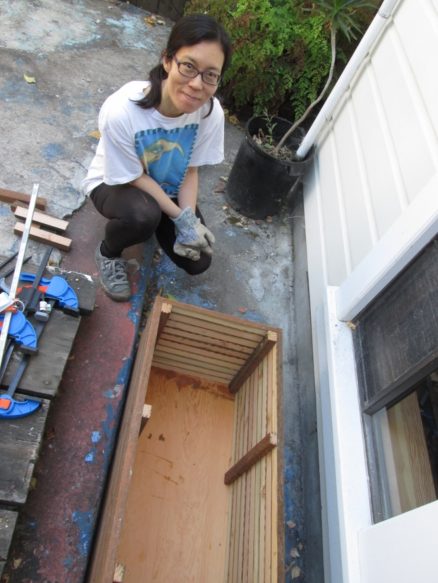
Meeeeanwhile…. Mole decided to build a planter.
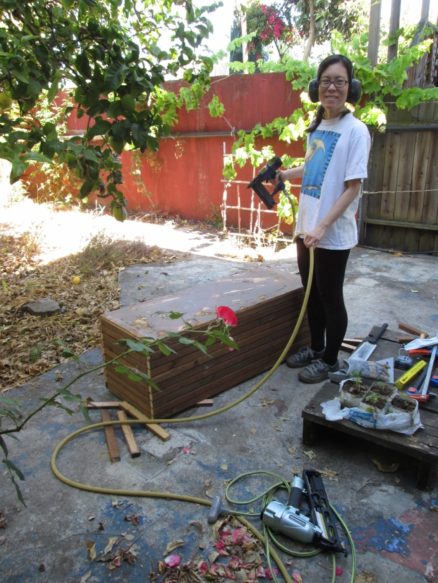
All scrap wood left over from making the fence. The most expensive part was the potting soil.
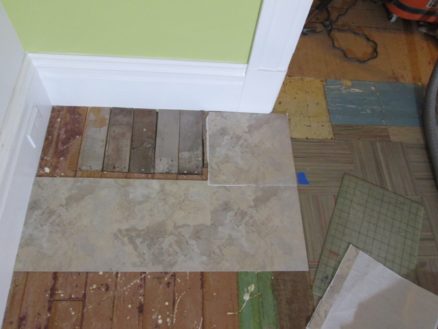
Where the old closets had been, there was no floor tile. The eventual plan is to put some type of nice flooring in like bamboo or hardwood. But we have a deadline! So I got some self-adhesive vinyl tile at home depot.
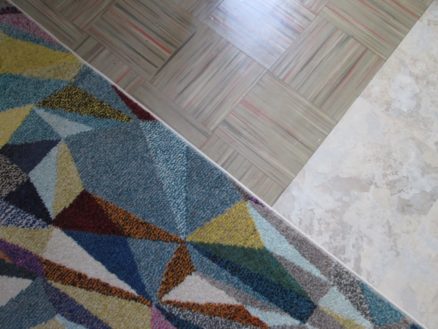
I didn’t take this photo. You probably guessed that.
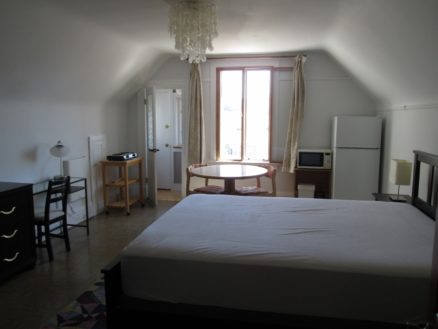
I’m still planning to work on the kitchen and living room, so this is an almost studio. The room is quite big, so it fits the table, fridge, microwave and a hot plate. They need to use the bathroom sink for dishes though.
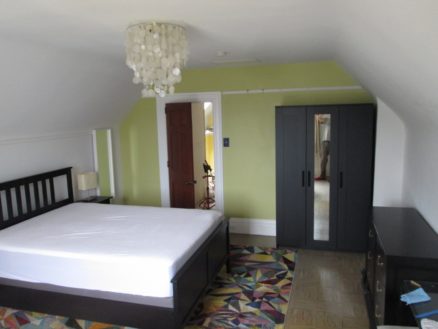
Phew. Room ready. We couldn’t find a tall armoir (wardrobe) that would arrive in time — everywhere seemed to be out of stock, or shipping was weeks out. Mole found the wardrobe on the right above (an Ikea) on Craigslist. Damn it was heavy. We brought it home strapped on the roof of the trusty Civic. But I couldn’t face hauling it upstairs, so we took it all apart first, and reassembled upstairs.
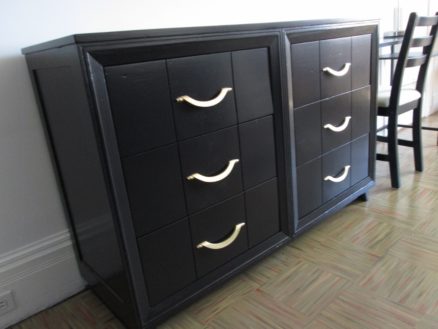
I often forget to take “before” photos. The dresser above was left in the garage when we got the house. It was a really sad looking thing. It had a corner missing from one of the drawers, holes where it looked like someone had attached a padlock (!), cigarette burns and scratches on the top, all in a fetching greenish-brown. But it’s a quality piece of furniture made out of solid wood. I filled the damaged wood, painted it with black paint, and then put a couple of coats of polyurethane over the paint. The brass handles are original, I just polished them, and gave them a few coats of lacquer.
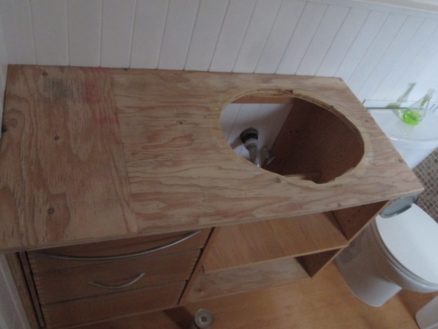
Which brings me to the bathroom: This was our counter top in the bathroom for ten years. It was a left-over piece of plywood that wasn’t even wide enough, so I’d added a piece on the left. Even with a coat of polyurethane, it was never durable or attractive.
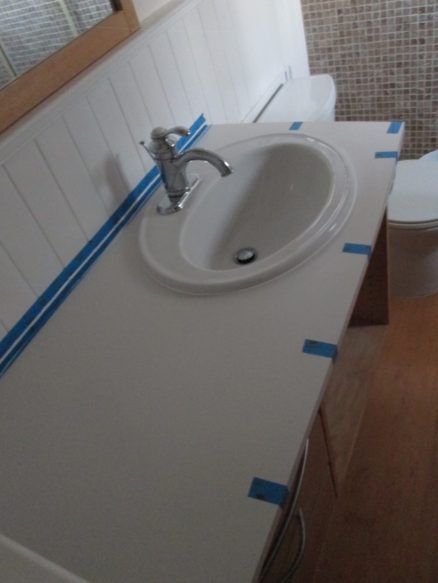
Given the time constraints, I decided to just order some Formica to stick on the plywood. The web bit me a bit, because I thought it was a darker cream color. Never done Formica before and wow the contact adhesive is smelly, but it’s a fast process. I have a flush trim bit for my router, so it was very easy to trim to size.

If you’ve ever tried to use silicone caulk, you know that getting a good result is one of the most difficult things in the world. When I combine blue tape with the caulk tool, I think I have a recipe for perfect silicone caulk. I lay out the blue tape so it is just slightly clear of the finished edge of the caulk. Then I caulk the gap and use the tool to smooth it and walk away. The blue tape prevents the caulk getting onto the neighboring surfaces, so there’s no cleanup or fiddling around that may mess up the caulk. Wait a couple of hours for the caulk to skin over before removing the tape. Voila!
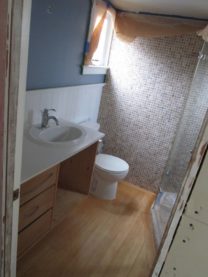
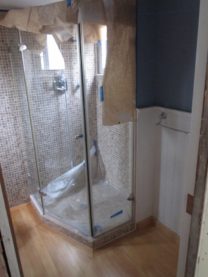
I also sanded and varnished the floor because the girls had scratched it up so much. They may look soft and furry, but that’s just to hide the claws. This floor is Alaska Yellow Cedar – very resistant to rot and quite soft, but I’ll not put wood on a floor in a bathroom again: A lot of people leave a bath mat outside their showers (our tenants downstairs did). Any dampness in this mat will rot the floor quite quickly. Even the cedar.

And then the really hard work (truly): I sanded the ceiling. When we originally did this bathroom, I plastered the walls and ceilings and was so in love with the subtlety of the bare plaster that I varnished it. Problem was, the varnish started peeling – maybe some incompatibility with very alkaline plaster (?) But to re-paint, now I had to get all the varnish off the plaster.
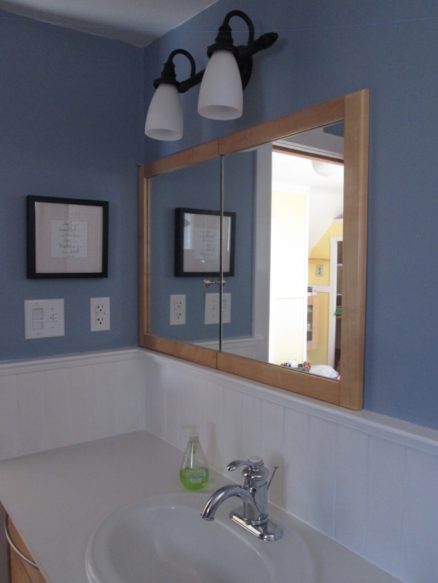
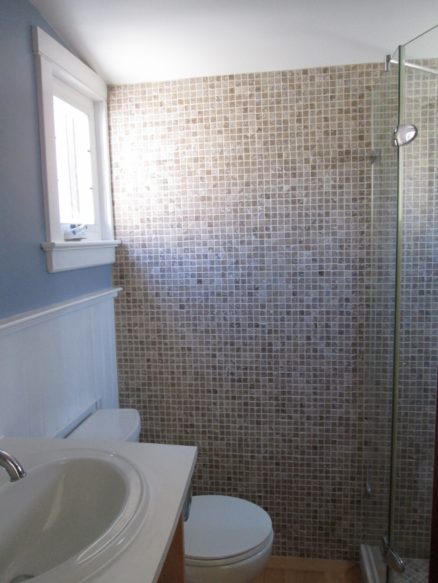
It looks so much nicer than when we lived there! I like the paint (same color we used in the laundry room). And a white ceiling is much nicer than the peeling varnish. I still know it’s my plaster under there…
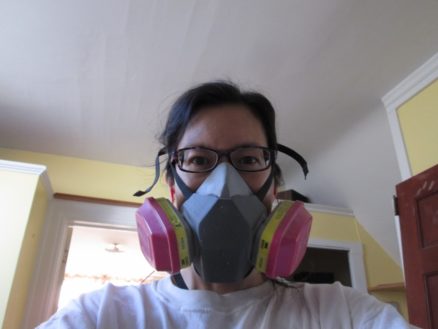
Mole selfie.

Painstaking Work – and Plaster

This has never been a typical remodel project. Mostly, we are trying to restore the house as much as we can, while also making it more comfortable for us.

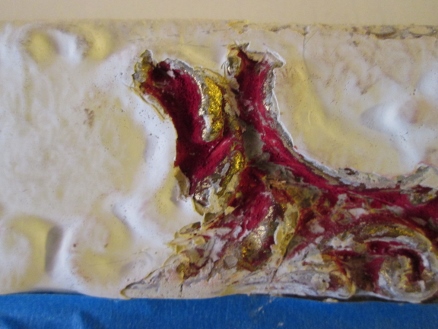
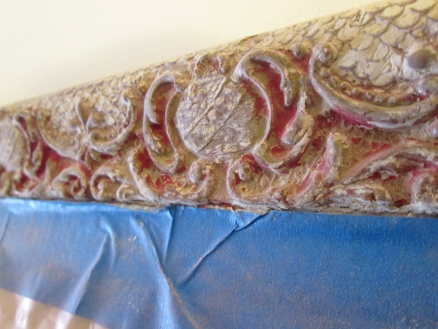
Here’s mole painstakingly restoring the intricate picture rail. It is covered in so many layers of thick paint, that the decoration of it hardly shows. It looks like it was originally red, with gold leaf.

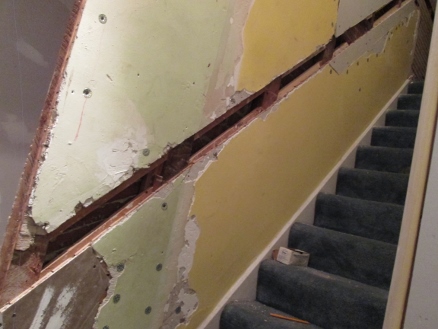
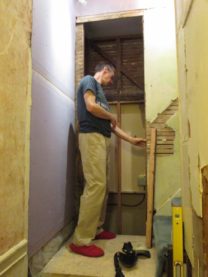
And this is what I’m up to: Embedding a piece of wood to attach the handrail. I’m trying to get a little bit more width in the stairway.

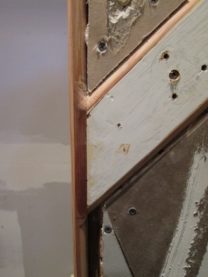
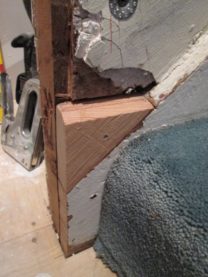
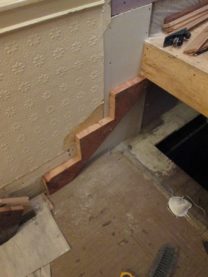
Here are a couple of details at the bottom of the stair. I’m also not going to have trim around the door to the closet. This will be much more modern than the house, but I’m also planning to use the beveled reveal (that traditionally was used at the corner dowels) along the edge of the embedded board and door.

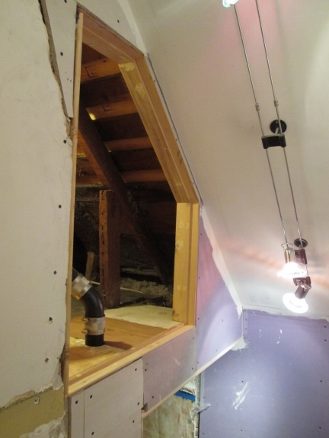
I added the frame for the attic space.
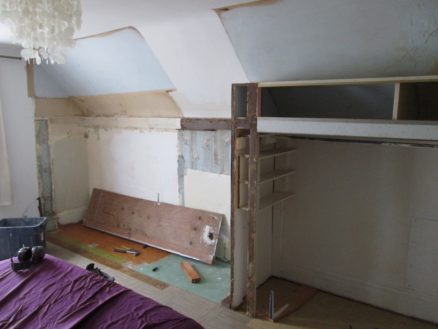
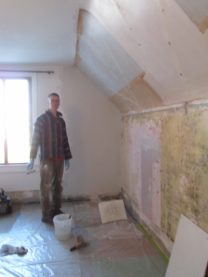
Now back to the upstairs bedroom: Time for plaster.
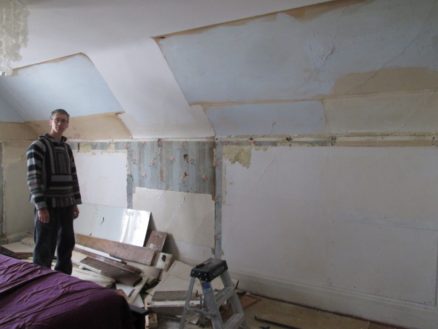
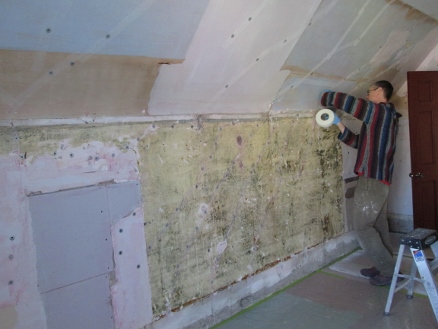
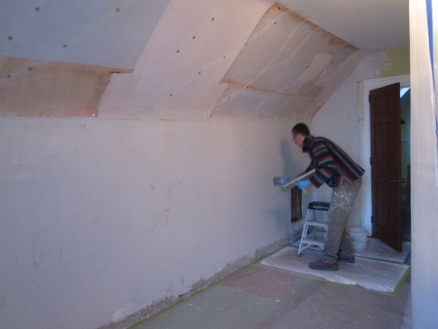
I’ve stripped all the old wallpaper, and anchored the plaster the best I can with screws and plaster washers. Below, mole caught a photo of me adding mesh tape over all the cracks. It turns out that wasn’t enough – but more on that later.

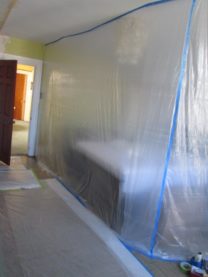
Instead of moving all the furniture out of this room, I put up floor to ceiling plastic sheating — completely sealing it into its own corner quarantine. Never thought I’d use that word so much…

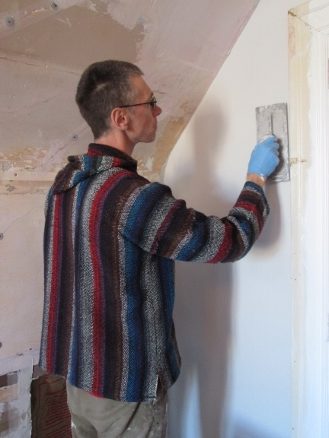
Here I’m plastering the walls. Do I look like I’m enjoying myself?

I truly am. Plastering can be such a satisfying project.

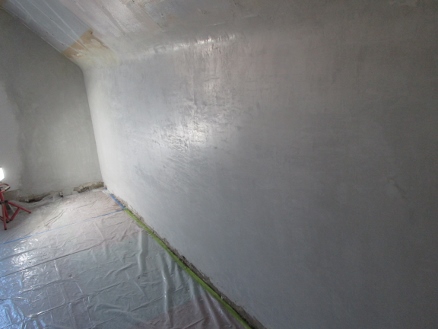
Here’s the wall after plastering. Looking good! The only problem is that the wall developed some hairline cracks a few days after plastering. I filled them with a flexible caulk – they’ll be invisible.

I’m not certain why it cracked (a similar thing happened on some of the downstairs walls), but there are a few possibilities:

  • The old plaster may not have been all tight to the old lathe – trying to attach it all with plaster washers is quite a project. Would be quicker to tear it out and replace with drywall.
  • The mesh tape I used may not have been enough. Typically, when plasterers (the professionals) do this, they have big wide sheets of mesh that they cover the whole wall with.
  • The veneer plaster I’m using is typically part of a two coat system. I skipped the veneer base coat. In future, I’ll always do the base coat first. The base coat also makes it easier to flatten out any surface irregularities.
Here’s Bella doing her best impression of the United States government in the face of the Corona Virus.

Hallway half done

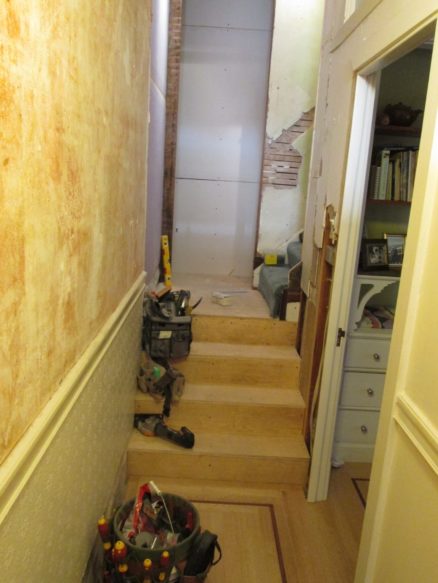
I’m about half done with the hallway, I think.

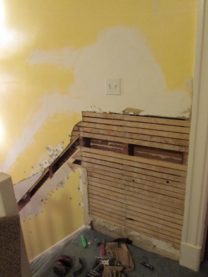
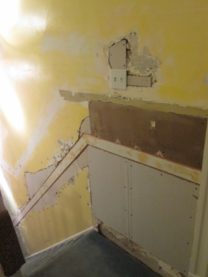
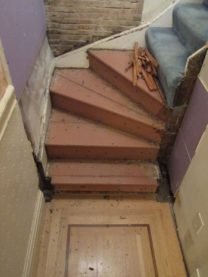
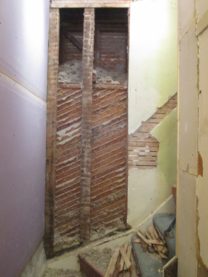
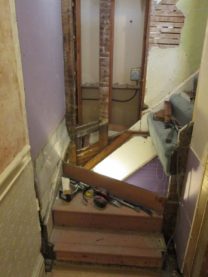
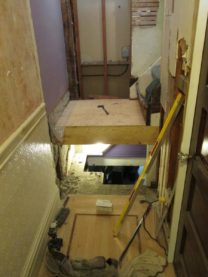
I took out the winders at the bottom of the stairs, and opened up the wall to reveal space for a coat closet.

I put a landing instead of the top winder, and the stairs will extend into the hallway three steps.

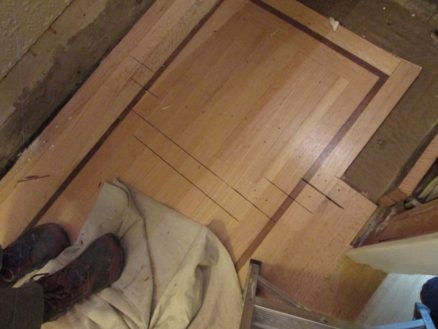
I had to cut into the floor dad I and installed ten years ago. But I tried to do it carefully so that I don’t have to refinish the whole thing…

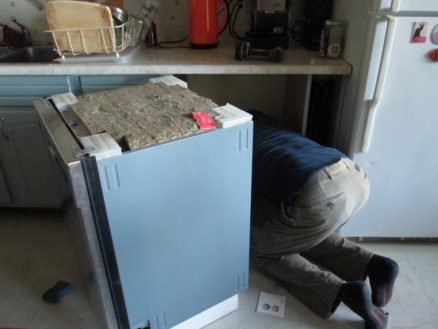
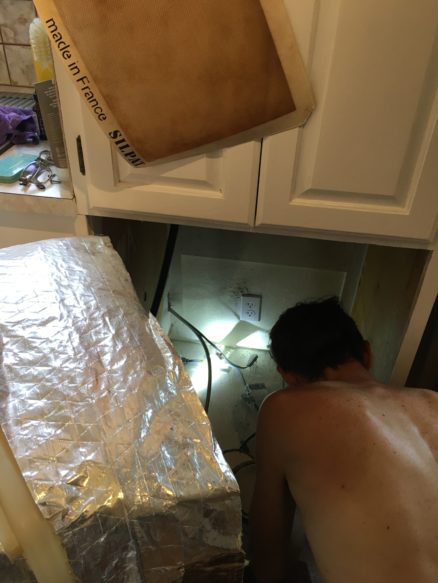
A small detour: The microwave suddenly stopped working. Well, that’s what we thought at first, but actually the receptacle (that I installed) stopped working. Turned out there was a loose wire (!!!!) – and the only way to access it was behind the dishwasher. Not sure why, but it seems common that junction boxes end up behind dishwashers:

The second photo is my brother dealing with an electrical issue behind his dishwasher… Next time I build a kitchen, no junction boxes of any kind behind dishwashers: They are painful to remove and put back (power, water and waste have to be disconnected and reconnected.)

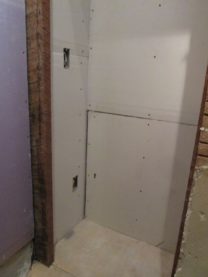
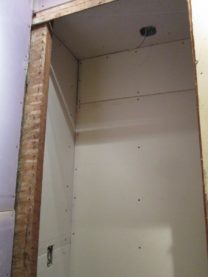
Ahhh, but here’s the floor fixed, and the stairs roughed in. I’ve also put some gypsum board (drywall) in the closet.

Every closet needs a light: This one gets a light and a plug.

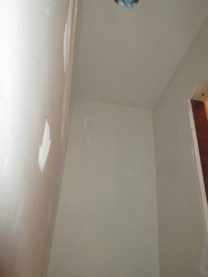
Just about finished with taping. I’m just going to skim coat the closet, instead of plastering.

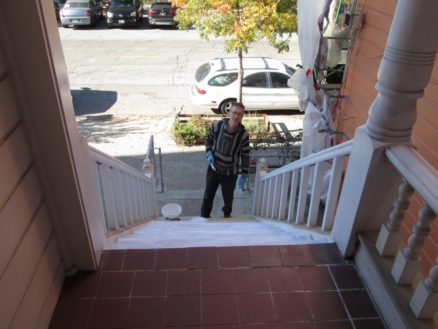
When we painted the front stairs, we didn’t get around to putting the second coat of paint on. So it didn’t last well. I’m putting a few coats of paint on before the rain starts…

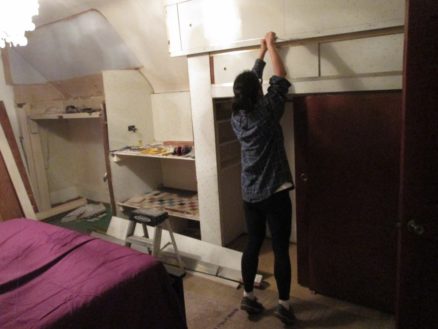
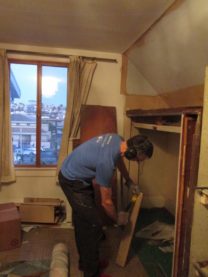
Simultaneously.. (disobeying my cardinal rule of remodeling: One project at a time!) We tore out the fugly built-in closets in the upstairs bedroom.

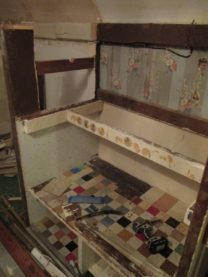
Not sure how many stages they were built in, but they were a rather scary mixture of incredibly flimsy and hugely overbuilt. Some parts I’d pull out a nail, and it would come crashing down. Others it would take hours and scores of nails and screws. We filled half an empty paint can with nails, just from this.

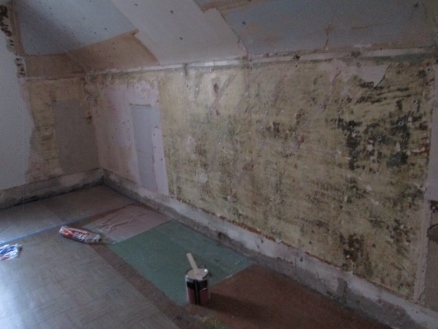
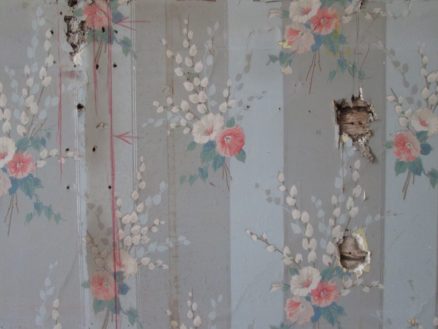
I think this is some of the original wallpaper.

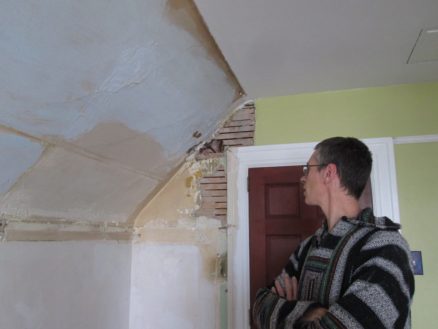
Looks like there is some plaster repair to do…

Smorgas-baseboards

Oy vey, so much miscellany: Baseboards, door, water heater, carpet…

But first things first: Kitteys! Synchronized sleeping anyone?

I still have quite a pile of old wood, so I’ve been planing and reusing it to make the molding in the garden room.

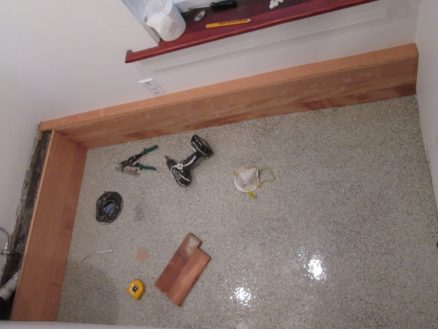
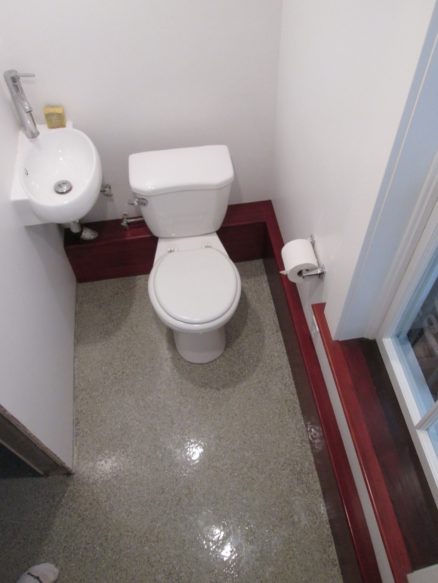
There is a stem wall that is wider than the walls above in the toilet room, so I boxed it in with wood. The wood in the toilet room is stained dark red-brown, so I also did that with the base boards.

Here it is ready for the toilet to go back in.

A fully functional toilet in the garage. Such luxury. Except there’s no door yet: Details.

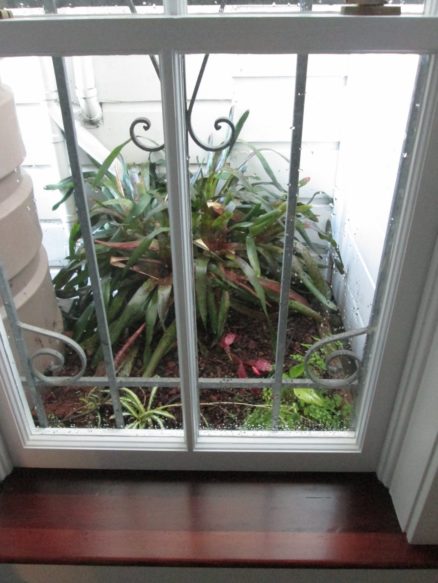
I put a planter box outside the toilet room window, and planted a variety of plants that I think can handle the low light. We’ll see.

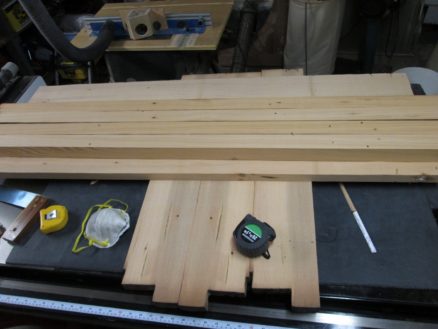
Another project that used quite a lot of old wood: I needed to make a table for the laundry room to fit next to the dryer.

Here’s all the wood, planed to width and ready to make into a table.

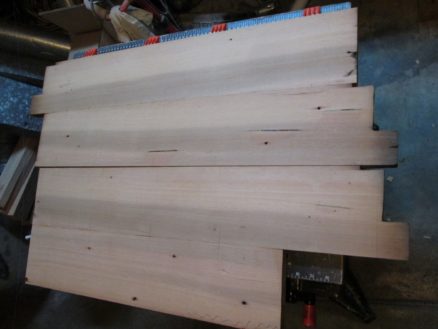
I glued boards together to make the top.

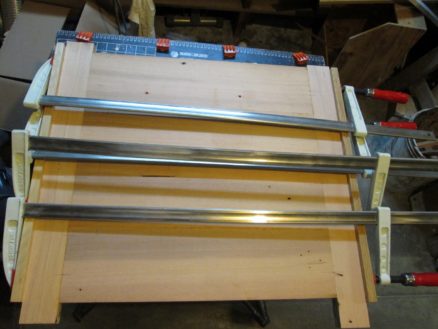
Here’s the top clamping together.

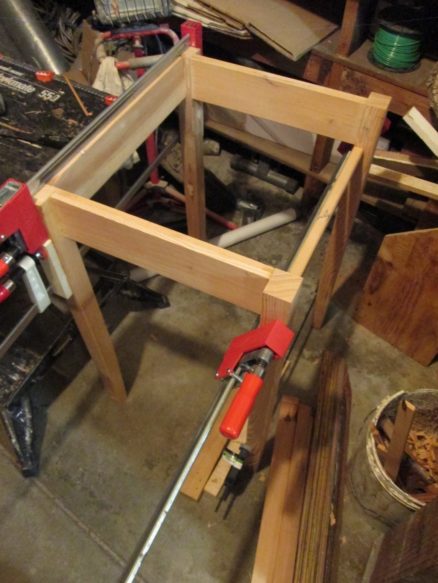
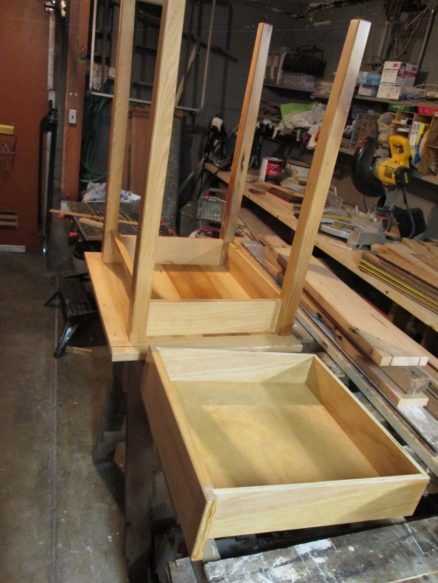
Here’s the base of the table.

I also made a drawer to go under the table.

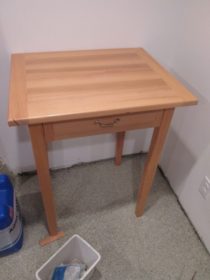
This is the finished table.


Here it is, in the laundry room. Doesn’t look like old throwaway wood.

Back to the toilet room (what, you thought I was done already??)

For the rest of the baseboards and trim in the toilet room, I decided to just paint it white instead of deal with staining and polyurethane, etc.

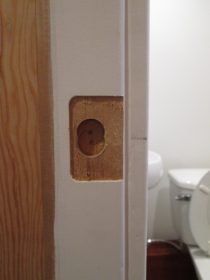
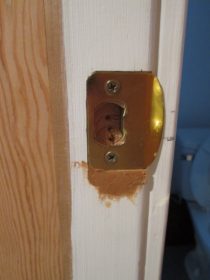
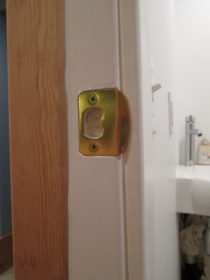
Well, this was instructive: I did such a nice job of fitting the strike plate for the door (above left). Pity I measured wrong. Sadly, I measured wrong not once, but twice. As usual, I do everything three times.


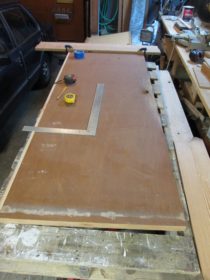
Above right is the door that used to be on the toilet room upstairs. I tried to give it to building resources, but they wouldn’t take a hollow core door. I was planning to cut it up and throw it away, but I needed a door for the toilet room: So I sanded and stained it.

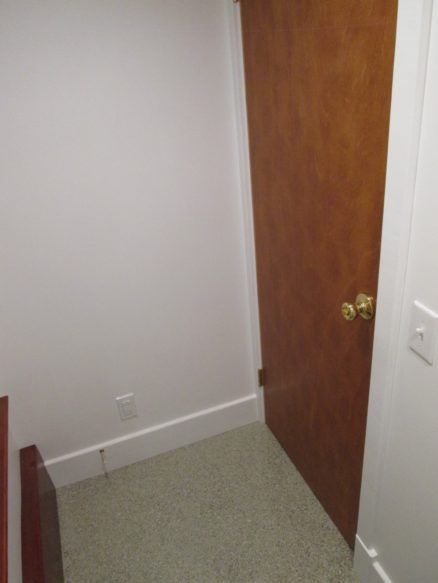
The picture above is after the remaining baseboards and trim were finished, and door is on the toilet room. Now it’s really a functional bathroom.

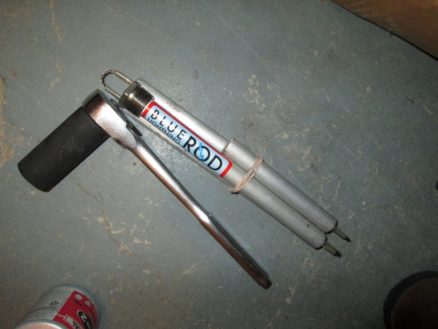
Recently, a friend mentioned that they had to have their water heater replaced because it leaked all over her garage. That reminded me: Most water heaters have an anode rod that must be replaced every few years to prevent the inside of the hot water tank from rusting. And I’ve never changed the anode rod on our water heater in the ten years (!) we’ve lived here. So I ordered one:

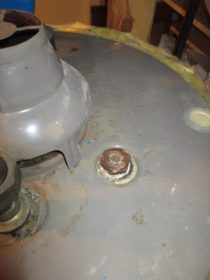
I also had to get a large socket to remove the old anode rod.

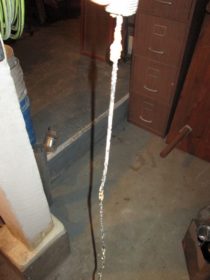
The old rod had completely been used up. Ooops. Well, I think most people don’t replace them, so they buy a whole new water heater more often. Hopefully this will make ours last a bit longer.

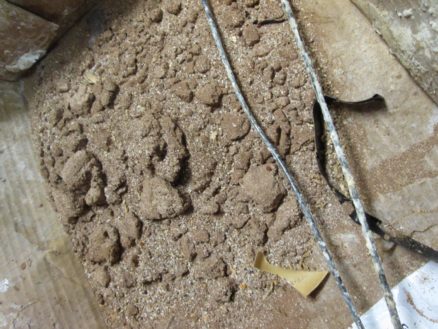
While draining the tank, lots of rusty sediment came out. Looks like the inside of the tank has been rusting.

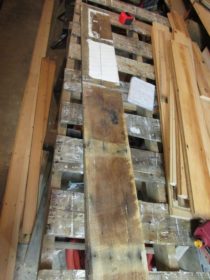
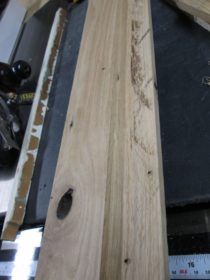
Back to wood re-use: There were a couple of solid oak boards that I saved from the floor of the “tear off room” (remember that?) I planed them down to smooth wood, and cut a rabbet into them for trim around the door into the garden room.

There were some pretty large knot holes and rusty nail holes.

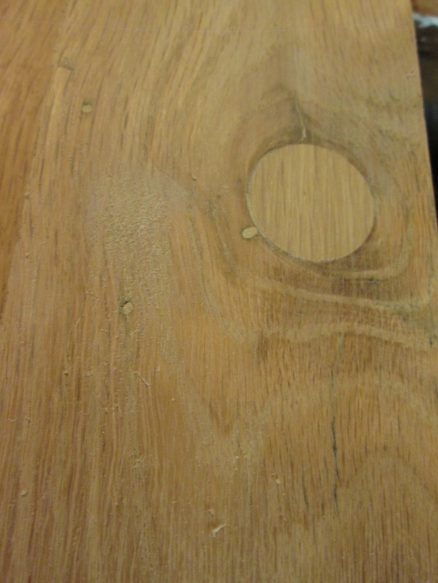
I’m getting quite good at making wood plugs to repair holes (above is a knot after it’s filled).

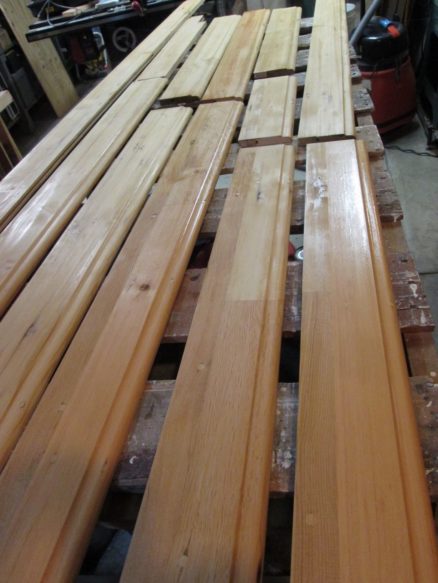
For the baseboards, I planed, glued, filled about 180 feet of old wood subfloor. I also routed an ogee into the top edge. Getting a bit carried away.

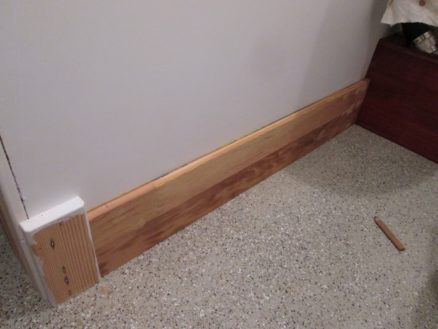
Here are a couple of the baseboards installed. It’s quite time consuming installing baseboards over this floor because the floor is so uneven. I have to place the baseboard into position, then mark the baseboard for the shape of the floor, cut along the baseboard with a band saw, and seal the wood before attaching it.

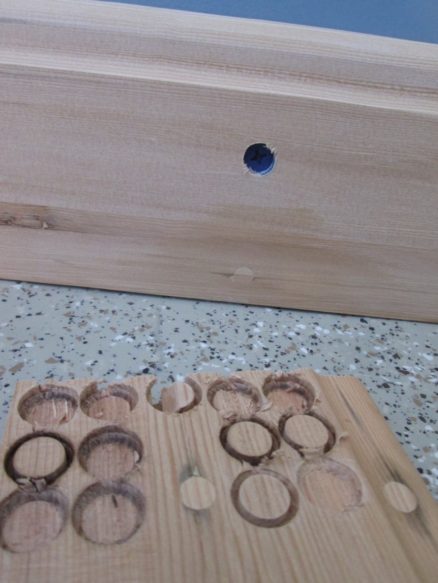
One additional wrinkle: In the garden room, there is a concrete stem wall behind the base boards, so I have to use concrete screws. To fill over the screw, I countersunk it, then filled with wood plugs made from the same wood as the baseboards.

Here is the hole in the baseboard before I’ve filled and sanded. You can see a completed plug at the bottom of the photo.

Upstairs in our bedroom, we still have the same wall to wall carpet that was in the house when we first bought it ten years ago. Mole has been having a lot of allergy issues lately, so I decided, on a Friday evening, to tear out the carpet in the bedroom.

It’s much easier if everything is moved out – but we just shuffled things around while I pulled up the carpet, cut it into manageable rolls, and dragged it out. The hard part, actually, is pulling out all the thousands of staples in the underlayment. I was done by midnight!

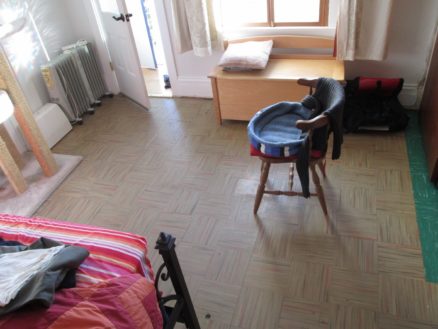
Here’s the room without blue carpet: There was tile under it: That will have to do for now with a rug.

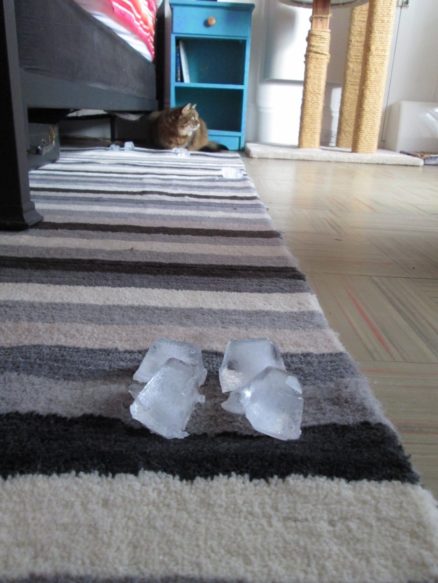
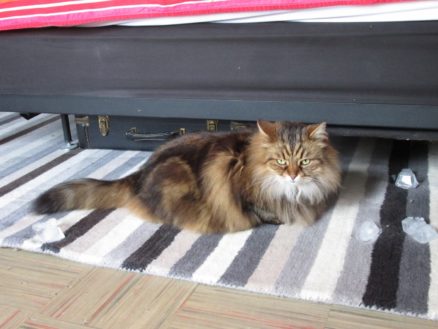
We brought the rug into the bedroom from the living room. It had deep dents in it from the furniture: I read online that you can put ice cubes on the dents, then once they melt, fluff up the fibers. Not sure why the ice cubes, not just spray it with water — but I follow directions.

And the girls love ice cubes!

a monster

this post is a catch up. it’s got so much in it, it’s a monster…

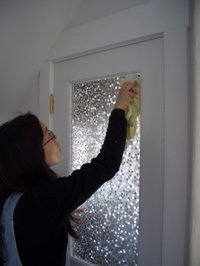
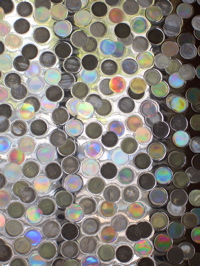
Janeen putting decorative film on back doorclose up of decorative film

We bought decorative window film for the back door about eight months ago. We used to have a curtain on the other side of this door, but it started to smell really moldy, so I took it off. The decorative window film is intended to obscure the glass. Janeen’s done this once before, putting a plain frosted film on the windows of Popo’s bathroom. This weekend, Janeen put it on our back door. You have to clean the glass really thoroughly, the the film is sprayed with soapy water and squeegeed onto the glass. I’m making it sound easy. It’s meticulous work.

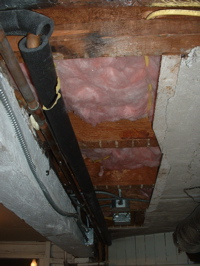
I got tired of trying to stuff insulation into the gap between the ceiling and the floor above, so I tore off the plaster ceiling in part of the garage that still needed insulation.  Quite a mess pulling it all down. It was already falling apart, and had holes, so needed some fixing anyway. Much more enjoyable.

Putting in the insulation was then super fast.

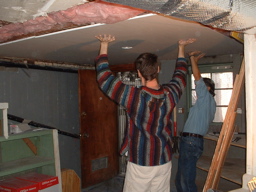
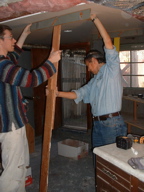
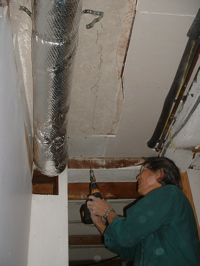
The following week, John helped us to put new gyp board on the ceiling. He came up with T shaped props, so that we didn’t need to hold it up on the ceiling while trying to screw it on.

Some places were really difficult to cut and fit.

John is the master of custom fit. He made a very carefully measured drawing of all the cuts before starting.

There were cutting and sawing noises for an hour, and then…

The floor was covered in powdered plaster dust, but the pieces of gyp board all fit perfectly. Janeen took a photo of the portable tool kit that her dad brings with him in his pockets…

We also spent half this weekend patching the plaster in the office. We’re using ‘hot’ (setting type) joint compound (“Easy Sand 90”) over fiberglass mesh tape and plaster washers. Next week I’ll plaster the lower half of the walls; but above the picture rails, it’s easier to just use a skim coat of the joint compound and sand it. The extra durability of plaster is not necessary where nobody can reach it.

And now that we’ve got the garage and insulation all done, spring is here. The white peach tree that Janeen’s aunt Janet gave us last year is in flower.

Oh, and Janeen knit a monster to give her friend’s son. The pocket on the front holds a baby monster.

happy 2009

paintcolors

we spent hours sanding and filling the door taken from the basement. this photo shows where a piece of wood had been used to fill where the door handle had been moved, many years ago. janeen counted the layers of color. it was archeology:

  1. dark green
  2. dark grey green
  3. apple green
  4. dark brown
  5. medium grey
  6. mint green
  7. medium grey (again – i guess they decided they liked the color)
  8. cream
  9. pale turquoise
  10. off white
  11. white

janeenbiskitjoinerscrewing and glueing the door extension

we then added a piece of wood to the bottom of the door. the door from the garage is shorter than the opening upstairs by about 5 1/2″. We just added a piece of 2×6 from my offcuts pile onto the bottom of the door. janeen used the biscuit joiner to cut slots for wood ‘biskits’ that will hold the new piece of wood to the bottom of the door. she also screwed in two 6″ long bolts to help clamp the wood while the glue dried.

it’s not ideal. panel doors are built with vertical pieces on each side, and horizontal pieces connected between them. the vertical side members help to prevent the horizontal pieces from warping. the piece we added has no vertical pieces, so it may warp. the bolts may help. we’ll see.

woodshavings_20090103dumpy's palace

the next day, i planed the wood flush with the face of the door.

above right: dumpy has a palatial new home. janeen finished off most of the trim painting in the front entry foyer.

begin demo of closet doorlookingupcloset_20090103

meanwhile, i tore out the makeshift ceiling and walls in the closets between the bedroom and the living room and framed in a wall between the living room and the bedroom. our plan is to create a bookshelf on the living room side, and a closet on the bedroom side out of this short passage between the rooms.

I made a hatch to get at the space over the closet in case I need to get to the plumbing under the bathroom above, and added in wiring for a light in each of the three closets.

janeensviewframing closet

above left: the view janeen saw of me on new years day. on the right, the framing is installed.

installing gypcloset ceiling

we got most of the gyp board on.

janeenfastdoorsjaneendoors

janeen painting the trim around the living room doors.

halllightclosehall light

i cleaned up the light in the entry hallway. you’ll have to look back to see how it looked before. but i really like the retro patterned glass. i also painted the cover plate at the top of the light to match the walls: janeen calls it a Mercedes hubcap.

bathroom doorbathroom door open

ok, one last thing: this door between the bedroom and the bathroom was closed up. we are planning to re-open it. here you can see how insulation and a wall was framed in front of the door. get ready for ugly.