We are approaching my slow season (even slower) for working on the house. Training for ALC is in full swing, so I only have one weekend day to work on the house, assuming we don’t see friends or family!
But, I did finish doing the grout for the walls…
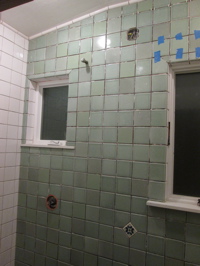
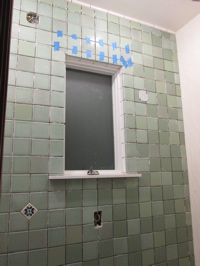
The last tiles at the top and around the windows take a lot of time. Every tile needs to be cut, and the top tiles are not all the same size. Cutting the tiles at the sloped ceiling was tricky: I made a wood template for the angle, and held the tiles against it while I cut them. I really pushed my luck with the order, too: only 8 extra tiles. Good thing I didn’t run out (custom-made tile!)
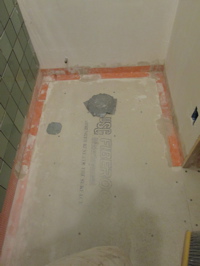
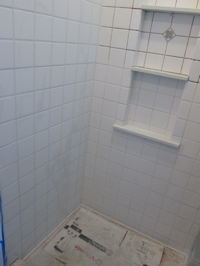
Above left: Before I put the tile on, I added a strip of kerdi waterproofing membrane around the wall-to-floor joint. Just in case there’s a leak in the bathroom, it won’t get into the walls. Above right, starting grouting the white tile. The grout is smeared onto the the surface with a rubber trowel, working it in diagonally to fill the cracks, and then the excess is wiped off. This leaves a haze of grout that you let dry for a couple of hours before polishing it off with a dry cloth.
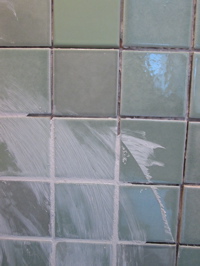
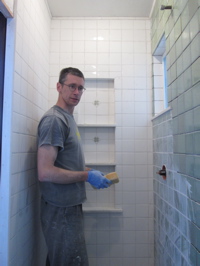
Above left, smearing the grout. Above right, wiping off the excess. Do I look like I’m having fun? My shoulder was hurting!
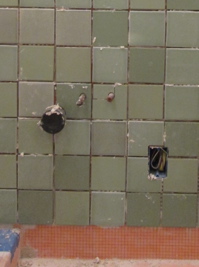
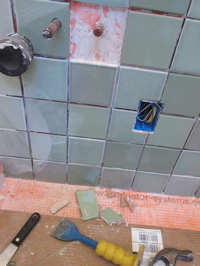
Here’s what perfectionism looks like: Above left, the cuts in the tile to fit it around the top right pipe (barely visible in the photograph) bothered me so much that I chipped out the tile, and made a new one…
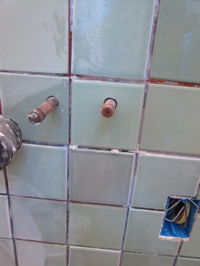
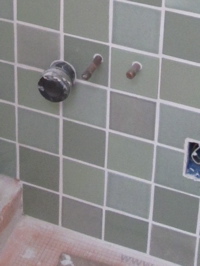
Here’s the new tile installed and grouted. I’ll be the only person who will notice, but at least it won’t be bothering me now!
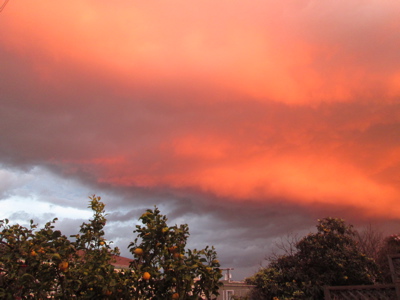
While I was grouting the tile, we heard a huge thunderclap. Mole ran outside to catch a photo of the clouds. It didn’t rain here, but apparently we got some snow in the Sierras.
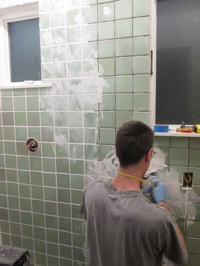
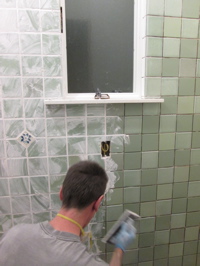
More grouting action shots…

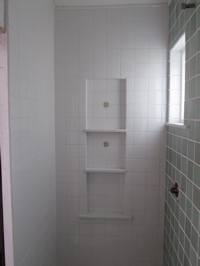
Arwen was wondering what I was up to: “Why are you making it all smudged with white goo? I liked it better before.” Above right: The white tile after grouting.
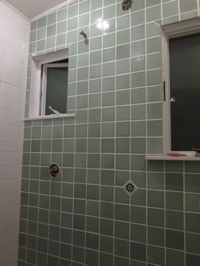
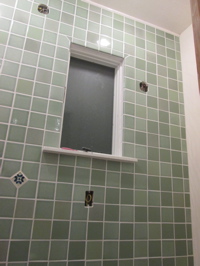
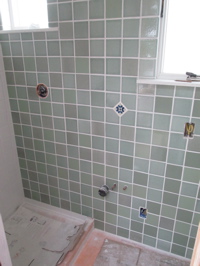
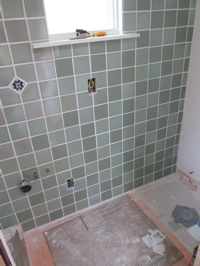
Here’s how the green tile looks when grouted. I took the lower photos in daylight to give a better idea of the actual colors. I think it’s looking good.
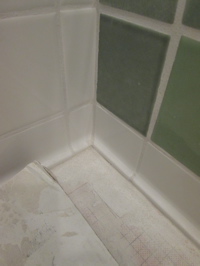
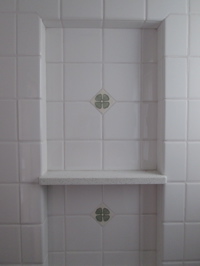
Here are a couple of tile detail shots: Above left, I used curved base tile around the shower pan, because that joint between the wall and the floor (particularly at the corner), is really difficult to scrub. Hopefully with the curved profile, it won’t be so difficult. Above right: The niche with the two decorative fireclay tiles. I like them.
Now on to the floors…
