Heavy Lifting

It’s been two years since I bought the moment frame. The beam has been in the garage, getting covered in dust waiting, but there was a lot to get done to prepare for it.

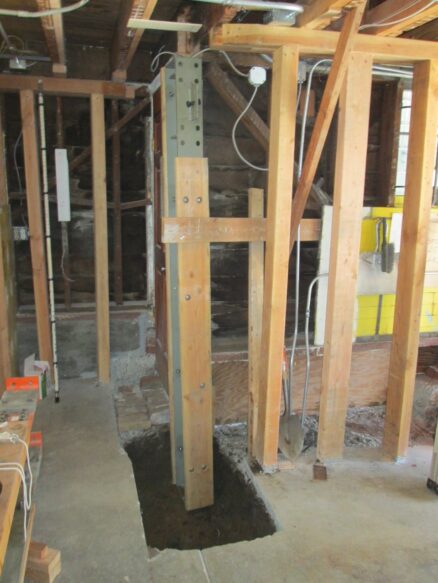
The column near the garage door is too tall to stand up in the garage, because the final height will have the bottom of the column buried in concrete. So I had to dig out the footing before I could even stand the column up:
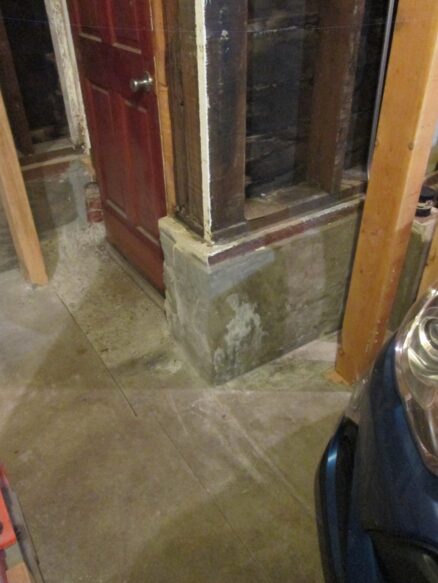
Here’s the column standing in a freshly dug hole. The top of the column has to be down below its final position so that we can bolt it to the beam. Once it’s bolted to the beam, the whole lot will be lifted into place. The columns will be hanging in the air and we’ll pour the new foundation under it.
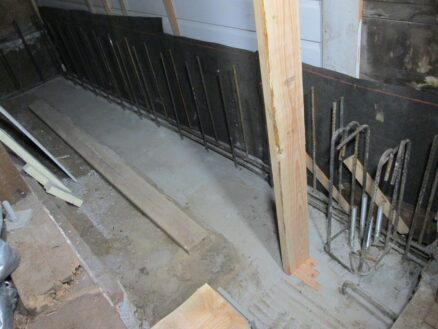
The column at other end of the moment frame will be up on top of a concrete wall – but the wall isn’t there yet: So I had to make a temporary platform to sit it on.
The major pain with this moment frame: Absolutely every utility in the house has to cross this beam: All the electric, gas, water, heating, and network wiring and piping had to be disconnected, and then routed through holes in the new beam or under it.

Holes in steel? I bought a “mag drill” to drill holes in the steel beam. It’s basically a small drill press attached to a powerful electro-magnet. I position the drill in the correct location, then turn on the magnet and it sticks to the beam.

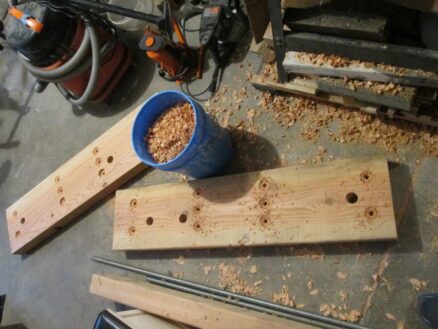
Then I drill a hole. I had to drill large holes for the utility pipes to go through, and smaller holes for bolts to hold pieces of wood to the beam so that I can support building structure off the side.

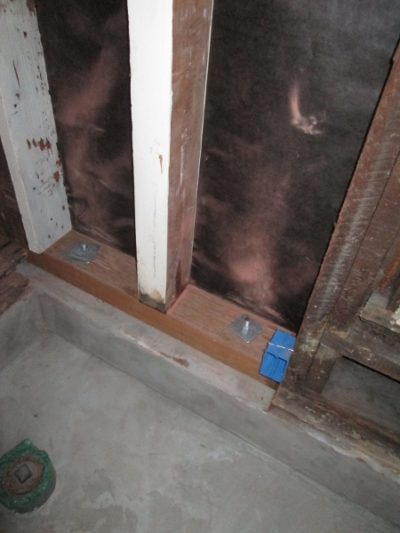
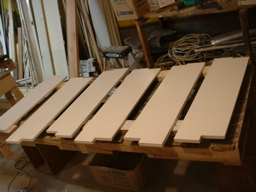
Here are two of the pieces wood, all drilled and prepared to attach to the moment frame beam. The bucket is filled with wood chippings for the compost.
Just the beam weighs a lot (over 1000 lb) plus each column is extremely heavy. I used two furniture dollies (they are supposed to be able to support 2000 lb each) to move the beam. They were creaking and flexing ominously.
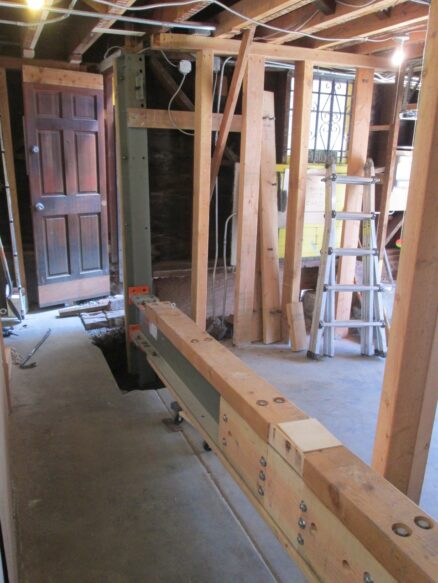
Once the beam was lined up in the correct location, I used a 20 ton bottle jack to slowly lift one end a few inches, then temporarily support it before lifting the other end. It took a full day to get it almost up to the floor above.

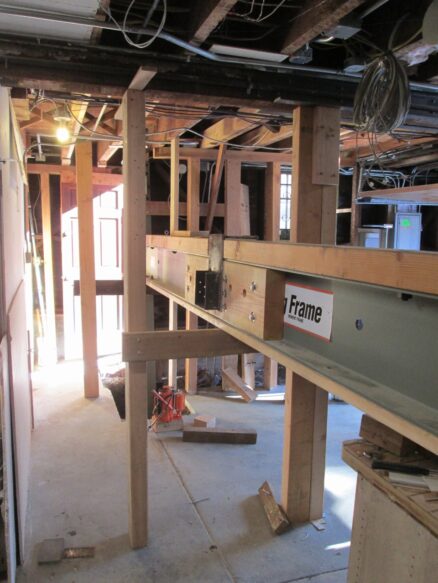
Once I got it close, I cut the old wood floor beam where this moment frame beam fits in. And I also had to disconnect all the wires and pipes that crossed over it.
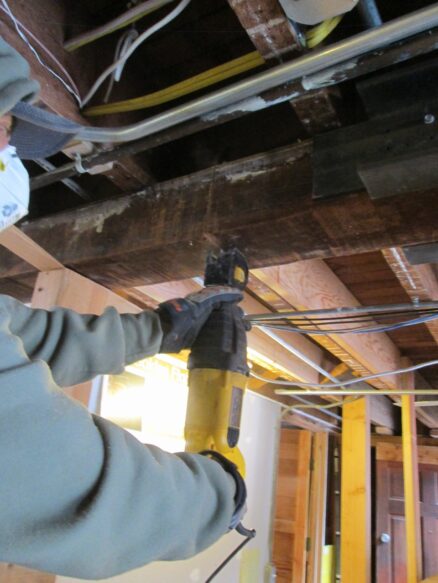
It took me over a week to get all the wires and pipes reconnected. It’s interesting thinking about our priorities for what we need. First I reconnected the power for the kitchen, to keep the refrigerator running. Then the main water pipe. Then bit by bit I got the electrical reconnected. But we were taking cold showers most of the week until I could get the gas reconnected. Finally I got the network cables connected. I still don’t have the duct for the heating in the front room reconnected.
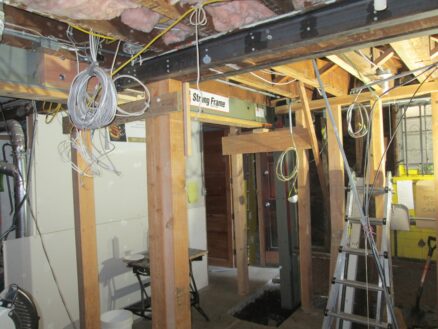
I made one mistake in measuring for the holes in the beam: I drilled the hole for the gas pipe right where the duct for the furnace was. The beam was already up in the air when I figured this out, so I had to lift the mag drill up, and drill a new hole. Because the floor joists were in the way, I couldn’t get the hole quite as high as the other ones, so the gas pipe will be a little below the ceiling.
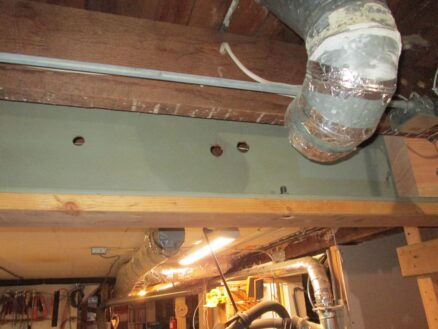
Here is the new steel moment frame beam temporarily supported in place.
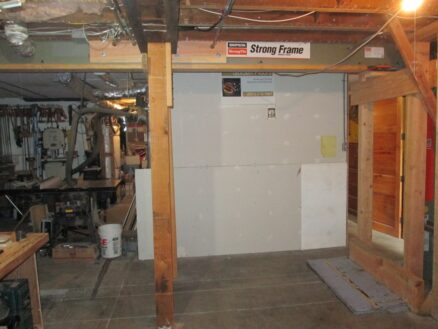
I have lots of temporary support posts holding everything up while I do the foundation.
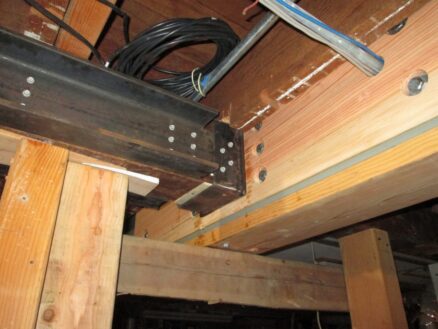
The old steel beam that used to be here was too small for the load, so it had sagged about an inch in the middle. The floors in the house are all sloping because of it. I figured when I put this new frame in place, I’d level out the floors – which I expected would damage the plaster.
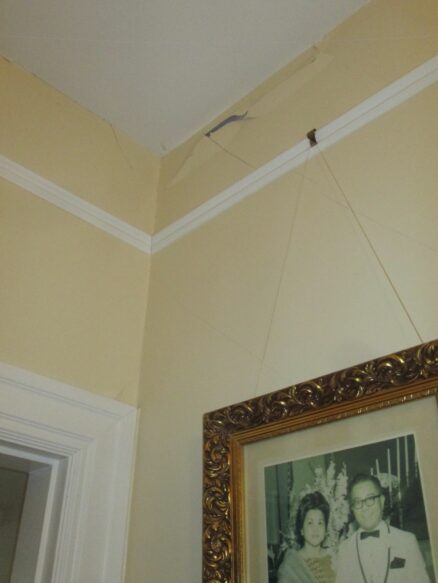
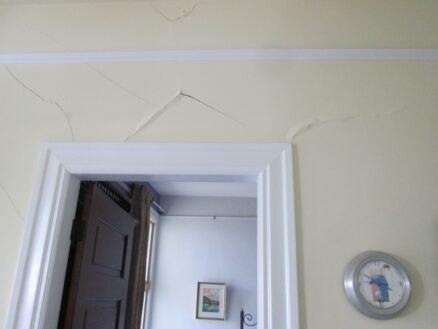
What I hadn’t expected was how badly it would crack the plaster. Now I again have to fix all this plaster that we had fixed perfectly over a decade ago.
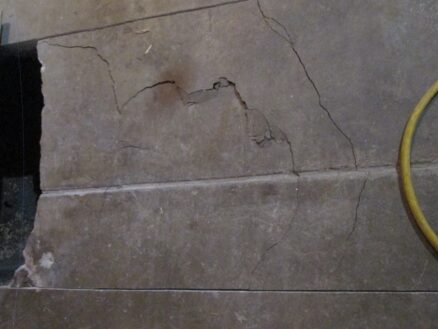
I also didn’t anticipate quite how big the jacking loads would be to lift the beam into place. Once it the moment frame connected with the house and started lifting the house, the loads were huge: Enough that the jack crushed and cracked the concrete floor slab in the garage.
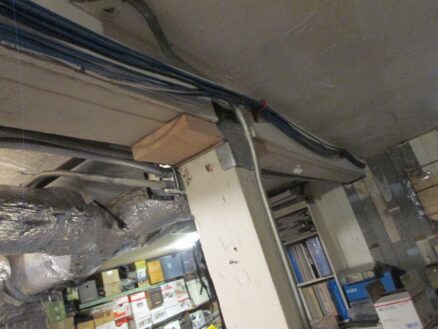
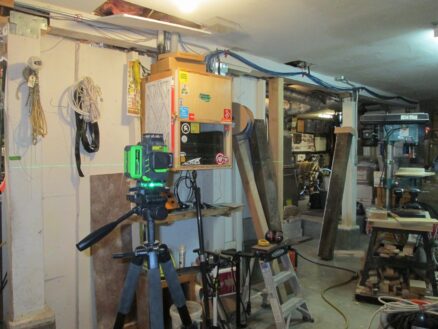
I used a laser level to figure out how much to jack up the structure. Once I got the beam to the correct height, I added temporary wood pieces that I’ll replace with a steel post cap.
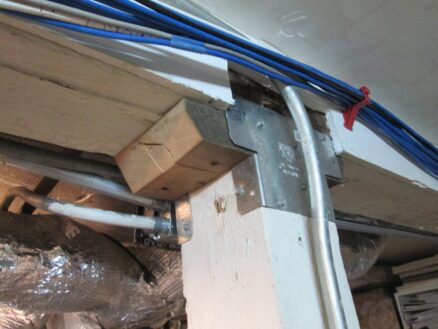
This piece of wood is almost 2 inches thick: That’s how much the floor got raised at this point.
I talked about the floor joists being notched on the bottom in a previous post. But all this leveling of the floors suddenly made it obvious when a floor joist supporting one of the walls in the living room was sagging. So I added a joist to that one.
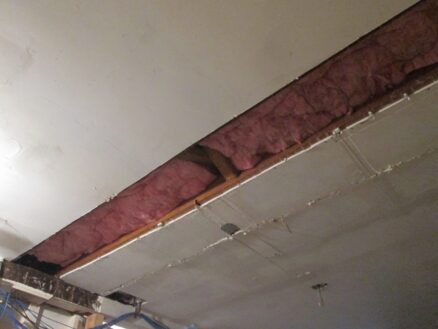
Again, I had to disconnect wires and reconnect them to put the new joist in. I also screwed this one up: At first I reinforced the wrong floor joist.

I spent a full day, removing the drywall, disconnecting the wiring, adding the reinforcing joist, reconnecting the wiring, and putting everything back. When I went up to the living room at the end of the day, I was surprised how little the sagging floor joist had changed – until I realized I’d reinforced the wrong one. So the next day I had to do everything again, but for the correct joist this time.
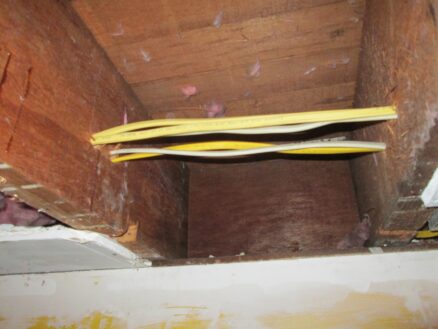
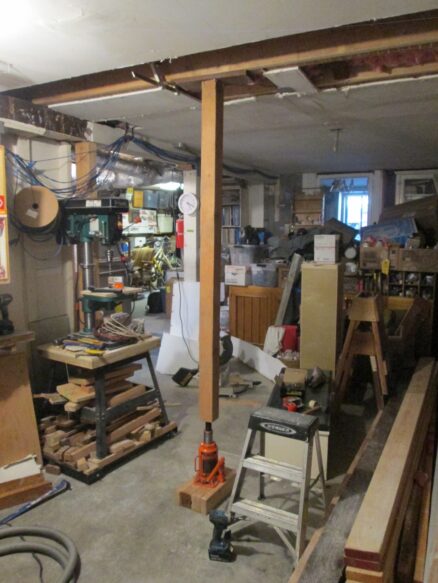
I temporarily jacked the center of the sagging floor joist, connected it to the new reinforcing joist, and then removed the jack.
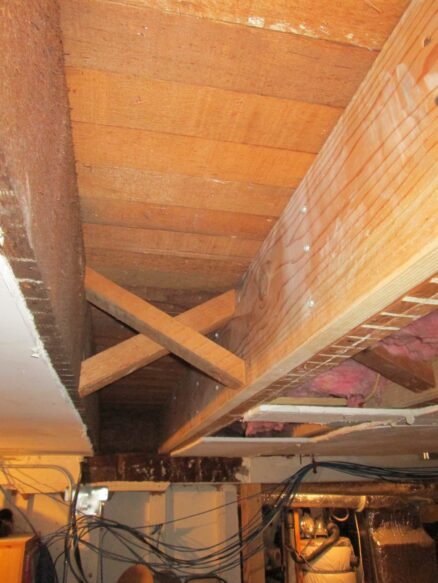
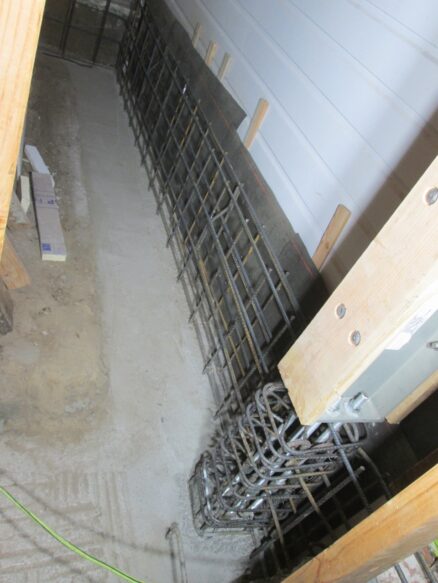
Now on to the concrete work. I’ve got the reinforcing done for the wall and the pilaster below one of the steel frame columns. Now I have to build formwork to hold the wet concrete in place, but I have to get the rebar inspected first.
Bella bella… we miss you…

A soundproofing bookshelf?

This is a huge post – I just never got round to posting. Fear not, there are some cat pics towards the end.

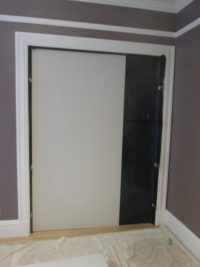
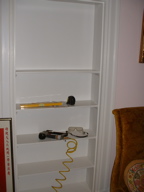
We kept the front room of the downstairs unit for our office. But in this Victorian, as in most, the front room is connected to a second front room with double sliding doors. The double doors do not seal any noise between the rooms – you can clearly hear everything in the adjoining room. Now that the second front room will be a bedroom, we had to come up with a way to provide some sound privacy: A built-in bookshelf.

Here are pictures of all the clamping and drilling…

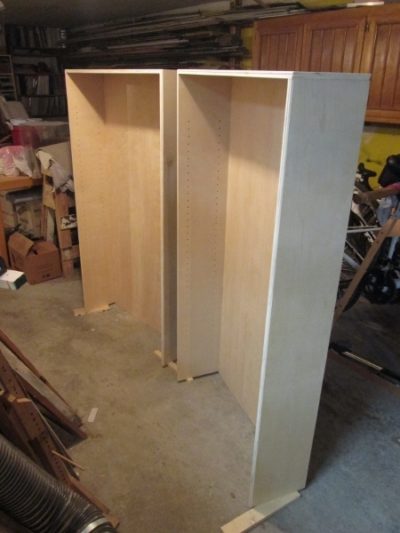
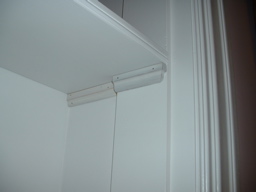
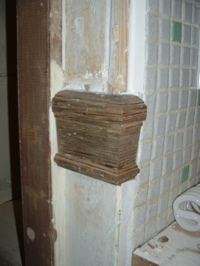
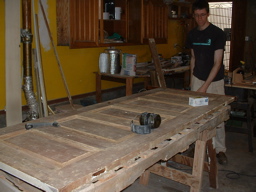
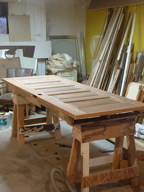
I built the shelf in three pieces, because the door opening is so large that a single shelf would have been too tall to stand up in the garage, and would have been really difficult to move around (it wouldn’t have fit through the front door!) The design is two tall bookshelves above, and a slightly deeper cabinet at the base. The photo above is the piece of wood that joins the top and bottom part. Because I’m using plywood, I either mitered exposed edges, or glued solid wood to the edges.

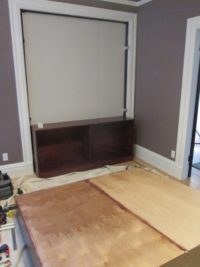
This is the base cabinet all assembled.

And here are the bookshelves.

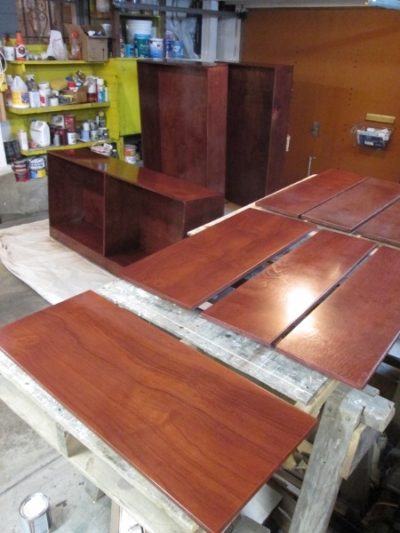
Then I stained and varnished everything to match the wood doors in the living room. The car gets to be outside for a while.

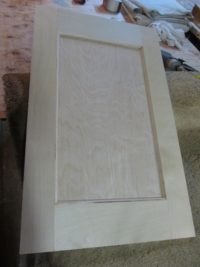
The base cabinet will have doors on the front. I made these from the remaining scraps of the plywood sheets.

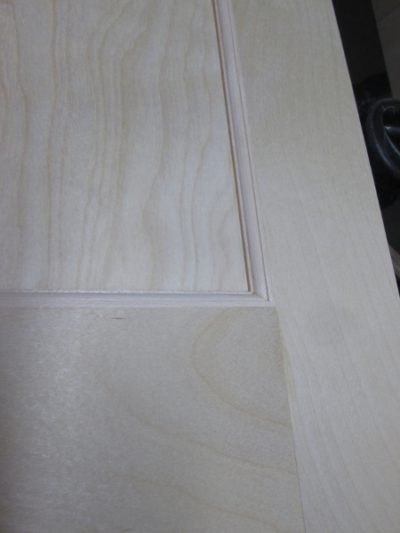
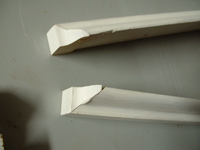
Here’s a detail I’m particularly proud of. The doors are made from plywood, so I made decorative molding to glue into the edge around the panel.

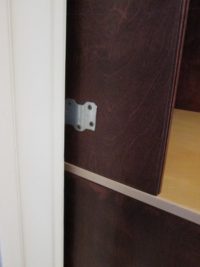
An engineering problem: How to hold the bookshelves in place, without damaging the beautiful wood pocket doors. I made metal brackets that fit into the gap between the doors and the pocket in the wall. These I wrapped with fabric, and one leg slides into the gap, the second side screws to the side of the bookshelves. I’ll cover this with some wood trim attached to the side of the book case.

The sound insulating material went against the doors, but how to hold it in place while I assembled the book case? The solution: I cut drywall to fit tight into the space, and glued the sound insulating material to it with double sided carpet tape. The drywall serves to hold everything in place, and also adds to the sound absorption.

Here’s the book case almost complete. Still needs the doors on the bottom, and the trim around the outside to close the gap. But it’s working quite well to insulate sound. It’s not perfect, but enough to muffle sound between the two rooms.

Here are the doors with stain and two coats of varnish. One to go.

Oh, and what else? Yes, the “garden room” work.

Here are some photos of plumbing work preparing for a sink.

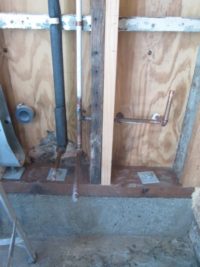
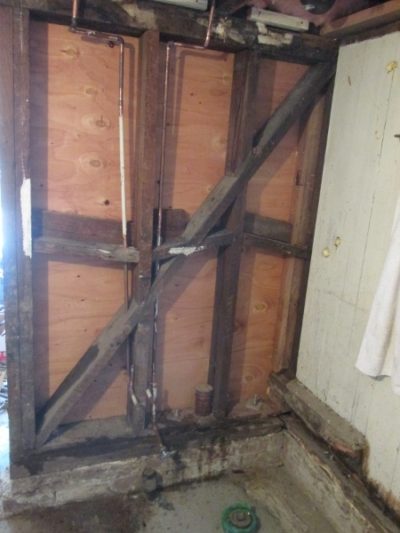
This the the plumbing for the space that will be the toilet. Beautiful.

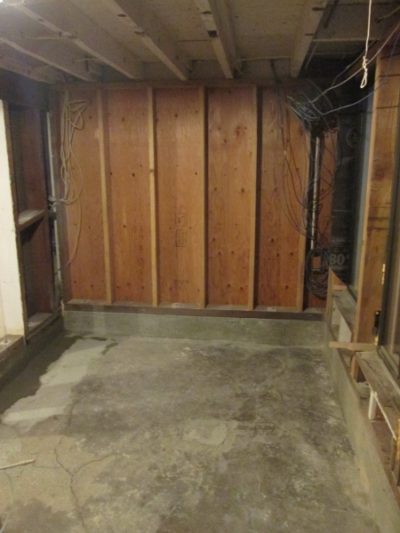
The concrete in the garden room is a total mess. Here I’ve chipped and ground down concrete that was too high, and I need to fill in where there are holes.

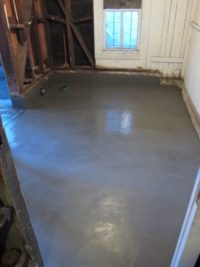
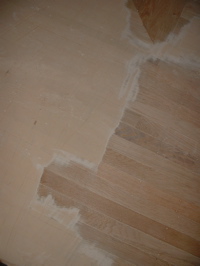
The left side is after filling in the holes. But the floor still slopes, so I added a skim coat of leveling mortar to level the floor.

That’s me. Poor back.

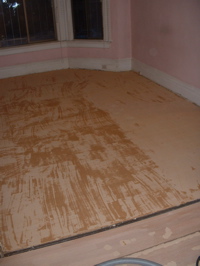
The concrete in the area that I tore up the wood floor was extremely degraded. It was rough, and would dust every time I brushed it. So I coated the whole floor with a layer of non-shrink repair mortar. I had a great time doing it: Felt just like doing plaster.

It looked really great until it started to dry…

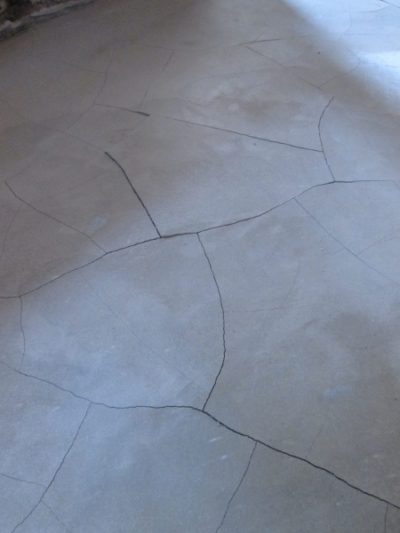
There must have been something wrong with one of the bags of repair mortar, or it may have reacted badly to the old concrete. But instead of being low-shrinkage, on about half the floor it shrunk like mud in a desert. Cracks everywhere.

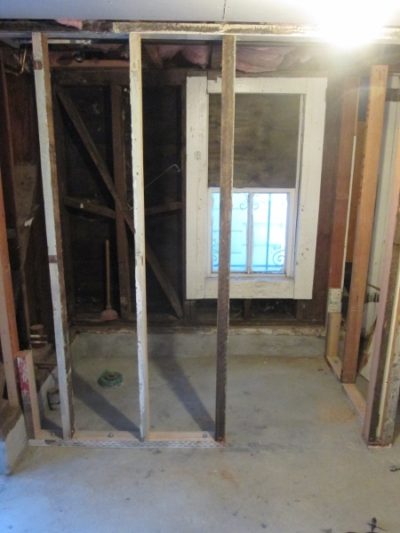
Here I’m adding the wall to make the space for the toilet room. Yes, I still need to repair the window.

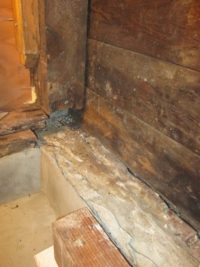
The old plumbing that used to come through here caused this wall, and the window next to it, to rot badly. So I repaired the wall. Above right is before I put in the new wall framing.

This is the repaired wall. I used mostly scraps – trying to use up the huge pile of wood I have stashed in the garage. Now I need to get the wiring in.

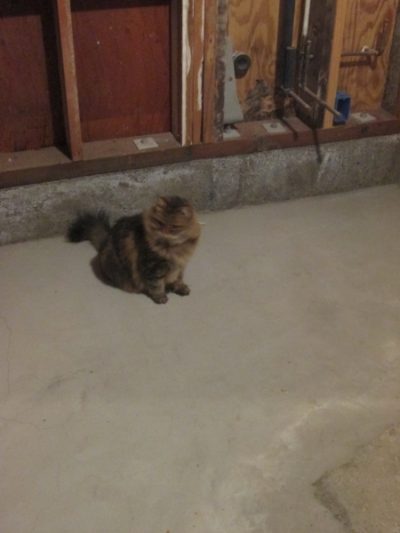
Arwen came to inspect my work.

“Hmm, good level concrete. Let me check the flatness…”

“Prrrfect for rolling on.”

June Rain

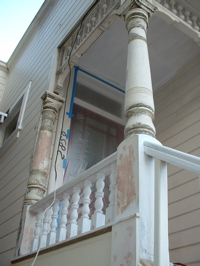
The highly labor-intensive work continued on the front porch. The weather has been sunny and warm, but there’s a weather forecast of rain…

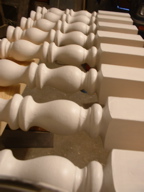
Mole primed all surfaces of the balusters before I put them in.

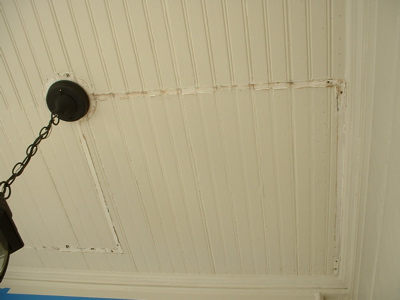
Ever since I changed the wiring for the porch light, the marks left by the previous electrical conduit were an eyesore on the ceiling of the landing. You can’t see it clearly from the photo, but it also looked as if someone had started stripping the paint, but never finished.

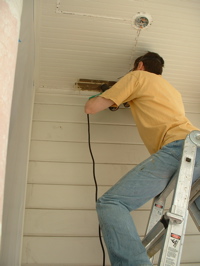
So I put plastic over the door and landing, put the ladder on the landing, and did some overhead paint stripping. Really tiring on the shoulders.

Sorry, not photos after the stripping, but here it is with primer on. I’ve started to sand and prep the beautiful decorative wood posts. At some point, a really thick coat of paint was put on that did not adhere. In lots of places, it’s come loose, so there are voids under the paint. Other areas, the paint is showing cracking, as if the paint underneath is shrinking. It’s got to get ugly before it gets pretty.

Well, even though I didn’t believe it on this beautiful sunny weekend, I’ve been caught before: With rain forecast, I had to get primer onto all the exposed wood. Here you can see the new railing and balusters installed.

The rain did come. The following week rained almost every day. On the weekend, Justin came to visit. The cats loooovvve him.

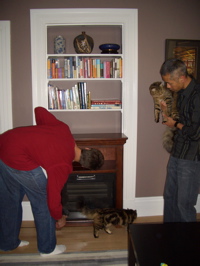
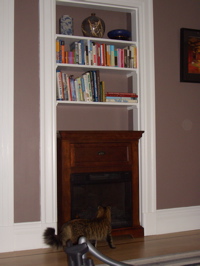
We bought this electric fireplace back in December because my mum thought the downstairs living room was dingy. Our plan was to install it into the bookshelf space to make the room a bit more cozy. I took out some of the bottom shelves, and installed a new receptacle inside the alcove. But we’ve liked the heater so much upstairs that we never got round to bringing it back down. A rainy summer weekend is the perfect time.

Above right: Arwen and Bella inspect the test fitting.

Above left: Bella asks which screwdriver to use. Above right: I think Arwen just really likes getting into bags. She’s really curious and doesn’t scare easily; she hung around even after I started sawing, and got sawdust in her fur.

I had to trim off some of the top of the fireplace to get it to fit. But now it’s built-in.

brown friday

a lot of people go shopping on “black friday,” the day after thanksgiving. mathew and i never follow that tradition. this year we decided to paint.

the downstairs living room was a very pale pink because my grandmother loves pink but mathew never really warmed up to the color.

since my grandmother moved out, we decided the room needed a drastic change. i liked a painted wall in a west elm catalog, mathew liked it too, so that morning we walked to the paint store.

we came home and got to work. we put down drop cloths and masked off the baseboards to protect from stray drops, but otherwise decided to paint around the trim free-hand, without tape. the first of the new color goes on…

it’s brown! but i think it looks much better in person than in these photos. in the can it looked like chocolate pudding. dried on the wall, it’s a difficult color to describe, a kind of grey-ish, purple-ish, brown. it’s from the same color palette as the grey in the office, just one shade darker. the shade in the office is called “elephant grey” this one’s called “smoked oyster.”

(above right) while we were painting mathew decided he wanted a color in the built-in shelf, similar to what we’ve done in the closet and other rooms. we have a lot of different left-over colors so i said, “let me think about what would work best there.” but within the next hour i heard mathew rolling paint onto that wall as he said, “oops!” he just couldn’t resist painting it but i think it works.

ta-da!

later that weekend we bought a media cabinet (soon to hold a tv), a rug and a floor lamp (not pictured above.) we’re getting the downstairs unit ready for use as a short-term vacation rental. there’s a lot we still need for this room, but it’s a start.

’tis the season

it’s that time of year again. holiday parties, dressing up, shaking hands with strangers, eating finger food (my pet peeve, a bad combo during cold and flu season!) and late nights.

turtlemole1_12.11.09

here we are two fridays ago, after attending a dinner party at a “bread museum” at fisherman’s wharf on a very rainy, cold night. we came home with so much sourdough bread (restaurant party favors) we even gave some to the taxi driver.

photos2_12.12.09photos3_12.12.09

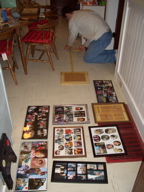
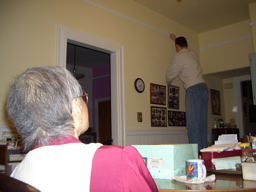
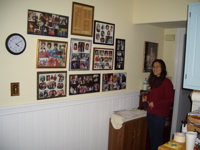
on saturday we finally hung the rest of popo’s photos in the kitchen. (left) first we laid out the photos on the floor. it was a challenge to arrange them because they were all different sizes. (right) popo sat and watched the entire time, laughing and thoroughly enjoying “the show.”

photos4_12.12.09photos5_12.12.09

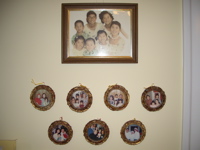
(left) photos of popo’s 7 kids. (right) photos of those 7 kids’ families.

that night we attended a beautiful piano and cello recital in berkeley, met up with friends and had a late dinner.

sketches7_12.12.09fabric6_12.12.09

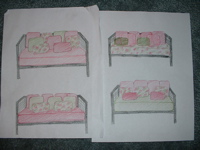
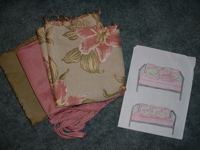
on sunday i started sewing a cover and pillows for popo’s new daybed. mathew really liked the sketches i made to help decide the color scheme.

stairs8_12.12.09stairs7_12.12.09

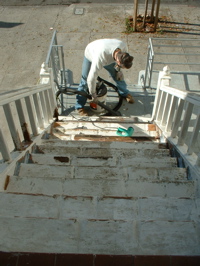
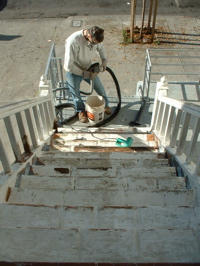
we finally got a break from the rain and mathew was outside sanding, scraping and paint stripping the stairs again.

daybed9_12.12.09daybed10_12.12.09

this is how the daybed came out. i made a fitted, quilted, pink cover for the twin mattress, 4 pink cushions, 4 green pillows and 2 fancy, floral, accent pillows. that was my first experience with cord piping. it went well!

daybed8_12.12.09

this is how popo’s living room is looking after she put out all her christmas “decorations.” all of these toys sing and dance and i can’t spend too much time with them when they are on. that christmas tree on the table (with the santa hat) is motion sensing, so you think you’re walking into a quiet room then suddenly the tree comes to life singing and talking to you, LOUDLY. somehow it has a moving face and freaks me out every time. there are also other singing things in the kitchen and in the hall.

ho! ho! ho! scary christmas?

slowing down

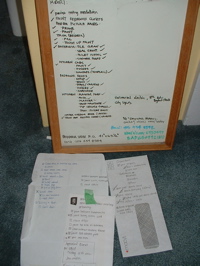
lists_20091124Now that Popo has moved in, we have slowed down a lot. It’s been over two years of working nonstop on the house. The photo shows a few of the checklists we made — with everything checked off. Feels a bit like I am climbing out of a hole that I’ve dug for myself! Hmm. Mole references…

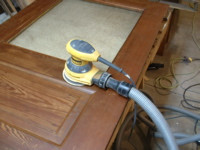
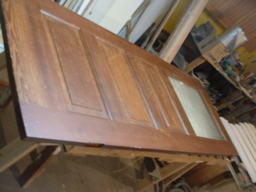
Over the past couple of weeks, we finished up the back door and put it back on. The laundry room and ‘tear-off’ room leak a lot of cold air, so the kitchen had been rather drafty. The hardware for the original door was some of the nicest decorative brass on all the doors (below left). This is the original brass hardware for the back door after Janeen and I polished it up and removed all the old paint.

backdoor3_20091124backdoor2_20091124

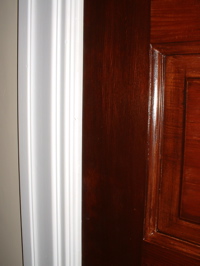
The door was stripped, carefully sanded, stained with “Early American” oil based stain and then two coats of integrally colored polyurethane “Natural Cherry”. I sanded the polyurethane between coats with a very fine grit (220) sand paper to help the polyurethane adhere better, and also remove any dust or roughness that got into the first coat of urethane. The doors all have an aged but cared-for look to them now, and the color polyurethane helps to unify the color of the door, filling, and any blemishes.

backdoor1_20091124backdoor4_20091124

Above right, you can see the door installed in the background.

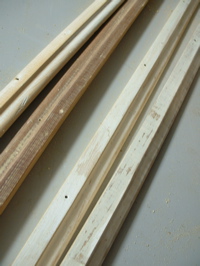
I also made some built-in shelves for the living room. In the space where there used to be a door between the living room and the bedroom, we now have built-in shelves for photo albums. I found pieces of wood for the shelves in the rather extensive pile of wood I’ve built up. Also the trim that holds them up is recycled:

shelves1_20091124shelves2_20091124

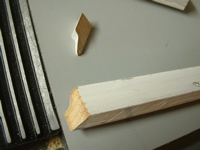
To make the front edge of the trim look finished and more decorative, I cut off and bevelled the trim, and added a piece of the same trim to return it to the face of the wall. Below right is a matching pair (left and right side).

shelves3_20091124shelves4_20091124

shelves6_20091124 shelves5_20091124

Above are the shelves as they are being installed. I had a bit of a dilemma: when in an old house where the floors, ceiling, doors (everything) slopes at various angles, do you install shelves so they slope the same as the floor? the tops of the doors? the ceiling? or ignore all that, and make them horizontal? I decided to make them slope the same as the top of the old doorway, so the shelves and the trim will at least both have the same slope…
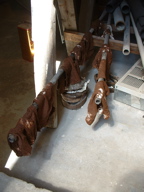
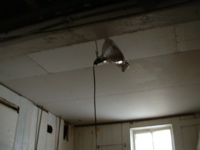
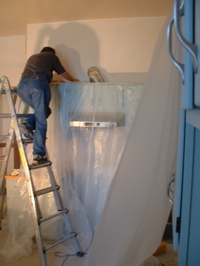
While Janeen was out of town (she went to visit her “sisters” up in Seattle), I put insulation and gyp board on the ceiling of what used to be a bit of a scary little room in the garage. The photo below left shows it as it was a couple of years ago. Below right is with the gyp board on the ceiling, all the piping and wiring are now hidden.

garageroom1_20091124

The kitchen is quite moved in. Popo is doing her ‘homework’ (as she calls it). In the background you can see the outdoor steps in the back yard that go up to our unit and still need much work…
popo_20091124

are we done yet?

dad1_10.17.09mom2_10.17.09

last weekend my parents were here helping with paint prep in the kitchen. (left) my dad masked off the cabinets with plastic and tape. (right) my mom vacuumed trim, walls and floor.

janeen3_10.17.09corner4_10.17.09

(left) here i’m caulking the gaps in this cabinet. (right) on that corner just below my knee in the previous photo, mathew added this little bit of chair rail. he felt like the wall/corner just needed something. only a perfectionist would do something like this!

mathew5_10.17.09janeen6_10.17.09

(left) after prepping the room we sealed off all the openings so the paint spray and fumes would be contained in the kitchen. here mathew is painting primer on the walls.

before they left, my parents helped me move some of my office furniture from my temporary office (my grandmother’s future living room) into my office. after my grandmother moves in we’ll be working on my office next. it will be a challenge since we won’t have any more spare rooms to store furniture in while we work. we’ll probably have to move everything into the center of the room and cover it like we did with the refrigerator in the kitchen.

(right) later that night i painted the remaining unpainted wall in the temporary office/living room. because the kitchen was sealed off getting to the garage became a challenge, we couldn’t just walk down stairs from the kitchen we had to go through the back yard or front yard first, luckily there are multiple ways of getting into the garage. but things like getting a paint brush, a ladder or the mail became difficult, but that only lasted a few days.

door7_10.17.09door8_10.17.09

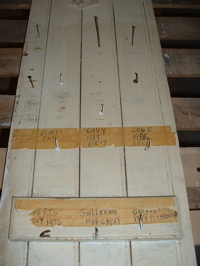
on sunday my dad worked on the door that goes on that tall cabinet in the kitchen that i was caulking the day before. (left) the family that used to own this house had 5 kids and the boys seemed to enjoy working on old cars, especially chevys. we know this because the inside of the cabinet door had labeled hooks. we like all these old clues about the previous life of this house but it will probably look better to remove this one. (right) my dad sanding the door after all the hooks were removed.

dad10_10.17.09mom9_10.17.09

while my dad worked on the door my mom and i sanded and scraped the door that connects the kitchen and the laundry room. it’s the last door we’ll be refinishing. we’re pros at this now.

medallion11_10.17.09medallion12_10.17.09

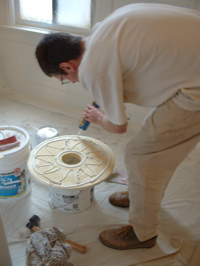
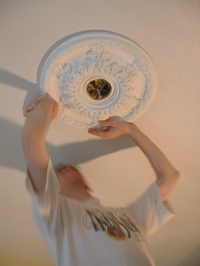
mathew attaching this medallion to the kitchen ceiling. mathew has gone medallion crazy, he loves them and wants them everywhere. this one was actually a gift from our friends jennifer and doug. they had it left over from their remodel and gave it to us when we had brunch with them the weekend before. they were happy it was going to a good home and we were happy because we got a medallion for the kitchen!

paint13_10.17.09paint14_10.17.09

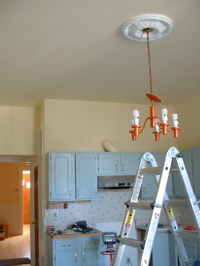
i wanted to paint the kitchen an off white beige, similar to what had already been there. mathew wanted a warmish yellow similar to what we have in the entry and hall. what did we do? mathew took a couple gallons of leftover white and yellow paint from previous rooms, added 20 drops of red acrylic art store paint and this is what we got, sort of a lighter version of what’s in the hall. not exactly what either of us wanted but cheerful and close enough. and the price was right. (right) we’re still not sure what to do about this crazy orange lamp. i suggested painting it a different color or getting a new one. we’ll see… this house is full of color!

paint15_10.17.09paint16_10.17.09

Living Room Doors

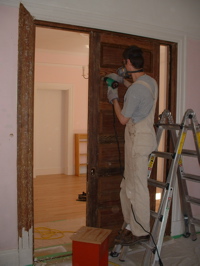
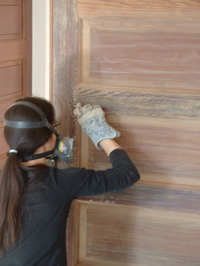
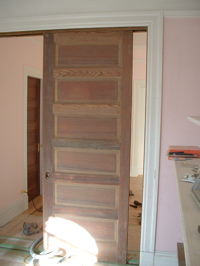
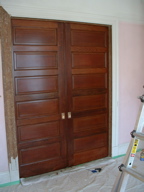
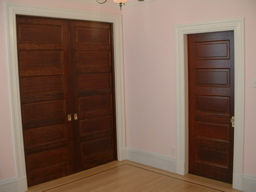
We finished one more thing on the list: the doors between Janeen’s office and the living room. After stripping all the paint off the doors, we carefully sanded the doors.

Sanding living room doors2livingrmdoors

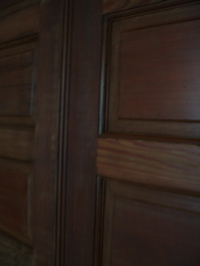
I then stained the doors with an oil based stain called ‘Old American’. It’s actually a lot more yellow than the photo below right shows. Below left you can see the door before it was stained.

3lrd_before-stain 4lrd_stain

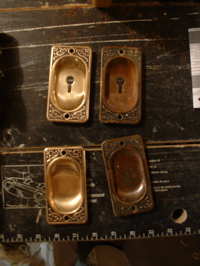
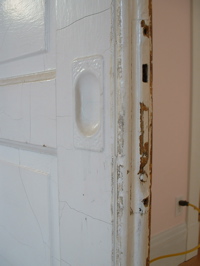
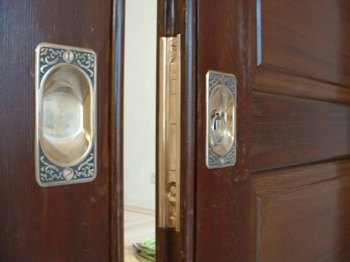
We had some trouble at first figuring out how to strip the paint off the old brass door hardware. It’s much more delicate than the steel hinges, so we couldn’t attack it with a wire brush and heat gun. At first we tried using the heat gun, but the paint just wouldn’t come off completely. Chemical paint stripper and a toothbrush did the trick beautifully, though. And it didn’t damage the black oxide background to the patterns on the hand grips. They then polished up nicely with Brasso. Below right you can see how they looked on the door before.

5lrd_handlespolishedLiving room door handles before

After two coats of oil based color polyurethane (‘cherry’), the doors are done.

8lrd_fromoffice7lrd_fromlivrm

I reinstalled the brass hardware, and after a bit of adjustment, it all works quite nicely. The doors are not perfect, but I like the slight dents and imperfections: the doors are 100 years old, after all.

6lrd_handles-installed

Janeen took the photo below. I think she was trying to decide if these are good work boots. The photo on the right shows the stain rags, air drying. Apparently if you bundle them up in a plastic garbage bag when wet, they can spontaneously catch fire. Not good in a wood house.

9jashoes9rags

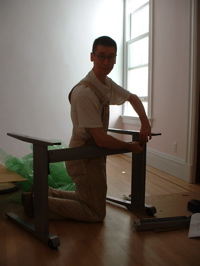
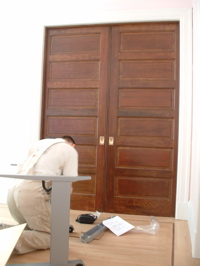
We ordered a fancy new desk for Janeen: It’s height can be adjusted electrically, to be a standing or sitting desk. I need to make a top for it, though. Until we get the office complete, the living room will be Janeen’s office.

9desk1-assembly9desk2-assembly

doors

Right now it feels like we are moving in slow motion. We have got the bathroom to a point where it’s ready to paint. Before we can get the bedroom finished, we need to rent the insulation blower again, and fill the walls with insulation. But all of Janeen’s office furniture is currently in the kitchen (we moved it there before doing the floors). To clear it out, and finish the bedroom and kitchen, Janeen is going to move her office into the downstairs living room while we work on the kitchen and bedroom. This way, we can move onto working on her office without moving all the furniture again.

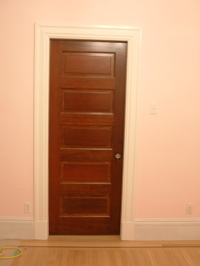
I’ve spent the last couple of weeks trying to get the downstairs living room finished and sealed off. Until now, the door into the living room has been siting in the garage. Janeen had already stripped the paint off the door, and done most of the sanding. Time to stain and finish it.
01_livingrmdr_sanding02_livingrmdr_sanded

03_livingrmdr_done04_livingrmdr_done

The stain turned out quite a bit darker than I had planned, but I think it looks ok next to the white trim. Also,  I started finishing the double doors that lead between the front and the living room.

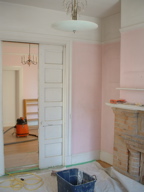
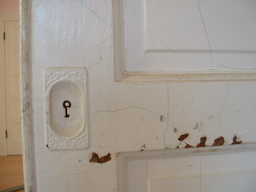
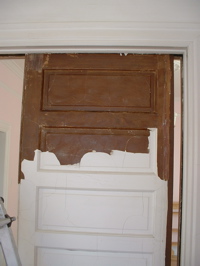
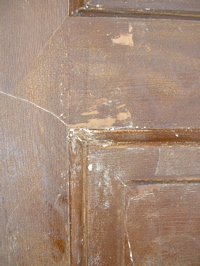
To seal the living room from the front room (Janeen’s office), I need to finish the double doors that lead between the two rooms. Janeen has already stripped the paint from one side. The doors had been varnished originally, then painted over in white at some time. It’s obvious there was some incompatibility between the paint and the varnish, as the paint had gone all cracked. The photo on the right below shows the chipped paint, and also the random lines of cracking in the paint.

05_livingrmdbl_before06_livingrmdbl_before

Stripping off the old paint went really fast, as the old finish must have been waxed. Upon applying the heat gun, the paint just bubbled up and fell off in sheets, exposing the old finish. The finish was a faux wood grain, on top of wood! It’s a pity I could not save the old finish. It’s much too damaged. The faux finish must have given a uniform appearance, and made the doors look like hardwood, instead of beautiful old-growth douglas fir. Well, I’m no faux finisher. We’re just going to use stain and polyurethane.

07_livingrmdbl_strippingpt08_livingrmdbl_oldfinish

a BIG weekend

i hope you’ve got some time to spend here… because this is by far the biggest blog post i’ve ever made since we started this remodel/restoration.

the foyer

najiadaniel

(left) in january 2008 my sister-in-law, najia pulled up the linoleum tile that was glued to the old oak floor. (right) in august 2008 mathew’s dad, daniel came over to assess the existing oak floors.

foyerfoyer

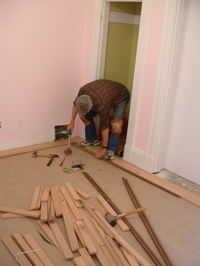
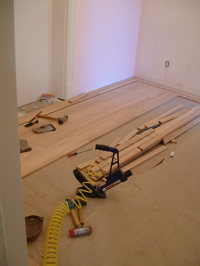
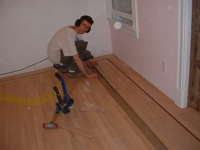
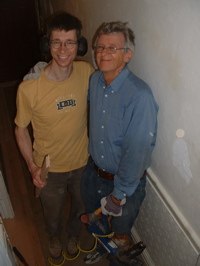
last friday morning, 4.6.09, daniel returned with lots of his flooring tools. he and mathew got to work installing floors, something they haven’t done together since 1996?

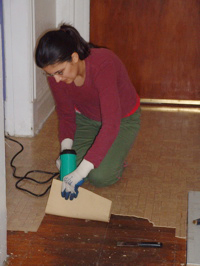
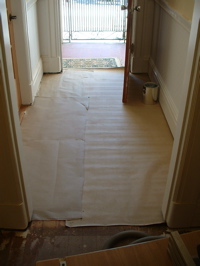
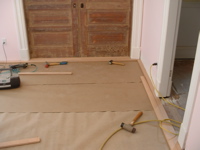
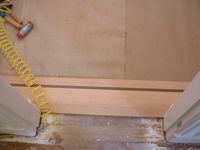
(left) after mathew has sanded the old oak. [I sanded the old floor before taking it out so that I could compost it! Also, I was thinking that maybe I’d need to reuse some of it in Janeen’s office, as the wood in the office looked so bad. – turtle] (right) after the old floor was pulled up, paper was put down. the process started with cutting the baseboards with a jamb-saw so that the oak pieces can slip underneath them. normally when installing floors daniel will remove the baseboards, install the floor then replace the baseboards. since mathew and i had already refinished and painted the baseboards, and they are large, old, brittle and intricate, it didn’t make sense to pull them out.

foyerfoyer

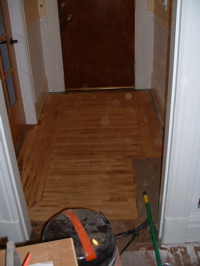
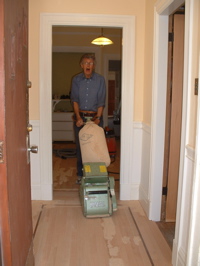
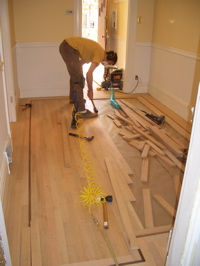
(left) oak floor boards being installed. (right) daniel doing the first sanding after filler has been added to patch any cracks or gaps.

foyerfoyer

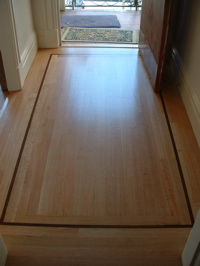
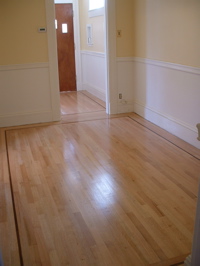
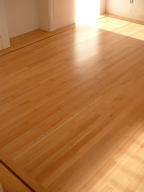
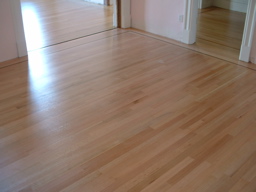
the finished foyer floor after lots of sanding and 3 coats of water-based urethane.

the hall

hallhall

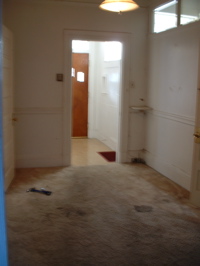
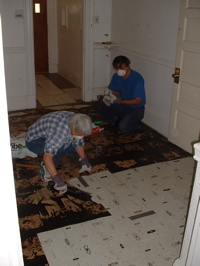
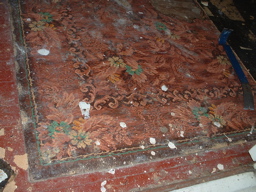
most of the rooms had carpets and linoleum when we first moved in. none of the floor coverings matched. this hall had (1) brown carpet over (2) really thick pink and blue linoleum over (3) really retro hard linoleum tile (above right, my parents removing it) over (4) a cool printed linoleum “area rug” over (5) red painted fir sub floor boards.

hallhall

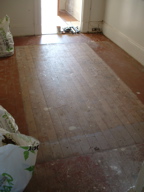
(left) the cool printed linoleum “area rug.” (right) sub floor painted red where it was exposed under the “area rug”

hallhall

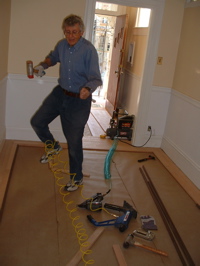
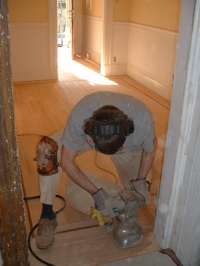
(left) daniel loves to blast music when he’s working. they’re wearing hearing protection most of the time so it makes sense that it should be loud. i’m assuming this is dancing and not some sort of flooring ritual/technique… [he’s managed to get his feet tangled in the air hose, and said he was doing the “floorman’s shuffle” (ie, trying not to trip). – turtle] (right) i took this photo right after i returned from my weekend trip on sunday evening. i surprised mathew when the flash went off after suddenly appearing in the kitchen.

hallhall

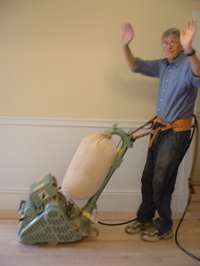
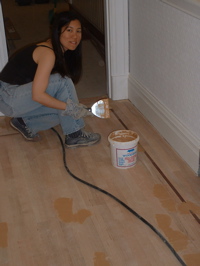
(left) filling (“gooping” is what they called it. is that the technical term?) gaps and cracks in the floor. [twenty years ago, the only filler that floormen used was a brand named “goop” – it smelled really strongly, but held better in the floor than most fillers. the filler we were using now is a water-based filler. the old stuff is probably illegal in California because it has too high VOC.- turtle]. (right) the first sanding on monday morning. “look, no hands!”

hall16hall

(left) mathew edge sanding with a different sander. (right) the big sander tends to pull the filler up so here i am re-filling after the first sanding on monday evening.

hallhall

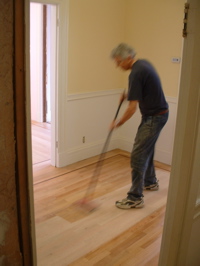
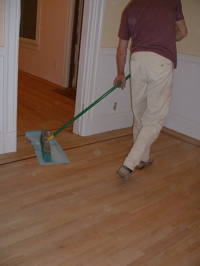
(left) i watch as the first coat of water-based urethane goes on tuesday afternoon. (right) on tuesday night after going out for indian pizza (to celebrate my birthday) mathew and daniel sweep the floors with blue paper, after vacumming most of the dust, to remove the last bits of dust from the very fine sanding between coats.

hallhall

(left) after the sweep, daniel and mathew applied the second coat of urethane. (right) and here it is after it’s 3rd and final coat!

the living room

living roomliving room

(left) here’s what the red sub floor looked like. (right) paper added and the beginnings of the border.

living roomliving room

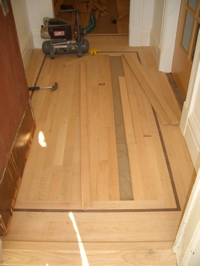
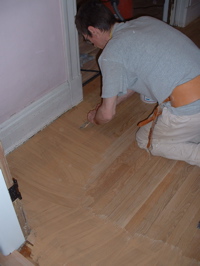
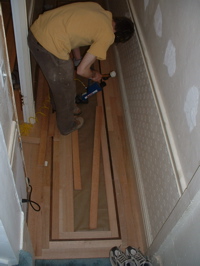
the border is pieced and installed first then the rest of the floor is installed.

living roomliving room

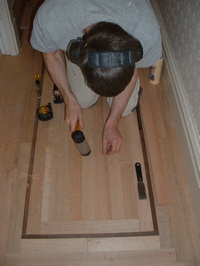
(left) mathew chose a 3/4″ walnut border to surround each room. he said that adding the border possibly doubles the work time. [at least! we did a five board border. When there’s a border around the room, every piece of wood that fits inside it must be cut perfectly to length — and with me as the perfectionist homeowner, 1/64″ undersize was barely acceptable. I know how the filler will jump out of cracks over time. – turtle] (right) approaching the final board.

living roomliving room

the living room after filling, sanding, filling, sanding, sanding, sanding, edge sanding, vacuuming, coating, screening, vacuuming, sweeping, coating, screening, vacuuming, sweeping, coating. did i miss a step? [fine sanding “screening” is done between each coat to smooth out raised grain (we’re using water-based urethane), help adhesion, and smooth off any dust in the previous coat. oh, the final step: everything is covered in a fine layer of dust, so vacuuming of walls, trim, etc is the final step. – turtle]

santa barbaramargaret and janeen

sooo… i spent most of the weekend in santa barbara with margaret. we walked, we talked, we ate and sort of shopped. mostly we just caught up during our yearly visit.

the office

office beforeoffice before

this is the CHAOS that was my office. since we moved in, in september of 2007, we haven’t bothered (or had time) to organize, plan, paint or even unpack this room.

office beforeoffice

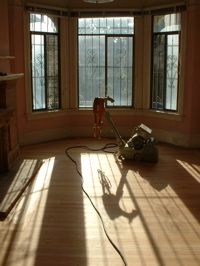
on monday while mathew was fixing the turkish hacker fiasco (see previous post), i was packing and packing. my office has temporarily moved into our upstairs bedroom, and most of my stuff is in the downstairs kitchen and bedroom. then mathew moved all the furniture and here it is empty again.

officeoffice

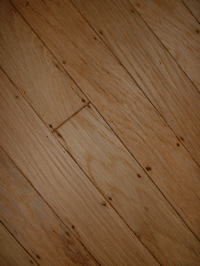
the floors in this room are quarter sawn oak. they were old, dirty, tired and stained. daniel was most excited about this transformation.

officeoffice

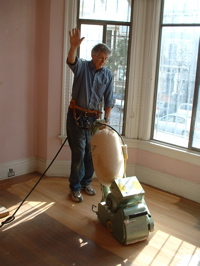
here daniel is doing the first sanding. already a dramatic difference.

officeoffice

after the sanding they discussed what the next step would be. “to goop? or not to goop?”

officeoffice

old floors like this one were nailed individually and not installed with tongue and groove boards like they are today. so there are tons of little nail holes and gaps between the boards. the decision was to “goop” the floor. (right) mathew is applying the filler with a large spackling tool, working in fast, quick strokes. he’s trying to apply pressure in two directions to make sure the filler completely fills and sticks in the holes. i helped too but only covered 1/4 of the floor that mathew covered in the same amount of time.

officeoffice

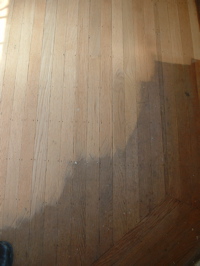
(left) completely gooped. (right) the partially sanded floor after gooping. nice!

officeoffice

(left) daniel “rocket-man” vacuuming after the sanding and before the first urethane coat on tuesday. (right) how the floors looked late on wednesday afternoon when i was allowed to walk downstairs in socks. the radio had been on all day because after the final coat it was impossible to get to. daniel coated the floors and made sure he finished at the front door to make his final exit and leave after 6 days of live-in work.

the second foyer/hall

other hallother hall

this is the hallway that leads to our upstairs unit. it started with carpet and fir sub floor underneath.

other hallmathew and daniel

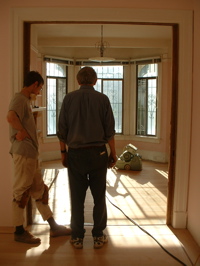
(left) mathew and daniel installing the border, then interior floor boards. (right) father and son happy to work together again. although i was told that working with mathew was like working with a really high-maintenance, picky, perfectionist client who never left the house… during the entire weekend mathew was BOSSY but daniel, as always, maintained a positive attitude with a smile on his face.

other hallother hall

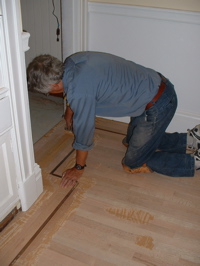
the process of flooring is NOISY, dusty and smelly. and hard on the knees, back and i’m guessing, hands. even though i had been looking forward to helping install these floors i was glad to be away for most of the noise. (right) sometimes the last piece of wood is an odd shape and size. here mathew is installing that last sliver after carefully planing and shaping it to fit perfectly.

other hallother hall

dumpy watches as mathew goops. mathew was up sanding this bit of floor till almost 10pm that sunday night…

other hallbirthday

flooring is a hugely labor-intensive process but in the end we have beautful, beautiful new floors. thank you daniel and mathew! it was possibly the biggest birthday present ever.

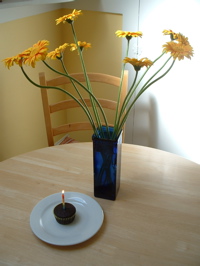
(right) flowers from daniel. (i LOVE gerber daisies.) vegan chocolate cupcakes by janeen. i plan on celebrating for at least a week… but i’m running out of cupcakes. must make more.