I finished up the white tile. The last part was much slower than I expected: Fitting up against the ceiling was really difficult on the left side, because the ceiling slopes.
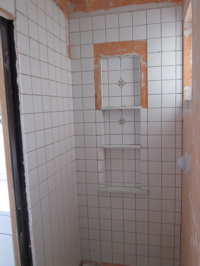
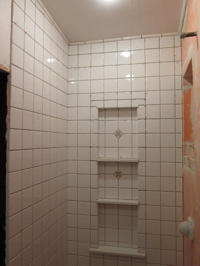
Above right is the finished tile before grouting.
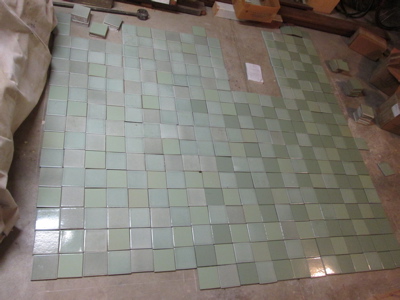
We had planned to buy one color of green tile for the remaining wall. We really liked the tile we had found, because it had some variation in the glaze, and a nice crackle in the glaze. Unfortunately, Fireclay no longer makes the color, and we’d already bought about half the tile we needed last year. So it came down to buying a selection of colors that were close, and mixing them. I was so daunted by the prospect of trying to make them look random that it took me a couple of weeks just to get started. I drew the outline of the wall on the floor of the garage, and did a layout on the floor.
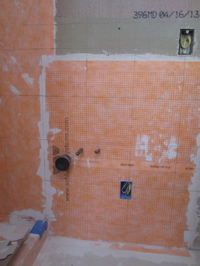
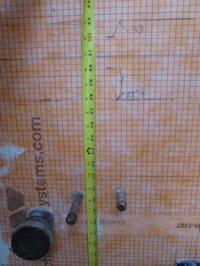
The second hiccup was that I thought I’d forgotten to install the solid wood blocking in the wall where the sink will be mounted. Without something solid to attach the sink to, the sink would fall off the wall eventually. The only options are either to build a floor mounted cabinet to support the sink, or to tear open the wall and add the blocking.
This would be my last opportunity to fix it (before the tile is installed), so I’d resigned myself to cutting the wall open, and installing the wood. Luckily, before doing that, I checked by drilling holes in the wall where I’d need to attach the sink. Apparently, probably because this project is taking me so long, I’d forgotten that I did install it, but hadn’t taken photos. Note to self: Always take photos before closing up walls! The photo above right shows where I found the wood in the wall, and a tape measure, so I will know when it’s time to drill through the tile for the sink attachment.
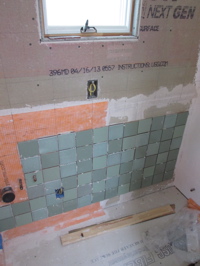
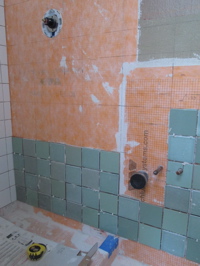
Here’s the start of the green tile. I picked it up carefully, in order, from the garage floor. Then transferred it in the same order when I put it on the wall. This tile is much harder to work with than the white tile: it’s all slightly different thickness, and dimensions, so I have to be very careful to lay it out to a grid. The handy rubber tile spacers (that were so great for the white tile) don’t really help much with this tile. You can see the grid marked on the wall in the above right photo.
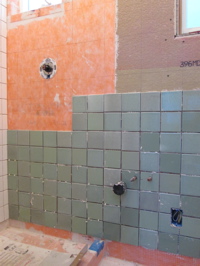
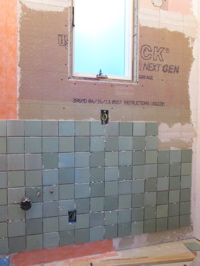
There was some tricky tile cutting to fit around the electrical boxes and the pipes.
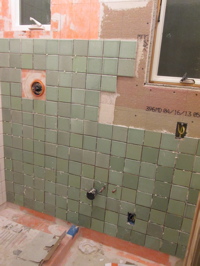
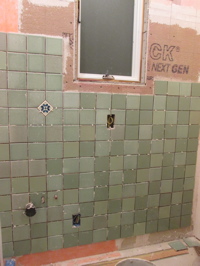
Here it is almost up to the windows. Above left, I skipped the tile around the shower valve. Above right: I put the third decorative tile (similar to those I used in the niche) centered above where the sink will be.
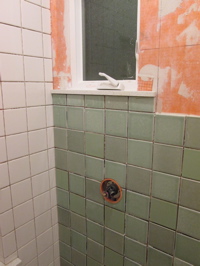
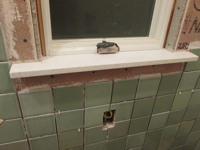
Cutting the tile to fit around the shower valve was the most difficult. In the photo above left, the tile at the lower right corner of the valve is almost completely cut away. I think I spent almost an hour cutting that one piece! I also put the window sills on (cut from the same stone that we used on the niche shelves).
The stone for the window sill is thicker than the tile, but I’d only allowed for tile thickness back when I was putting up the cement board. For the window above left, I had to grind the back of the stone shelf to get it thin enough to fit under the window, because the waterproofing was already installed. Above right, on this window, because it’s not in the shower, there’s no waterproofing membrane, so I could change the cement board to get it to fit.
I’m about half way up this wall. The green is looking good, I think. It’s probably difficult to see from the photos, but I varied the random pattern across the wall so that more of the dark green tile was on the right, and more of the light green on the left. It’s still quite varied, but I think less ‘speckled’ looking than when it was totally random…
