Heavy Lifting

It’s been two years since I bought the moment frame. The beam has been in the garage, getting covered in dust waiting, but there was a lot to get done to prepare for it.

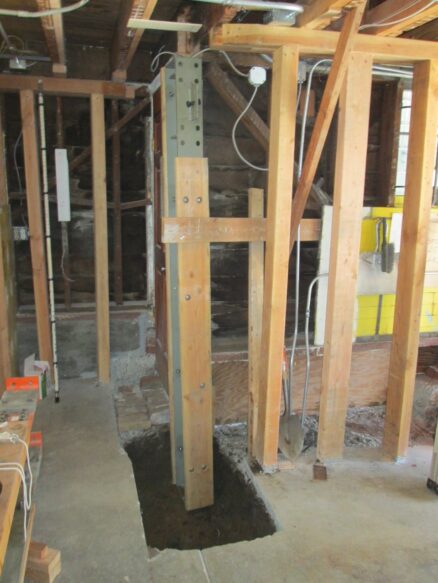
The column near the garage door is too tall to stand up in the garage, because the final height will have the bottom of the column buried in concrete. So I had to dig out the footing before I could even stand the column up:
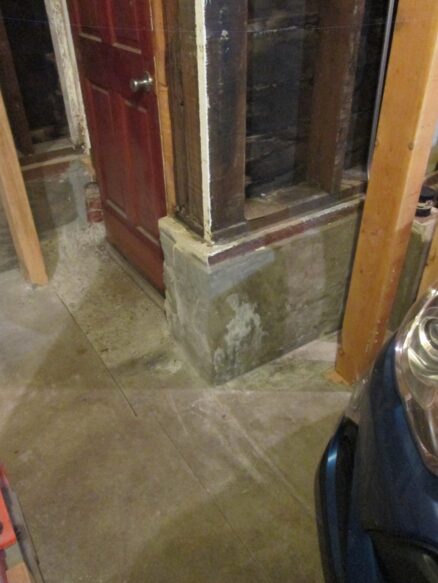
Here’s the column standing in a freshly dug hole. The top of the column has to be down below its final position so that we can bolt it to the beam. Once it’s bolted to the beam, the whole lot will be lifted into place. The columns will be hanging in the air and we’ll pour the new foundation under it.
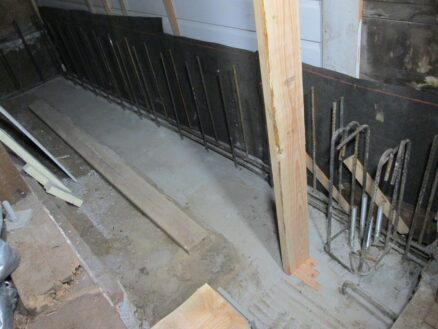
The column at other end of the moment frame will be up on top of a concrete wall – but the wall isn’t there yet: So I had to make a temporary platform to sit it on.
The major pain with this moment frame: Absolutely every utility in the house has to cross this beam: All the electric, gas, water, heating, and network wiring and piping had to be disconnected, and then routed through holes in the new beam or under it.

Holes in steel? I bought a “mag drill” to drill holes in the steel beam. It’s basically a small drill press attached to a powerful electro-magnet. I position the drill in the correct location, then turn on the magnet and it sticks to the beam.

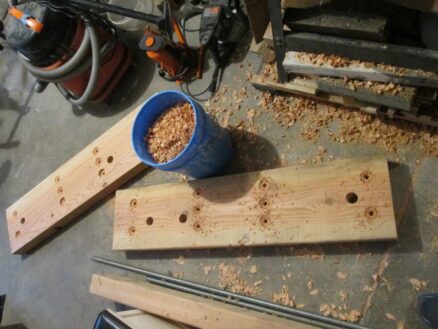
Then I drill a hole. I had to drill large holes for the utility pipes to go through, and smaller holes for bolts to hold pieces of wood to the beam so that I can support building structure off the side.

Here are two of the pieces wood, all drilled and prepared to attach to the moment frame beam. The bucket is filled with wood chippings for the compost.
Just the beam weighs a lot (over 1000 lb) plus each column is extremely heavy. I used two furniture dollies (they are supposed to be able to support 2000 lb each) to move the beam. They were creaking and flexing ominously.
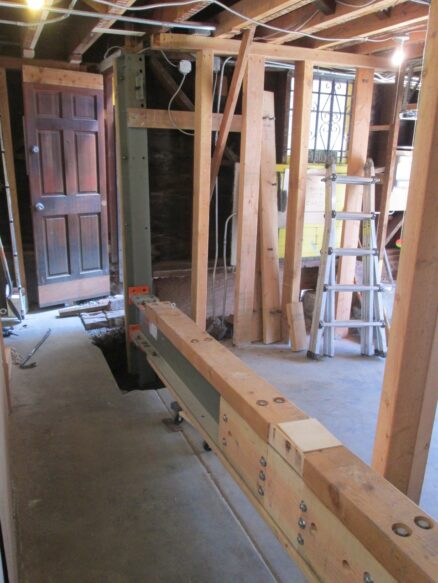
Once the beam was lined up in the correct location, I used a 20 ton bottle jack to slowly lift one end a few inches, then temporarily support it before lifting the other end. It took a full day to get it almost up to the floor above.

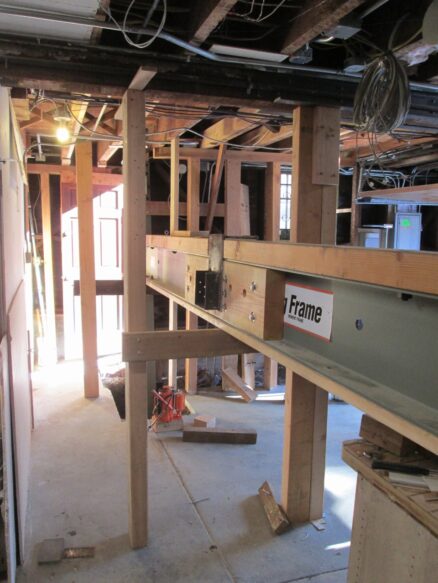
Once I got it close, I cut the old wood floor beam where this moment frame beam fits in. And I also had to disconnect all the wires and pipes that crossed over it.
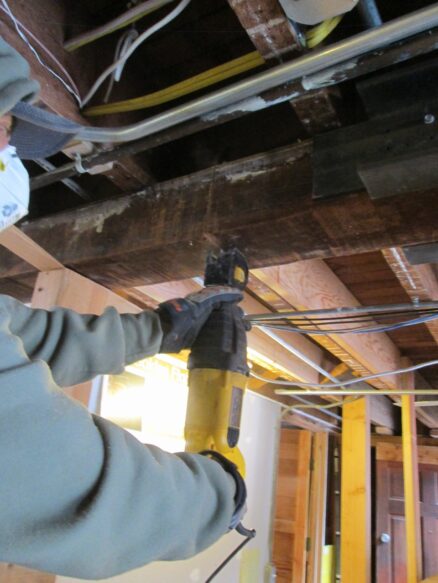
It took me over a week to get all the wires and pipes reconnected. It’s interesting thinking about our priorities for what we need. First I reconnected the power for the kitchen, to keep the refrigerator running. Then the main water pipe. Then bit by bit I got the electrical reconnected. But we were taking cold showers most of the week until I could get the gas reconnected. Finally I got the network cables connected. I still don’t have the duct for the heating in the front room reconnected.
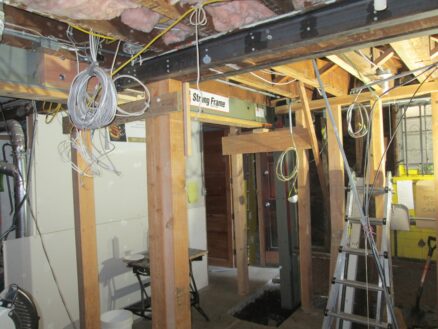
I made one mistake in measuring for the holes in the beam: I drilled the hole for the gas pipe right where the duct for the furnace was. The beam was already up in the air when I figured this out, so I had to lift the mag drill up, and drill a new hole. Because the floor joists were in the way, I couldn’t get the hole quite as high as the other ones, so the gas pipe will be a little below the ceiling.
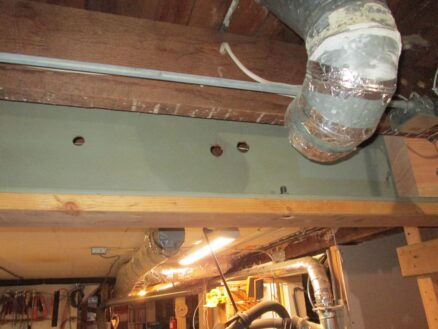
Here is the new steel moment frame beam temporarily supported in place.
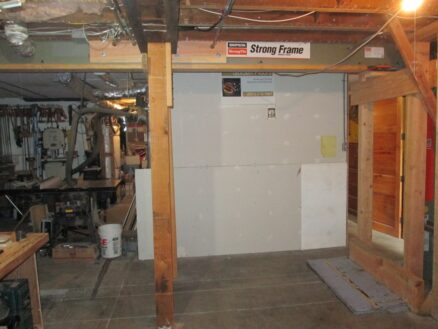
I have lots of temporary support posts holding everything up while I do the foundation.
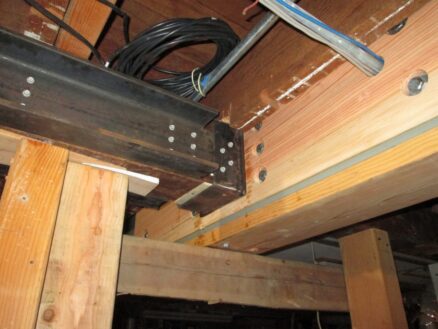
The old steel beam that used to be here was too small for the load, so it had sagged about an inch in the middle. The floors in the house are all sloping because of it. I figured when I put this new frame in place, I’d level out the floors – which I expected would damage the plaster.
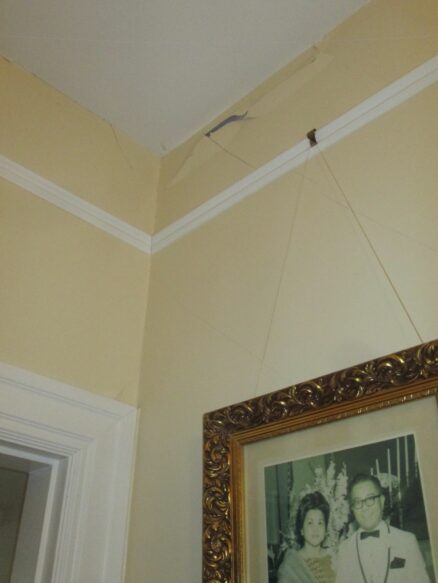
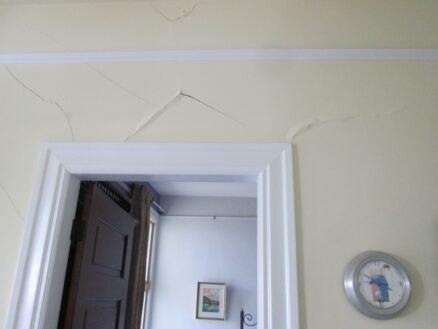
What I hadn’t expected was how badly it would crack the plaster. Now I again have to fix all this plaster that we had fixed perfectly over a decade ago.
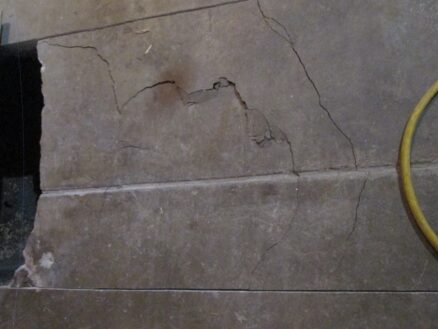
I also didn’t anticipate quite how big the jacking loads would be to lift the beam into place. Once it the moment frame connected with the house and started lifting the house, the loads were huge: Enough that the jack crushed and cracked the concrete floor slab in the garage.
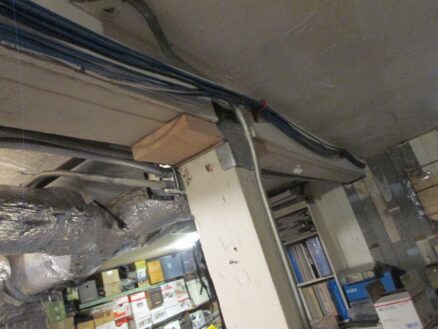
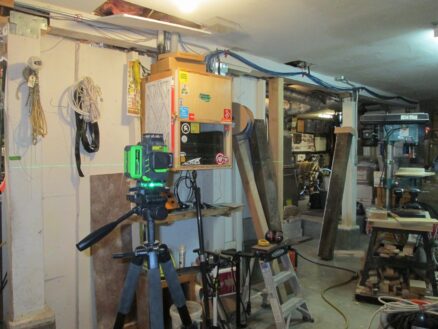
I used a laser level to figure out how much to jack up the structure. Once I got the beam to the correct height, I added temporary wood pieces that I’ll replace with a steel post cap.
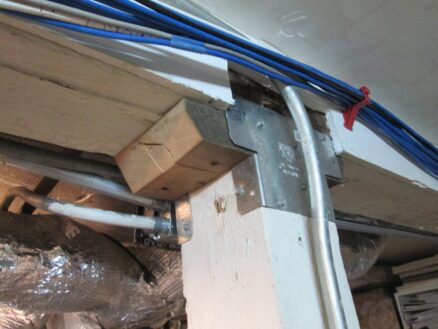
This piece of wood is almost 2 inches thick: That’s how much the floor got raised at this point.
I talked about the floor joists being notched on the bottom in a previous post. But all this leveling of the floors suddenly made it obvious when a floor joist supporting one of the walls in the living room was sagging. So I added a joist to that one.
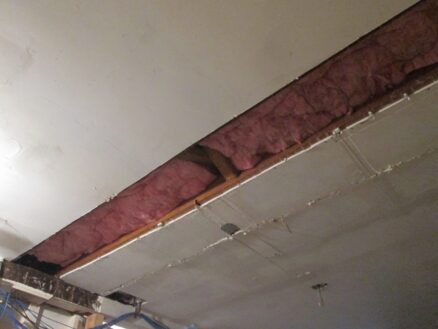
Again, I had to disconnect wires and reconnect them to put the new joist in. I also screwed this one up: At first I reinforced the wrong floor joist.

I spent a full day, removing the drywall, disconnecting the wiring, adding the reinforcing joist, reconnecting the wiring, and putting everything back. When I went up to the living room at the end of the day, I was surprised how little the sagging floor joist had changed – until I realized I’d reinforced the wrong one. So the next day I had to do everything again, but for the correct joist this time.
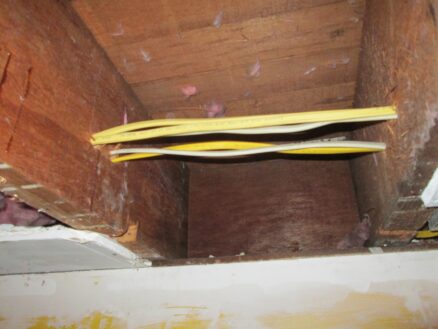
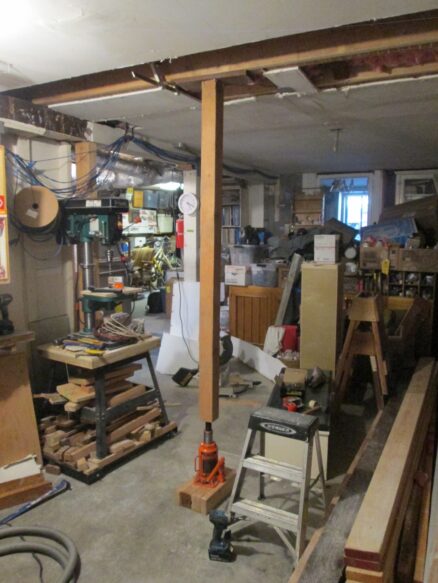
I temporarily jacked the center of the sagging floor joist, connected it to the new reinforcing joist, and then removed the jack.
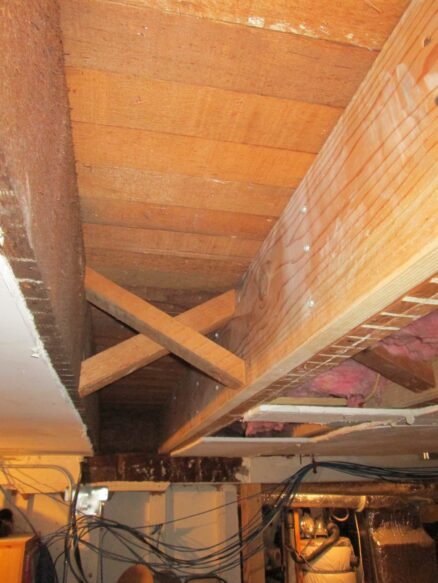
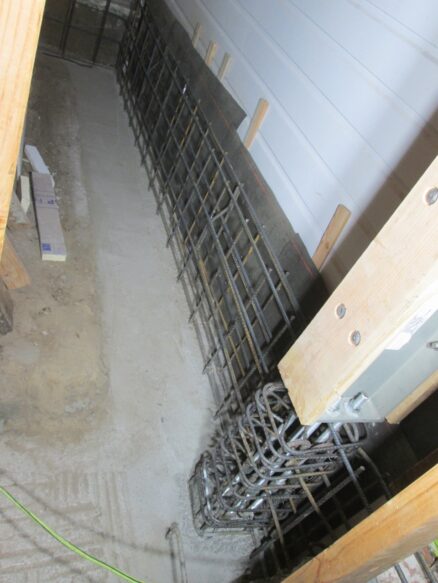
Now on to the concrete work. I’ve got the reinforcing done for the wall and the pilaster below one of the steel frame columns. Now I have to build formwork to hold the wet concrete in place, but I have to get the rebar inspected first.
Bella bella… we miss you…

fancification

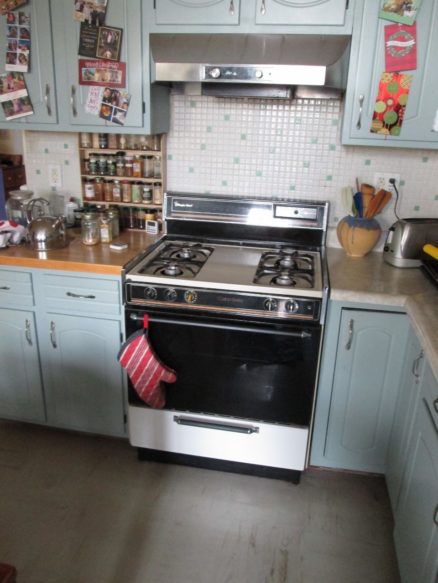
A friend of mine was remodeling his house, and planned to replace all the appliances, too. He offered them to me – stainless steel commercial grade stove, refrigerator and dishwasher. Considering one burner on our stove never lit without a match, I think it was time for the stove to go…

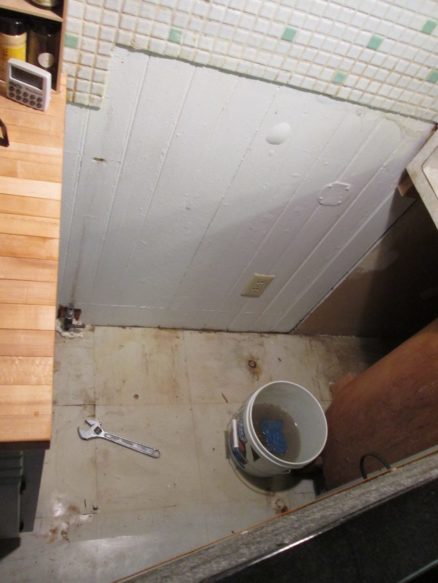
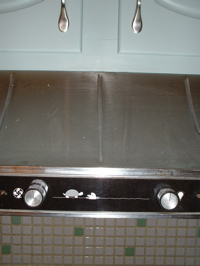
Still usable, but not great. It’s done it’s part. Of course, nothing goes perfectly smoothly: The old gas line interfered with the new stove, so I had to move it.

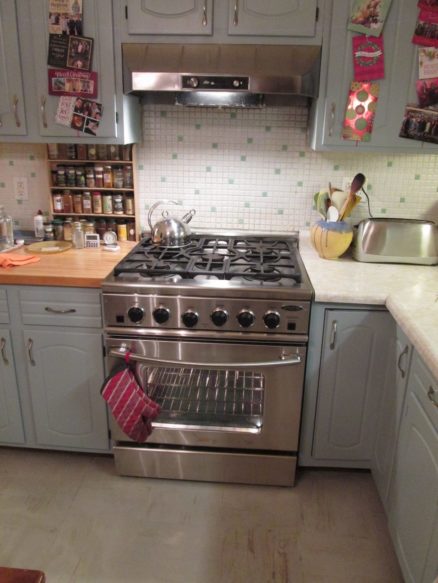
But wow, this thing is fancy.

And the ‘fridge: It’s been making some funny noises, but still works fine. But a free new stainless steel fridge, with the freezer on the bottom…

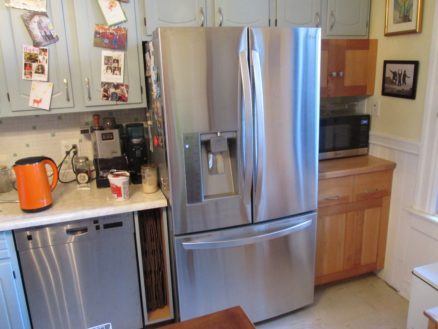
This one wasn’t as easy: The new fridge is not as deep as the old fridge, so that will fit better next to the table, but it’s six inches wider, and has an ice maker (needs a water hookup). We barely use ice, so really don’t have a use for an ice maker, but I still plumbed it into our water filter. I moved the cabinet on the right side of the fridge up, so that the bottom aligns with the cabinet next to it. Things are starting to look spiffy down here.

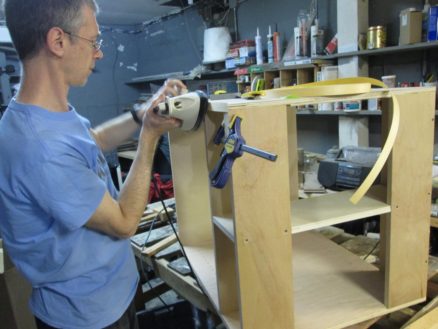
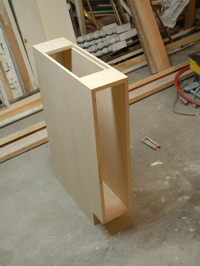
And I made a new cabinet to fit on the right side of the new fridge. Actually, I made two cabinets: a smaller one above, and a new one below.

Oh, and I got a great new addition to my workshop (Christmas present). It may not look like much at first, but on the right is my dust collector with a new high efficiency air filter. It used to be a fabric bag that allowed fine dust to get into the air: Effectively it was only collecting the large dust, and blowing the most harmful fine dust particles into the air. It should have been called a “dust circulator.” I had to work with a respirator on if that thing was running, and eventually everything would get covered in dust. Mole bought a cover for the car, because she got tired of the dust coating. Oh, and the new filter is so much more efficient than a bag, so it picks up the dust at the tools better. I attach a plastic bag to the bottom, and the bag fills up with all the dust – none in the air. Thank you John and Judy.

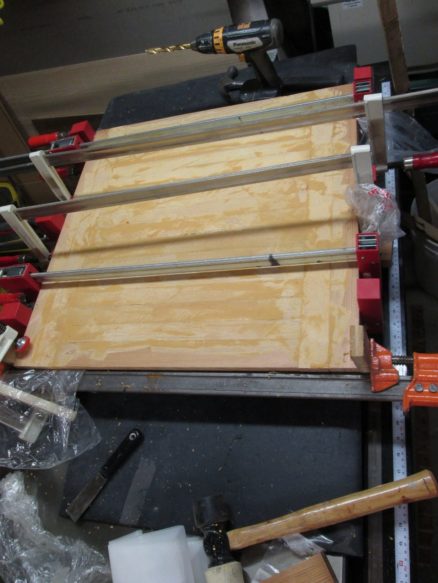
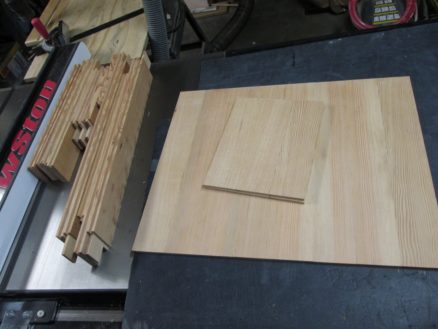
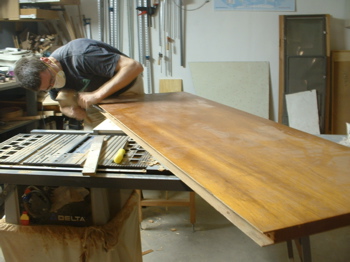
Here I’m clamping together reclaimed wood to make a butcher block top for the top of the new cabinet. Beautiful fine vertical grain douglas fir saved from the dump.

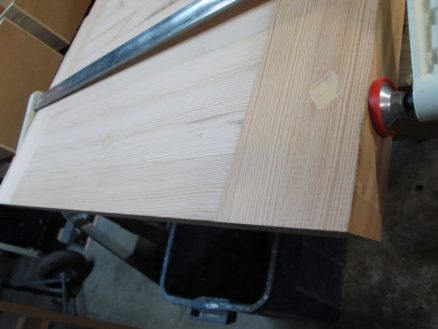
Sometimes there were nail holes in the wood: I filled them with wood plugs. The picture above is before I’ve drilled out the hole and added the plug.

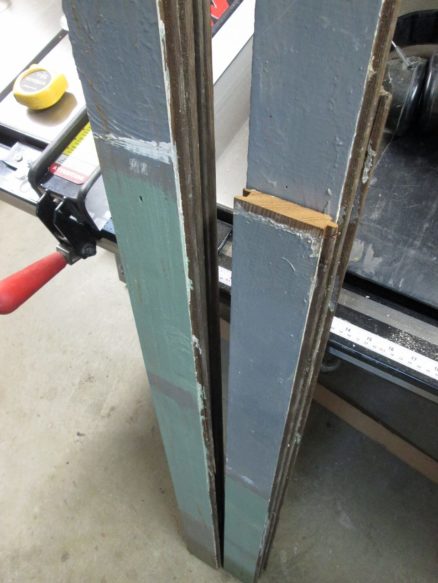
More reclaimed wood for the cabinets. This is before it’s gone through the planer.

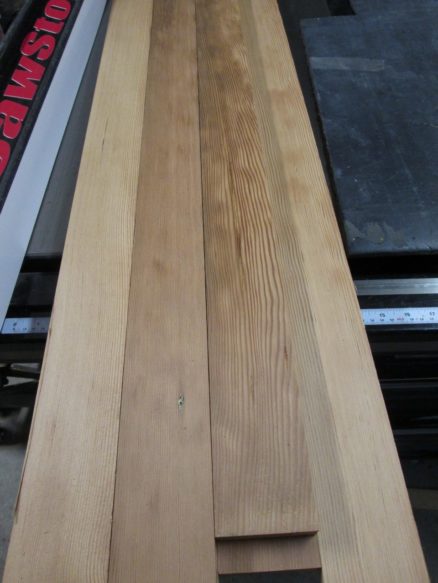
Comes out beautiful afterwards.

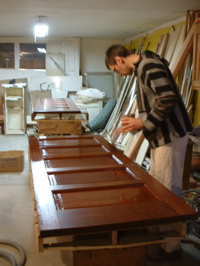
Here are some of the pieces for the cabinet doors. I made them with mortise and tenon joinery. You can see all the tenons cut above on the left. The pieces on the right will be the panels for the doors.

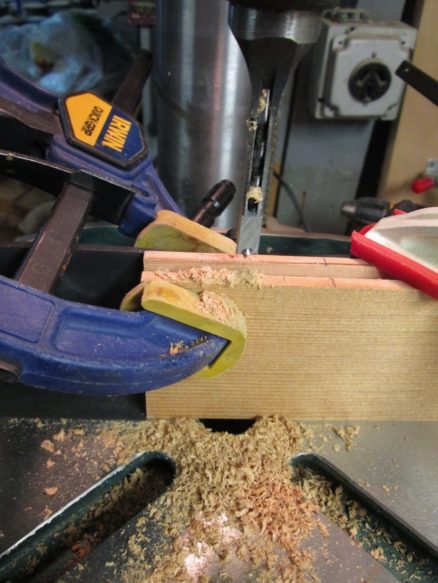
Here’s a close up of the mortise cutter: It’s an attachment for my drill press. It’s a square chisel with a drill bit in the middle. The drill bit drills out most of the wood, and the chisel squares up the hole. You cut a longer hole by joining the holes up next to one another. Much faster than by hand, but still it takes a while. The fastest way to do it is with a floating tenon machine, but I don’t have one of those.

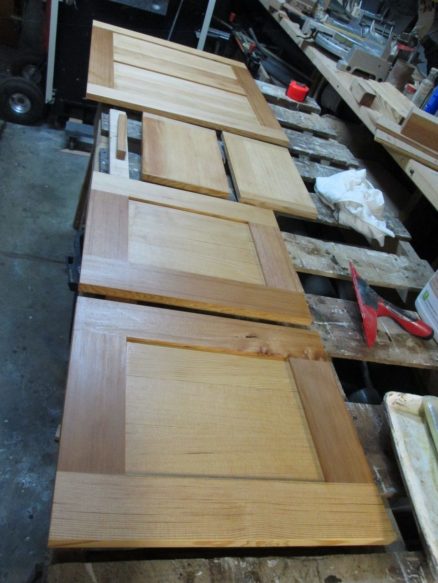
Here are the doors after the first coat of polyurethane.

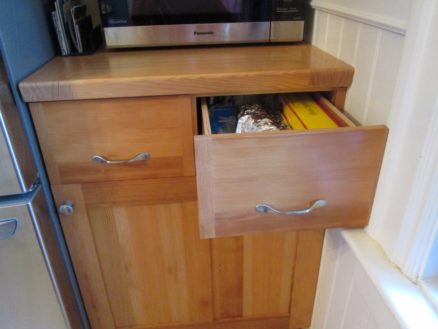
This is the new lower cabinet in place, next to the new fancy fridge. At last this corner is not an afterthought.

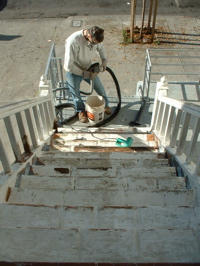
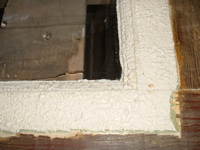
And sad news: My neighbor’s son Nick died. He helped me many times working on the house when we first moved in. His mental illness got a lot worse over the years, so he no longer was able to help, but I have some blog posts in this blog about the work he did. He was one of the strongest people I’ve ever known; single handed he picked up and put my 200+lb drill press on my workbench, carried thousands of pounds of concrete into the back yard to make the footings for the back stairs. I made some picture frames from two thousand year old redwood for some pictures of him working on the house. This piece of wood came out of our house; the density of the grain cannot be matched by any redwood you can buy now. The picture below is him working on our front steps. I feel the imperfection of this piece of irreplaceable wood represents Nick well.

’tis the season

it’s that time of year again. holiday parties, dressing up, shaking hands with strangers, eating finger food (my pet peeve, a bad combo during cold and flu season!) and late nights.

turtlemole1_12.11.09

here we are two fridays ago, after attending a dinner party at a “bread museum” at fisherman’s wharf on a very rainy, cold night. we came home with so much sourdough bread (restaurant party favors) we even gave some to the taxi driver.

photos2_12.12.09photos3_12.12.09

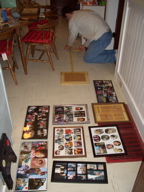
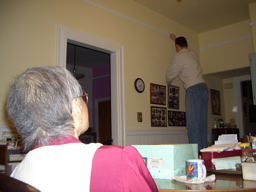
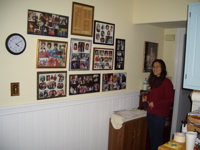
on saturday we finally hung the rest of popo’s photos in the kitchen. (left) first we laid out the photos on the floor. it was a challenge to arrange them because they were all different sizes. (right) popo sat and watched the entire time, laughing and thoroughly enjoying “the show.”

photos4_12.12.09photos5_12.12.09

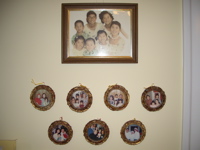
(left) photos of popo’s 7 kids. (right) photos of those 7 kids’ families.

that night we attended a beautiful piano and cello recital in berkeley, met up with friends and had a late dinner.

sketches7_12.12.09fabric6_12.12.09

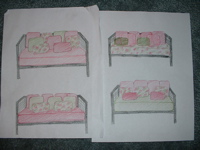
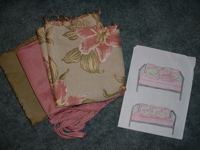
on sunday i started sewing a cover and pillows for popo’s new daybed. mathew really liked the sketches i made to help decide the color scheme.

stairs8_12.12.09stairs7_12.12.09

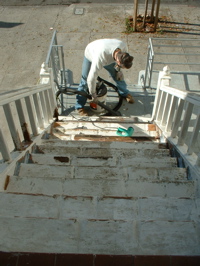
we finally got a break from the rain and mathew was outside sanding, scraping and paint stripping the stairs again.

daybed9_12.12.09daybed10_12.12.09

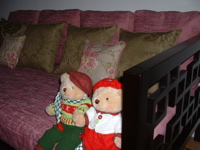
this is how the daybed came out. i made a fitted, quilted, pink cover for the twin mattress, 4 pink cushions, 4 green pillows and 2 fancy, floral, accent pillows. that was my first experience with cord piping. it went well!

daybed8_12.12.09

this is how popo’s living room is looking after she put out all her christmas “decorations.” all of these toys sing and dance and i can’t spend too much time with them when they are on. that christmas tree on the table (with the santa hat) is motion sensing, so you think you’re walking into a quiet room then suddenly the tree comes to life singing and talking to you, LOUDLY. somehow it has a moving face and freaks me out every time. there are also other singing things in the kitchen and in the hall.

ho! ho! ho! scary christmas?

slowing down

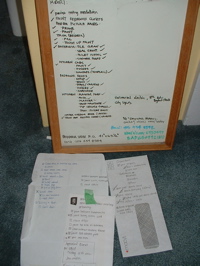
lists_20091124Now that Popo has moved in, we have slowed down a lot. It’s been over two years of working nonstop on the house. The photo shows a few of the checklists we made — with everything checked off. Feels a bit like I am climbing out of a hole that I’ve dug for myself! Hmm. Mole references…
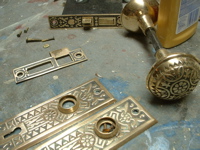
Over the past couple of weeks, we finished up the back door and put it back on. The laundry room and ‘tear-off’ room leak a lot of cold air, so the kitchen had been rather drafty. The hardware for the original door was some of the nicest decorative brass on all the doors (below left). This is the original brass hardware for the back door after Janeen and I polished it up and removed all the old paint.

backdoor3_20091124backdoor2_20091124

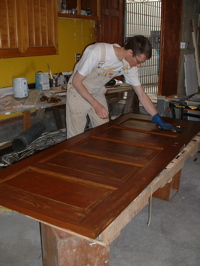
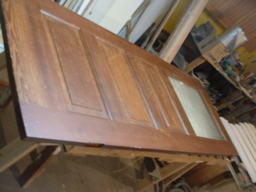
The door was stripped, carefully sanded, stained with “Early American” oil based stain and then two coats of integrally colored polyurethane “Natural Cherry”. I sanded the polyurethane between coats with a very fine grit (220) sand paper to help the polyurethane adhere better, and also remove any dust or roughness that got into the first coat of urethane. The doors all have an aged but cared-for look to them now, and the color polyurethane helps to unify the color of the door, filling, and any blemishes.

backdoor1_20091124backdoor4_20091124

Above right, you can see the door installed in the background.

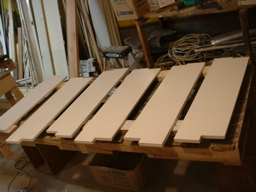
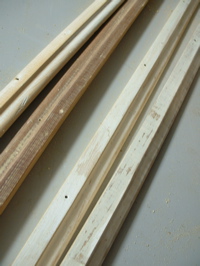
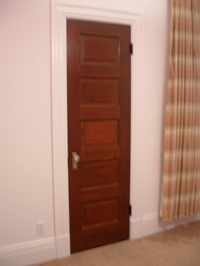
I also made some built-in shelves for the living room. In the space where there used to be a door between the living room and the bedroom, we now have built-in shelves for photo albums. I found pieces of wood for the shelves in the rather extensive pile of wood I’ve built up. Also the trim that holds them up is recycled:

shelves1_20091124shelves2_20091124

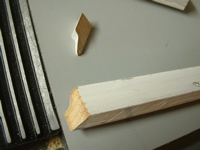
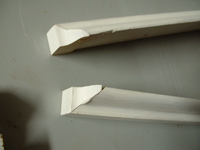
To make the front edge of the trim look finished and more decorative, I cut off and bevelled the trim, and added a piece of the same trim to return it to the face of the wall. Below right is a matching pair (left and right side).

shelves3_20091124shelves4_20091124

shelves6_20091124 shelves5_20091124

Above are the shelves as they are being installed. I had a bit of a dilemma: when in an old house where the floors, ceiling, doors (everything) slopes at various angles, do you install shelves so they slope the same as the floor? the tops of the doors? the ceiling? or ignore all that, and make them horizontal? I decided to make them slope the same as the top of the old doorway, so the shelves and the trim will at least both have the same slope…

While Janeen was out of town (she went to visit her “sisters” up in Seattle), I put insulation and gyp board on the ceiling of what used to be a bit of a scary little room in the garage. The photo below left shows it as it was a couple of years ago. Below right is with the gyp board on the ceiling, all the piping and wiring are now hidden.

garageroom1_20091124

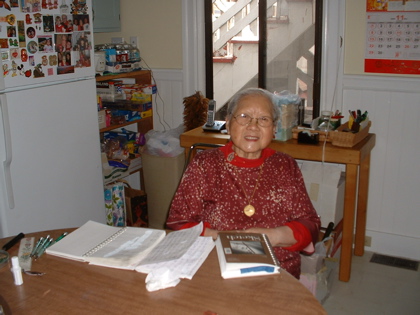
The kitchen is quite moved in. Popo is doing her ‘homework’ (as she calls it). In the background you can see the outdoor steps in the back yard that go up to our unit and still need much work…

popo_20091124

turtle + mole + mole

it was a stressful, tiring, crazy weekend…

mathew1_10.31.09jason2_10.31.09

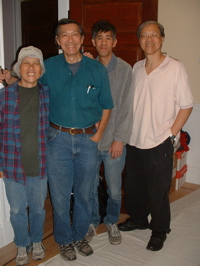
(left) mathew doing some last minute work on the kitchen (right) while my parents, older brother jason and uncle winston helped move boxes from my grandmother’s house to our house. we tried to get others to help but because it was halloween, no one else was able to…

moving3_10.31.09oven4_10.31.09

(left) as the moving continued throughout the day (right) mathew worked his way around the kitchen finishing things up.

movers5_10.31.09wires6_10.31.09

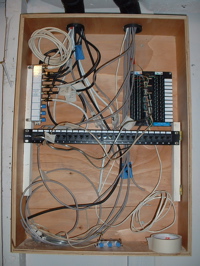
(left) they put in a long hard day but you wouldn’t know it from their smiles. i think because they were ready to go home! they left before it got dark and made it home in time for trick-or-treaters. (right) mathew and i worked that night. mathew is very proud of this cable/telephone junction box he created and organized in the garage.

butcherblock7_10.31.09floor8_10.31.09

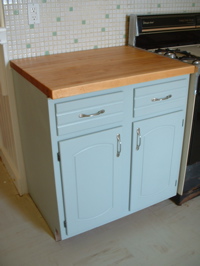
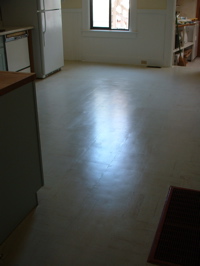
(left) the butcher block my mom refinished, how nice it looks in place. (right) mathew scrubbed the kitchen floor until it was reflective.

moving9_10.31.09bathroom10_10.31.09

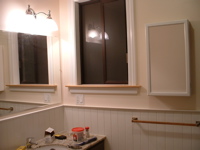
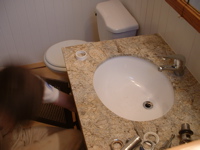
on sunday mathew and i joined my parents for another day of moving. (left) here is a view from my grandmother’s old apartment. (right) that night we went back to work finishing projects. here is my grandmother’s bathroom with a new mirror above the sink and a medicine cabinet to the right. we worked as late was we needed to then had dinner at midnight.

popo11_10.31.09popo12_10.31.09

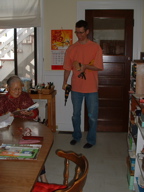
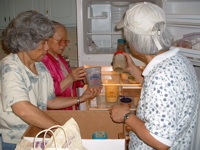
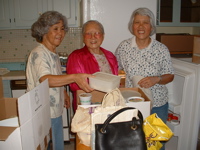
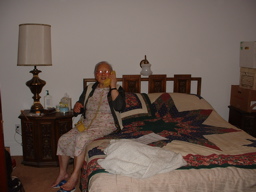
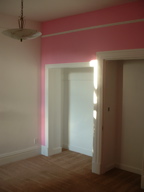
monday was another day of moving. my parents helped move more stuff over and professional movers brought the large furniture. it was a challenge trying to fit furniture from a 2 bedroom apartment into a 1 bedroom apartment, especially after all the boxes had been moved in! i did not take photos of any of the mess or chaos. even my office was completely filled and climbing was required to find things. (above) my auntie em, my grandmother and my mom unpacking in the kitchen. for anyone who questioned the bright pink we painted the bedroom, notice what color my grandmother is wearing…

dotd13_10.31.09dotd14_10.31.09

i was worried because my grandmother’s first night was also the night of the annual day of the dead (dia de los muertos) parade. (left) it consists of hundreds (thousands?) of people dressed as dead people holding candles, dancing, music and drumming till after 11pm. it’s a celebration of those we have lost and our street becomes completely filled with adults and children in costumes. everyone ends up in the park one block away, where there are altars and photos remembering the dead. we have a great view from our front steps. we wandered around a little bit but it was so crowded. this was the first year where we weren’t working during the parade, we enjoyed being able to sit outside on such a warm night and take it all in. (right) our neighbor created this dead light sculpture, a woman in costume poses beside it.

“Don’t just cry mournfully over the individuals, dreams and influences that have helped make you what you are. Dance for them; sing for them; honor them; leap into the air and kiss the sky for them.”

popo15_10.31.09em16_10.31.09

(left) during a really great musical portion of the parade i went inside to check on the noise level. my grandmother was talking on the phone, sharing her new phone number with relatives. she had no idea anything was happening outside. those new windows were expensive, but worth it! (right) my auntie em unpacked and organized all day and continued that night. we are so thankful that she could stay for a few days to help unpack and ease the transition for my grandmother.

family17_10.31.09

on day 2 my parents were back to move more of my grandmother’s things and my uncle gilbert stopped by for a visit. i expect to enjoy many more family visits in this new kitchen.

oh, i almost forgot to explain the title: turtle + mole + mole. my grandmother, like me, doesn’t enjoy the sun either, but she is more extreme, she likes curtains closed during the day and rarely leaves the house. but she loves visitors so let us know if you’d like to drop by, we’d love to see you!

and sometimes there’s cake…

it’s the last week before my grandmother moves in. there are lots of little finishing projects left.

switch1_10.24.09switch

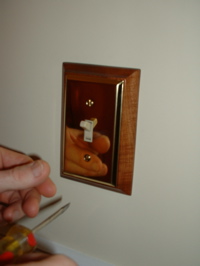
(left) this is the original wood switch plate frame in the kitchen. it’s now pretty after all the old paint was removed. (right) a brass plate cover completes the look.

paint2_10.24.09paint2a_10.24.09

we had my mom paint this cabinet pink. my dad really doesn’t like the pink but it will be a fun pop of color when you open this cabinet.

paint2_10.24.09cabinet4_10.24.09

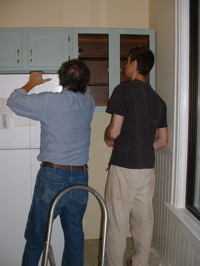
(left) i put a second coat of white paint on this living room wall. (right) mathew and my dad put up this final kitchen cabinet to the right of the refrigerator.

closet5_10.24.09closet6_10.24.09

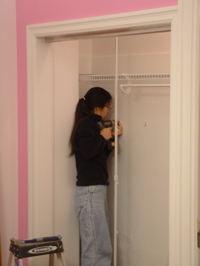
(left) this is what FRUSTRATION looks like. i can sew a wedding dress, knit a cabled afghan, assemble a model car kit. i thought one of those closet organizer kits from home depot would be simple to assemble. the kit is perfect for an 8′ wide closet, but for this 5′ wide closet it took some design and customization. (right) i won’t even tell you how long it took me to get these 5 silly hooks onto the wall!

flowers13_10.24.09birthdays14_10.24.09

on a happier note, saturday was my mom’s birthday, and she brought ME flowers from her garden! mathew’s birthday was on monday so i had a little cupcake birthday surprise for the two of them.

cupcakes15_10.24.09cupcakes16_10.24.09

we cut each cupcake into 4 so we could all share the vegan carrot and chocolate cupcakes. my dad thought his were very romantic! so cute.

rail7_10.24.09shower8_10.24.09

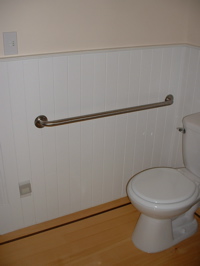
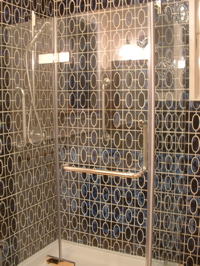
(left) a safety rail was installed in my grandmother’s bathroom. (right) this is what her shower looks like. (more safety rails.)

janeen9_10.24.09mathew10_10.24.09

a frustrating evening. (left) i continued working on my closet. grrrr. (right) mathew having trouble and getting mad at telephone and cable tv wiring. “i don’t even watch tv!” maybe the cable wires sensed his negativity?

cabinet11_10.24.09picturerail12_10.24.09

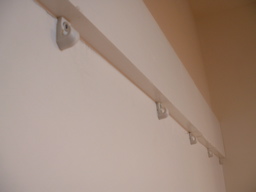
sunday: (left) my dad putting doors on that last cabinet. (right) mathew installing picture rail in the kitchen. it’s just what this room needed.

closet19_10.24.09janeen20_10.24.09

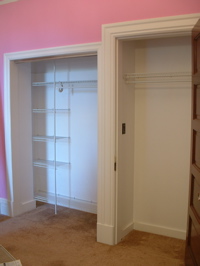
(left) i finally finished the closet organizers! because of the size of this closet i have left over shelves and pieces. i installed a shelf and rod in the second closet. i may install another shelf in the living room closet. (right) sunday night i painted all the picture rail in the kitchen. (sorry, it’s really hard to see in this photo…)

cabinet21_10.24.09vent22_10.24.09

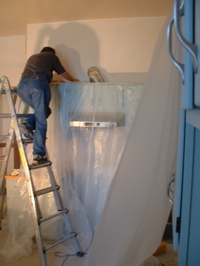
on monday, mathew’s birthday, he took the day off work and did various projects around the house. i didn’t follow him around or take any photos. (left) he built this cabinet that will act as a support for the counter between the dishwasher and the refrigerator. (right) because the old vent fan label was really old and messed up mathew had me design a new one, complete with turtle + mole and symbols instead of words.

pizza24_10.24.09birthday23_10.24.09

that night i made pizza for mathew’s birthday dinner and a yummy chocolate cake.

birthday25_10.24.09mathew26_10.24

are we done yet?

dad1_10.17.09mom2_10.17.09

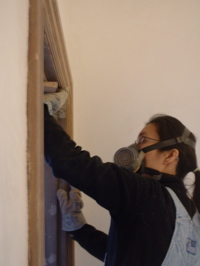
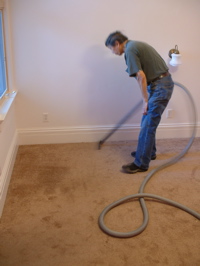
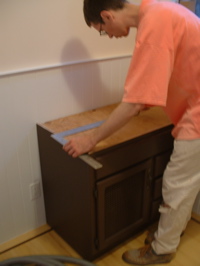
last weekend my parents were here helping with paint prep in the kitchen. (left) my dad masked off the cabinets with plastic and tape. (right) my mom vacuumed trim, walls and floor.

janeen3_10.17.09corner4_10.17.09

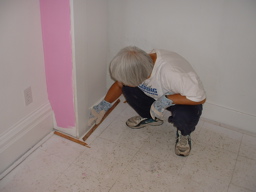
(left) here i’m caulking the gaps in this cabinet. (right) on that corner just below my knee in the previous photo, mathew added this little bit of chair rail. he felt like the wall/corner just needed something. only a perfectionist would do something like this!

mathew5_10.17.09janeen6_10.17.09

(left) after prepping the room we sealed off all the openings so the paint spray and fumes would be contained in the kitchen. here mathew is painting primer on the walls.

before they left, my parents helped me move some of my office furniture from my temporary office (my grandmother’s future living room) into my office. after my grandmother moves in we’ll be working on my office next. it will be a challenge since we won’t have any more spare rooms to store furniture in while we work. we’ll probably have to move everything into the center of the room and cover it like we did with the refrigerator in the kitchen.

(right) later that night i painted the remaining unpainted wall in the temporary office/living room. because the kitchen was sealed off getting to the garage became a challenge, we couldn’t just walk down stairs from the kitchen we had to go through the back yard or front yard first, luckily there are multiple ways of getting into the garage. but things like getting a paint brush, a ladder or the mail became difficult, but that only lasted a few days.

door7_10.17.09door8_10.17.09

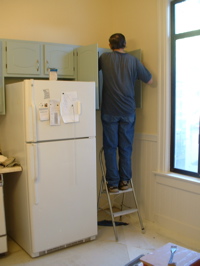
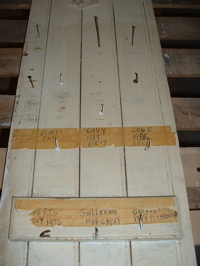
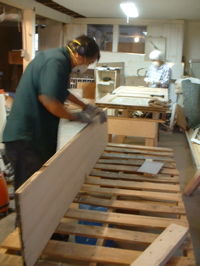
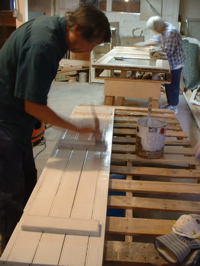
on sunday my dad worked on the door that goes on that tall cabinet in the kitchen that i was caulking the day before. (left) the family that used to own this house had 5 kids and the boys seemed to enjoy working on old cars, especially chevys. we know this because the inside of the cabinet door had labeled hooks. we like all these old clues about the previous life of this house but it will probably look better to remove this one. (right) my dad sanding the door after all the hooks were removed.

dad10_10.17.09mom9_10.17.09

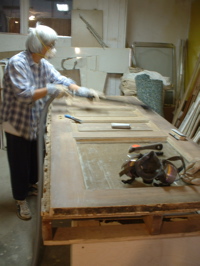
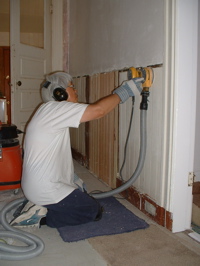
while my dad worked on the door my mom and i sanded and scraped the door that connects the kitchen and the laundry room. it’s the last door we’ll be refinishing. we’re pros at this now.

medallion11_10.17.09medallion12_10.17.09

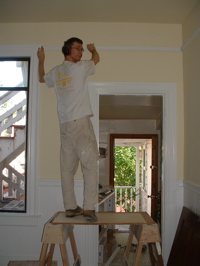
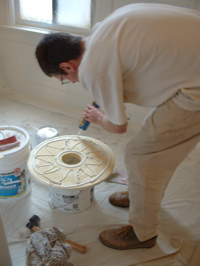
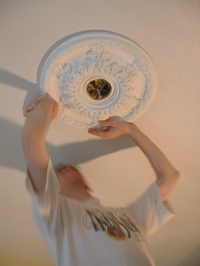
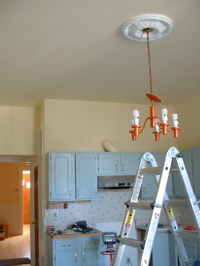
mathew attaching this medallion to the kitchen ceiling. mathew has gone medallion crazy, he loves them and wants them everywhere. this one was actually a gift from our friends jennifer and doug. they had it left over from their remodel and gave it to us when we had brunch with them the weekend before. they were happy it was going to a good home and we were happy because we got a medallion for the kitchen!

paint13_10.17.09paint14_10.17.09

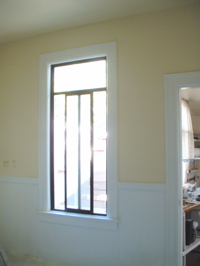
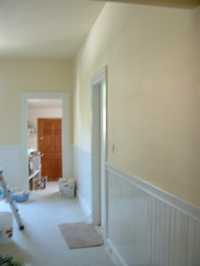
i wanted to paint the kitchen an off white beige, similar to what had already been there. mathew wanted a warmish yellow similar to what we have in the entry and hall. what did we do? mathew took a couple gallons of leftover white and yellow paint from previous rooms, added 20 drops of red acrylic art store paint and this is what we got, sort of a lighter version of what’s in the hall. not exactly what either of us wanted but cheerful and close enough. and the price was right. (right) we’re still not sure what to do about this crazy orange lamp. i suggested painting it a different color or getting a new one. we’ll see… this house is full of color!

paint15_10.17.09paint16_10.17.09

another post?! aka the final lap

okay, so this doesn’t really have much to do with the house. except to prove that we do actually get out and have some fun occasionally…

ingrid1_10.9.09ingrid2_10.9.09

last friday we went to see ingrid michaelson play at the great american music hall. (i bought tickets back when we thought we’d be done with the house by now.) ingrid’s one of my favorite artists. we even had dinner there before the show! mathew calls her “ingrid michaelperson” he wanted that to be the title of this post, but that makes no sense.

ingrid3_10.9.09ingrid4_10.9.09

(left) this is a photo of the ceiling. this is one crazy, ornate building, built in 1907. (right) the opening act was matthew perryman jones, all by himself with his guitar. we’d never heard him before but we loved him unplugged, impressive guitar skills with a voice that sounded like bono. during the break i wandered downstairs to meet him and tell him i liked his performance. he was very nice.

ingrid5_10.9.09

and then ingrid and her band played: THE MOST FUN CONCERT EVER.

ingrid6_10.9.09

lots of audience participation, stories and zany performances. mathew and i were cracking up the entire time. we can’t wait till she’s back in town. here’s a taste of what she’s like on youtube (but a little more subdued since it’s a morning radio show.)

mae1_10.10.09mathew2_10.10.09

the next morning we had brunch at jennifer and doug’s. sorry no photos! but they made us yummy breakfast burritos and smoothies and we stayed a little too long, talking and catching up. (left) that afternoon our friend mae came over to help with some paint stripping. she didn’t want her photo taken. i was going to blur out her face but it’s so small, it’s already blurry. (right) mathew buzzing away with the sander in the kitchen.

ceiling3_10.10.09ceiling4_10.10.09

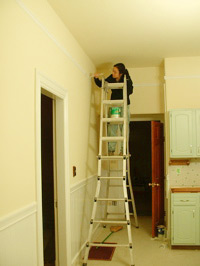
that night after dinner mathew went back downstairs and tsp’d the kitchen ceiling. (left) here mathew is showing how dramatically different the ceiling looks when cleaned. (right) so shiny! doesn’t that make you want to get up on a tall ladder and bend awkwardly backwards and clean YOUR ceiling?

dad6_10.10.09mom5_10.10.09

on sunday the parentals were back to help. (left) my dad filled around the new outlets with grout he tinted with yellow paint to match the “vintage” grout. (right) my mom, big surprise, did more sanding.

mathew7_10.10.09janeen8_10.10.09

(left) mathew stained doors in the garage. (right) i sanded in the kitchen. sanding seriously goes on forever.

covers9_10.10.09covers10_10.10.09

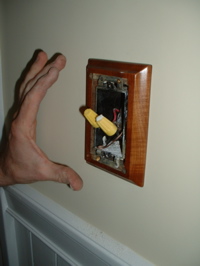
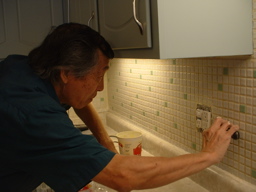
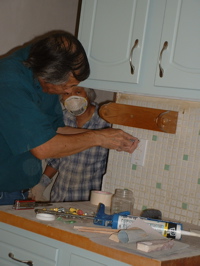
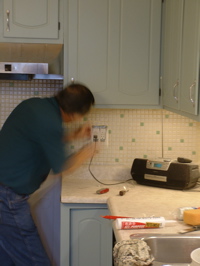
the kitchen coming together… outlet cover plates! when we first moved in, this kitchen counter had one electrical outlet. ONE. and everything in the house was on this circuit, so if you used the toaster the lights dimmed. if you used the coffee grinder the lights dimmed. you get the idea.

sink11_10.10.09sink12_10.10.09

whenever i think i’m going to take a spontaneous photo of mathew doing something, he moves! (left) classic mathew working photo. (right) please hold still. thank you.

window13_10.10.09window14_10.10.09

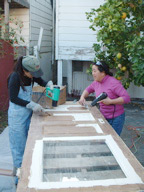
that door that mae and i stripped has a big glass window that mathew wanted us to avoid with our heat guns, for fear of cracking the glass. he used chemical paint stripper on one side. not only is it a gross, smelly, toxic mess, but it doesn’t even work that well. mathew is thinking we’ll risk it and use heat guns on the other side.

door15_10.10.09door16_10.10.09

mathew took tuesday off work and worked on the house. (left) i found him in the garage polyurethaning 3 doors. i tried to get a photo of all three at once but couldn’t fit them in. (right) the bathroom door in place. it is possibly the narrowest door i’ve ever seen.

knob17_10.10.09mathew18_10.10.09

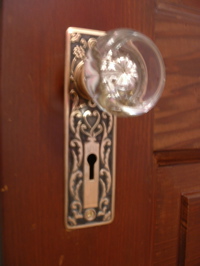
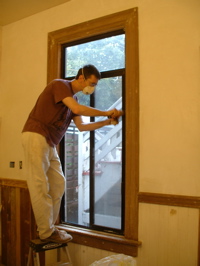
(left) really pretty ORIGINAL door knob plate that was hiding under 95 years of paint! sorry, the photo is blurry. (right) mathew filling and putting the finishing trim pieces on this kitchen window frame. looks like there was some sunlight after a crazy, rainy morning.

delayed post

for a couple of days this week you might have noticed our blog was just a blank white page. what did it symbolize? complete neglect! not really,.. but we’re back!

trim1_10.3.09trim2_10.3.09

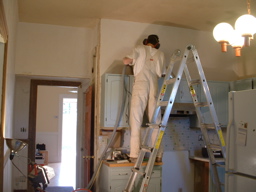
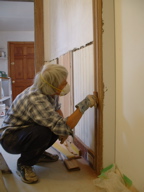
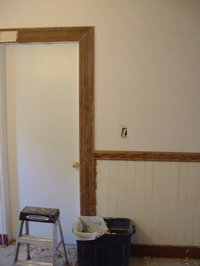
mathew paint stripped most of the trim in the kitchen in one day. (left) door, window and chair rail trim. (right) i’m not sure what he’s trying to capture in this photo of the door trim, maybe how thick it is with almost 100 years of paint?

sometimes we wonder why we go to the effort of stripping the paint just to paint it white again. but it does make a difference especially when we fill all the cracks, dents and holes. afterwards the trim looks crisp and new again.

dad3_10.3.09mom4_10.3.09

my parents sanding a door that will be stained and polyurethaned. these doors used to be white and become a rich reddish brown. very noticeably different!

mathew5_10.3.09janeen6_10.3.09

mathew stripping the window frame and i take over so he can work on other projects…

plaster7_10.3.09plaster8_10.3.09

…like making this wall above the kitchen cabinets pretty again! there’s new plaster above the kitchen entrance as well.

dadmom9_10.3.09jangs10_10.3.09

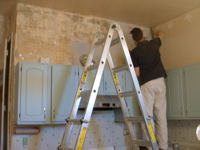
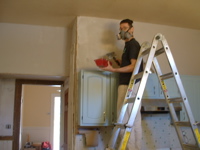
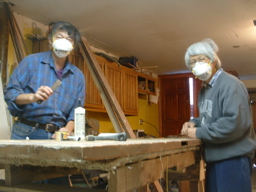
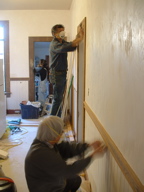
my parents again (left) filling, gluing and sanding, the same door? a different door? my dad says they’re smiling underneath their masks. (right) finally released from the garage, more sanding for my parents…

sill11_10.3.09sill12_10.3.09

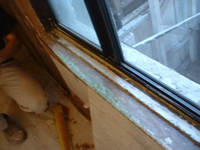
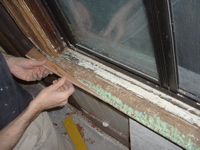
(left) for some reason the kitchen window sill and frame had been abused beyond recognition. we think the previous owners cut part of it to fit their refrigerator in. nice. but we can’t guess why the front edge looks like it suffered from years of gnawing. as far as we know there were no pets in this house, but there were 5 kids… (right) after filling, sanding and replacing a corner piece we’re bringing this window sill back to life. once it’s painted you may never know its past life.
door13_10.3.09

another effort in our environmentally conscious remodel: resizing closet doors to fit the new smaller opening. yes, they’re cheap, (ugly?) hollow-core doors but with a little of mathew’s time they are resized. money is saved and nothing ends up in landfill.

all kinds of progress

momdoor2_9.19.09

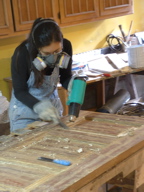
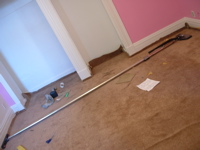
(left) on saturday my mom replaced the missing carpet tack strips in the bedroom. (right) while i stripped door paint in the garage. mathew and my dad went to pick up wood trim and a new marble vanity top.

flake3_9.19.09flake

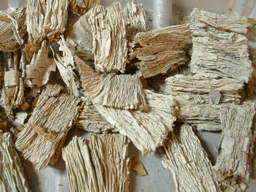
it’s funny, while working on the house, building materials often remind us of food, usually desserts, chocolate, frosting, ice cream, etc. (left) as i was stripping paint it would come off in bunched up, wrinkled piles. (right) they looked a lot like pale cadbury flake bars from england. except ours are crunchy and lead flavored!

mom5_9.19.09dad6_9.19.09

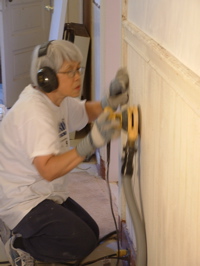
meanwhile upstairs (left) my mom sanded the wainscoting while (right) my dad cut and installed carpet padding in the bedroom.

mathew7_9.19.09carpet8_9.19.09

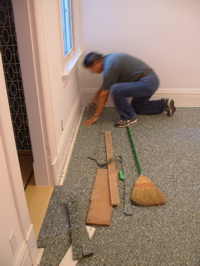
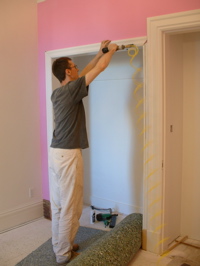
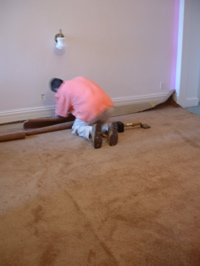
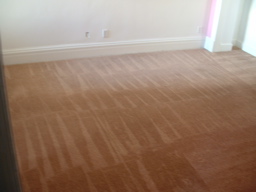
(left) mathew cut and installed the baseboards in and around the closets and added new door trim. it doesn’t match our original 95 year-old trim but it’s similar enough and mathew enjoyed how easy it was to cut and install. (right) on sunday morning mathew and i installed carpet in the bedroom. this carpet was previously in the living room, it was in really good condition so we held onto it and since it was larger than this bedroom we were able to reuse it. my grandmother doesn’t like carpet, she has trouble walking on it. but she’s mentioned falling out of bed once or twice and she likes to watch tv really LOUDLY so we’re hoping the carpet softens things.

carpet10_9.19.09carpet9_9.19.09

first we laid out the whole carpet and pieced together the closets. using a rented carpet stretcher and knee kicker mathew attached it to the carpet tacks around the perimeter of the room. we used a self-adhesive fiberglass tape for seams and joins, we hope it holds things together! ideally you should use heat-activated seam tape but our local store didn’t carry it.

dad11_9.19.09mom12_9.19.09

(left) my dad prepped and plastered this strip of wall near the kitchen entrance. (right) my mom continued sanding wainscotting.

dad13_9.19.09mathew14_9.19.09

(left) my dad brought his carpet cleaner and cleaned the entire carpet until it looked brand new. (right) mathew created a plywood top for the bathroom vanity that will hold the sink and marble top.

carpet15_9.19.09carpet16_9.19.09

how the carpet and bedroom looks now.

kitchen

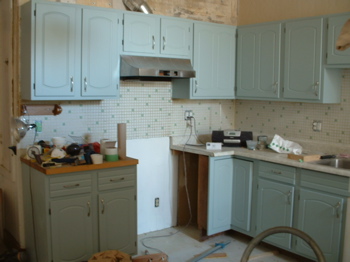
the kitchen cabinets with handles.

neighbor18_9.19.09

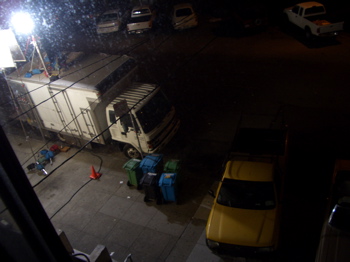
and the filming continues next door and in our driveway… mathew talked to our neighbor last night and found out that it’s not a rap video but a “documentary” about him. the film is being made by british film students and will be shown in november at a london film festival. (above) after it got dark they had a generator powering a bright light shining into our neighbor’s bedroom; this went on for a few hours. the light was to simulate the sun shining as our neighbor is waking up in the morning. funny documentary, filming morning at night… where the sun usually rises on the other side of the house…