England, the Garden, and Tile (plus kitties)

Well, one of the big things that happened last month is that I went to England with Misha. It was a short visit (the pictures are linked to a larger version).


18-farmersMkt 37-changedPriorities

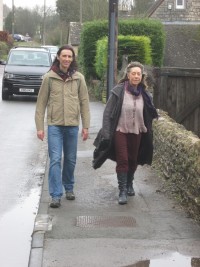
On the way up to Mum’s house on the first day, we walked through the farmers market – I got a bit turned around, and didn’t realize which street we were on and assumed it was really small this time of year (above left in front of the only vege stand we found on this street). Above right: “Changed Priorities Ahead” (hopefully they are enjoying themselves more).

18-farmersMarket

We went back to the farmers market with mum – a bit late as everything was getting closed down for the day. We still got some yummy flapjacks, though.
26-badgerArt

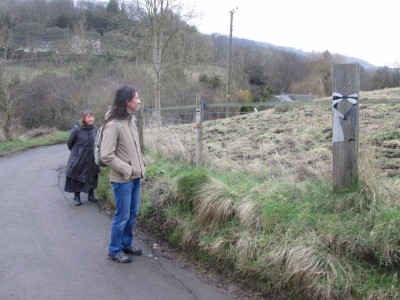
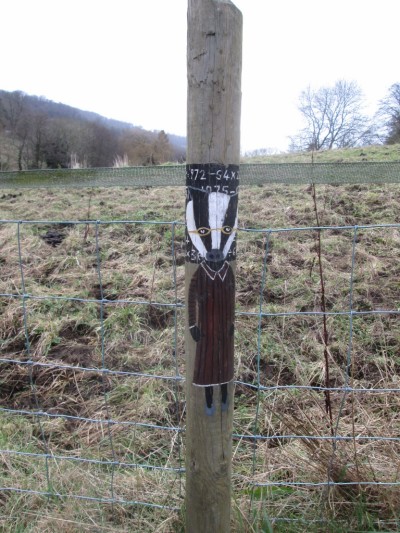
We went on a long hike to the Woolpack (famous because the author Lorrie Lee used to love this pub), had a pint and some “chips”, then continued the hike up Swift hill. On the way up the hill, we came across paintings of badgers in many different costumes on the fence posts. There must have been over thirty paintings. They were painted as part of a protest against the “badger cull“.

28-badgerArt

27-badgerArt

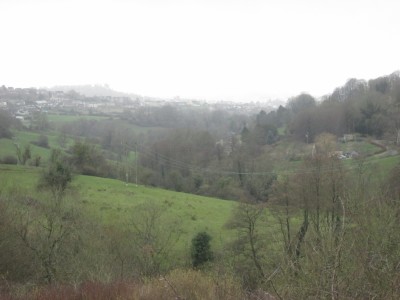
29-viewFromSwiftHill

The weather was quite warm (for February), but drizzled on the day of our hike. This is the view from the top of Swift hill, looking down over the Stroud valley toward the river Severn (off in the haze somewhere…)

31-mumMisha32-snowDrops

Mum and Misha sitting at the top of Swift hill (just before Misha pulled out some energy bars to share). The snowdrops were all out – couldn’t help trying to catch a photo on the way down (above right).
25-blacksheep

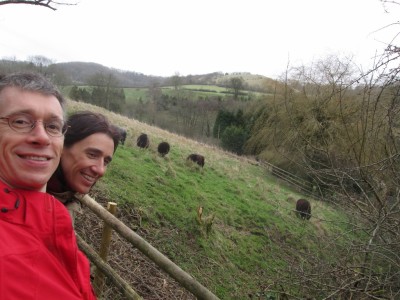
Here I’m trying to take a selfie with the black sheep. Who isn’t a black sheep in some way?

24-blackSheep

The flash made their eyes glow. Kinda creepy?

23-selfies22-longwalk

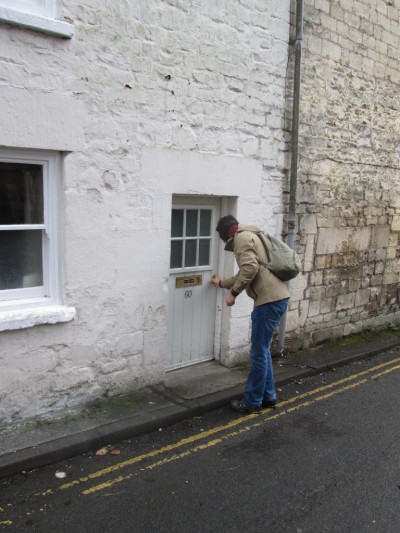
21-hobbitDoor

We rented a very little house in Stroud to stay in for the week. Here’s Misha locking the front door. Yes, we did have to duck to walk in. Fortunately, the ceilings were a little higher!
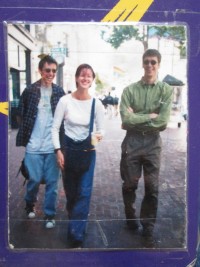
20-yummyBreakfast 19-oldphoto

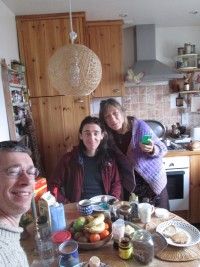
Above left: breakfast! Above right, a photo of Misha, Mia and me from about fifteen years ago. Maybe more.

IMG_3508 (1024x768)

We also took a trip up to Manchester to visit a family friend (our second mum Jaya, from when we lived in a house filled with eleven children and three single mums). I’d not seen her for over ten years – Misha probably more than 20!
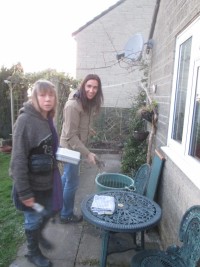
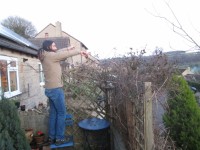
36-gardening 35-trimming

Mum wanted us to break down a brick wall and do some hedge trimming while we were visiting. I refused to climb up a ladder on the sloping driveway to trim branches – so Misha did it!

34-MumHouse 33-gooAppetizing

Above left is a photo outside mum’s house. Above right: Does this product name look appetizing to you (Gü)?

38-lastDay

One last photo before we took a train back to London.
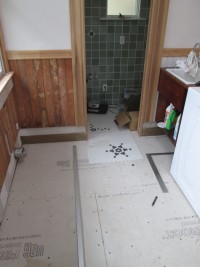
04-startingTile_2016031305-centerStar_20160313

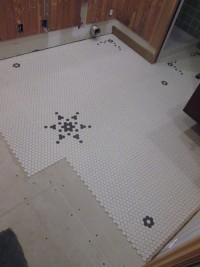
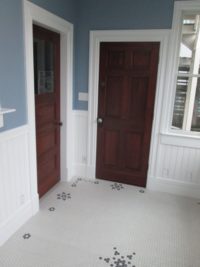
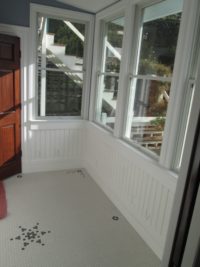
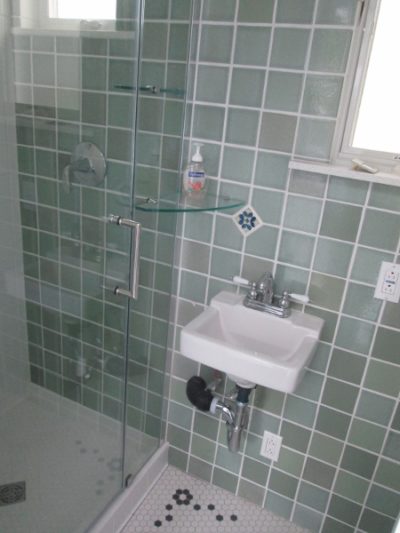
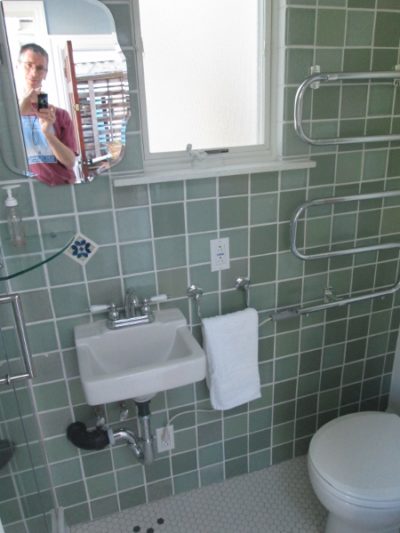
Hmm, so I also did some tile work. Actually, I finally finished the tile on the floor in the laundry room. This is the hexagon tile, with some black tiles used to create patterns. Initially, I was planning to do a border in this room. Then we decided to just do the same patterns as the bathroom, and also something in the middle. And then I added an extra little circle at the center of each wall line. And then (see later)…

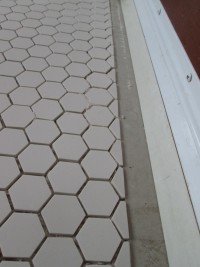
06-centerStarDetail_2016031308-tileEdge_20160313

Above left, a detail of the pattern in the middle, and above right is one of the only cut edges (at the door).
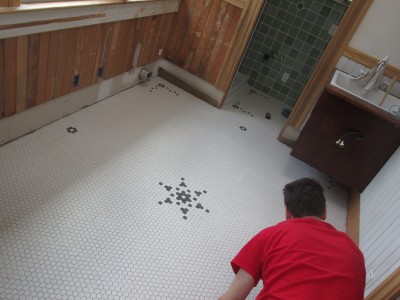
07-turleOnKnees_20160313

Above is how I looked all day. My knees hurt.
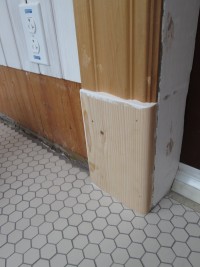
12-baseBoards_2016031313-baseBoards_20160313

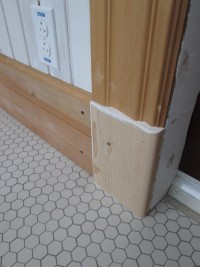
Above left you can see why there was very little tile cutting. I could just continue the tile under the base boards, and didn’t need to finish them tight against the wall (actually, it’s much better not to, so there’s some expansion room).
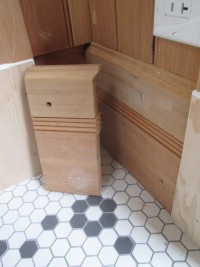
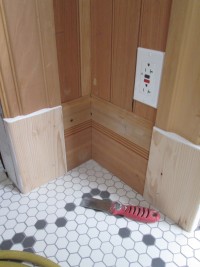
14-tightCorner_2016031315-tightCorner_20160313

It’s hard to see in the photo, but instead of cutting the baseboards both at 45 degrees at the corner, I have butted them together, and hand-cut one of them so that the piece on the left fits into the grooves on the piece on the right. This is the way it was always done before power saws, and actually results in a joint that is less likely to open as the wood expands and contracts. It’s much more work (of course).
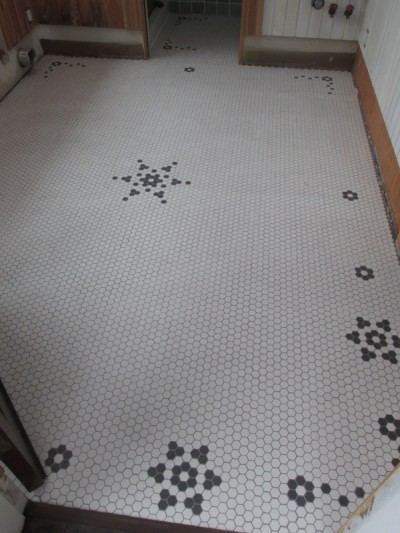
10-afterGrout_20160313

Here’s the tile all in, and grouted. When I was installing the tile, I ran out of white tile (about half a square foot short), so tried adding even more patterns at the doorways with black tiles, so that I could stretch the remaining number of white tiles. In the end, I just had to buy more tile. Now it reminds me a bit of how some people’s tattoos look: Lots of different patterns strewn around. I think it’s about as permanent, too, because I can’t see myself wanting to do this again!
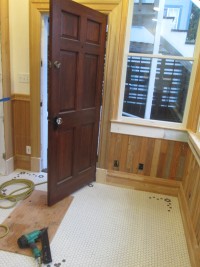
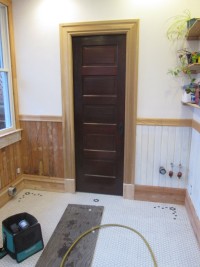
17-floorDone_20160313 16-floorDone_20160313

Now the baseboards are all in, the floor is done. While I was putting the baseboards in, I stood on pieces of plywood because it’s a bit early to be walking on the tile (needs a week to cure). I’ll start painting next week.
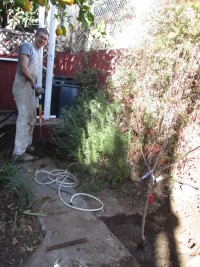
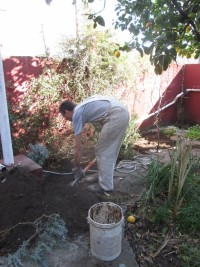
00-2garden_20160313 00-1garden_20160313

We had a few weeks of reprieve from the El Nino rains, so I rented a jack hammer and broke out more of the concrete in the back yard. Last year, the pear tree did very poorly in the location I’d put it (even though it did gallantly give us some fruit). The poor tree had almost no leaves, and was being crowded out by some aggressively drought tolerant plants. So I decided to move it. Hopefully the move doesn’t kill it, although the previous location would have anyway.
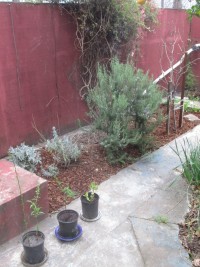
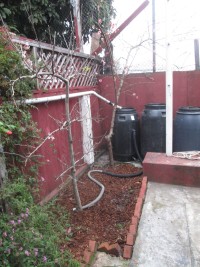
02-garden_20160313 01-garden_20160313

Here’s after the concrete is all out, and I’ve added mulch. The pear tree used to be on the far left of the upper left photo. Now its at the far right of the same photo. More sun and space. Fingers crossed. Above right, you can see what remains of our peach tree after the tree-jumper incident. It blossomed this spring, and is looking very healthy right now, so I think it will recover.
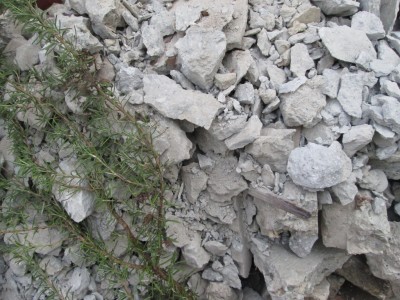
04-debris_20160313

Mole was taking photos, so I think the texture of the pile of broken concrete appealed to her…

03-nasturtiums

Our garden grows nasturtiums!

03-gardenRmWall_20160313 03-gardenRm_20160313

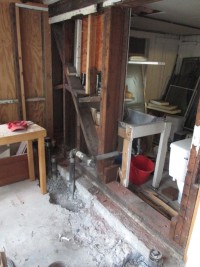
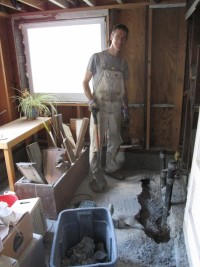
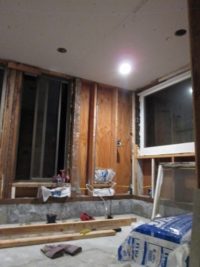
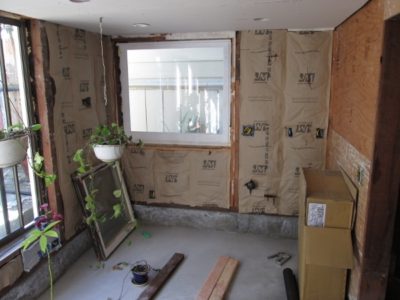
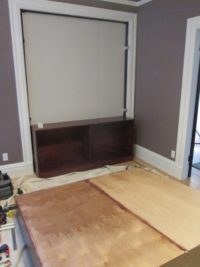
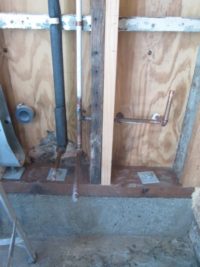
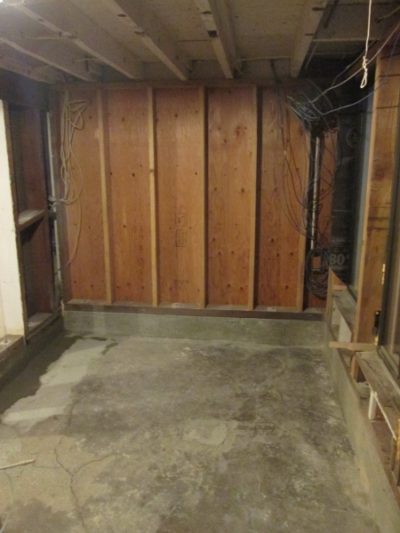
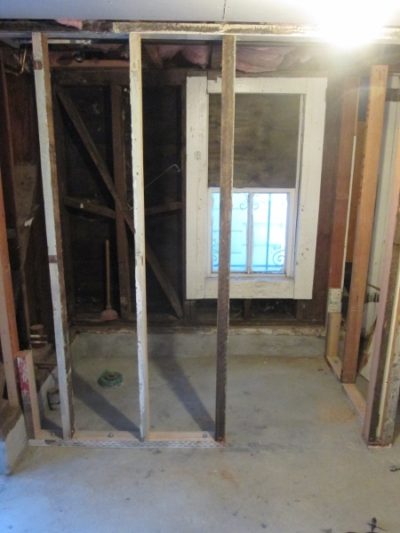
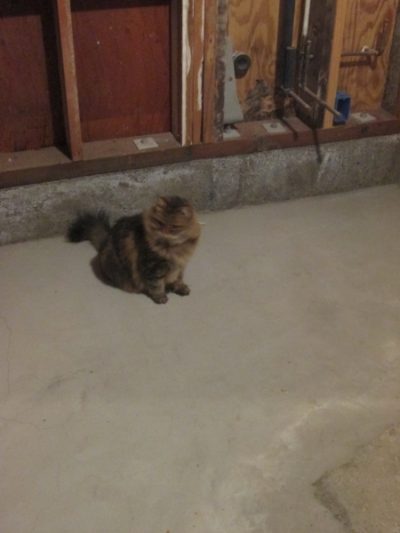
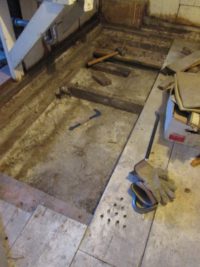
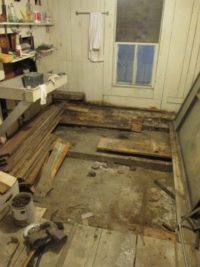
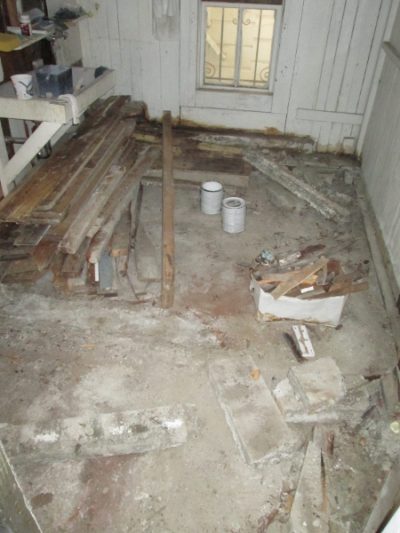
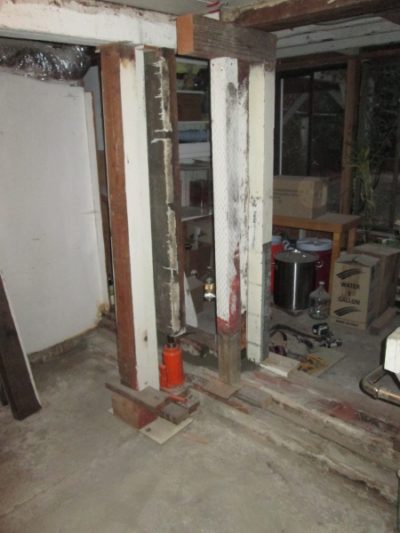
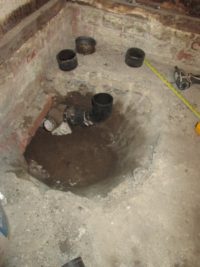
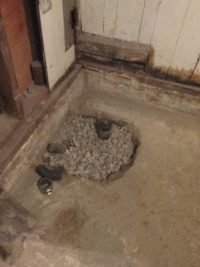
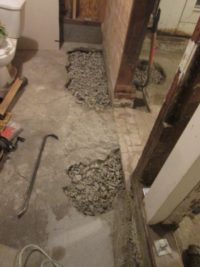
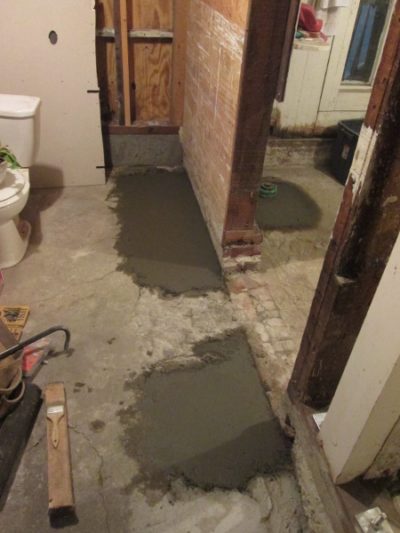
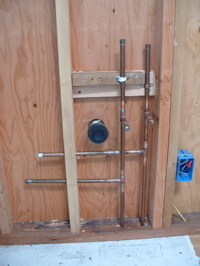
While I had the jack hammer, I also broke out some of the concrete in the room underneath the laundry room. We’re calling that room the ‘garden room’. I plan to make it into a place to brew beer 😉 But there’s a bunch of plumbing sticking out of the concrete that I need to remove.

01-crocus_20160313

We didn’t get many crocuses this year – but here’s one!

10-bellaNap_20160313

Bella sometimes likes to climb inside my shirts (when they are clean)…

11-bellaNap

This time she fell asleep in it!

11-happyArwen_20160313

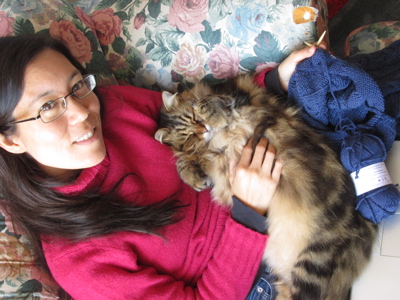
Here’s Arwen looking blissful on a blanket that Mole knitted specially for her!

planer vs heat gun

01-bellaRelaxing_20131031

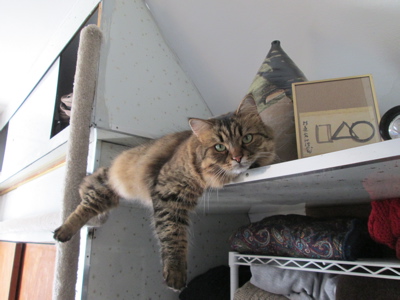
Sometimes Bella likes to lie half hanging off shelves. No problem with heights, I guess!
02-wiring_2013103103-wiring_20131031

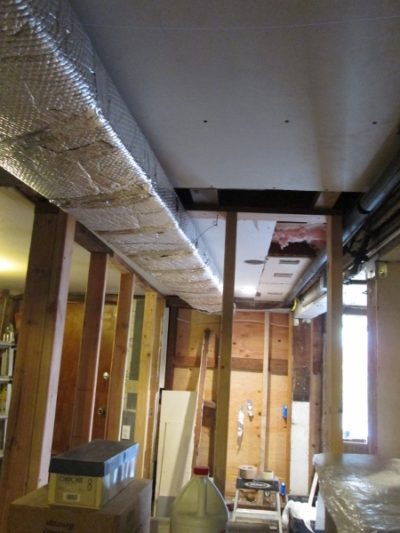
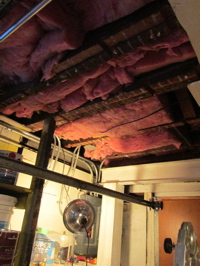
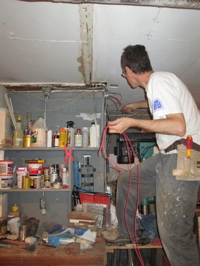
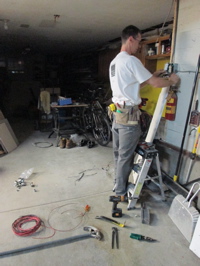
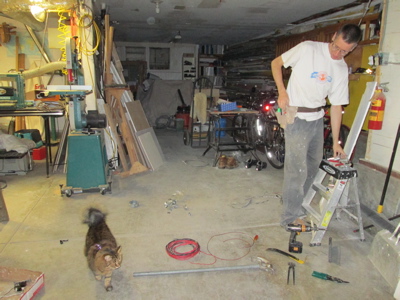
I did some more wiring. The garage was on the same circuit as much of the downstairs unit. And with all my fancy power tools… the breaker would trip. I added four circuits. Two for the garage, and two for our upstairs kitchen (which was also on the same circuit!) But it meant taking off more ceiling, and lots of conduit bending and pulling wire.

04-mathewWires_2013103105-moreWires_20131031

Stringing the wire through the conduit took much longer than I thought it would. As usual, what I thought was a one day project was really a four day project.

06-bellaInspector_20131031

And now that the girls are three — they can go into the garage. Here’s Bella inspecting the conduit bender.

07-bellaBack_2013103108-arwenBlanket_20131031

Here’s Bella doing her best impression of an otter. Her hairy belly makes here look really big. heh. And Arwen taking a nap on her favorite blanket.

09-jaArwen_20131031

Mole, Arwen, and knitting. Cozy! Arwen is on my lap as I write this. She has a unique squeaky rattling loud purrr…

10-boardsBefore_2013103112-planer_20131031

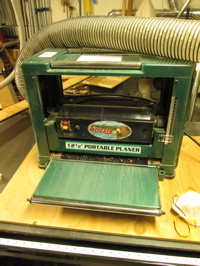
The wood that was the laundry room siding was thickly covered in flaking paint. Before I put the wood on the soffit, we stripped it with a heat gun, and it took many hours. I decided to try another (faster) method for the rest of the wood: a planer. For the first pass, I hooked the dust collection up to a HEPA vacuum to try to catch the (probably leaded) paint dust I created.

The process generated two full garbage bags of paint chips, and wore through a set of planer blades (paint is quite abrasive and I hit a few nails.) But I stripped about 300 linear feet of wood (both sides) in one day. Of course, this method only works on flat boards, but the heat gun takes about 10-20 min per foot per side.

11-pileOwood_2013103113-oldWood_20131031

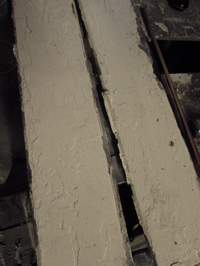
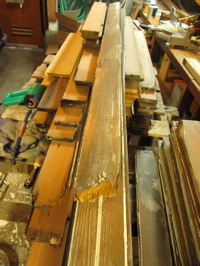
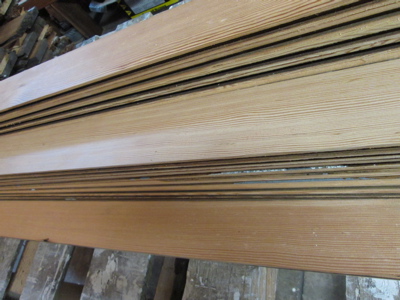
Here’s a picture of the pile of wood part way through planing. Some of the old wood is really beautiful tight grained wood. There are some rotten bits, but I’ll trim them off.

14-planed_20131031

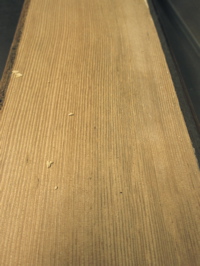
Here’s another photo of some of the boards after planing. Next step is to rout a decorative edge, and edge the boards so they fit together neatly for the wainscot in the laundry room.

And now for a photo of Bella relaxing in the sun:

15-bella_20131031

most boring post EVER!

If you are hoping for kitten photos, or even human photos, read no further. I’ll blame this on mole: I can’t take photos of myself doing things.

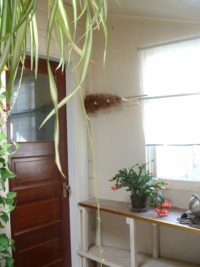
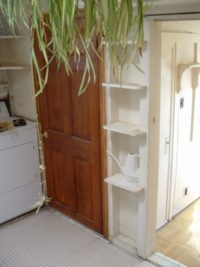
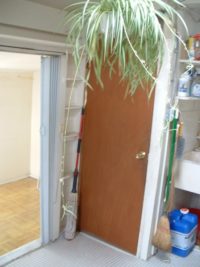
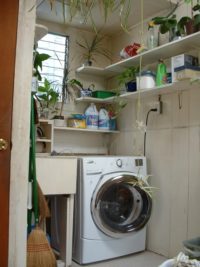
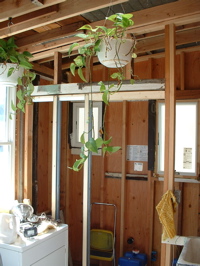
Now that the roof doesn’t leak any more (well, I assume it doesn’t — it hasn’t rained in quite a while), I can work on the inside of the laundry room. First thing: I put in the framing for a new pocket door. I bought the kit almost a year ago, finally installed it (hiding behind the hanging plants):

01-newDoor_2013072302-skylightBefore_20130723

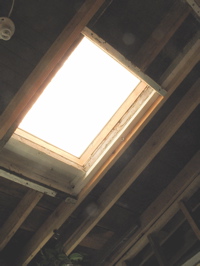
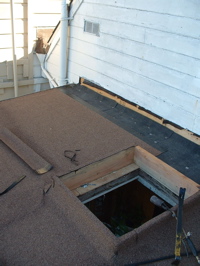
The one thing that bothered me after the roofing was done is that I failed to buy a new skylight that fit the opening in the roof properly. So, retrofit: the photo above right sort of shows how the framing sticks into the space of the skylight. I spent a day with the reciprocating saw cutting out joists, and putting in reinforcement. Mole said the whole house was rattling from the noise. To me, it looks better…

03-skylightAfter_2013072304-canLights_20130723

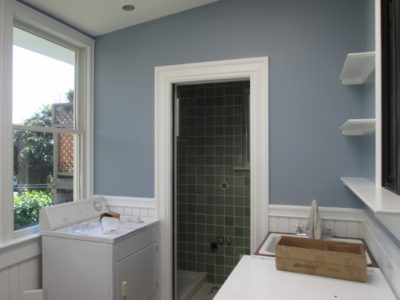
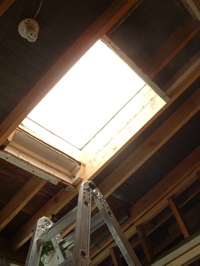
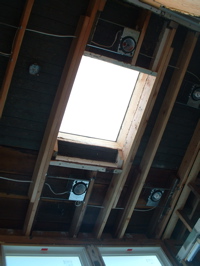
But the photo above left really doesn’t show it. Oh well. Above right, I’ve put in new recessed light fixtures. This is going to be a fancy laundry room.

05-plumbing_2013072306-plumbing_20130723

Oh, and the really, really boring stuff: Plumbing. Well, it’s rather exciting when it doesn’t work, I suppose. Here I’m putting in the rough plumbing for the sink and shower. I don’t have the controls yet for the shower, so the pipes just end after they stick through the stud. Above right: the pipes below the laundry room floor.

07-gas_2013072308-gas_20130723

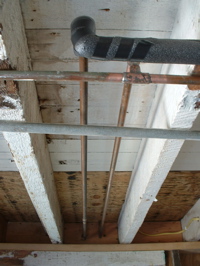
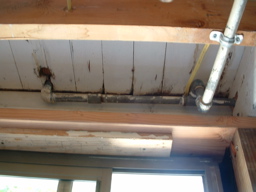
Of all the projects on this house, the most intimidating is gas piping. Everything else, there’s some type of warning or fuse if somethings done wrong. With gas, I guess you smell it: But it feels like if this is done wrong – BOOM! So, I used lots of joint lube, cleaned the threads meticulously, and tightened every joint to the extreme. Above left is the pipe going above the ceiling in the garage, above right, where it transitions to go to the garden room (fancy!).

09-gas_2013072310-gas_20130723

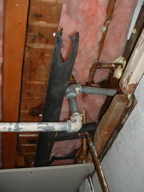
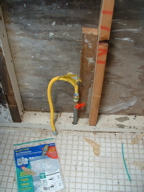
Above left, it tees to go up to the laundry room (for the dryer), and I added a pipe that will allow a stove down in the garden room (beer brewery maybe?). I went over every connection with soap to check for leaks: None! I did find a slow leak in three valves, though, and managed to tighten them up.

Oh, and these photos are the last photos that our first digital camera will take. It finally quit, after over ten years (almost every photo in this blog was taken with it).

Real Pros

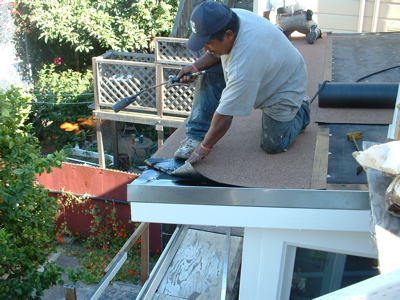
When I went to buy roofing materials, the person at Western Gravel & Roofing Supply talked me into hiring a contractor: He was afraid I’d burn down my house with the torch (!) and recommended a contractor who happened to be in line.

What a contrast to the last roofers we hired. These guys were awesome!

01-roof_2013071002-roof_20130710

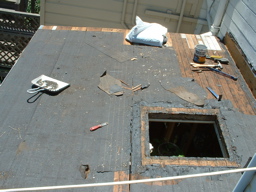
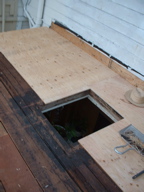
I did the prep work before the contractor arrived. I forgot to take a photo before I started ripping off the old roof. Above right the photo shows where my foot went through the old rotten wood!

03-rotten_2013071004-plywood_20130710

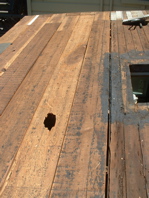
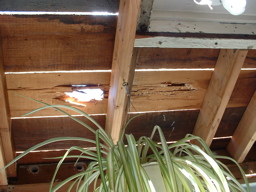
Above left is the view from below. That piece of wood had to be replaced. One top of the old wood, I installed plywood. This is both to provide better earthquake resistance, and to span over weak old wood.

05-insulation_2013071006-thePros_20130710

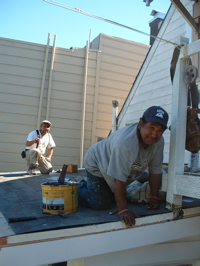
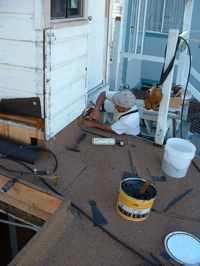
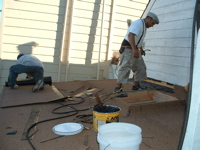
Now the pros showed up. Actually, they told me they’d arrive at 3pm, so I thought I had time to finish the prep before they got here. They arrived three hours early. So they helped me install the insulation for free (I added 2″ of rigid insulation on top of the roof). Above right, Enrique and his assistant smile for the camera.

07-torch_20130710

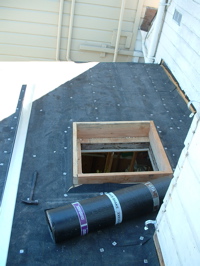
This is the reason the roofing supply salesperson didn’t want me doing the roofing myself: Notice the 18″ long flame coming out of the torch? This is on low. Here, Enrique is melting the back of the modified bitumen roofing, so that it seals down to the roof. Each strip is melted to the previous strip to make a continuous membrane over the roof.

08-corners_2013071009-almost_20130710

Ironically, after watching the roofers, I realized that fitting the roofing around and over all the tricky corners was where their skill and experience really helped. It would have taken me weeks to do this, and it probably wouldn’t have been done as well in the end. Pick your battles!

10-finishing_2013071011-done_20130710

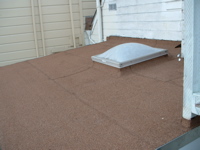
One more photo as they finished up, and here it is done. Beautiful, eh? I managed to salvage the old skylight; took some serious chipping and heat-gun action to get it off the old curb. I’ll probably replace it one day, but for now, it’s fine.

12-gutter_2013071013-garden_20130710

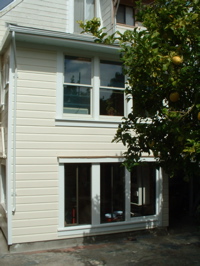
So now we’re done with the outside of the laundry room. All I had to do after they finished the roof is to put the gutter on and paint it. Here’s photos with the scaffolding down.

14-todo_2013071015-closeup_2013071016-closeup_20130710

Now I can start working on the inside without worrying that it will get ruined by rain. Sometimes, it really is worth getting the pros.

Bigfoot

We have been slowly progressing with finishing the trim around the windows of the laundry room and garden room.

02-upperWindows_2013042903-shortTrim_20130429

I spent almost all day getting the trim to fit in above the windows, and tight against the soffit. Had to splice on a piece at the end, because the board wasn’t quite long enough (above right). But that’s nothing: When I bought the redwood, I got tempted by the slightly cheaper, rough-sawn redwood planks intended for fences. We had to plane and sand and prime them all before putting them up. Silly Turtle – no wonder it takes so long! Now that all the trim is on around the windows, though, it’s starting to look finished.

04-lowerWindowHead_2013042905-routedEdge

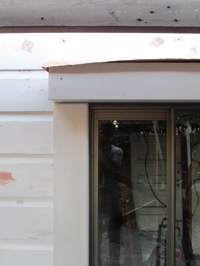
This (above left) is the window under the laundry room (‘garden room’). We built out a small box head above the window to shade and protect the windows from rain. Turtle being turtle, I couldn’t resist getting my router out and adding a bit of decorative edge (above right) to the trim. It also serves a purpose: Rounded edges don’t show dents, and they hold paint better than sharp corners.

07-overall_2013042908-corner_20130429

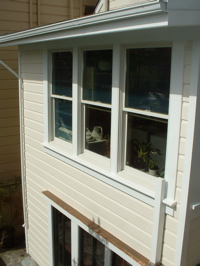
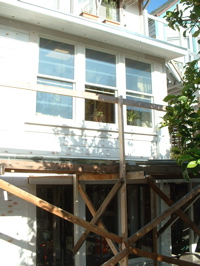
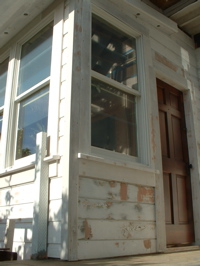
The photo above left shows the back wall of the laundry room — a bit difficult to see, as my home-built scaffolding is in the way. Above right is the corner that faces the deck. So, this is quite exciting (for me): All the exterior trim and siding are installed on the laundry room. Now we need to fill all the holes, sand, and paint.

While we were working on the laundry room trim, the cats sometimes came out to play. All the flowers have been blooming in the back yard, and the bees are loving it. Unfortunately, Bella doesn’t know the difference between a fly and a bee…
01-bigfoot_20130429
She decided to catch a bee, and when she slapped it down on the ground, she got stung. Mole was calling her ‘bigfoot’ for the rest of the day…

R2D2 D:<

It’s been a big family visit month.

My sister Eva had her wedding (again), but this time, in Santa Cruz. My whole family came to visit, including my sister Mia all the way from Asia, and Mum, my aunt and cousin from England, my brother and Aja from Brooklyn… Nice to see everyone, now back to the grind: didn’t get much done on the house…

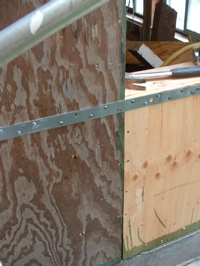
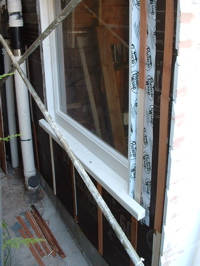
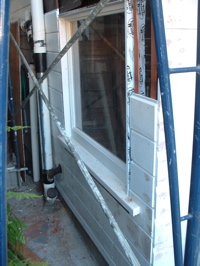
It’s been one wall at a time on the laundry room. This is the lower half of the last wall. Above left, you see the window opening in this wall, and above right, some nice strapping around this window. Although the code doesn’t require it, I decided to paint the edges of the plywood with wood preservative, just in case. That bottom edge is so important for seismic, but is also in the most damp location.

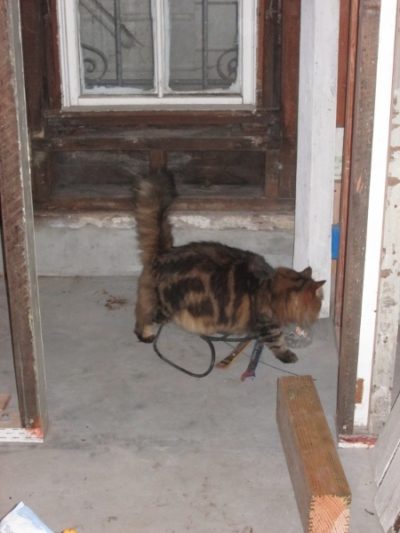
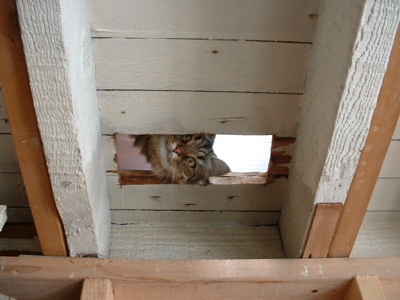
While we were working in the room under the laundry room (the ‘garden room’ I think I’m calling it), we got an unexpected inspector looking down through the hole in the floor.

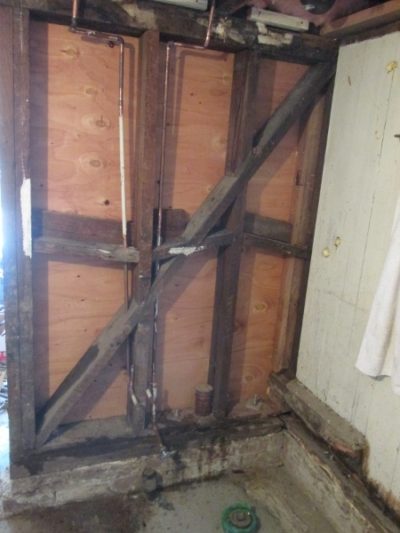
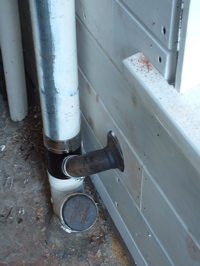
At this point, it had been about a month since I’d disconnected the washing machine. We were making the occasional emergency trips to the local laundromat, but the pile of laundry was mounting. So I spent a weekend plumbing in the washing machine again. Top right is where the sewer line exits at the floor level. The sheet metal and rubber against the wall is a roof jack, intended for when pipes exit through the roof. The rubber seals tightly around the pipe, and is crimped onto the sheet metal. I’ve been using roof jacks to waterproof around these wall penetrations. There are probably equivalent pieces intended for walls, but these are all they have at my local supplier. And it’s a whole lot better than what the plumbers did on other parts of the house: they drilled a hole and squeezed some caulk in there. Lots of rot was the result.

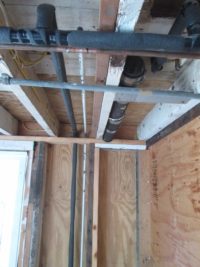
Above right is a view on the inside, looking up. You can see the sewer line that will serve the toilet, and also the washing machine. There is also the pipes for the hot and cold water in the top right corner of the picture, going up through the floor. The photo above left is how the sewer pipe looks on the outside of the building now.

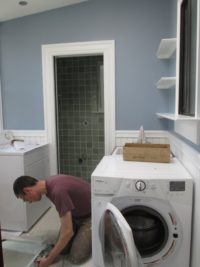
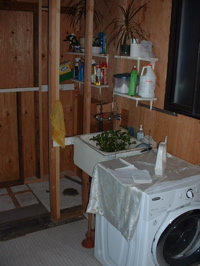
And lo, we have a washing machine again. The room is still bare, but at least we don’t have to hike down the street with our baskets of laundry. We are so spoiled.

Next comes building paper, and another window. A couple of years ago, when I ordered replacement sashes for the windows in the office, one of them came with single glazing. The supplier replaced it with a double glazed window when I called them, but then I had this extra window left over. It’s been sitting around the garage ever since. So we decided to use it here. Works quite nicely. I’ve made it into a fixed window. Mole sanded and primed the whole thing, on all faces, twice.

We’re still reusing the old siding that came off the building. Mole spent many hours sanding these, then priming all surfaces. It’s an extraordinary amount of work reusing old materials. The photo above right shows how the wall penetrations look when a roof jack is used. It will all be painted the same color, so not quite so obvious.

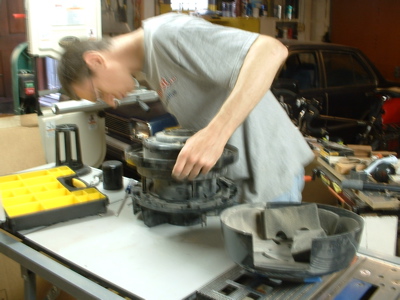
When we first started working on the house, we bought a HEPA shop vacuum cleaner. It was quite an expensive model Turbo II made by Fein. I love it, because it doesn’t make a racket like all the other shop vacs, and it’s always hooked up when we are sanding anything that may have lead paint (ie, everything.) It turns itself on and off whenever the sander is turned on or off. One thing that had never occurred to me: it really needs servicing every now and again. It’s probably been running over 5000 hours since we got it. Well, last weekend, “r2d2” as we call it, had a heart attack! I thought it might be just worn brushes, so I took it to pieces. The brushes are worn, but not the problem. The motor’s kaput.

I’ve ordered a replacement motor, but never realized how much I use this thing. We can’t sand anything without it. No siding, no painting, no smoothing wood. Cleanup is difficult. We use it to vacuum off our clothing after working. Wow, this is an important tool.

Garden Room?

I realized we don’t even have a name for the room below the laundry room. How about Garden Room?

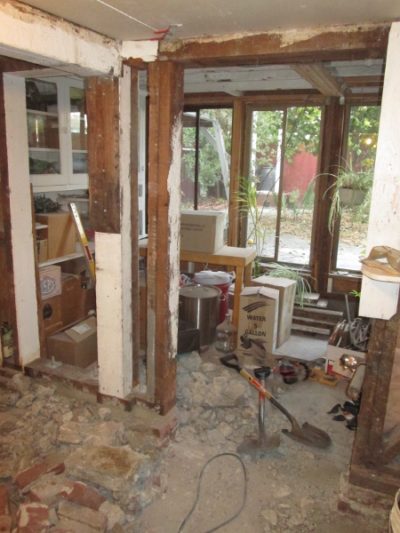
We really didn’t do a whole lot, though, this weekend. We did put the windows in that I’d worked on last weekend. This back wall is almost ready for the new windows on the back of the laundry room, too.

I started making a window sill out of the redwood that came off the tear-off room. The white caulk is polyurethane caulk. It is really sticky, and supposedly lasts very well, but you can’t paint it. So the only places I’ve put it is where there will be wood trim covering it.

Next step is to start putting the siding on. The black tar paper does not do very well with sun exposure, and it’s been HOT in city over the last few days (by our standards.)

Jack!

We did jack this weekend.

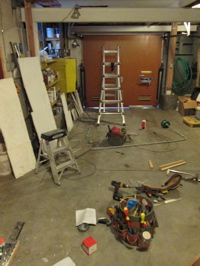
It took most of Saturday to get the supports and bracing in place. I added diagonal bracing below, to try to stabilize everything as much as possible. When the back room is cut off the house, the only thing stopping it from toppling over will be these braces. I wore my hard hat so that I didn’t keep hitting my head. Looks more professional, too!

Using a reciprocating saw, I cut all the way round, through the nails that held the laundry room onto the house, completely separating it from the house. We also disconnected piping (well, most of it – see later) and other things that held the floor to the house.

Above left you can see the step (red) between the kitchen and the laundry room.

Once we started jacking, Janeen ran outside and took a photo (above right). You can see a gap under the framing that is going up with the floor, and the wall below.

Above left, there’s about six inches between the floor and the wall below. Above right, this is half way there.

While we were pumping the jack, there were all sorts of creaking noises. Sometimes there was the sound of splitting wood, or sudden cracks. After one noise, I went outside, and found that I’d forgotten to disconnect the sewer pipe from the wall, so it was being lifted up with the room and had separated at a joint. I had to disconnect it, and carefully slide it back down into place (while up on a ladder, leaning on the room sitting on temporary supports – above left).

Above right, you can see light shining through a gap between the house and the laundry room. The whole thing would tilt sideways as we jacked up one side. Then it would tilt back when we jacked the other side. I didn’t realize it would tilt around this much, and am really glad I put in the bracing. It’s quite scary being underneath all this with the jack.

Janeen kept calling it ‘reverse Jenga’. I have one 20-ton jack but have six support points to lift the room at. We put the jack onto one of the supports, and pumped it until it lifted that side about 1 1/2″. Then I slipped a couple of 2×4’s into the gap, and let the pressure off the jack. Then we moved it to the next location. It took all day.

Above right, here’s the gap after getting the floor to the right level.

Above left: Flush! There’s no more step down. Above right, the whole room was moving around while we jacked it up. At one point, I noticed that as I was jacking, the room was moving sideways. A piece of wood had got stuck, and was levering the whole room sideways about 1/4 inch before I stopped. To get it back into place, I screwed a block of wood to the floor joists of the laundry room, and a block to the side of the house. Then I tightened a clamp between the two pieces of wood to pull it over. It worked!

Above left, here’s a nice (scary) pile of wood supporting the laundry room. Above right, at this side of the room, it raised up about a foot, because the floor of the laundry room (in addition to the step), sloped away from the building.

It’s been a funny winter. Actually, I think there was none. It only rained two or three times. And now it’s spring. The daffodil, crocus and iris bulbs that we planted around the tree are popping up. And the peach tree is coming into blossom already. Janeen took a photo of a couple of sprigs we brought in and put into water.

Head Banger

Besides working my tail off on paid work, I’ve been plodding forward on the house, preparing to raise up the floor of the laundry room.

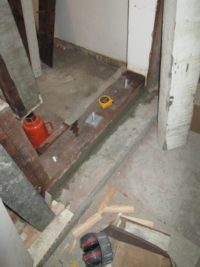
The floor framing in this space was done without much help from engineering. It also did not leave much head room in the space below (I can’t remember how many times I’ve hit my head — probably once a day — working on this.) In place of the two undersized beams that span across, I’m replacing with a slightly deeper beam, but I’m setting the top of it flush with the top of the joists. I have to cut all the joists to get it in. Janeen caught a photo of me after I’d cut a couple of the joists. No going back now.

Janeen spent most of last weekend pulling nails out of old pieces of wood. I’ve got such a pile now, I need to figure out a project to use it all on.

Using some old wood, we made some support contraptions to fit the jack, and support the floor while we jack it up. It was a bit tricky getting them in place: I managed to break two windows simultaneously when the post fell over and smashed them (left). Right now, I’ve got the beam in the middle, and have put load onto the first two support posts. How do I know that they are carrying the weight (see below)?

This is a photo looking at one of the old beams (above left).

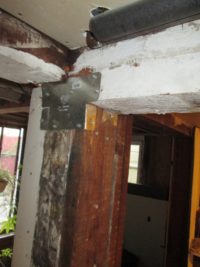
Two things: One, there’s now a gap under it, because all the weight is on the new beam. But the second is the troubling thing in earthquake country: When the previous person did this, they just sat the beam on top of loose blocks of wood. That’s fine until the building starts shaking around: Then, the blocks would just slide out, and the whole room would have come down! Speaking of earthquakes, I also added more plywood on the wall upstairs. The wiring for the light switch is just temporary!

Next, I have to get the outside walls supported, and disconnect this room from the building. Then I can start jacking…

Rotten Surprise

I rented a mixer – and my neighbor, Nick: We got all the rest of the footings poured in an afternoon. Many hands – and machinery – make light work.

Nick carried about a ton of concrete bags through the obstacle course that is the back stairs construction site. Another great thing about using the mixer is that you can get the water ratio just right. We measured it using a gallon paint can.

After we finished the footings, I spent an afternoon putting the list of wood we need for the deck together (above right).

For quite a while now, the structural engineer in me has been nagging at me that the back wall of our house has no shear wall. A shear wall is basically a solid piece of wall that is specially built to keep the house standing up in an earthquake. You really need this solid piece of wall to extend from the foundation up to the roof. Well, there’s a small piece of wall coming down from the roof to the bottom of the first floor. But at the garage, there’s a door under it.

So I resolved to wait no longer, and move the door over to where there’s now a window.

Above left is the door, and the window has been removed already. I’m going to move the door into the window’s location, and make a shear wall where the door is.

This was the first sign of trouble. The door frame came out with chunks of wood attached to it. When I looked into the wall, I discovered that the wall framing was completely rotten. In fact, it was so bad that I could pull it out with my hands

When I started removing the rotten wood, it just kept going. The wall on the left is supposed to be a bearing wall. It carries the weight of the two floors above. But six feet of it were so rotten that they couldn’t possibly be supporting anything. What’s surprising is that I’d noticed no sagging or sloping upstairs at all in this corner. I shored it up with a temporary wall in front of the rotten wall. All the studs I cut about 1/8″ too long, and jammed them in with a hammer to try to force load onto them (instead of the rotten wall).

Above left is some of the rotten wood. It was practically powdery in some places. Above right, I’ve got the corner of the house shored up on 2×4’s – don’t show this to an engineer ;).

The rot had traveled along the grain of the wall top plate. Above right, I’m making a new top plate (it’s a single 4×6). The old framing is all true 6″ dimension, so I need to either shim things to fit, or cut down larger pieces.

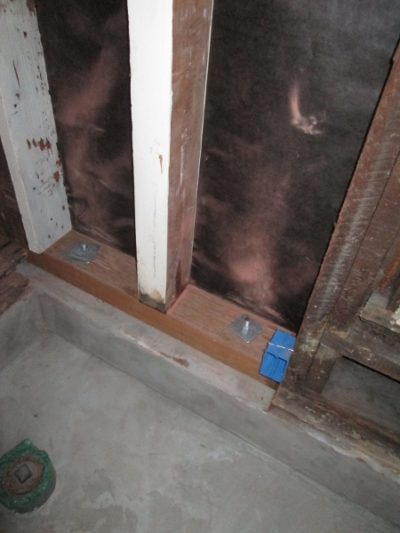
Above you can see the new top plate. I soaked it in wood preservative – just in case. With the top plate replaced, I needed to move on to the bottom of the wall. In the future, I plan to replace all the foundations (that are currently brick) with new concrete foundations. Far in the future. For now, I’ll just have to be happy with bolting the wall to the old brick foundation.

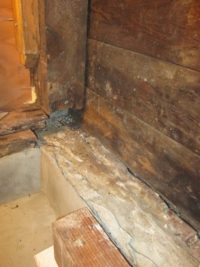
I started drilling, and only got about 1″ deep. I moved a foot over, tried again. Same. So I took a cold chisel to the concrete topping. Above right, I found a metal file, still in good condition (except I’d cracked it when I was drilling), buried in the concrete. And there were various other metal objects, including brass dead bolt and some other mysterious brass element that I’ve just left embedded.

Once I started chipping, the brick just crumbled. I took out two courses of brick, epoxied in some threaded rod, added some rebar… You can see the embedded brass device above left, sticking out of the concrete topping. Above right, ready for concrete.

Didn’t take any photos, but I poured the footing for the wall last week, and today managed to get all the new framing in. I used a jack to lift this corner of the house about 3/8″ to get the new post in at the corner. That was a bit scary, as I was using a piece of 2×6 that was about 4 foot long. When I looked up, the 2×6 was bending dramatically. I gently lowered the house, and used a heavier piece of wood. Note to self: Use 4×4 or bigger when jacking!

We’ve got a new solid shear wall almost finished, and no more rotten wood (I fit most of it in the city compost bin).

Now I need to get back to the project I was actually supposed to be doing: The back stairs.