Is that how it is? Well, last year, very little happened on the house, but a lot of other things did happen: Multiple trips. Marathons. But I’ll have to write about them another time. Just wanted to try to catch up on the house a bit here.
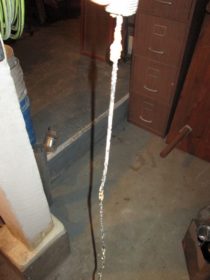
I decided to remove some more concrete, and plant a tree:

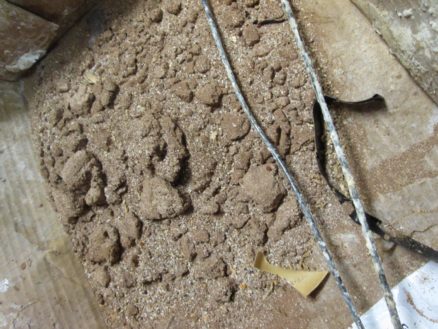
This soil has been below concrete, and compacted for so long that it can’t be healthy. I dug out quite deep, then threw in some compost: that’s some of the buggy apples from the ground (I guess it wasn’t quite rotten yet.) I layered compost and soil all the way to the top, then planted the tree.

And here is our new little Japanese maple. I hope it thrives here.

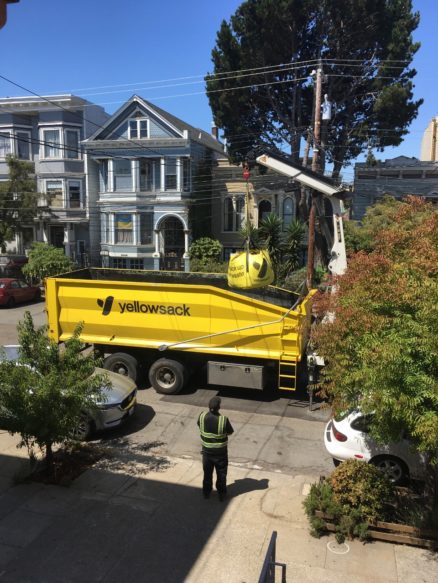
So the pile of concrete and dirt from my earlier post sat in our driveway for about 3 months. I had it covered in plastic to prevent a mud slick when it rained. My initial plan was to stockpile it so that I’d get a dumpster and fill it in one go. Well, I just got tired of having a huge pile in the driveway (it was in the way when I took out the garbage, it was difficult to get out of the car, etc.) And life was filling in a lot more of the weekends than I’d expected.
So I used a service called yellowsack. It’s quite a bit more expensive than a dumpster per ton, but if I’m just hauling out 9,000 lb at a time, that fits into three sacks, and they come pick them up with a truck that has a crane on it. No need to reserve street space.

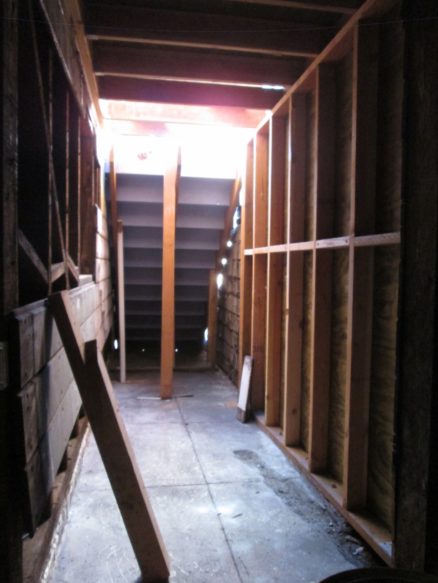
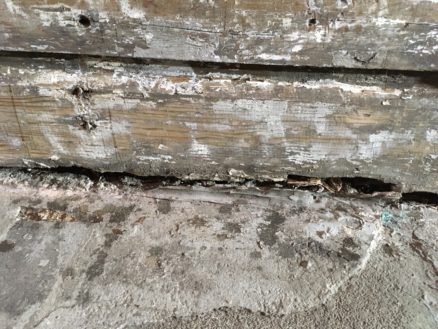
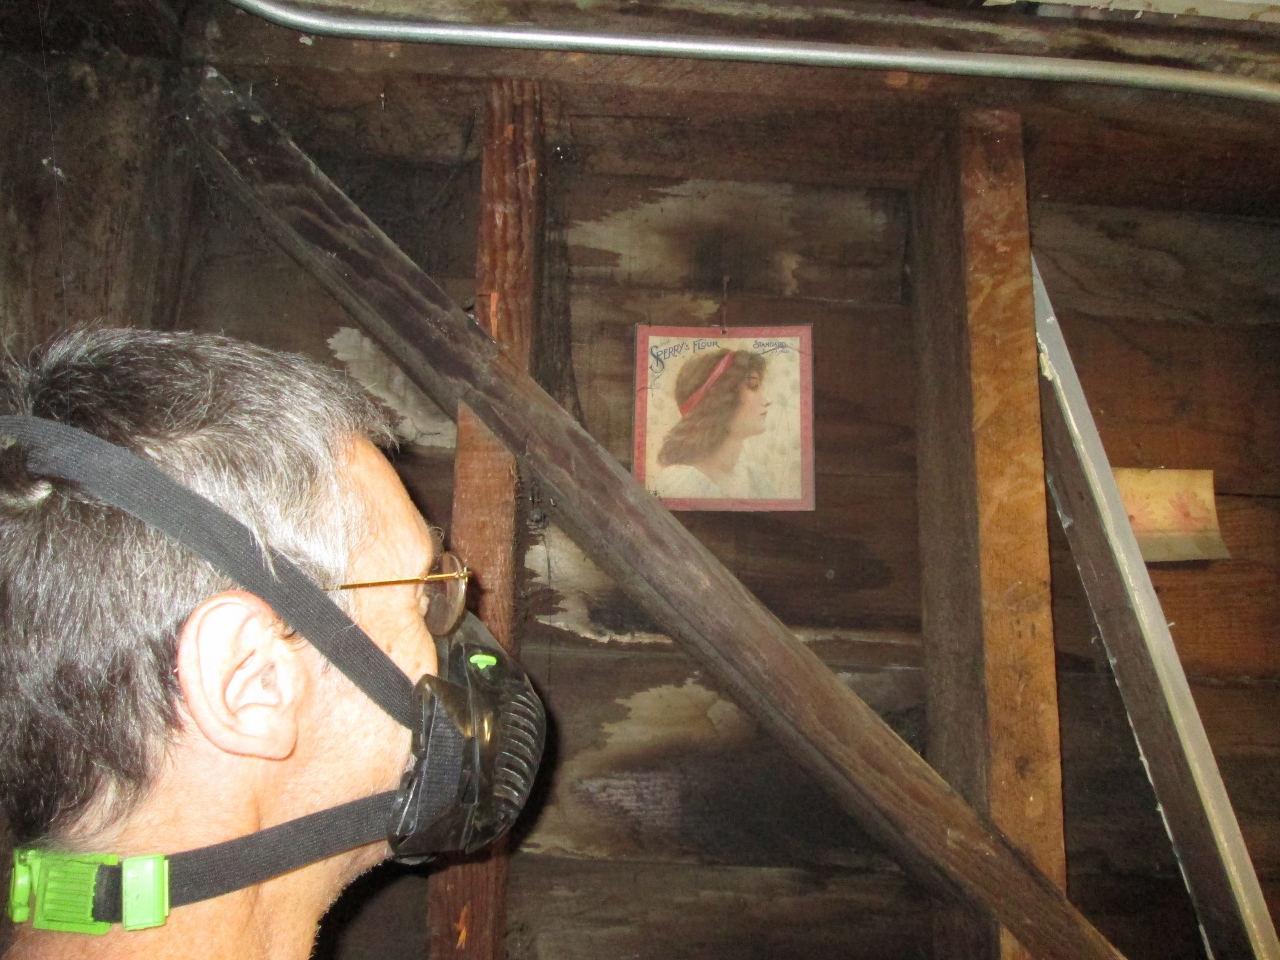
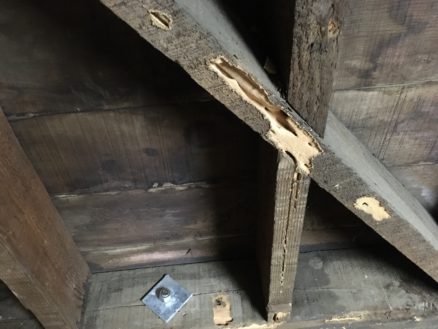
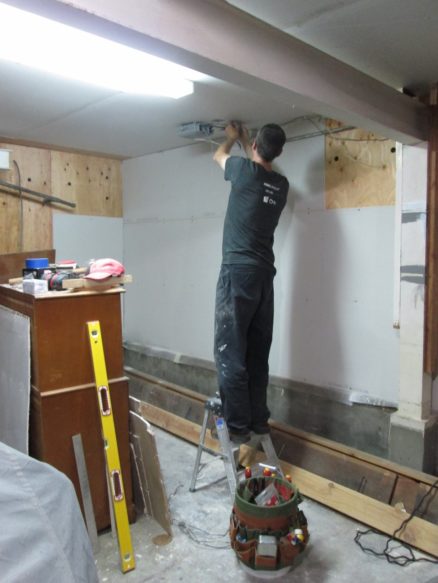
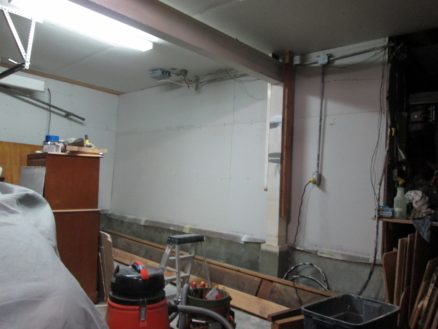
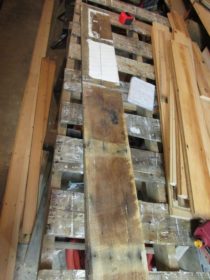
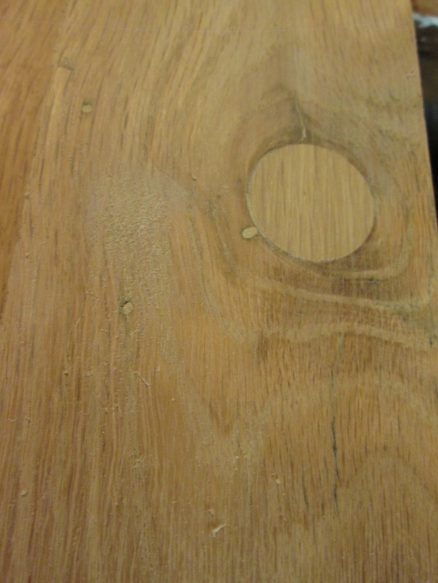
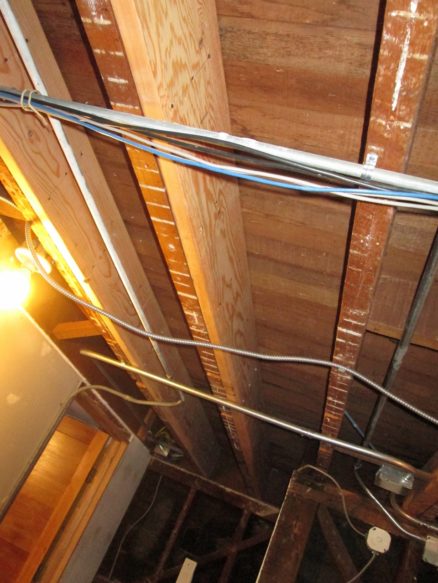
OK, so there’s another project that’s been keeping me busy. I spent a few months reinforcing floor joists. Remember this phot? This one notch, even though it’s about 2″ deep, has probably halved the strength of this 10″ floor joist, because the edge fibers are the most important:

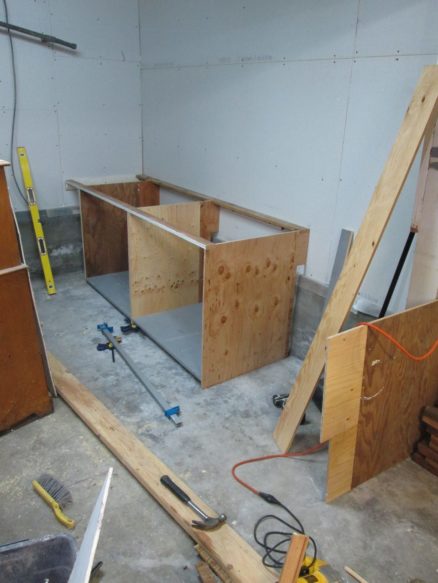
So one by one, I sistered on new joists to the old ones to try to strengthen them back up. I need the joists to be strong for when I’m shoring up the side of the house to replace the foundation.


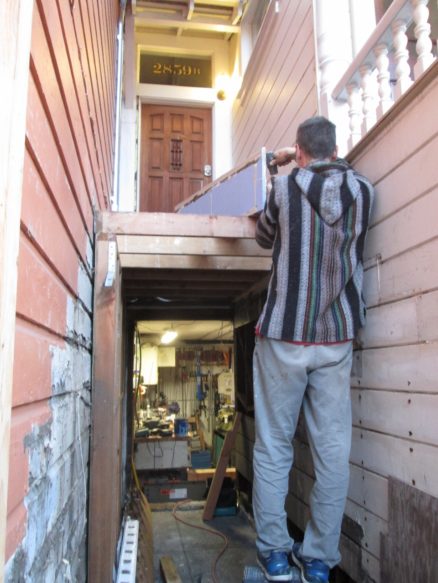
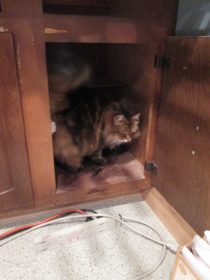
Had to move some electrical wiring, and removed some rotten wood also.


It’s quite a pain trying to get a full length joist into that space. Actually, I made them a bit short, turned them on their side and pushed one side up high, while the other side I pushed up. Once it was in the space, I could flip it up and push it against the joist. Quite a workout. Don’t ever let an electrician notch a joist.
Oh, I just liked this photo: It’s the bag on my dust collector that’s connected to my table saw and thickness planer. I like how the different wood I was working put different colored stripes.