All of a sudden, work has slowed down a bit, so I’ve had some time to get things moving on the garden room.
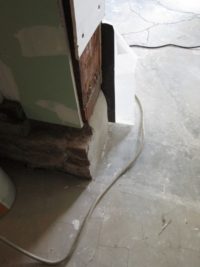

I hadn’t quite finished putting the gypsum board on the wall here, because the stem wall bulged out at the base. So I used a concrete grinding wheel to grind it flush. Yes, brick foundations…
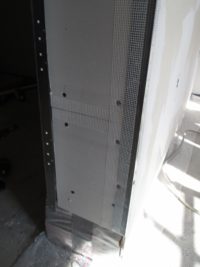
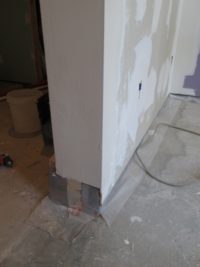
Above left is with the corner bead on and above right is after a couple of passes with joint compound.
Next is the project I’ve been procrastinating on for a few years. The window in the toilet room space is badly rotten. Plumbing pipes used to penetrate the wall directly above this window, and rainwater would run down the pipes and into the window. The upper sash has completely disintegrated, the lower one is too rotten to move, and the frame has rotted across the top and down one side. I went far enough to work out drawings and all the dimensions for the replacement window sash, but never made it. In retrospect, it would have probably been better to just buy a new complete replacement window. But this was an interesting challenge in joinery.
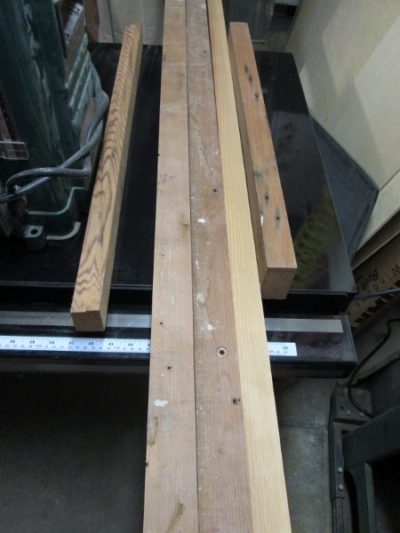
Here’s the wood I used: Old wood from the house some place.
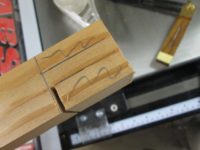

Here I’m cutting some of the mortise and tenon joints. The joints at the bottom of the upper sash are a bit like finger joints.

I was quite happy with how it all fit together.
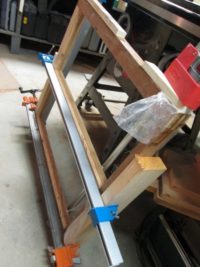

Above left is clamping during glue up. Above right is a detail at the connection of the center muntin to the top rail.
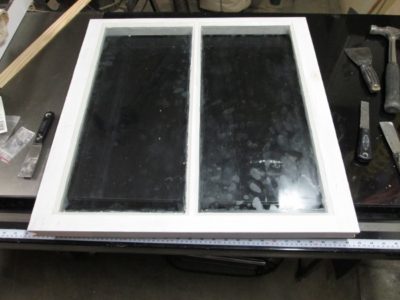
Here’s the fully assembled sash, with glass (don’t worry, I did not paint the sides where it slides.) I managed to save three of the original lites – the other was cracked so I had to use some new glass.
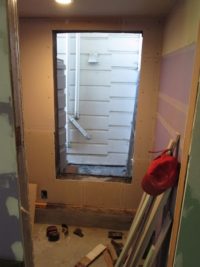
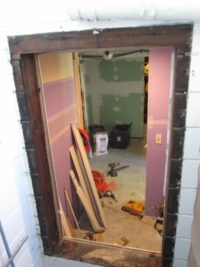
The window frame was also rotten, so I had to remove it and repair it too. It was at this point (after spending a full day making the new sash and another repairing the frame) that I was regretting not just buying a new window!

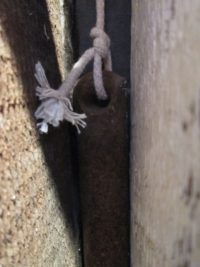
Well, here’s the window frame re-assembled and repaired (left), and weights and new cord going in. I had to buy two slightly heavier weights. Not sure if the new glass was slightly thicker and heavier, or if these windows were always slightly off balance before (would explain the nail holes in the frame). Anyway, they balance now!

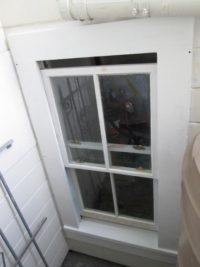
After stripping the paint from the tracks, I waxed them, and hung both sashes in. Then primed and painted all the trim, and we have a completely repaired window. It’s the only remaining fully functioning double hung original window in the house. The previous owners had replaced all the other windows in the house before we bought it. Maybe it’s a good thing I saved it.
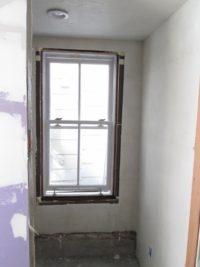

In the garden room, instead of veneer plaster, I’d decided to tape and use sandable joint compound. I probably was thinking it would be easier/faster/something than doing plastering. But it’s turned out to be very time consuming and messy. So I plastered the toilet room: One day and it’s done.

The toilet was a tricky space to plaster, because there are pipes sticking out of the wall. The photo above shows the gas pipe at the top left, and a water pipe in the middle.
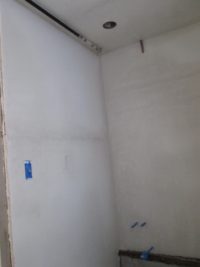
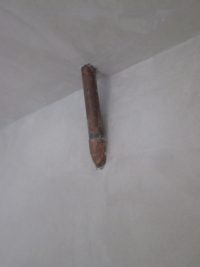
Here’s how it looked as the plaster was drying the next day. I think I’m going to polish this little piece of pipe, and coat it with sealer.
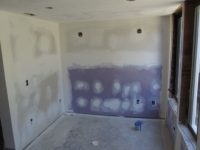

Still working on the garden room. Here it is after sanding and feathering all the joints and screw locations. Note to self: Sanding overhead is much harder work than plastering.
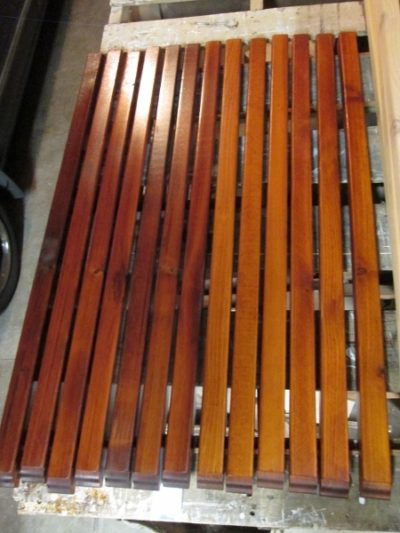
Oh, and the guard railings for the deck: I stained them with a red-brown transparent stain to protect from UV – no paint. Here they are drying.

One of Bella’s favorite games is watch for water dripping
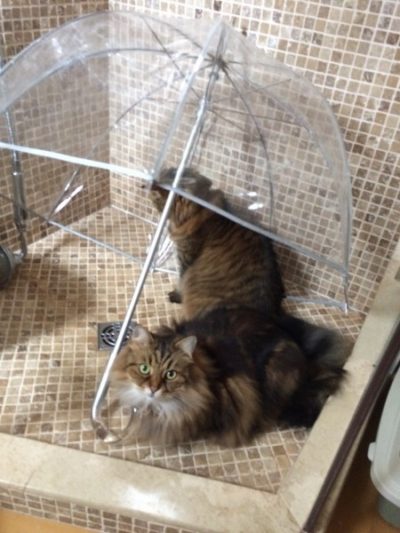
Mole was trying to dry her umbrella. I think the girls wanted us to turn on the shower.
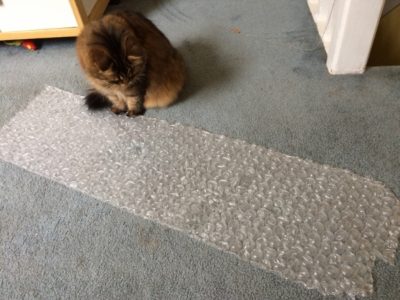
Large bubble-wrap: fun with claws.

When your neighbor won’t lend you his truck: Tie it to your roof. The trusty ’82 Civic taking a chair to get re-upholstered.

