
So I’ve started working on the ‘garden room‘. I think we used to call this the ‘creepy room’ before. Here are some photos Mole took before we bought the house:


I have big hopes for this space: I want it to be my ‘brewery room’ for brewing beer. But it could also serve as a guest room for people who are allergic to our “hypo allergenic” cats (apparently not so much). There were three major things I had to do to get started on this space.
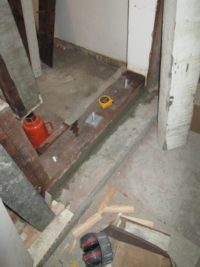
Firstly, there was a wood floor in the ‘garage back room’ part of the space. It had no ventilation under the wood, so the wood is rotten, and it smells moldy. It also reduced the head room so I kept hitting my head on the wood beam. I swear a lot when that happens, so the floor had to come out.
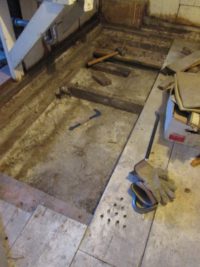
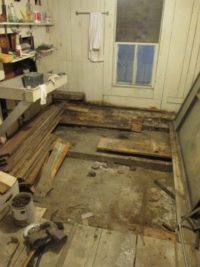
The wood was hard to take out, because all the nails had rusted, and the wood kept breaking.
To add to the fun, they had made the wood floor slightly smaller than the room, and poured concrete to seal all around the edges. Lots of work to break out all the concrete, and another pile of concrete in the back yard to dispose of (eventually). Talking to the previous owners, apparently their grandfather used these two rooms as his storage space. He was probably trying to make sure that no mice would get into the rooms with all the concrete sealing every crevice.
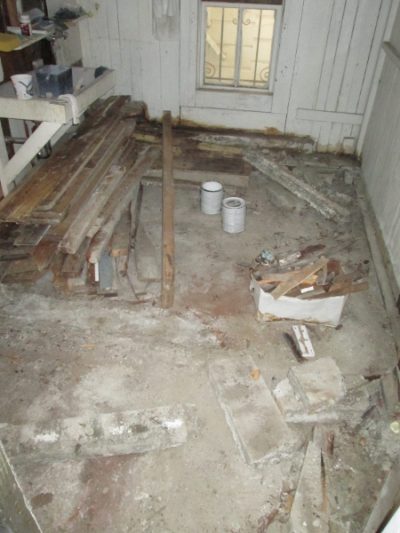
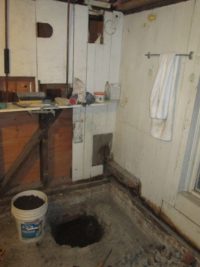
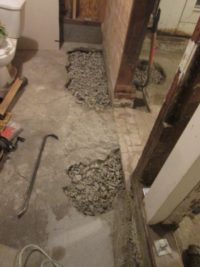
The second part was to add support for the floor framing above. The previous framing to support the large wood beam and back wall was under-sized, and held in place with a couple of nails. Not secure enough for me.
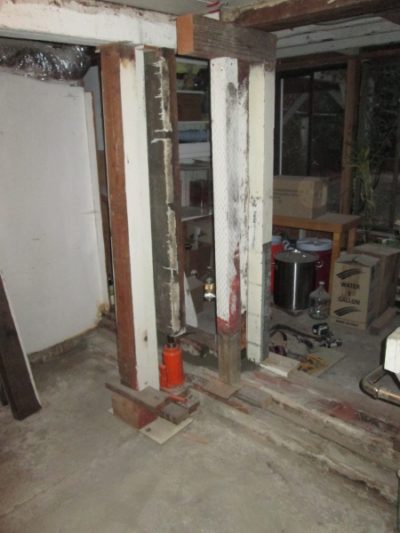
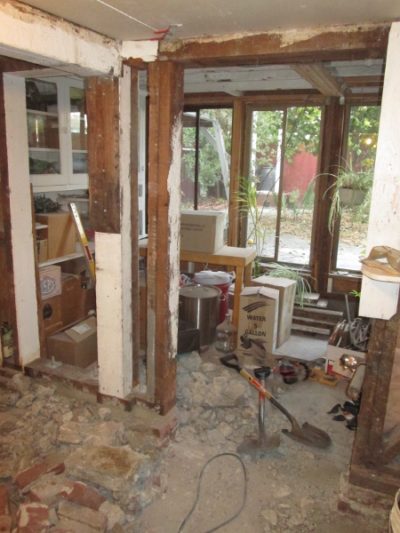
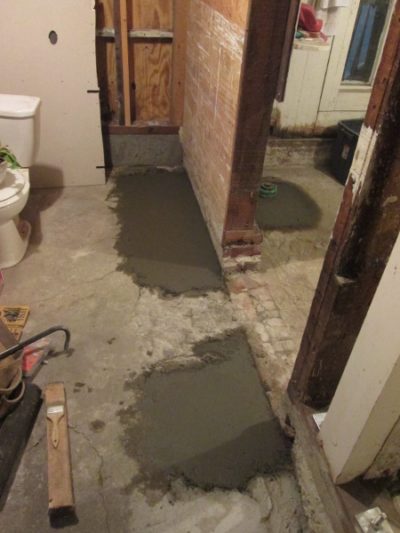
The photo above shows the temporary support (including my trusty jack) while I replace the post. Also, on the right side is an opening. I’ve put a door opening where there was an old window. I filled in the opening on the left side of the post, and put a new concrete curb and sill in, and made a good solid post to support the beam. I’ll add plywood to the wall once I’ve got all the electrical wiring installed.
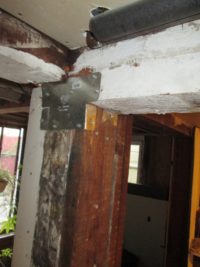
Above left you can see the new curb, above right is the new connection for the post. I re-used some old wood that has been piled up in the garage.
Then I took out the curb at the opening on the right, and removed the rest of the concrete that had been put around the wood floor.
I also had to fix the drain plumbing. There were three drain pipes sticking up out of the concrete floor in the garden room. I had to chip out the concrete to get down to the sewer line and remove them.
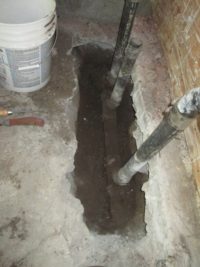
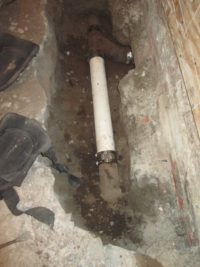
Above is before and after. I had a piece of pipe lying around that I reused for this (hence the white paint). The more difficult part: I want a toilet in the garage, so I plumbed in the sewer pipes for that on the other side of the wall.
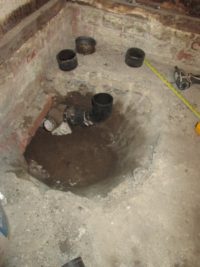
Above left is the hole I dug to go under the wall, above right is the plumbing in place. Then I filled it all back in again. Filling it in was actually a lot of work, because I had to compact the soil. If the soil isn’t compacted, then it will settle by itself over the years, leaving a void under the floor slab, which would eventually crack and collapse, making an uneven floor. To compact the soil, I worked in “lifts”: Put about 2″ of soil back in the hole, spray it with water to dampen it slightly, and then compacted it with a sledge hammer and a piece of wood until it will not compress any more. Then another lift of 2″, and repeat until all the soil is back in the holes.
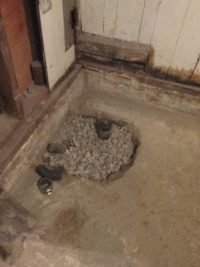
Here are the holes filled back in, and gravel (from the broken concrete) on top of the soil. The gravel is a ‘capillary break’ under the slab. It prevents moisture from the soil coming up through the slab. At least in this little part of the floor it will.
Here it is after I repaired the floor with concrete. Next: the plumbing for the hot and cold water.