Four Windows In


For a while, we were giving the cats oatmeal to help them with fur balls. Got to watch the quantity, though, and I get jumped on when I eat my breakfast.

My two breakfast buddies.

Last week, mole’s ‘little sister’ came to visit for a few days. The visit coincided with getting a new bike. And the roses are out.
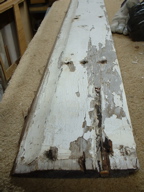
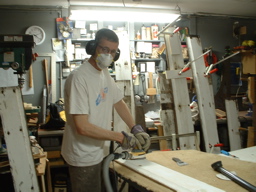
We spent quite a few weekends working on the old siding. Not only was it suffering from lack of maintenance, it got quite split up when we pulled it off. First I used waterproof ‘Titebond III’ glue and clamped the split boards back together. After a day to set, I sanded them all, to remove all loose paint, and smooth out a lot of the roughness. It took quite a while to get down to solid material. There’s going to be a lot of bondo on this wall.
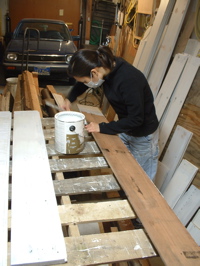
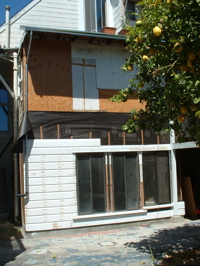
Janeen primed both sides, with two coats on the backs. Slowly, slowly, siding is starting to climb up the back of the laundry room again.
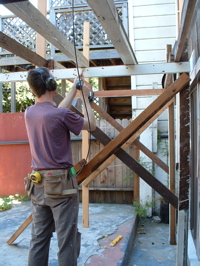
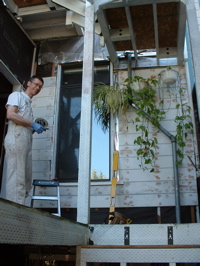
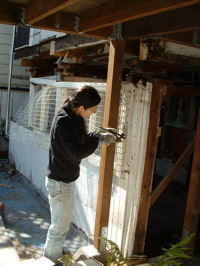
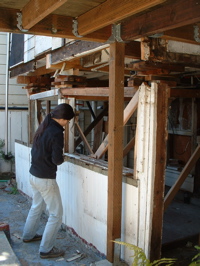
Once we got to about half way up the wall, I built some temporary scaffolding out of old pieces of wood. I don’t like working up a ladder. Here’s Mole holding the second window in place. She’s standing on the temporary scaffolding.
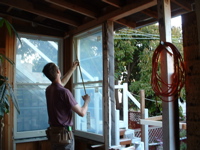
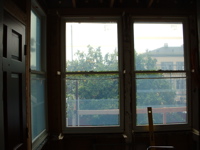
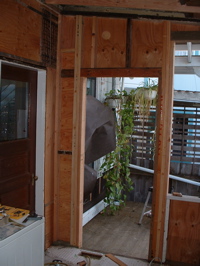
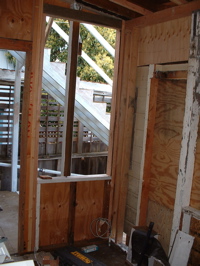
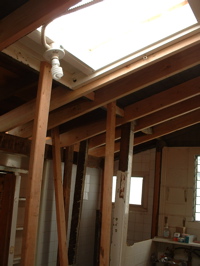
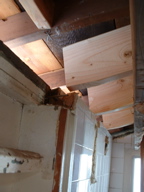
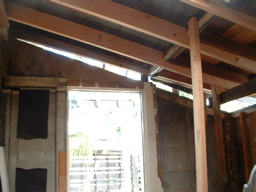
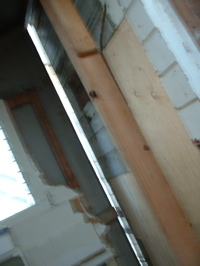
The instructions for putting in windows are very methodical. You level the window on shims, then carefully measure both diagonals. Surprisingly (for me), the windows are always out of square and need a lot of shimming and pushing around to get them square. Shipping must really bang them about. Each window takes a while. But here’s a view from the inside looking out, with three windows in.

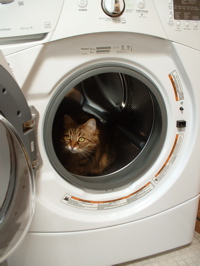
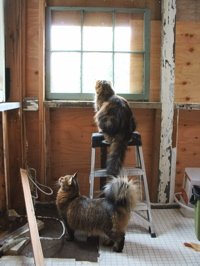
Arwen loves the laundry room. Partly because there’s so much to explore, and partly because that’s the way to go and play outside. When she wants to go through a door, she rubs her front feet on it, over and over.
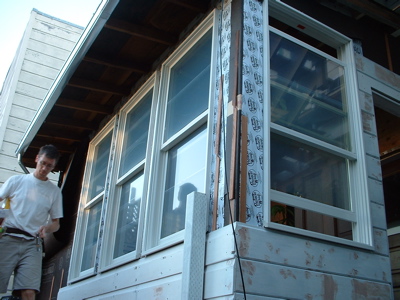
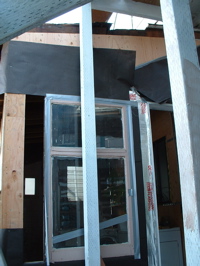
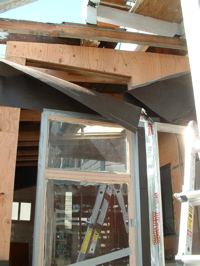
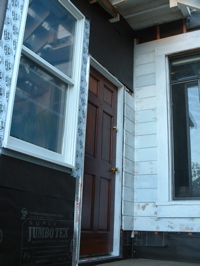
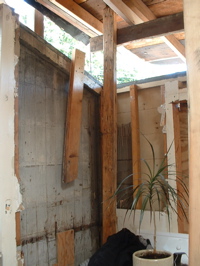
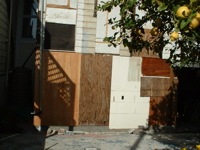
Here we’ve got all four new windows in, and the siding is up to the underside of the windows. But there’s one more wall to do.
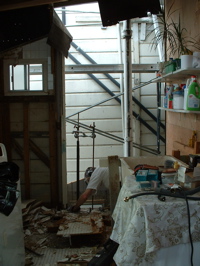
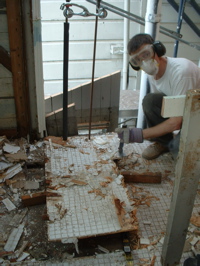
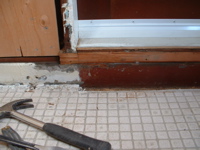
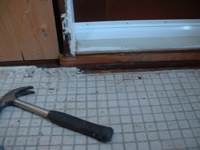
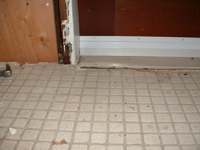
Here we’re tearing out the last wall that needs replacing in the laundry room. This is where the toilet was, so the floor is also quite rotten. Initially, I was trying to save the tile, thinking it would make it faster to get the room done. But I’ve decided to tear it out, because it’s so hard to match, and there are some large areas that didn’t have tile.

The problem with removing the tile, is that it was very thoroughly glued to 1/2″ plywood that was nailed with serrated nails tightly to the sub-floor. When I started pulling up the plywood (really slow going, and hard work), it started pulling up and breaking the rather rotten sub-floor.

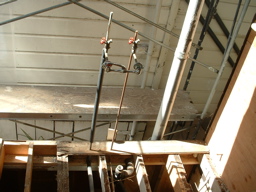
So now I had to also replace the subfloor. Here’s a picture with most of the sub-floor along the wall torn out, and the wall completely gone. That plumbing is for the sink that the washer was connected to. That’s coming out too.
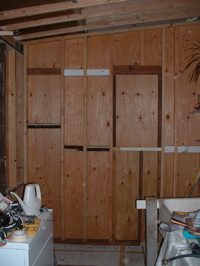
Late that night, I managed to get the framing for the wall, and the plywood up. The following day I had my Mum and sister coming to stay.
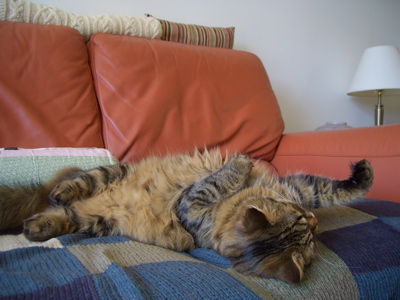
Hoot Like a Dove?

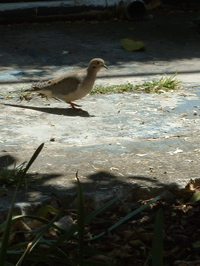
Since we bought a bird feeder, and I’ve been filling it with wild bird seed every week, we’ve been visited by quite a few birds. One of them hoots like an owl, and mole calls it my friend. I think it may be a mourning dove (not sure if they are in Calif, but it sounds a bit like this):
http://www.learnbirdsongs.com/birdsong.php?id=7

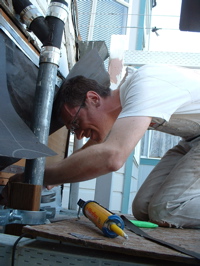
Above left, my friend is looking for seed that’s fallen to the ground. Right, I’m working on sealing up the wall over the window, ready to put siding on.

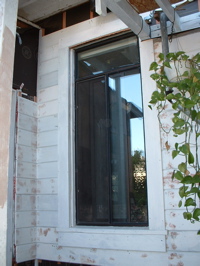
Finally, we’re getting siding on the wall around the window. This is the window that looks out of the kitchen. It spent the whole winter with duct tape and plastic covering the edges. I’ve finally got the siding on around the window, and the trim. Still needs the more filler, and prime and paint.

When I was building the back stairs, I built them so that they were independent of the house. This was partly so that I could build them without needing to tear down the laundry room or the old stairs first. The problem is, now I want to put a window in this wall, and I have a post in front of the window. So I re-framed this part of the stairs, and extended laundry room roof overhang a few inches, so there’s no longer a post in front of the window.

And then we put in one of the new windows. Four more to go. And no weekend project is complete without a kitten inspection. I think Bella approves (Arwen is just too preoccupied looking at the birds, I think).

New Back Door

I’m still amazed at how fast time goes by. I took off the old back door, extended it, and refinished it back at the end of October, so it’s been five months without a back door downstairs!

Instead of trying to save pieces, I tore off this whole wall and re-framed it. Now it has a door opening and a window next to it. Above right is the view from inside, with the plywood already on.

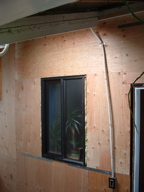
A problem I am going to have to resolve later is the post from the stairs, right in front of the window (above left). I’m planning to support it from the roof (extend the roof out to make a bit of an overhang, and sit the post on the overhang). Above right, the door is in, and I’ve put the old window temporarily into the window opening (we’ve ordered new windows).

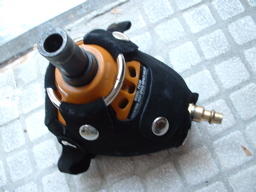
I also got a new toy. I can’t believe I’ve not used a palm nailer before, but they are awesome: The opening at the end accepts loose nails (one at a time). Then you place the nail against what you want to nail it into, and the nailer just vibrates the nail into the wood. It’s so effortless that it’s unbelievable. It’s especially useful in tight spaces that you can’t swing a hammer.

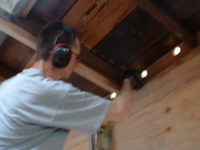
I used it to nail in the clips that support the roof rafters, and to attach the blocking. Notice the ear protection: That nailer is LOUD. Between each rafter, there’s a piece of wood cut to fit. This wood gets nailed to the roof, the top of the wall (usually with a metal ‘A35’ clip) and to the rafters each side. It serves very important purposes: It stops the rafters rolling over, it acts as a connection between the roof and the wall in an earthquake, and it closes off the space between the joists.

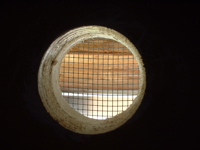
The problem with the last part is that when you have insulation, you need to ventilate above the insulation so that moisture does not build up and rot the wood. So we added holes, with mesh screens on them to let air in.

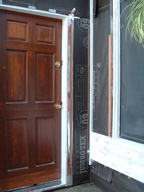
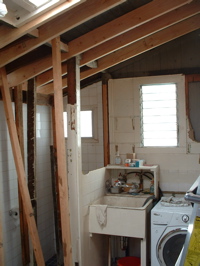
Above left – the door is in, and the wall moisture barrier paper on. Above right, I’m looking out of one of the random holes that’s left when I screw up all the temporary bits of plywood that I find lying around. This wall will be all windows soon. Above my head between the rafters you can see the blocking all in place (primed white).

Another view from inside the laundry room. Before the blocking was in, Arwen almost jumped out one of the openings between the rafters. We didn’t even notice that she was in the room, and then Janeen looked up and saw her hanging out the outside!

Above right, these old windows are the windows we replaced at the front of the house, and in the bedroom (2009!). They have been gathering dust in our garage, and now I’m going to put them to use.

I’m cutting the frames shorter, and reassembling them so that I can use them in the garage back room (under the laundry room). Should get them in next week…

Here’s our view when we are working on the back door.

Not What Normal People Do

We continued working on the Laundry room. I took off all the old siding, and added plywood. I ran out of coil strap (steel straps for shear walls can be bought individually, or in rolls, colloquially referred to as “coil strap.”) So there’s only strap below the window. Need to add some above it.

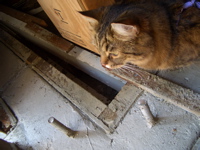
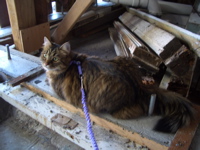
Once I got it all on, nailed, and cleaned up, we had a kitten inspection. They love this room.

Then I started on the second part: Raising the roof. Because of how this room has been built over the last hundred years (in bits and pieces tacked onto the previous pieces), the roof framing was haphazard. So I added new roof joists. I had to hold the roof up with 2×4’s while I cut the old framing and added in new.

It’s rather tricky figuring out how long to cut them, and what angle all the cuts need to be. When I put them in, because the roof slope was still steeper, they all looked short (above left). Then I put a beam across all of them, and started jacking. Above right you can see a gap forming between the wall and the roof!

Here’s me jacking up the ceiling. Maybe I should have been wearing my hard hat. Above right: When mole saw this gap, she said “this is not what normal people do to their house.” Poor house.

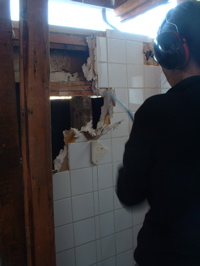
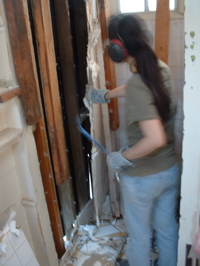
So Mole started working on taking out the old tile and plaster board where the old ‘shower’/toilet was. At first it was really tough going, but then she managed to get most of the wall off in one piece.

We then framed in a new wall to support the lifted up roof. Above right, you can see the gap where the roof has been raised up, and the new wall next to it. This wall is going to be mostly windows. Above left, Mole is looking out of one of the future window openings. I’ve used all the old scraps of plywood I can find to fill them in until the new windows are delivered in about four weeks! In the mean time, it’s looking like there was a fire. 🙁

Here’s Arwen playing in the comforter.

Foundation, Flowers, Travels, Walls!

Quite a bit has happened, both before I went to England and Brooklyn, and after. As usual, I over estimated how much we could do. I wanted to get a new foundation poured, and walls built to support the laundry room before I left. We almost got there…

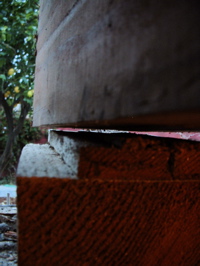
The old walls around this space had been built in stages. Initially, it was probably open, and just posts supported the floor. Then siding was added. Then concrete. So the siding was buried in concrete, and very rotten. We tore out everything, leaving the laundry room sitting up in the air.

The problem (well, one of them) with being an amateur: Even if I know how to do something, sometimes I forget, because I do it so rarely. When laying out the foundation, I forgot that you are supposed to stretch string out to lay out the sides. That helps get them straight, and is easier than snapping chalk lines. I snapped chalk lines.

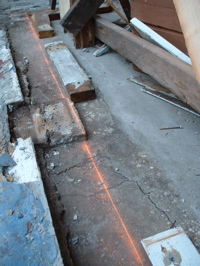
As you can see, I’m not doing real foundations, just putting a concrete wall on top of the old concrete slab. It will lift the wood framing up, so that it’s not sitting in water. Hopefully will stop the rot.

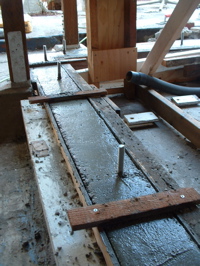
We drilled and epoxied threaded rod into the old slab, and made sure they were sticking up high enough so that we can use them to attach the new wall to the concrete.

The formwork took a whole weekend to make.

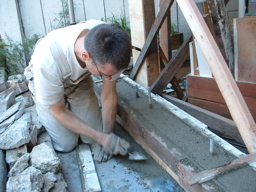
The next week, in four car trips, I got the concrete, and rented a mixer. Janeen and I poured the new concrete walls in a day. I spent quite a while cleaning up, and trying to smooth and flatten the top.
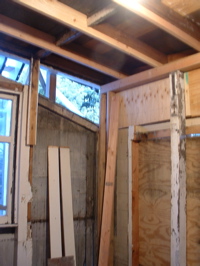
 

And that’s as far as we got before I took off. I screwed some plywood onto the outside, and hoped for no earthquakes.

When I got to Brooklyn, I pulled out the gifts that Janeen had made: Pocket Bears! She said that Misha and Aja could pick whichever ones they wanted. Misha had a lot of trouble (he wanted them all I think.)

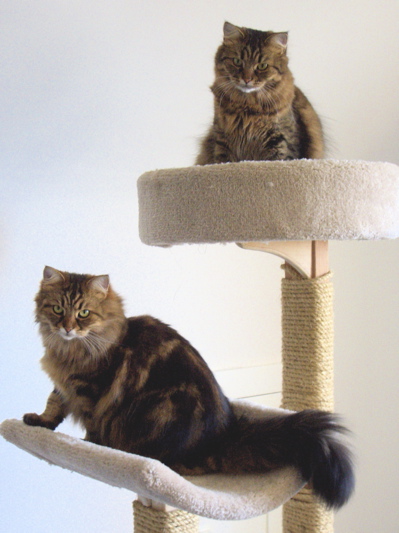
Arwen and Bella glamor shot!

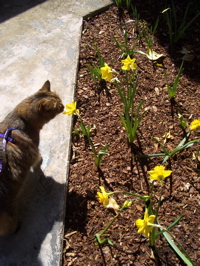
Spring is really here. The flowers are all out in our garden. Janeen took these photos while she was outside with the cats.

Here is Bella inspecting the foundations that have been setting for a week by now.

I forgot to take photos when I was in England (because my phone wasn’t working, I didn’t even think of trying to use the camera. Oh well. I spent a week in Stroud, enjoying beautiful weather, and Mum’s great cooking. 🙂

I stopped back in Brooklyn as I returned, and one day there was a track meet! Managed to snap a photo of Misha running the 800 meters, and Aja running a relay.

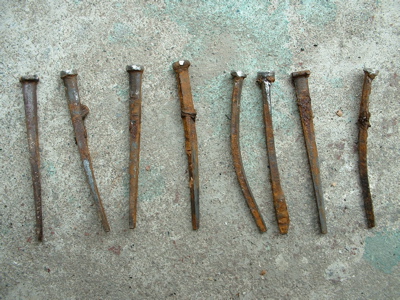
Nails! [Mole note: these nails are almost 100 years old! they are hand made. see how they are not round? they have corners! so cool.]
Yes, we’re back at it. And there was a 4.0 earthquake while I was gone. Fortunately, it was quite small, so nothing fell down.

Besides peach blossoms! The Freesia are blooming.

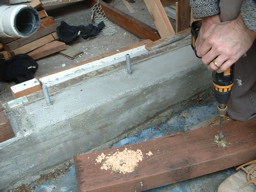
Drilling holes, and then putting the sill plate onto the new concrete. Above right, I’ve painted wood preservative into the drilled holes, and hammered the plate over the threaded rod anchors. It fits!

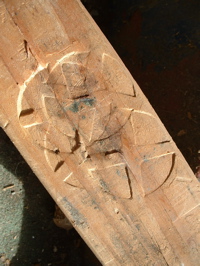
Janeen is dismantling the ‘Jenga’ that was supporting the laundry room. Above right is one of the pieces of wood that the jack was pushing on. I guess it was pushing quite hard!

Above left, building a new wall. Above right, with pile of wood supports removed!

Above left: I made a mistake measuring for one of the anchor bolts, so the washer and nut will extend into one of the posts in the wall. Janeen used a chisel and notched out the bottom of the post to fit over the square plate washer. Nice!

Above right: The plywood on the far left is a new shear wall. The rest of the panels are temporary. I’ve got some old aluminum windows that I am planning to resize and fit here.


Jack!

We did jack this weekend.

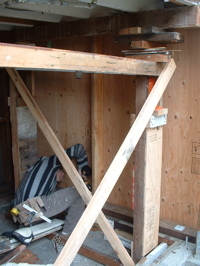
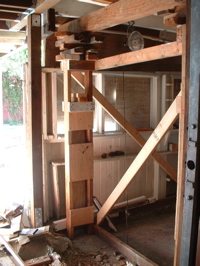
It took most of Saturday to get the supports and bracing in place. I added diagonal bracing below, to try to stabilize everything as much as possible. When the back room is cut off the house, the only thing stopping it from toppling over will be these braces. I wore my hard hat so that I didn’t keep hitting my head. Looks more professional, too!

Using a reciprocating saw, I cut all the way round, through the nails that held the laundry room onto the house, completely separating it from the house. We also disconnected piping (well, most of it – see later) and other things that held the floor to the house.

Above left you can see the step (red) between the kitchen and the laundry room.

Once we started jacking, Janeen ran outside and took a photo (above right). You can see a gap under the framing that is going up with the floor, and the wall below.

Above left, there’s about six inches between the floor and the wall below. Above right, this is half way there.

While we were pumping the jack, there were all sorts of creaking noises. Sometimes there was the sound of splitting wood, or sudden cracks. After one noise, I went outside, and found that I’d forgotten to disconnect the sewer pipe from the wall, so it was being lifted up with the room and had separated at a joint. I had to disconnect it, and carefully slide it back down into place (while up on a ladder, leaning on the room sitting on temporary supports – above left).

Above right, you can see light shining through a gap between the house and the laundry room. The whole thing would tilt sideways as we jacked up one side. Then it would tilt back when we jacked the other side. I didn’t realize it would tilt around this much, and am really glad I put in the bracing. It’s quite scary being underneath all this with the jack.

Janeen kept calling it ‘reverse Jenga’. I have one 20-ton jack but have six support points to lift the room at. We put the jack onto one of the supports, and pumped it until it lifted that side about 1 1/2″. Then I slipped a couple of 2×4’s into the gap, and let the pressure off the jack. Then we moved it to the next location. It took all day.

Above right, here’s the gap after getting the floor to the right level.

Above left: Flush! There’s no more step down. Above right, the whole room was moving around while we jacked it up. At one point, I noticed that as I was jacking, the room was moving sideways. A piece of wood had got stuck, and was levering the whole room sideways about 1/4 inch before I stopped. To get it back into place, I screwed a block of wood to the floor joists of the laundry room, and a block to the side of the house. Then I tightened a clamp between the two pieces of wood to pull it over. It worked!

Above left, here’s a nice (scary) pile of wood supporting the laundry room. Above right, at this side of the room, it raised up about a foot, because the floor of the laundry room (in addition to the step), sloped away from the building.

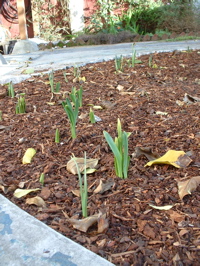
It’s been a funny winter. Actually, I think there was none. It only rained two or three times. And now it’s spring. The daffodil, crocus and iris bulbs that we planted around the tree are popping up. And the peach tree is coming into blossom already. Janeen took a photo of a couple of sprigs we brought in and put into water.

Head Banger

Besides working my tail off on paid work, I’ve been plodding forward on the house, preparing to raise up the floor of the laundry room.

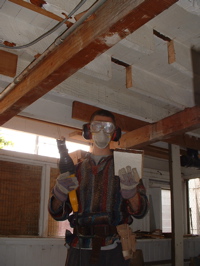
The floor framing in this space was done without much help from engineering. It also did not leave much head room in the space below (I can’t remember how many times I’ve hit my head — probably once a day — working on this.) In place of the two undersized beams that span across, I’m replacing with a slightly deeper beam, but I’m setting the top of it flush with the top of the joists. I have to cut all the joists to get it in. Janeen caught a photo of me after I’d cut a couple of the joists. No going back now.

Janeen spent most of last weekend pulling nails out of old pieces of wood. I’ve got such a pile now, I need to figure out a project to use it all on.

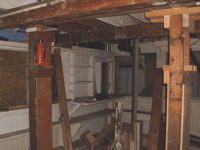
Using some old wood, we made some support contraptions to fit the jack, and support the floor while we jack it up. It was a bit tricky getting them in place: I managed to break two windows simultaneously when the post fell over and smashed them (left). Right now, I’ve got the beam in the middle, and have put load onto the first two support posts. How do I know that they are carrying the weight (see below)?

This is a photo looking at one of the old beams (above left).

Two things: One, there’s now a gap under it, because all the weight is on the new beam. But the second is the troubling thing in earthquake country: When the previous person did this, they just sat the beam on top of loose blocks of wood. That’s fine until the building starts shaking around: Then, the blocks would just slide out, and the whole room would have come down! Speaking of earthquakes, I also added more plywood on the wall upstairs. The wiring for the light switch is just temporary!

Next, I have to get the outside walls supported, and disconnect this room from the building. Then I can start jacking…