we’re reached the point in our remodel where everything is starting to look familiar because we’ve done it once before.
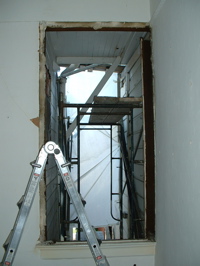
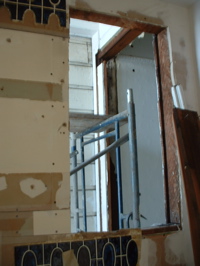
similar to when we were working on the living room on this level, mathew rented scaffolding to prep and install the bedroom and bathroom windows.
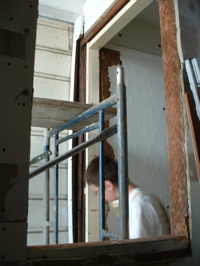
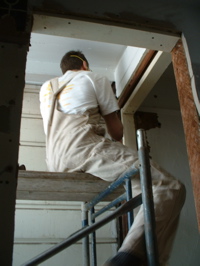
first he removed all the interior and exterior window trim and then he removed the big bedroom window.
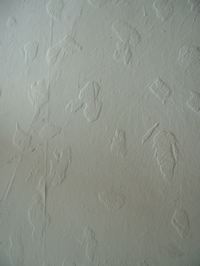
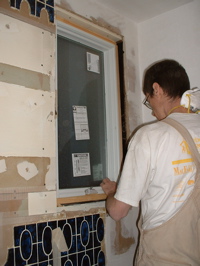
(left) while all of this was going on, i came up from the garage, took a break from stripping wainscoting and noticed how easily the paint/plaster/wallpaper chipped off the bedroom wall. (right) and i helped mathew install the bathroom window. he set up shims on the window sill inside and had me hold them in place while he inserted the window from the outside. he had me use the level to make sure the window was aligned correctly then he screwed it in place from outside.
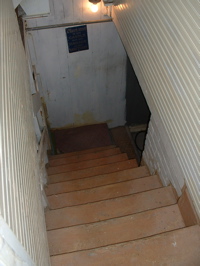
(left) next it was time to install the giant bedroom window, but first we had to carry it upstairs from the garage. this was no easy feat, check out the size of the stair well… mathew estimates the window weighs about 100 pounds, and the stairwell is so tight that mathew has to duck every time he walks up or down the stairs. we took the window out of the box and it has these big vinyl fins all around the window, which make it easy for attaching to the outside of the house, but impossible to hold onto or place down on the floor to rest. so we struggled with carrying this window, carefully up this stairwell without hurting the window, the walls or ourselves. let me just say, it was tiring and STRESSFUL. if it were daytime we probably should have carried it up the outside stairs, but since the box had already been taken apart and mathew was determined to install the window that night… we had dinner then came back to install it.
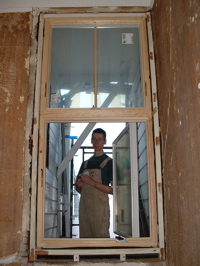
(right) this photo was taken the next morning, AFTER the installation. installing the window was stressful but not as much as carrying it upstairs! the tricky thing was that the window had to be passed through the opening then lifted up into place and installed from outside while standing on the scaffolding. at that point the scaffolding was set up to reach above the window; i had the idea to remove the top bars so that we would have room to maneuver the window outside.
first i went outside onto the scaffolding while mathew passed the window through the opening to me while climbing outside too. then i went back inside and placed the shims on the sill while mathew tried to balance the window on it’s crazy vinyl fins. next he lifted the window into place on top of the shims. it took some adjusting, adding shims until the window was level. we passed tools to each other through the new bathroom window. and while mathew was screwing the entire window in place i was holding a light up in the bathroom window so he could see what he was doing. what a night!
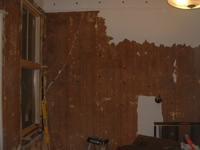
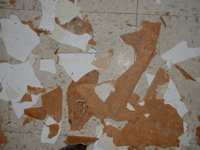
(left) before all of that, i was having fun chipping off the paint/plaster/wallpaper in the bedroom. that splodgy plaster technique (see white wall photo above) is really ugly but i managed to make the room even uglier! (right) mathew took this photo of the chips on the floor but that was nothing. they were seriously everywhere!
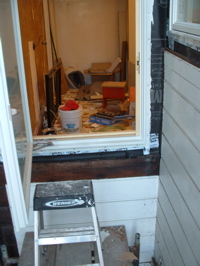

on sunday mathew worked on sealing around the new windows and replacing the exterior siding and trim.
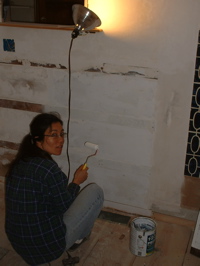
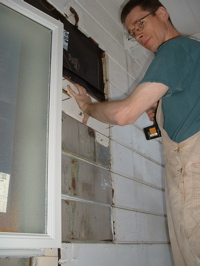
i painted the gypboard and backer strips where the wainscoting will be installed, just one more moisture barrier.
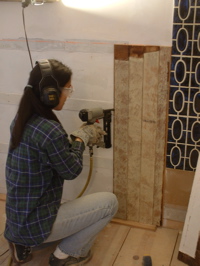
(left) and then i got to work installing the wainscoting. because of the uneven floor i have to measure for each piece then cut them on the miter saw. mathew taught me how to use the air-powered nailer, a tool i never thought i’d use, because i hate the gun-like quality and the NOISE involved. it was after i’d installed quite a few of these tongue in groove boards that i realized it was a very simplified version of installing flooring. so, in the end i did get to learn something about flooring! you might wonder why these boards are so ugly… they are RECYCLED. these are the boards i’ve been stripping downstairs in the garage, eventually they will be painted white. in a way, this is MY project: i stripped the boards (with the help of the gee sisters!), i cut and installed gypboard and backer strips, now i’m cutting and installing the boards, next i’ll sand and paint them. except for the painting, mathew did this entire process for the upstairs bathroom in 2008.
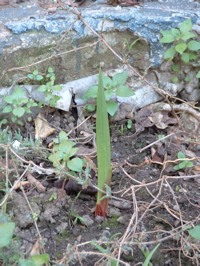
(right) the gladiolus (bulbs i planted) have finally arrived!
