Engineers in California love plywood. I’m no exception; this house really needs some seismic retrofitting, and I’ve expanded the stair replacement project to include a shear wall (plywood!). Once I got the first level of the deck stable, and the upper stairs shored up, I took the siding off the back of the house and added plywood.
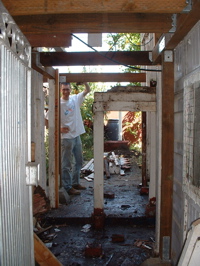
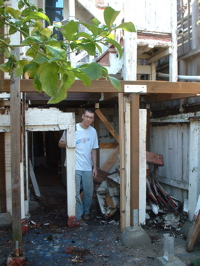
On a rainy Monday, I went out to the back and tore out the old steps.

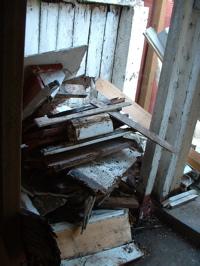
I’ve got most of the first level framed. The pile on the right is all that’s left of the old steps.

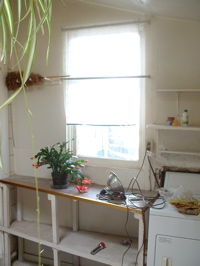
Above left is the view out the kitchen window downstairs. The deck is starting to form. Above right is the laundry room. The new back door will be where this window is, leading out onto the deck and stairs.


The old back door had been chopped down to be just over six feet tall. To make the door back into a standard height, I added wood at the bottom and top of the door. Then I stained it with the same wood stain we’ve been using on all the wood work here. Above right – look at our garden spiders! They are getting big. Can anyone identify it?
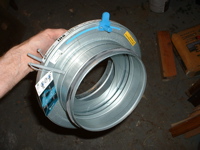
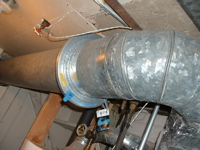
Oh, and in my ADD style, I also decided to tear out the ductwork for the heating furnace, and add backdraft dampers and fancy iris dampers. We’re planning to get the furnace replaced, so I wanted to get the ducts in a row. ahem. Well, the purpose of the backdraft dampers is to try to stop wind blowing through the house through the heating ducts.

So, after putting the second to last coat of polyurethane on the door, our neighbor’s cat got into the garage. And went walking on my fresh varnish. I think I can get these out with a light sanding, but maybe I should leave them??
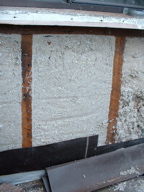
Above right, you can see the siding taken off the back of the house, ready for plywood! On the lower left of the photo, you can see how well the blow-in insulation fills the cavities. I’m completely sold on that stuff – it completely fills the whole cavity, unlike batt insulation. I messed with it a bit when I was adding hold-downs to tie this shear wall into the level below.
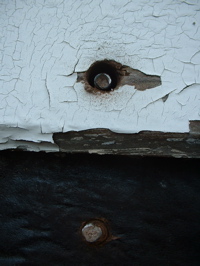
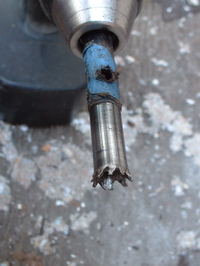
I’m not a fan of waste. And when it’s 100-year-old redwood siding, I’d be foolish to throw it out. But getting it off the wall without breaking it is a challenge. The technique I came up with is to make a tiny core drill out of a piece of pipe. Using my Dremel tool I sharpen teeth into the end of the pipe. I’ve got a piece of tape on it for the thickness of the siding. Works OK, unless the nail is in at an angle. Then it instantly destroys my core drill, and I’m back to sharpening.

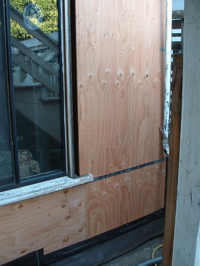
And here’s a before and after. Isn’t plywood nice? The strap just adds the perfect touch, I think.
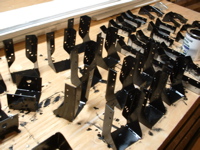
A friend suggested I paint the hardware before installing it on the deck. His thinking is that the paint would help to stop the metal from rusting. Being a perfectionist myself, I think it’s a great idea. Being an engineer, belt-and-suspenders is always better. And after finding out the price of hardware in stainless steel (almost twenty times the cost), I’m going for the paint. It takes ages to paint all sides, though. I’m wondering if I should do two coats?
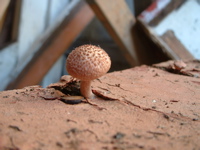
Janeen spotted a mushroom in the wood from the old stair (while she was outside pulling nails out of it).
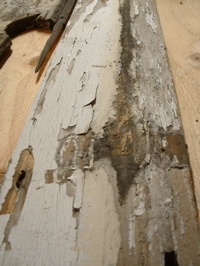
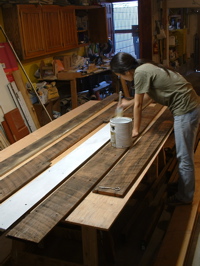
The paint on the back of the house is in seriously bad shape. How can siding get this bad? It will be good to resurrect this wood. Above right, Janeen is priming the backs of the siding boards, after they’ve been sanded.
Well, I’m almost ready to start on the next level. If I don’t get distracted.
