mole pointed out how cool today’s date is so I had to write it down somewhere.

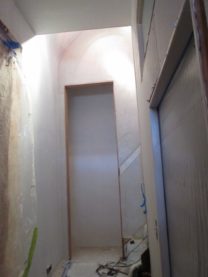
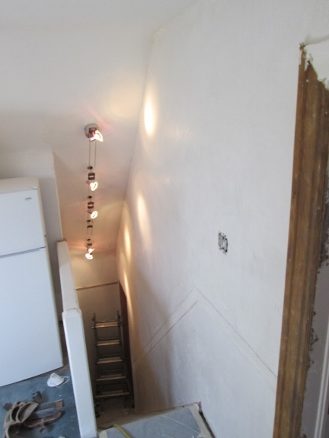
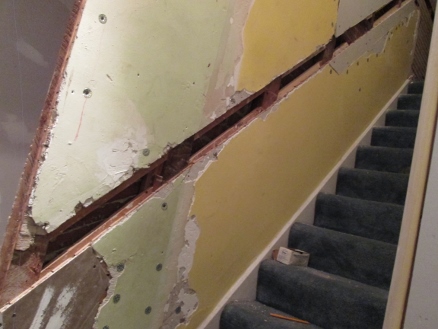
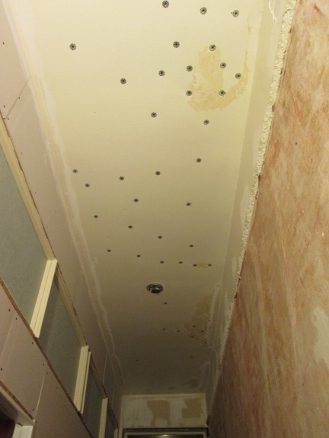
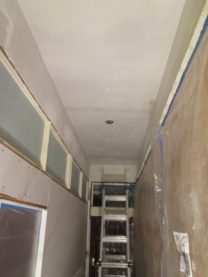
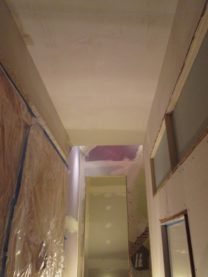
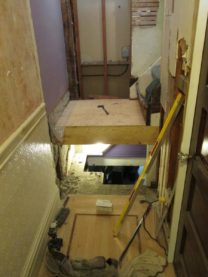
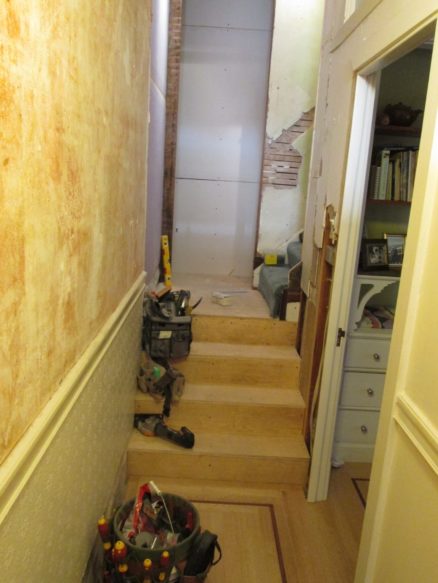
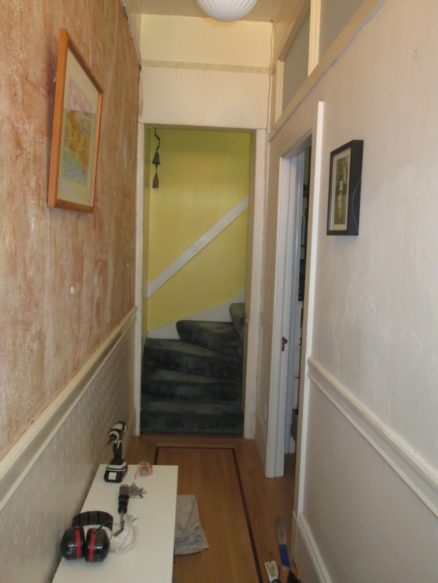
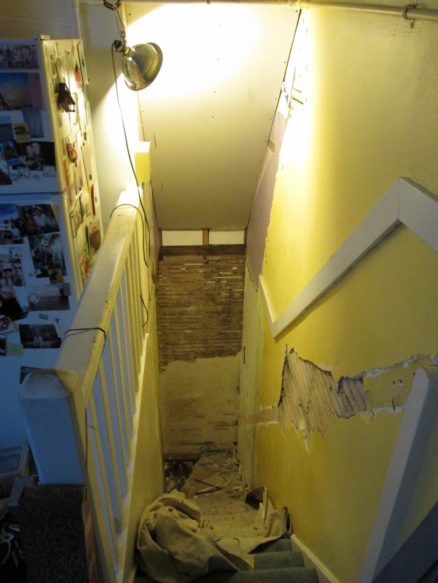
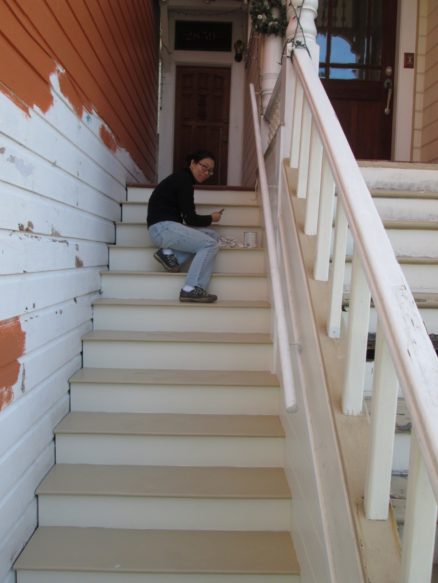
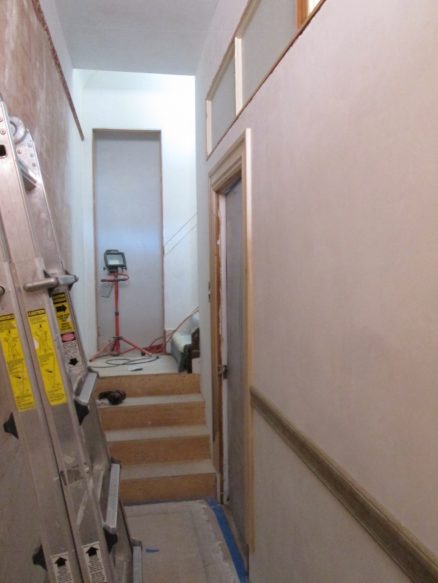
The front hallway is getting much closer to finished, but still quite a bit to do. This stuff really takes a lot of time. Here are a couple of close up photos: On the right, looking at the ceiling over the stairs, on the left, looking up the stairs. I decided to remove and replace the guard rail here with something more decorative.


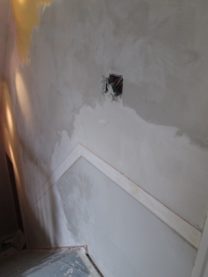
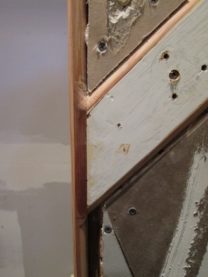
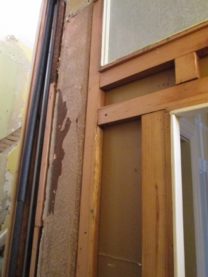
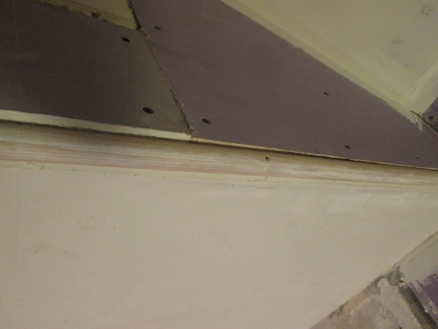
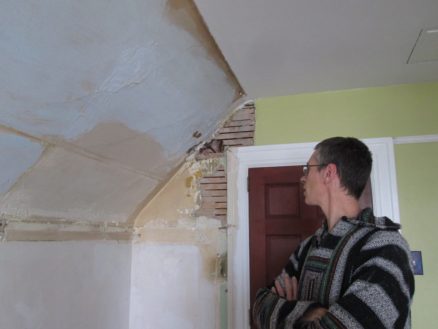
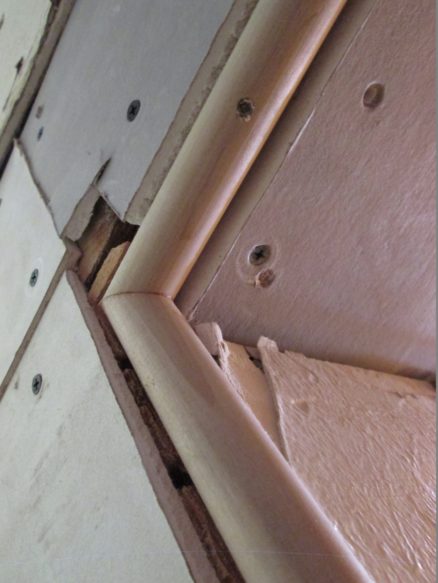
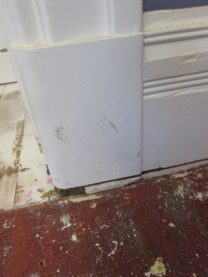
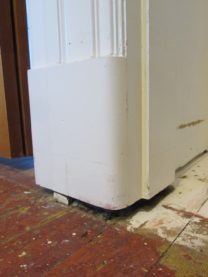
When a corner comes up to the ceiling, it presents a bit of a problem. I’m not sure how this would have been handled traditionally. But it was probably done using a pre-made plaster casting, either taking the dowel around the corner, or putting some decoration here.
The photo below left shows how it had been handled in our house. I decided to try to use plaster to make the dowel shape follow the curve of the ceiling. Below right with a rough blockout in basecoat plaster.


It still needs some work, but I think it looks much better than before.

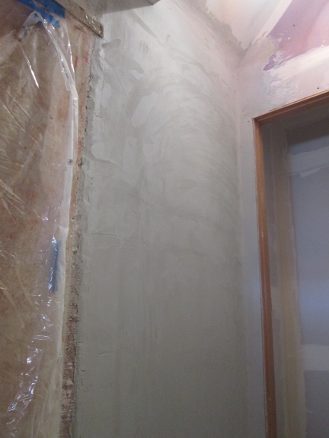
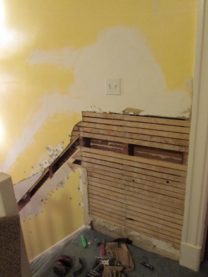
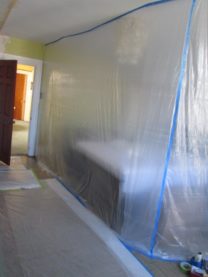
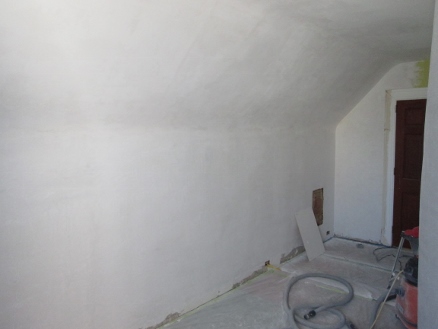
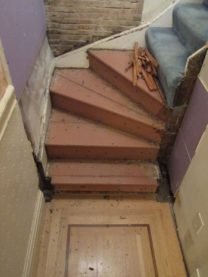
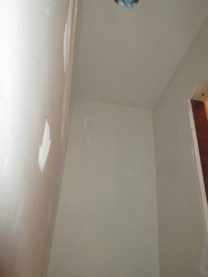
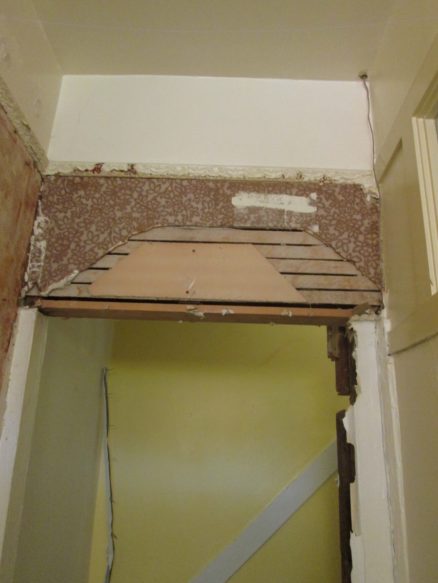
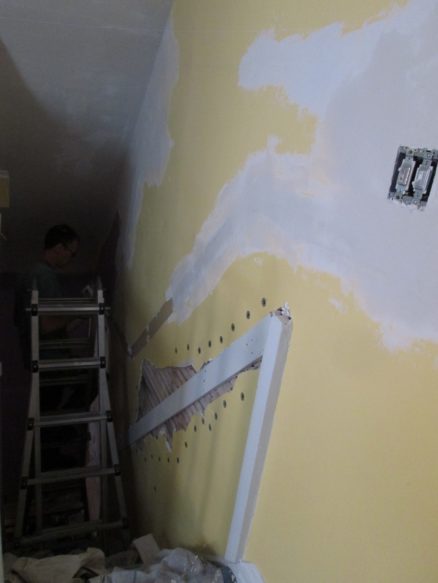
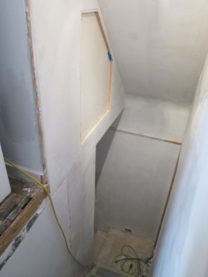
The last wall next to the stairs (on the right of the stairs as you head up.) The photo below shows the wall ready for the base coat of plaster.

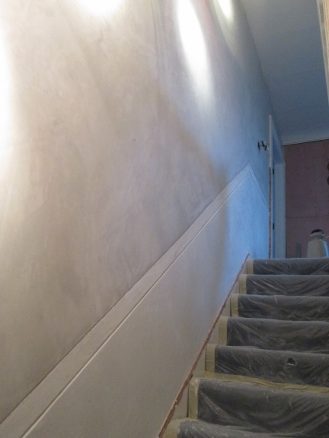
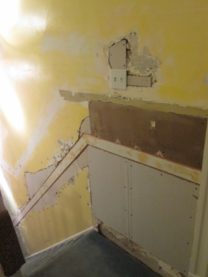
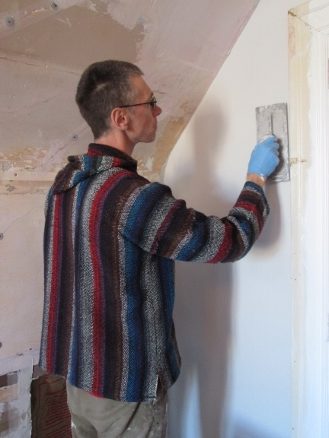
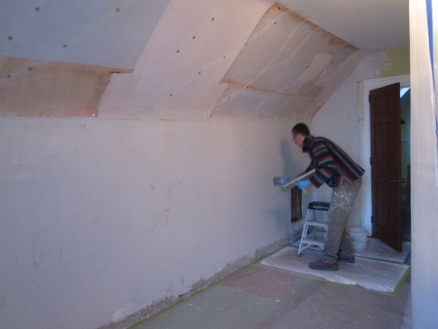
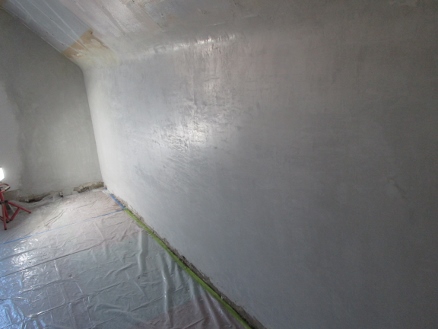
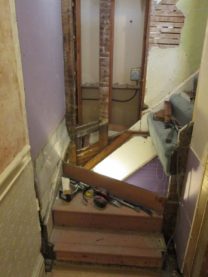
Below left with the base coat on, below right with the veneer plaster finished.

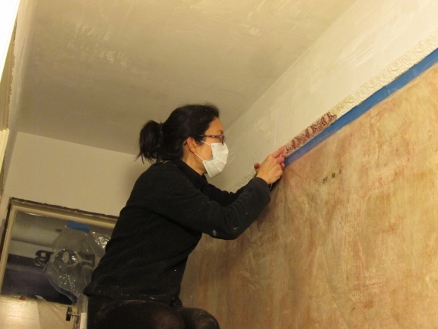
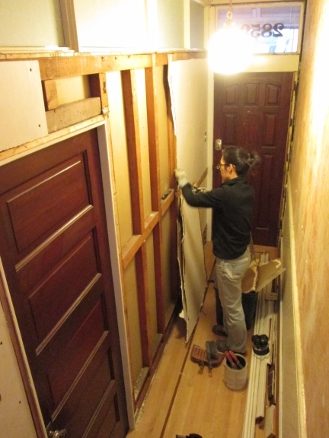
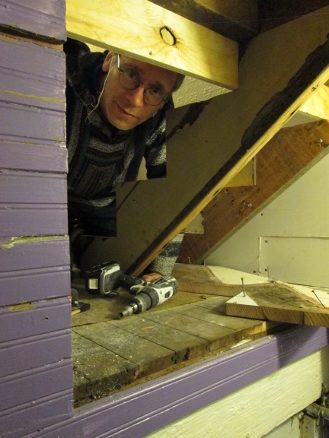
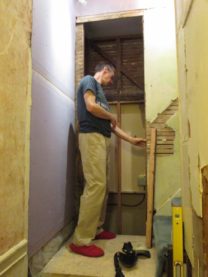
Mole caught a couple of photos while I was doing the finish veneer plaster coat. Stairs are a really awkward place to work, because the ceiling slopes, so on my right side I needed to crouch down to reach the piece of wall over the entry. I had to climb down to get more plaster from the bucket every few minutes. And there are a lot of edges that have to be carefully finished around the corner bead.


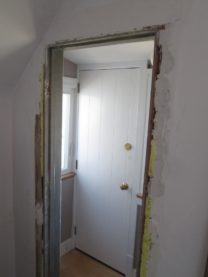
So now it’s on to putting molding on the doors and windows. This is the back door out of the bedroom upstairs. When I was working on this back porch, we were still living upstairs, so I couldn’t finish the inside of this door. I’ve re-used some of the original trim that was downstairs. Ready for paint.
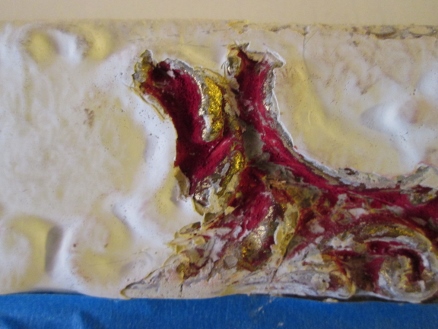
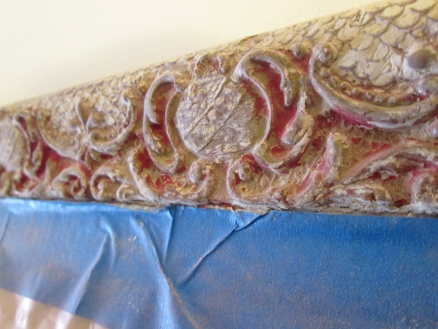
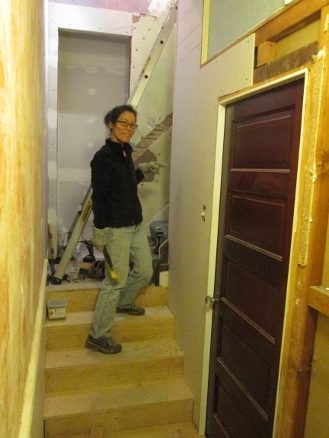
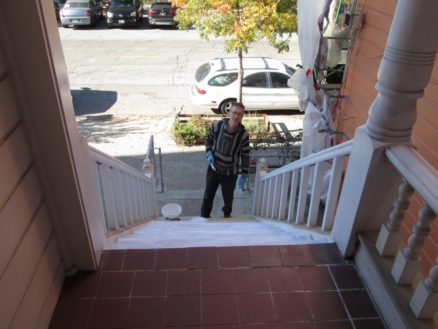
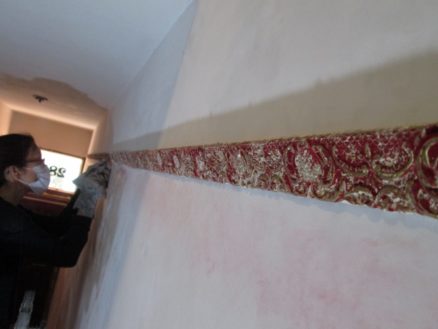
Here’s a cool pic of mole as she was finishing up restoring the picture rail.
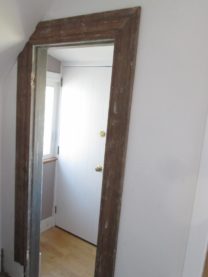
This is the front door before (left) and after (right) I put trim on all around it. I reused old wood, so lots of planing, filling, and routing.

Below left is a close up of the trim on the front door.
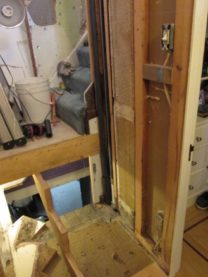
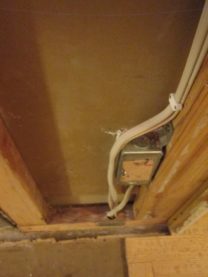
Below right, I made a mistake when I put the light switch in: I installed it a bit too close to the door, so it interfered with the frame around the door. Oops. But mole came up with an idea: Build the light switch into the frame. So this is it: I found an old brass cover plate that will make this look really nice.


Almost done with the trim in the photo below. Still need to finish around the windows above.
Again, using pieces of salvaged wood I built up the trim around these windows. Ready for paint!

Oh, and on the other side of this wall, mole put up many of our favorite photos of family and friends.