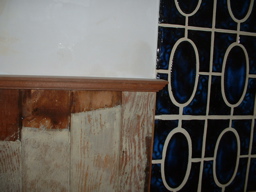
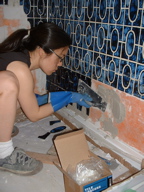
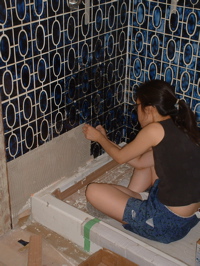
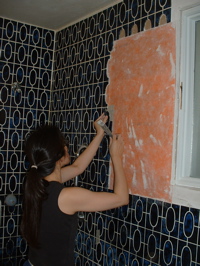
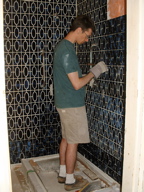
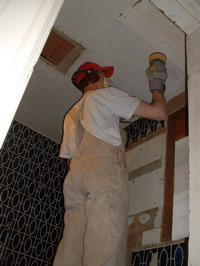
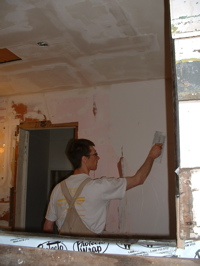
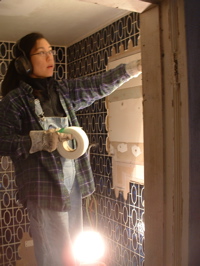
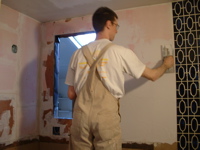
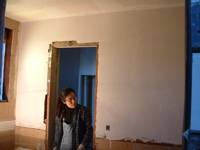
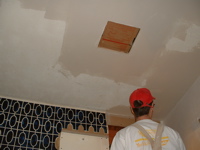
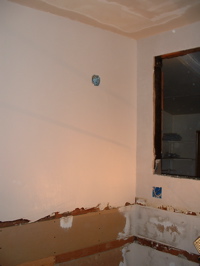
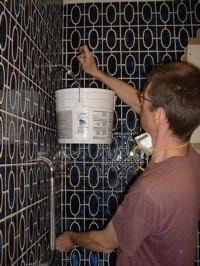
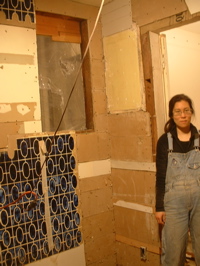
…and more tile.

last weekend we were excited to have 3 full days to work on the house.

windowwindow

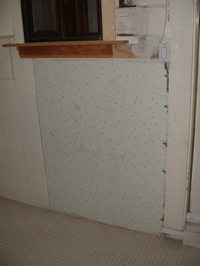
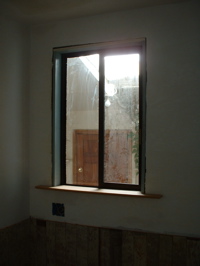
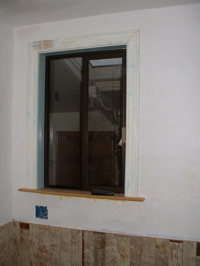
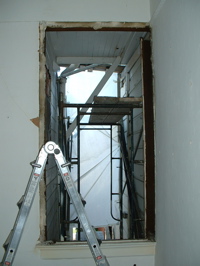
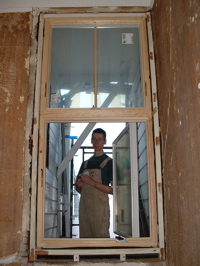
mathew started by finishing the laundry room frame and wall siding on the new bathroom window that he made and installed. then he covered the plywood with some of that star paneling that was used upstairs on the walls. this will eventually be sanded and painted white to match the rest of the wall. i’ve almost forgotten that this used to be the bathroom door.

tiletile

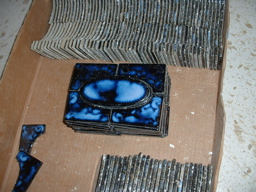
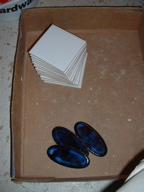
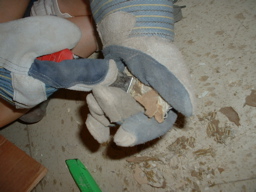
on saturday all i did was clean up recycled tile. we even got to re-use some of the white tile that used to be in the old (stenchy) pink upstairs bathroom. because the previous owners had used mastic (glue adhesive) instead of thin-set to install the tile, mathew found it was easier to clean using the heat gun in the garage. the white tile looks brand new!

tiletile

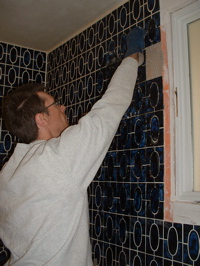
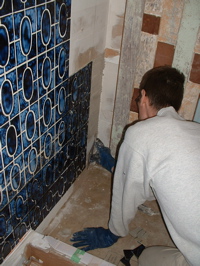
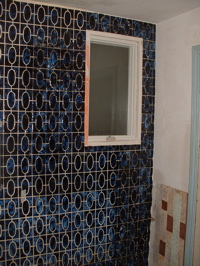
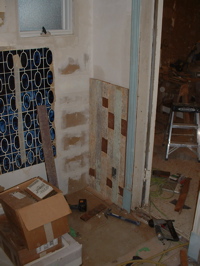
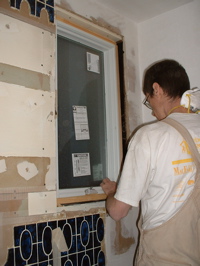
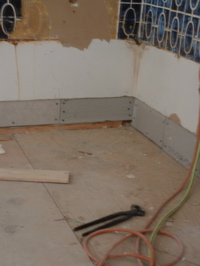
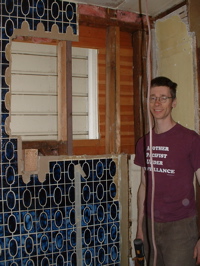
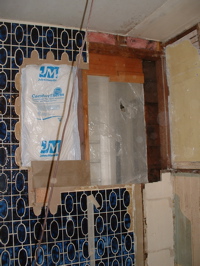
on sunday i woke up with food poisoning so mathew worked alone for the rest of the weekend. he finished cleaning all the blue tile, cut and installed it to fit around the window, and floor.

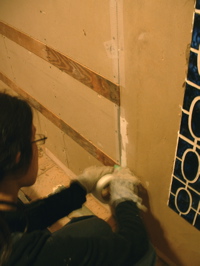
tiledremel

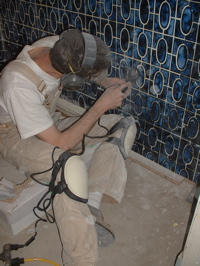
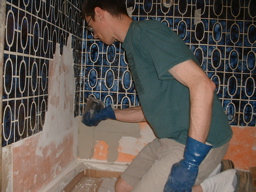
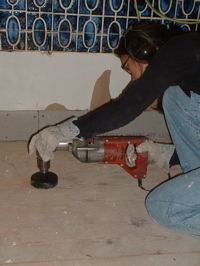
and he even bought a dremel tool to grind out some of the old grout that wasn’t applied correctly. when i wandered down to take photos i was surprised by how much it sounded and smelled like drilling teeth at the dentist’s office. ick.

windowwainscoting

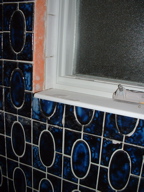
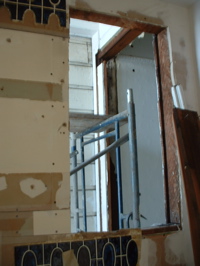
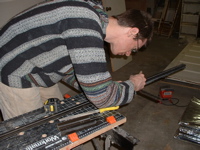
and mathew wouldn’t be mathew if he didn’t go one step further with the details. (left) he purchased, cut and corner-rounded some white marble for the window sill. the recycled white tiles are around the inside edge next to the window. more white marble will go around the outside of the window next to the blue tile, to give the impression of a window frame. it took us a while to decide exactly what to do in that space between the blue tile and the window. it would have been impossible (and not very pretty) to cut and install small pieces of the blue to fill that thin space. (right) and he routed and installed wainscoting top ledges that will go around the room. now it’s time for me to sand the wainscotting and make it pretty again.

tile. and other things.

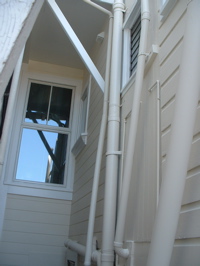
exteriorexterior

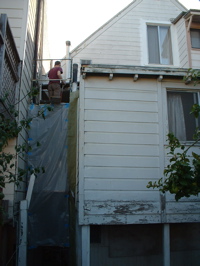
here’s how the exterior looks after the painting has been done and the scaffolding removed. nice, huh? now when i look at the rest of the house and see peeling paint it makes me want to get out there and scrape, sand and paint. …but one thing at a time.

windowwindow

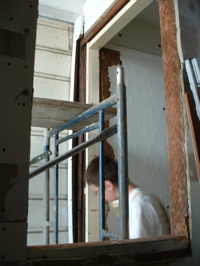
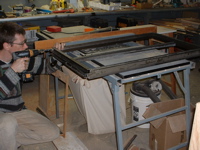
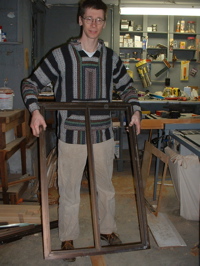
mathew finished making this bathroom window from the large old bedroom window that was replaced. he cut the metal, pieced it together, cut the glass (with much difficulty) and installed it into the frame. we’ll add a translucent film for privacy since it looks out onto the laundry room, but it really helps to add natural daylight to the room. (right) here it is again with the window trim moulding added which will be painted eventually.

kerdikerdi

during the week mathew put up kerdi membrane, a special water barrier cloth that goes under the tile where he had removed the old window, tub and shower fixtures.

mathewjaneen

last weekend we got to work installing tile in those gaps over the kerdi.

janeenjaneen

even though we’ve already had lots of tile experience, installing this tile was painstaking work. since we’re recycling it, it’s no longer in big sheets with mesh backing but in pieces, so we had to apply each small piece and eyeball it to make sure it lined up with the old tile.

mathewtile

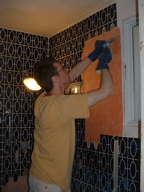
(left) here mathew is cleaning out excess thin-set that squeezed out between the tiles. (right) and i am cleaning the backs of more tile to be installed. we need enough to go around the new window to the right and to fill the rest of this wall where mathew is working. it is a very SLOW process.

while we worked last weekend mathew came to the realization that this remodel has taken as long as it has because of mathew’s perfectionism and my desire to recycle and not contribute to landfill…

back to work

We haven’t made a post in a while: It’s because we got some rather unmotivating news; Po-Po has decided that she wants to move into a nursing home. The amount of time this is taking us has probably played into it a bit, but mostly she’s concerned that she does not want to have to cook, wants to have a nurse on call, and does not want to clean. All of this we can come up with ways to do, but also, she’s planning to move into a place with her sister-in-law. We understand that it may be lonely still living downstairs here, even though we are here. But at the rate we are working, she can go check out a nursing home for a few months; if she doesn’t like it or changes her mind, she’ll still be welcome here when we’re done!

We are now floating ideas of what we will do with the downstairs: Maybe a vacation rental?

coolscaffoldphoto

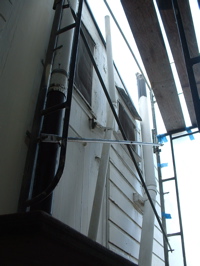
I finally got the window trim back on, painted: finished. then we moved the scaffolding over to do some more painting on the next section of house, while we still had the scaffolding.

windows donemore painting 5

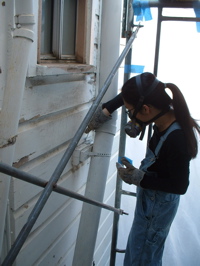
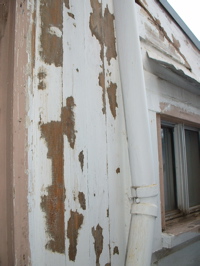
There was peeling paint all over the wall, so we encased the scaffold in plastic to keep all the paint chips in. Below, you can see janeen scraping off the loose paint.

more painting 2more painting 3

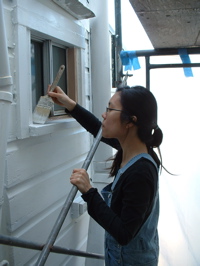
Once every loose chip of paint was scraped off, sanded (with a HEPA vacuum attached), cleaned up, and the wall was washed with TSP, we primed and painted it.

more painting 4more painting 1

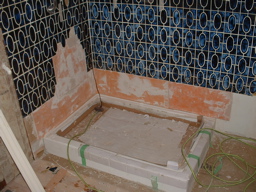
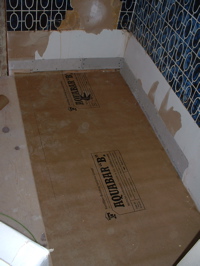
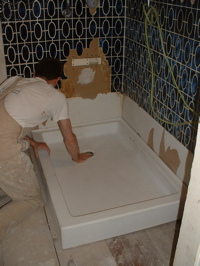
On the inside of the house, I finished off the last piece of wainscot (it will be behind the door). Then, for the second time, I installed the shower receptor. Last time, it lifted up as the moisture in the mortar was absorbed into the wood floor and the floor swelled. After the wood dried, it left the mortar up, holding the shower receptor off the floor, so I had to tear the whole thing out. This time I did it right. I put down moisture barrier paper, then the mortar, and set the receptor into it.

last wainscotshower try 2 paper in

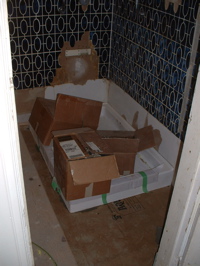
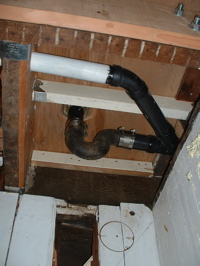
To be sure that it was going to stay flat on the floor, I piled boxes of tile into it. The photo below right shows the drain plumbing for the shower. The white pipe is not PVC – it’s a piece of black ABS pipe that I’m reusing that had been painted white. (You are not supposed to connect ABS pipe to PVC – probably something to do with how they glue). It’s all black cast iron pipe as it exits the building, and the P-trap for the shower is also cast iron.

shower try 2 with boxes of tileshowerplumbing

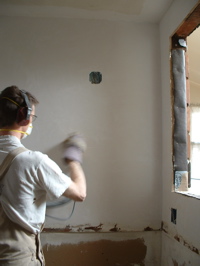
here are some photos of me painting the walls with the airless paint sprayer..

dscf0027

more of the same

the last two weekends have looked pretty much the same.

wainscotwainscot

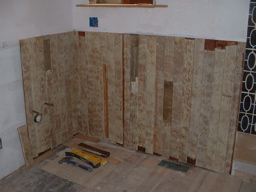
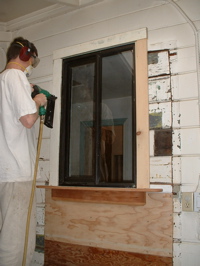
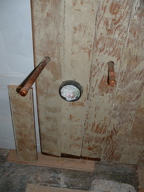
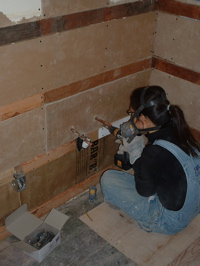
i’m slowly working my way around the bathroom installing wainscoting. (right) i’m especially proud of the places where i have to pre-drill or pre-cut for plumbing and electrical outlets.

since we’re recycling wood, i’m also piecing two smaller boards to create one large board most of the time. this was tricky because each board isn’t exactly the same width, there could be a difference up to 3/16″, which doesn’t sound like a lot until you’ve got that large a gap between boards and then it’s not so pretty. so it became a big matching game.

wainscotwainscot

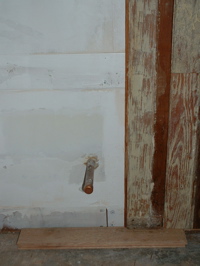
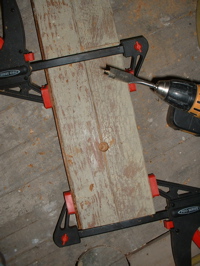
(left) this is my 4th pipe in the wall and it falls between two pieces of wainscotting. (right) i clamp two pieces together, measure exactly where the pipe will fit and drill the hole. mathew and i are surprised by how accurate my measuring has been.

wainscot

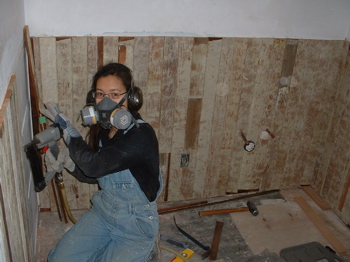
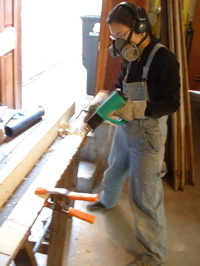
installing wainscoting is noisy, dusty work so i just wear my respirator mask and ear protection pretty much the entire time. this is a dramatic reinactment where i’ve forgotten my protective eye goggles… if i had them on, you probably wouldn’t recognize me.

mathewexterior

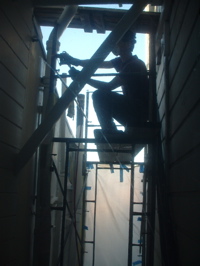
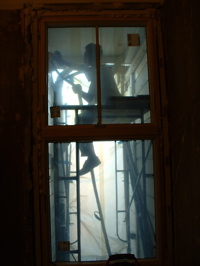
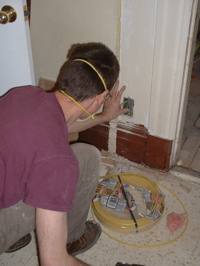
(left) this was my view of mathew for the last two weekends. (right) this was mathew’s view for the last two weekends.

exteriorexterior

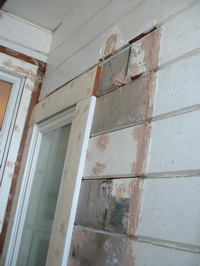
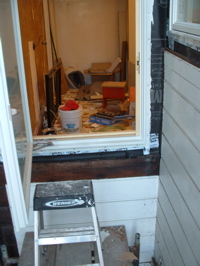
now that the windows have been installed, mathew has put all the siding and window trim back in place. it sounds simple but involved lots of wood repair, sanding and priming. the brown stuff is bondo for filling holes and cracks, most of it he applied on saturday after the sun had gone down and the mosquitoes were out.

exteriorexterior

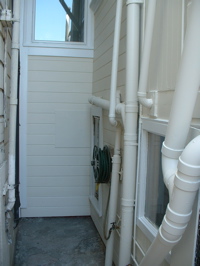
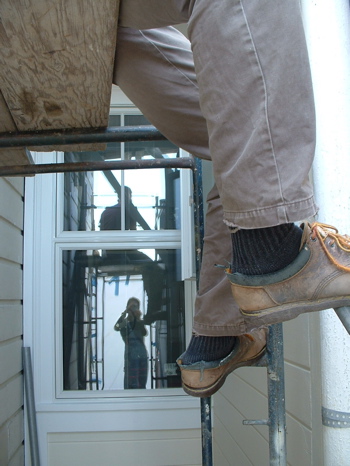
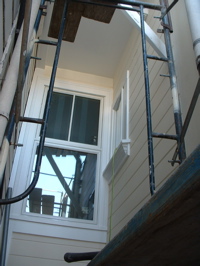
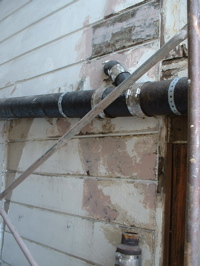
mathew spent this last weekend scraping, sanding and prepping the entire wall and window trim for paint (oh the noise! can you tell i’m not big on noise?) he did spend some time cutting left-over crown moulding, this involves carefully measuring tricky angles to fit it together under the small bathroom window sill. he wanted to have something pretty under the window in case someone looked out at it. (i’m sorry i don’t have any photos of the finished moulding. i’m not about to climb the scaffolding on this cold monday morning to take the one missing photo.) (right) here is an ugly “before” pipe photo instead.

you’ll have to tune in next week when we post photos of the finished, painted wall!

déjà vu

we’re reached the point in our remodel where everything is starting to look familiar because we’ve done it once before.

scaffoldingscaffolding

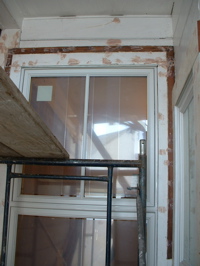
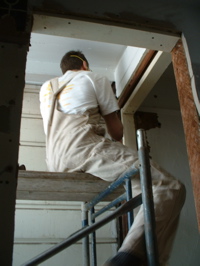
similar to when we were working on the living room on this level, mathew rented scaffolding to prep and install the bedroom and bathroom windows.

mathewmathew

first he removed all the interior and exterior window trim and then he removed the big bedroom window.

wallwindow

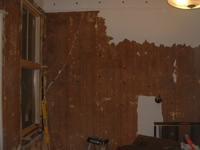
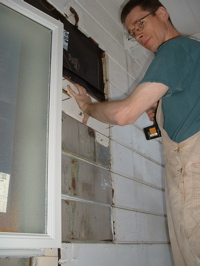
(left) while all of this was going on, i came up from the garage, took a break from stripping wainscoting and noticed how easily the paint/plaster/wallpaper chipped off the bedroom wall. (right) and i helped mathew install the bathroom window. he set up shims on the window sill inside and had me hold them in place while he inserted the window from the outside. he had me use the level to make sure the window was aligned correctly then he screwed it in place from outside.

stairswindow

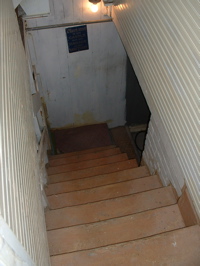
(left) next it was time to install the giant bedroom window, but first we had to carry it upstairs from the garage. this was no easy feat, check out the size of the stair well… mathew estimates the window weighs about 100 pounds, and the stairwell is so tight that mathew has to duck every time he walks up or down the stairs. we took the window out of the box and it has these big vinyl fins all around the window, which make it easy for attaching to the outside of the house, but impossible to hold onto or place down on the floor to rest. so we struggled with carrying this window, carefully up this stairwell without hurting the window, the walls or ourselves. let me just say, it was tiring and STRESSFUL. if it were daytime we probably should have carried it up the outside stairs, but since the box had already been taken apart and mathew was determined to install the window that night… we had dinner then came back to install it.

(right) this photo was taken the next morning, AFTER the installation. installing the window was stressful but not as much as carrying it upstairs! the tricky thing was that the window had to be passed through the opening then lifted up into place and installed from outside while standing on the scaffolding. at that point the scaffolding was set up to reach above the window; i had the idea to remove the top bars so that we would have room to maneuver the window outside.

first i went outside onto the scaffolding while mathew passed the window through the opening to me while climbing outside too. then i went back inside and placed the shims on the sill while mathew tried to balance the window on it’s crazy vinyl fins. next he lifted the window into place on top of the shims. it took some adjusting, adding shims until the window was level. we passed tools to each other through the new bathroom window. and while mathew was screwing the entire window in place i was holding a light up in the bathroom window so he could see what he was doing. what a night!

wallchips

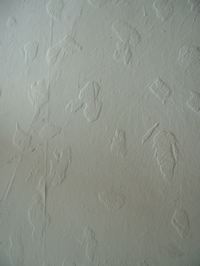
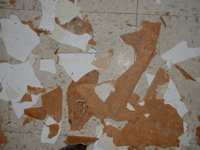
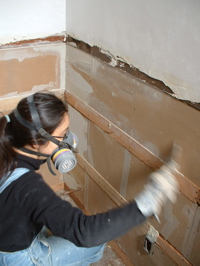
(left) before all of that, i was having fun chipping off the paint/plaster/wallpaper in the bedroom. that splodgy plaster technique (see white wall photo above) is really ugly but i managed to make the room even uglier! (right) mathew took this photo of the chips on the floor but that was nothing. they were seriously everywhere!

windowwindow

on sunday mathew worked on sealing around the new windows and replacing the exterior siding and trim.

janeenmathew

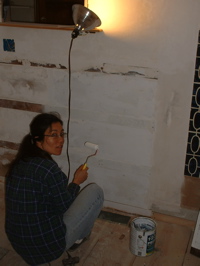
i painted the gypboard and backer strips where the wainscoting will be installed, just one more moisture barrier.

wainscotingbulbs

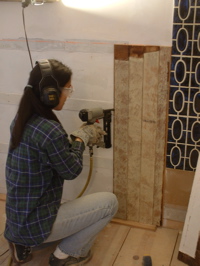
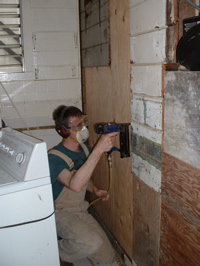
(left) and then i got to work installing the wainscoting. because of the uneven floor i have to measure for each piece then cut them on the miter saw. mathew taught me how to use the air-powered nailer, a tool i never thought i’d use, because i hate the gun-like quality and the NOISE involved. it was after i’d installed quite a few of these tongue in groove boards that i realized it was a very simplified version of installing flooring. so, in the end i did get to learn something about flooring! you might wonder why these boards are so ugly… they are RECYCLED. these are the boards i’ve been stripping downstairs in the garage, eventually they will be painted white. in a way, this is MY project: i stripped the boards (with the help of the gee sisters!), i cut and installed gypboard and backer strips, now i’m cutting and installing the boards, next i’ll sand and paint them. except for the painting, mathew did this entire process for the upstairs bathroom in 2008.

(right) the gladiolus (bulbs i planted) have finally arrived!

a BIG weekend

i hope you’ve got some time to spend here… because this is by far the biggest blog post i’ve ever made since we started this remodel/restoration.

the foyer
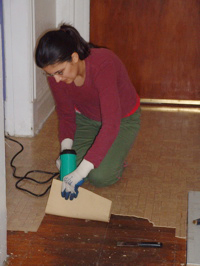
najiadaniel

(left) in january 2008 my sister-in-law, najia pulled up the linoleum tile that was glued to the old oak floor. (right) in august 2008 mathew’s dad, daniel came over to assess the existing oak floors.
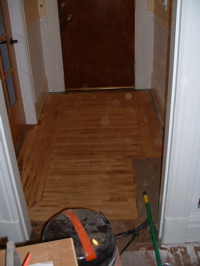
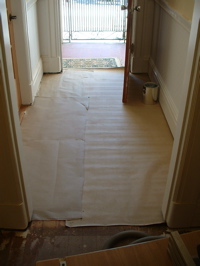
foyerfoyer

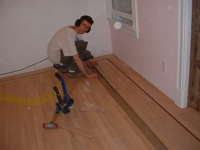
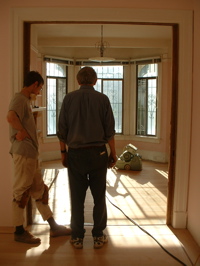
last friday morning, 4.6.09, daniel returned with lots of his flooring tools. he and mathew got to work installing floors, something they haven’t done together since 1996?

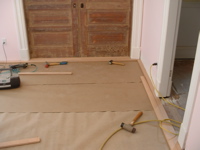
(left) after mathew has sanded the old oak. [I sanded the old floor before taking it out so that I could compost it! Also, I was thinking that maybe I’d need to reuse some of it in Janeen’s office, as the wood in the office looked so bad. – turtle] (right) after the old floor was pulled up, paper was put down. the process started with cutting the baseboards with a jamb-saw so that the oak pieces can slip underneath them. normally when installing floors daniel will remove the baseboards, install the floor then replace the baseboards. since mathew and i had already refinished and painted the baseboards, and they are large, old, brittle and intricate, it didn’t make sense to pull them out.
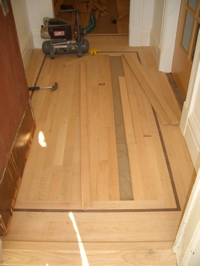
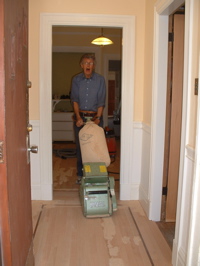
foyerfoyer

(left) oak floor boards being installed. (right) daniel doing the first sanding after filler has been added to patch any cracks or gaps.

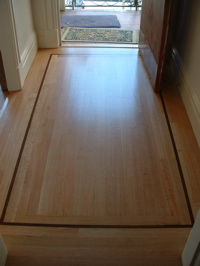
foyerfoyer

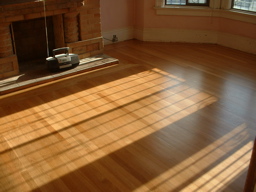
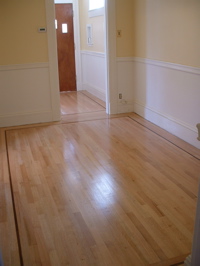
the finished foyer floor after lots of sanding and 3 coats of water-based urethane.

the hall
hallhall

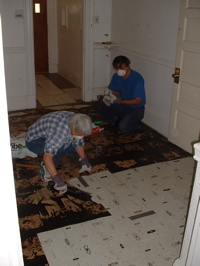
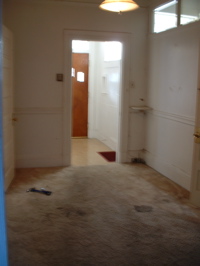
most of the rooms had carpets and linoleum when we first moved in. none of the floor coverings matched. this hall had (1) brown carpet over (2) really thick pink and blue linoleum over (3) really retro hard linoleum tile (above right, my parents removing it) over (4) a cool printed linoleum “area rug” over (5) red painted fir sub floor boards.
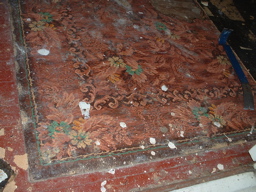
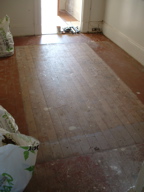
hallhall

(left) the cool printed linoleum “area rug.” (right) sub floor painted red where it was exposed under the “area rug”
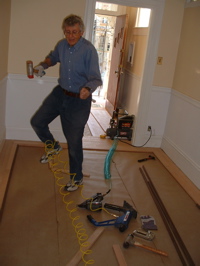
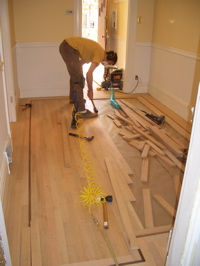
hallhall

(left) daniel loves to blast music when he’s working. they’re wearing hearing protection most of the time so it makes sense that it should be loud. i’m assuming this is dancing and not some sort of flooring ritual/technique… [he’s managed to get his feet tangled in the air hose, and said he was doing the “floorman’s shuffle” (ie, trying not to trip). – turtle] (right) i took this photo right after i returned from my weekend trip on sunday evening. i surprised mathew when the flash went off after suddenly appearing in the kitchen.
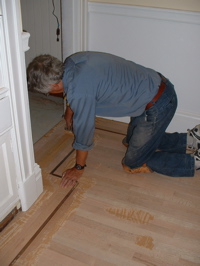
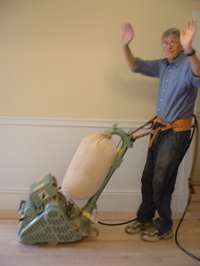
hallhall

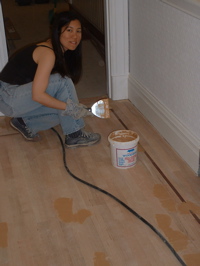
(left) filling (“gooping” is what they called it. is that the technical term?) gaps and cracks in the floor. [twenty years ago, the only filler that floormen used was a brand named “goop” – it smelled really strongly, but held better in the floor than most fillers. the filler we were using now is a water-based filler. the old stuff is probably illegal in California because it has too high VOC.- turtle]. (right) the first sanding on monday morning. “look, no hands!”
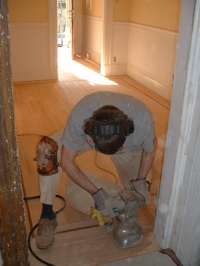
hall16hall

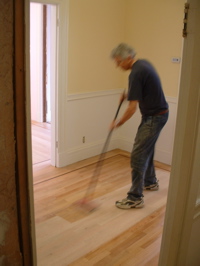
(left) mathew edge sanding with a different sander. (right) the big sander tends to pull the filler up so here i am re-filling after the first sanding on monday evening.
hallhall

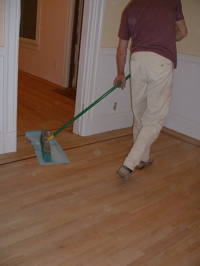
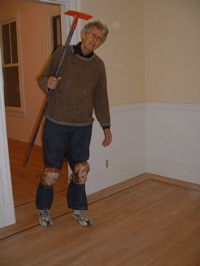
(left) i watch as the first coat of water-based urethane goes on tuesday afternoon. (right) on tuesday night after going out for indian pizza (to celebrate my birthday) mathew and daniel sweep the floors with blue paper, after vacumming most of the dust, to remove the last bits of dust from the very fine sanding between coats.
hallhall

(left) after the sweep, daniel and mathew applied the second coat of urethane. (right) and here it is after it’s 3rd and final coat!

the living room
living roomliving room

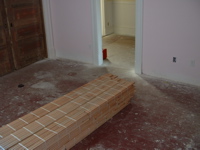
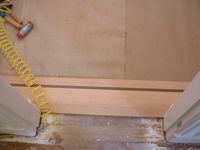
(left) here’s what the red sub floor looked like. (right) paper added and the beginnings of the border.
living roomliving room

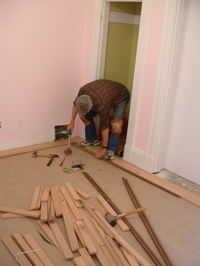
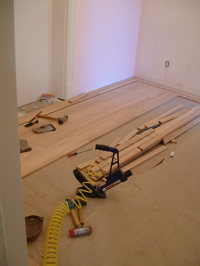
the border is pieced and installed first then the rest of the floor is installed.
living roomliving room

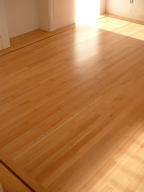
(left) mathew chose a 3/4″ walnut border to surround each room. he said that adding the border possibly doubles the work time. [at least! we did a five board border. When there’s a border around the room, every piece of wood that fits inside it must be cut perfectly to length — and with me as the perfectionist homeowner, 1/64″ undersize was barely acceptable. I know how the filler will jump out of cracks over time. – turtle] (right) approaching the final board.
living roomliving room

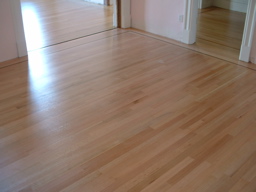
the living room after filling, sanding, filling, sanding, sanding, sanding, edge sanding, vacuuming, coating, screening, vacuuming, sweeping, coating, screening, vacuuming, sweeping, coating. did i miss a step? [fine sanding “screening” is done between each coat to smooth out raised grain (we’re using water-based urethane), help adhesion, and smooth off any dust in the previous coat. oh, the final step: everything is covered in a fine layer of dust, so vacuuming of walls, trim, etc is the final step. – turtle]


santa barbaramargaret and janeen

sooo… i spent most of the weekend in santa barbara with margaret. we walked, we talked, we ate and sort of shopped. mostly we just caught up during our yearly visit.

the office
office beforeoffice before

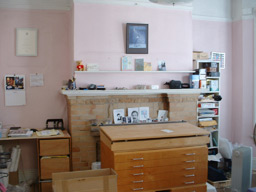
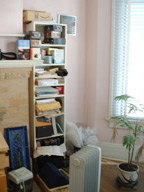
this is the CHAOS that was my office. since we moved in, in september of 2007, we haven’t bothered (or had time) to organize, plan, paint or even unpack this room.
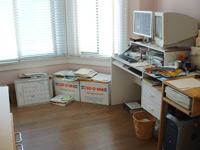
office beforeoffice

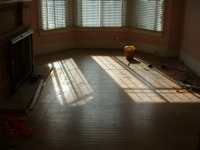
on monday while mathew was fixing the turkish hacker fiasco (see previous post), i was packing and packing. my office has temporarily moved into our upstairs bedroom, and most of my stuff is in the downstairs kitchen and bedroom. then mathew moved all the furniture and here it is empty again.
officeoffice

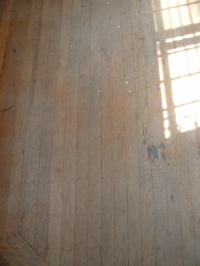
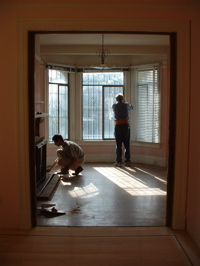
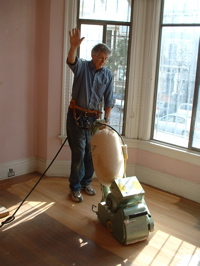
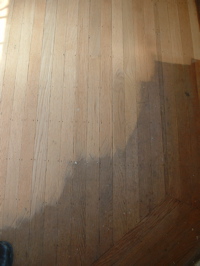
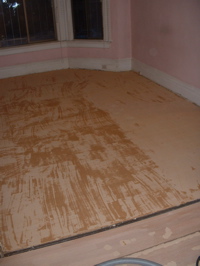
the floors in this room are quarter sawn oak. they were old, dirty, tired and stained. daniel was most excited about this transformation.
officeoffice

here daniel is doing the first sanding. already a dramatic difference.
officeoffice

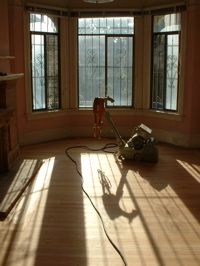
after the sanding they discussed what the next step would be. “to goop? or not to goop?”
officeoffice

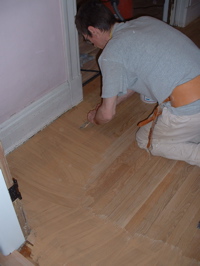
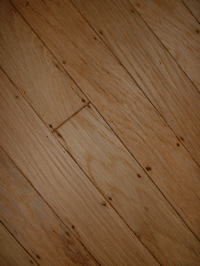
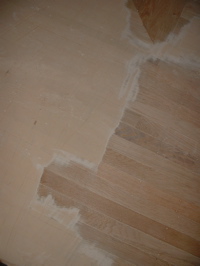
old floors like this one were nailed individually and not installed with tongue and groove boards like they are today. so there are tons of little nail holes and gaps between the boards. the decision was to “goop” the floor. (right) mathew is applying the filler with a large spackling tool, working in fast, quick strokes. he’s trying to apply pressure in two directions to make sure the filler completely fills and sticks in the holes. i helped too but only covered 1/4 of the floor that mathew covered in the same amount of time.
officeoffice

(left) completely gooped. (right) the partially sanded floor after gooping. nice!
officeoffice

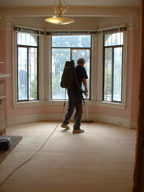
(left) daniel “rocket-man” vacuuming after the sanding and before the first urethane coat on tuesday. (right) how the floors looked late on wednesday afternoon when i was allowed to walk downstairs in socks. the radio had been on all day because after the final coat it was impossible to get to. daniel coated the floors and made sure he finished at the front door to make his final exit and leave after 6 days of live-in work.

the second foyer/hall
other hallother hall

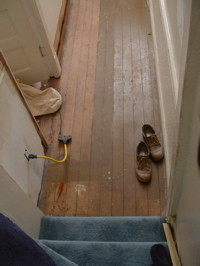
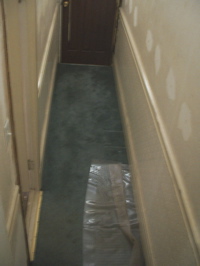
this is the hallway that leads to our upstairs unit. it started with carpet and fir sub floor underneath.
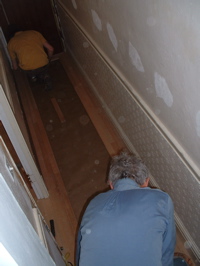
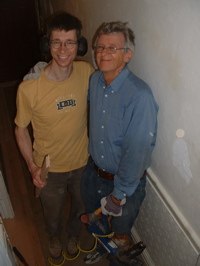
other hallmathew and daniel

(left) mathew and daniel installing the border, then interior floor boards. (right) father and son happy to work together again. although i was told that working with mathew was like working with a really high-maintenance, picky, perfectionist client who never left the house… during the entire weekend mathew was BOSSY but daniel, as always, maintained a positive attitude with a smile on his face.
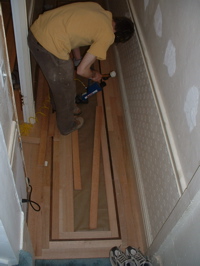
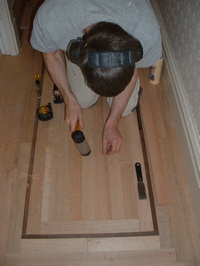
other hallother hall

the process of flooring is NOISY, dusty and smelly. and hard on the knees, back and i’m guessing, hands. even though i had been looking forward to helping install these floors i was glad to be away for most of the noise. (right) sometimes the last piece of wood is an odd shape and size. here mathew is installing that last sliver after carefully planing and shaping it to fit perfectly.
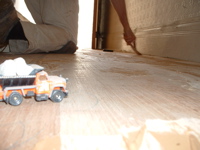
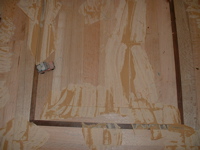
other hallother hall

dumpy watches as mathew goops. mathew was up sanding this bit of floor till almost 10pm that sunday night…
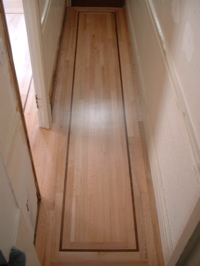
other hallbirthday

flooring is a hugely labor-intensive process but in the end we have beautful, beautiful new floors. thank you daniel and mathew! it was possibly the biggest birthday present ever.

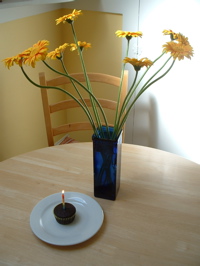
(right) flowers from daniel. (i LOVE gerber daisies.) vegan chocolate cupcakes by janeen. i plan on celebrating for at least a week… but i’m running out of cupcakes. must make more.

done plastered

While Janeen filled all the gaps between the backers with plaster, I cut out the gyp board around the base of where the shower receptor (base) will go, and installed cement board that is thinner than the existing board. My goal is to get the receptor to fit slightly into the wall, so that it’s easier to waterproof. We’ll see how that works.

janeen filling gaps in plasterboardbaserepaired

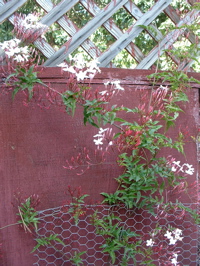
Below left I’m sanding and filling blemishes in the plaster. Cheating! So we started off well. But then I got distracted. First we drove to the plumbing store, and couldn’t find the part we were looking for. Then we went to Flowercraft. I bought three seedlings: a pepper and two tomatoes. the jasmine is already starting to bloom. Amazing to think we plucked a sprig off our neighbor’s plant near our old house, and now we have this!

mathew touching up plasterjasmineflwrs

janeen took the photo on the left to show you how fun it is to wait for bulbs to grow. not here yet. not here yet. still not here. still waiting. grass is growing, though.
On the right, John’s apricot tree that he gave us has survived. I thought it died, but it’s thriving. actually, it looks like a bunch of saplings.

waitingforbulbsdads tree: apricot

grass: grows only where you don’t want it. getting sidtracked pulling weeds while planting peppers and tomatoes. nice to spend some time outside on such a nice weekend, too.

janeen used ‘uncle ken’ to drill a 4″ diameter hole in the floor for the shower drain.

mathew sidetrackedjaneen boring - i mean drilling

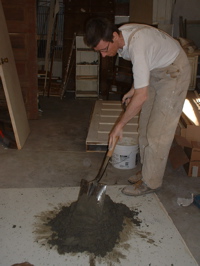
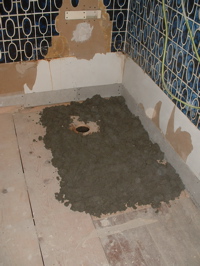
to hold the shower in position and support the base better, we put down a layer of mortar under it. on the photo at right, you can see an error i made: no moisture barrier under the mortar. the water from the mortar has been absorbed by the wood. the wood swelled after we installed the receptor, so it’s not fitting quite right. i’ll give it a couple of weeks to see if the wood shrinks back down. if not: tear out, do it all again, this time right. 🙁

mixing mortarforgot to put moisture barrier

below left: little did I know.

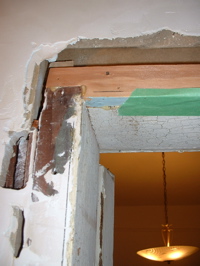
on the right below, i spent a few hours repairing the door frame. When the previous owner’s remodel covered this door, they sawed off part of the frame. I’ve glued and nailed new pieced of wood in the frame to flush it out to the face of the plaster.
installing receptorrepair frame

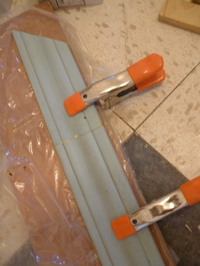
Below left: using clamps and a biskit to glue two pieces of the door trim, salvaged from the other door, so that I can use it for this door. below right: janeen was a paint stripping machine on Sunday: she almost finished all the wainscoting. you can see a huge stack of pieces she’d already done in the background behind her.

salvage trim for doorjaneen stripping (more paint)

the return of pretty

after figuring out how to transport 4×8 sheets of plywood with a honda civic (cardboard as padding on the roof, rope, and slow driving), I closed up the wall on the laundry room side.
adding wallpapermathew ply

This is actually the exterior wall of the house, and the laundry room has been added at some point — probably as a deck initially, then walls were built around it. The part of the wall I’m filling with plywood is basically the only shear wall on this end of the house. We need a seismic retrofit.
old paintjaneen taping

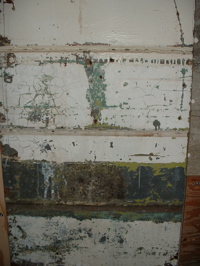
on the left you see some of the old wood siding. janeen loved the look of it, and all the history of paint colors: the first color looks like a dark forest green, with an olive green over it, then a turquoise, then dark green again, and a layer of off-white cream. should we go back to green?

on the right, janeen is covering the gaps in the gyp board with fiberglass mesh tape. she spent most of the day on saturday sanding all the walls to take the gloss off the paint. after the mesh tape, she painted the walls with pink “plasterweld”…

cutting window framejoining frame

frame donesanding ceiling

on sunday morning, i cut up and reassembled one of the old windows to make a new window for between the bathroom and the laundry room area. we found a great web site that has all sorts of decorative films to apply to glass. We’ll obscure the glass with one of these films.

plasterjaneen taping

janeen continued taping the walls. she used plaster to fill all the holes and gaps in the wall before i started plastering over it all. sorry, there are few photos of janeen from this weekend. janeen loves the drama and speed that things change when plaster goes on:

plasterplaster

plasterplaster ceiling

plastermathew ext finish

by the end of the evening, i’d plastered the three walls above the height of the wainscote. on the right, you can see the closed up wall in the laundry area, and the window waiting to go into its opening where the door used to be.

in the bathroom

except for a family lunch visit on saturday, mathew and i spent the entire weekend in the bathroom downstairs.

family visitpopo

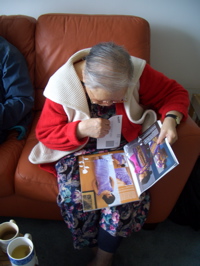
while my mom and i went to pick up burritos from a local taqueria, my older brother, dad and grandmother kept themselves busy with reading material. mathew worked until the food arrived. (right) my grandmother looking at one of my recent knitting magazines.

windowwindow

(left) this is where the old window used to be, you can see the white slats of the neighboring house through the opening. mathew had to use a car jack to support the opening while he added a new vertical frame piece for the new window. (i wish i knew the correct words for this…) (right) the location for the new window, which is actually the location of the original window before the previous owners remodeled the bathroom. on another wall we are adding another window in its original location as well. the original door and window placements seem to make a lot more sense! hmmm…

also, something else mathew noticed: in the space above the lowered bathroom ceiling it looks like the bathroom was split into two sections because there is a section of a wall that wasn’t removed in the previous remodel. we’re guessing it must have been similar to victorians we’ve seen in england where the toilet is in one space and the sink and tub in another. this would explain the extra door that was removed that lead from the kitchen to the bathroom.

gypboardoutlets

(left) i spent the entire weekend doing exactly what i did last weekend, cutting and installing wainscoting backer-strips and recycled gypboard. here i’m working on an extra challenging piece that had 3 holes for sink pipes. (right) after relocating the window mathew moved onto installing new electrical outlets in the bedroom on either side of the bathroom door. it’s easier to do it while the bathroom walls are open. we were surprised when we moved in that a lot of rooms only had ONE outlet, so mathew has been adding more of them as we go along.

wallwall

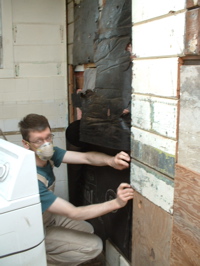
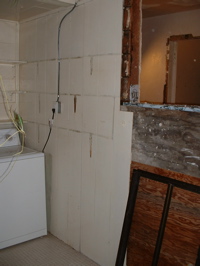
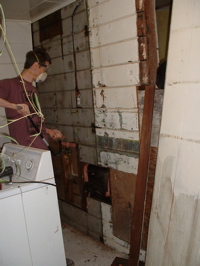
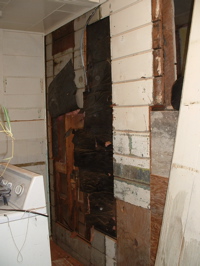
here mathew is removing the once exterior siding on the wall in the laundry room. he needed to move the washing machine to get to this space to work on the plumbing for the shower on the other side of this wall. isn’t it pretty?

plumbingplumbing

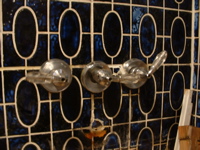
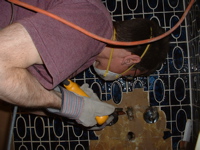
while i worked in the bathroom mathew wrestled with the old shower fixtures trying to remove them from the other side of the wall. the racket he made! they did not want to come out. he thinks corrosion sort of glued them to the pipes. (left) i took this picture hoping to demonstrate the shaking, twisting fixtures, levers turning and metal plates spinning. quite a funny scene. you’ll just have to imagine it… (right) but it wasn’t at all funny for mathew. in the end he resorted to removing tile and cutting holes with a power saw to remove the old fixtures. yet another example of while he says plumbing is his least favorite activity.

testingjaneen

(left) at the end of the evening he had new shower pipes installed and the temp gauge thingy installed and was testing the hot and cold pipes for leakage. so far so good! (right) i finally finished installing every piece of gypboard in this room and i was tired. don’t i look tired?

hope everyone had a good weekend!