
Well, a lot happens, and I’ve failed to post any of it. Here’s part one..
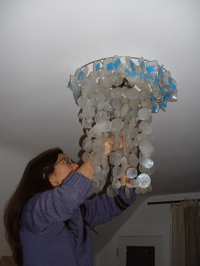
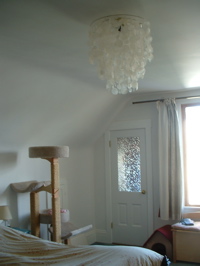
Before we moved into this house, mole found a lampshade made out of shells that she really loved. Unfortunately when she ordered it, it was out of stock, and no longer available. Just recently, the store got some more, so she bought it. We put it up in the bedroom.
Bella and Arwen really like it too. So, back to house projects: almost a year ago, I stopped working on the back stairs, because I started working on the laundry room. It sounds a bit as if I got distracted and went off to another project. But there’s a reason: After dealing with all the rot in this area I had decided that the deck would be waterproofed. The waterproofing needs to attach to the side of the house, but since the laundry room was so strangely built (there was no waterproofing membrane, just vertical boards) I had to rebuild the wall to add a waterproofing membrane.
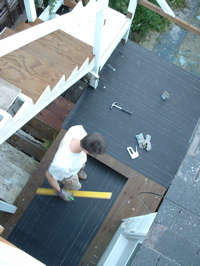
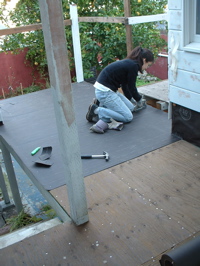
One thing led to another, and we started jacking the whole thing up to level it… OK, so it did become a bigger project than I planned. The deck at the first floor sat out in the sun and rain for a year, unfinished, while we basically rebuilt the whole laundry room. I don’t want the deck to endure another winter unprotected, so it’s back to the stairs. Above right, I’m putting down heavy weight roofing felt.
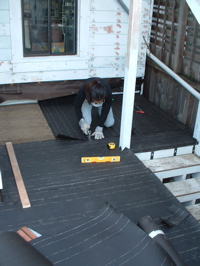
We stapled it down and lapped it, starting at the lowest side of the deck. Here’s mole just finishing up.
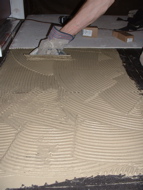
The felt is just the first layer. This deck is going to have tile on it, so we put down cement board. To make sure there is a uniform surface under the cement board, we put down thinset mortar first, and set the cement board into that. We then screwed it down to the plywood.


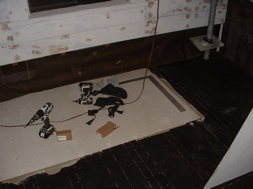
It got pretty late working on this. I think I finished about 10pm. I wanted to get the cement board on before the rain, which was due in the next couple of days.
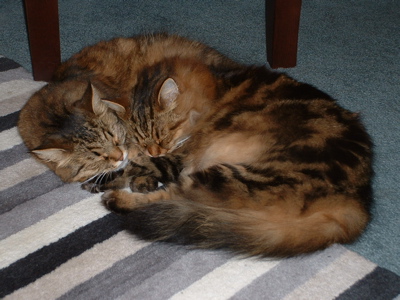
They are so sweet when they sleep together. We just can’t help taking photos.
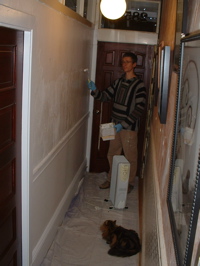
About four years ago, when we were doing the wallpaper stripping in the lower unit, we started stripping the wallpaper in our front hallway too. We stopped, because it smelled moldy, and we figured we’d need to replace the plaster. Well, it sat with the wallpaper partly stripped for all those years. Talk about bad Feng Shui in our entry! So I decided to just paint white over it. At least it will look better until I get around to the replacement work. Because there’s still no heating, the paint wasn’t drying: I had to bring an electric radiator down there. Arwen came down to watch the progress.
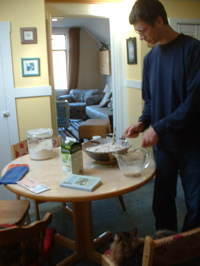
My family came over for Christmas Eve again this year. One of my Christmas traditions now is baking bread. Above right I’m just starting to mix.

Here’s a pic of everyone who came over. Dad got a picture of Elijah for Christmas, and wanted to include him in the photo!


