This is the last phase of the foundation (at least for now.) I split this project into three phases so that I never had to have too much of the house up in the air, and it kept each part a manageable bite. Still, this last part felt intimidating.
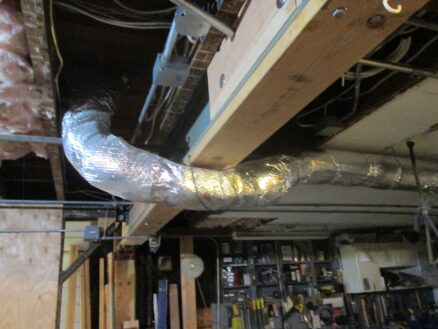
It was summer when I cut through all the utilities. The last part that I’d not fixed was the heating duct. At the end of October, things were starting to get a bit chilly, so I had to re-connect the heating ducts
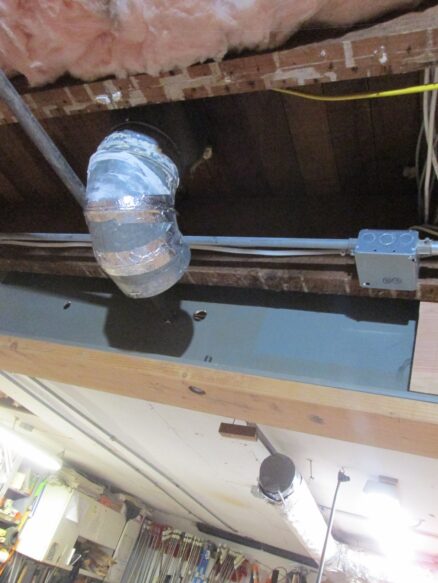
I made a custom sheet metal piece so it was flat under the beam.
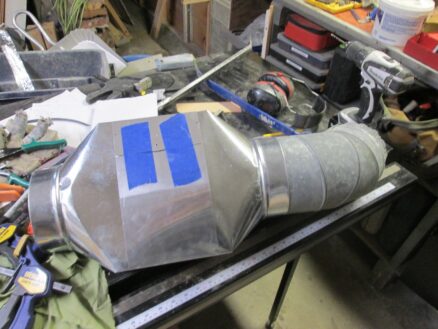
Here it is installed. The heating can be turned on!
Before I could dig for the new foundation, I had to hold up the house. Here I’m putting a temporary beam to hold up the front bay window.
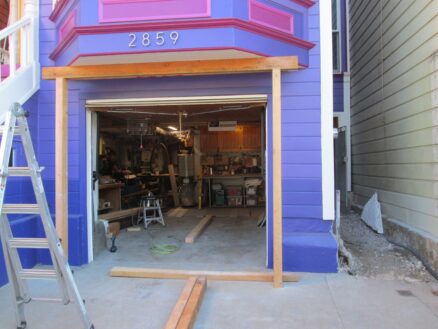
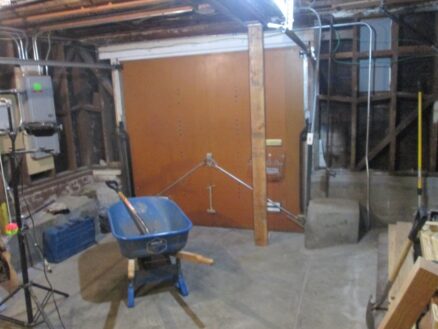
I added a big new beam above the garage door. This will be supported on the new concrete footings.
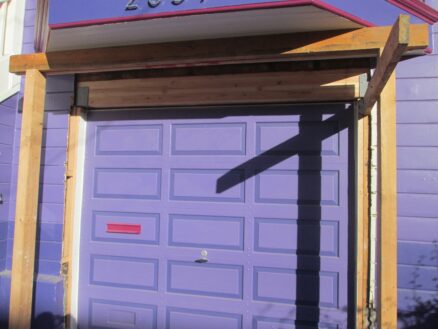
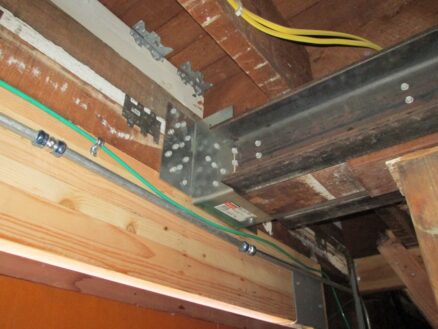
This is the inside showing how the beam that runs down the center of the house is connected to the new beam over the garage door.
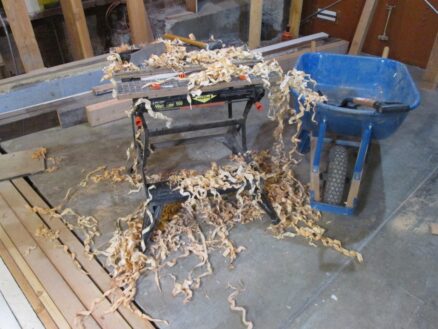
I had to make a few pieces to support the new beam hanger. This photo feels like it came from 100 years ago. Modern carpenters don’t use hand planes any more – no piles of wood shavings. But I’m not a modern carpenter.
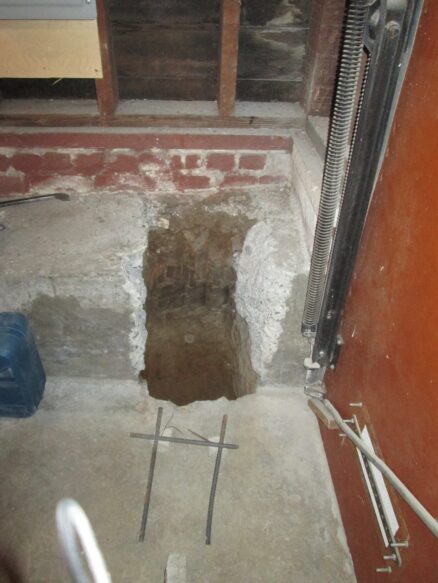
To support the front of the house while I dig out the foundation, I had to dig down below the bottom of where the new footing will be, and pour a temporary footing. This temporary footing will support the post holding up the corner of the house.
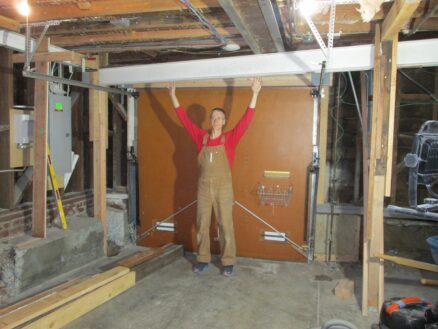
Here I’m pointing at the beam that’s supporting the front of the house. On the left side of the photo (to my right) you can see the unassuming post that is carrying most of the weight of the front of the house.
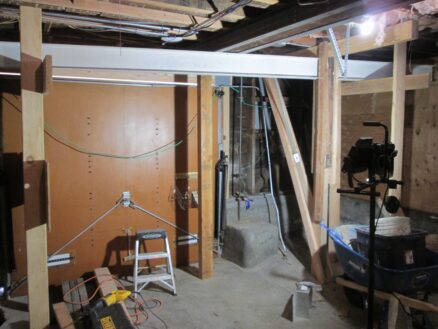
OK, so with the temporary support in place, I started digging out. The old foundation was a mix of bricks and un-reinforced concrete.
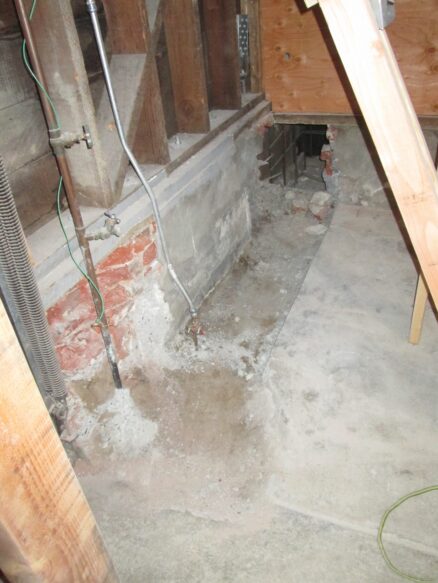
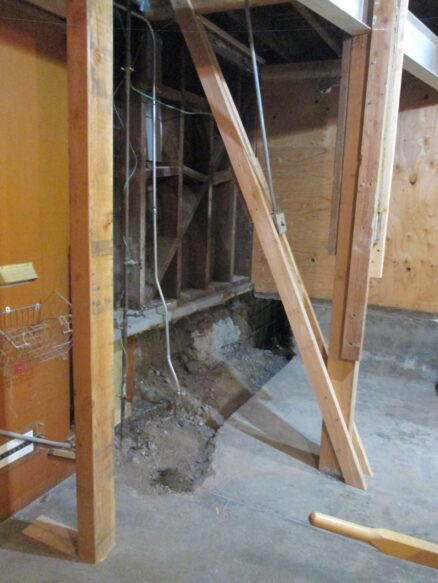
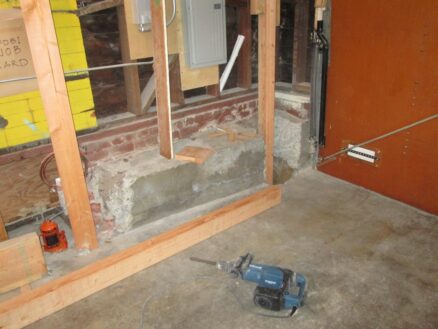
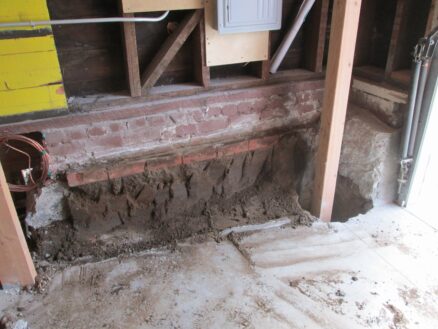
This was the scariest day. I’d figured out all the temporary supports, but it’s still intimidating taking away the very last bit of old foundation. If I’d missed something, now would be the time it would show up in a very dramatic way.
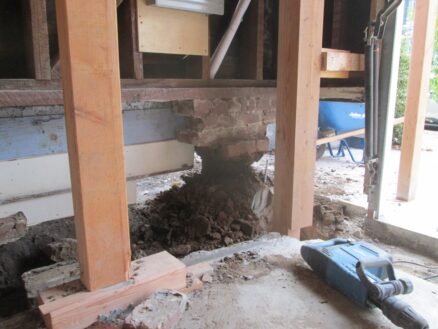
All was fine.
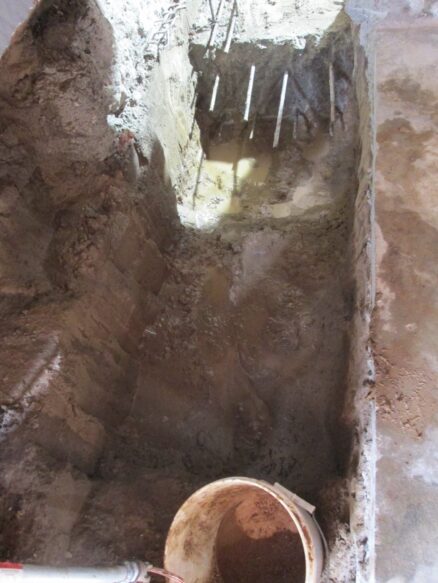
Once I started digging out for the footings, though, we started getting a lot of rain. We got some really huge rain storms – which apparently missed much of the rest of the state unfortunately. For me, they were a bit of a pain: The footings kept filling up with water that I’d have to pump out.
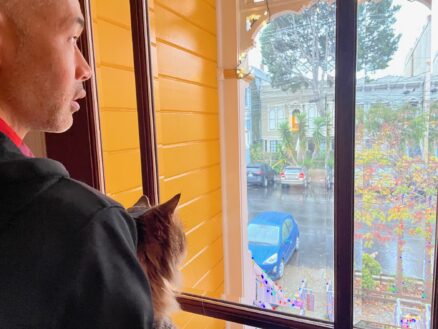
But for some, the dramatic rain is fun to watch.
A side effect of all that water is it started collapsing the soil on the sides of the footings.
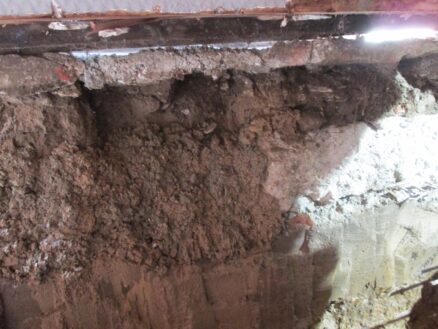
So I did something a bit unconventional: I mixed the sticky mud that had lots of clay in it with concrete. That soil-cement mix made a very weak concrete that filled in all the areas that were collapsing. If I’d just used soil, it would have just washed out again. If I’d used concrete, it would have been expensive and more difficult to put in. And difficult to chip out if I needed to adjust the sides of the footing.
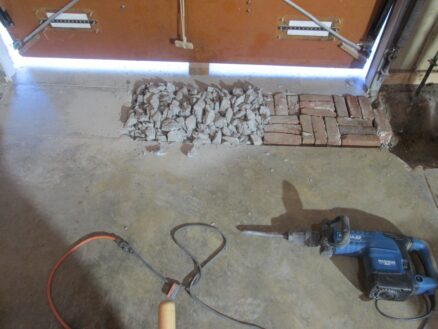
I enjoyed this image. The garage concrete slab on the left, in the middle all broken up, on the right some bricks put in (temporarily so I could drive the car into the garage).
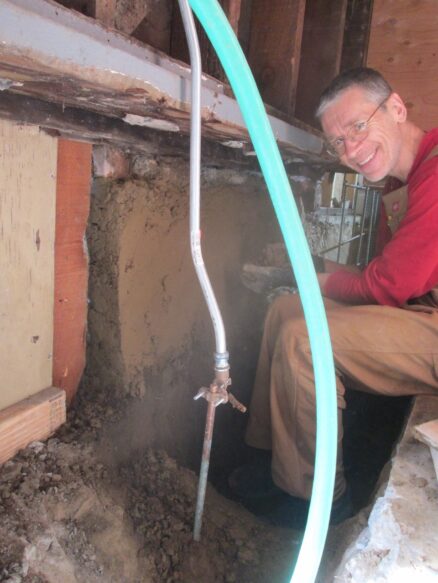
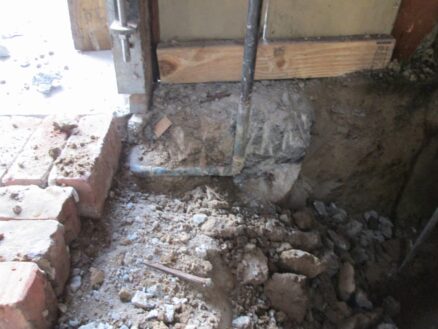
This is the water main for the house. It had been buried in a large block of concrete right next to the garage door. I chipped it out very carefully. In the rest of the house, the plumbing had always been a bit erratic, with pipe going left/right/up/down at the strangest angles. So I was worried they may have done the same thing here; I was right to be careful it appears. I very much doubt this meets any codes.
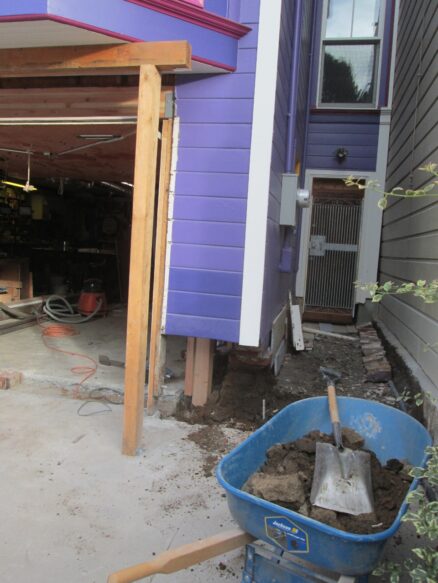
So here’s how the house looks from the outside. A bit like the house pulled its pants up. You can see her ankles: Very un-Victorian!
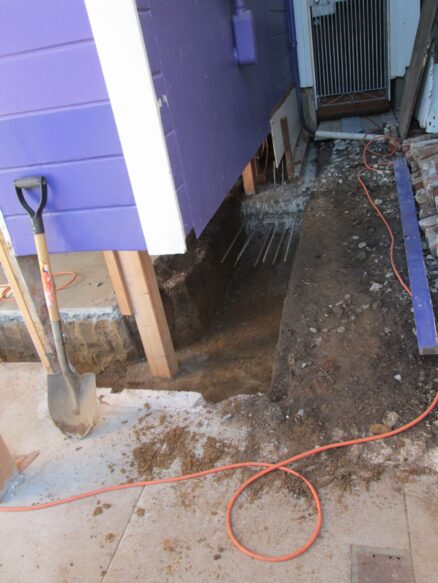
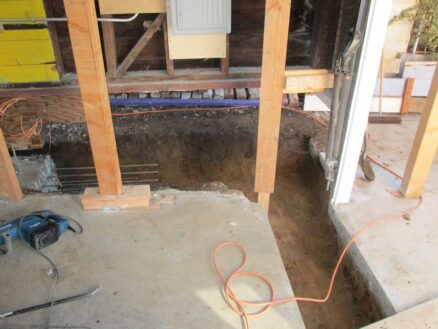
Next step: Put in reinforcing bars (rebar).
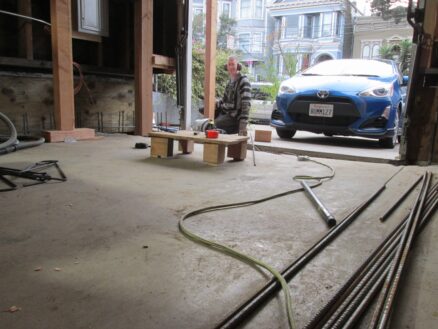
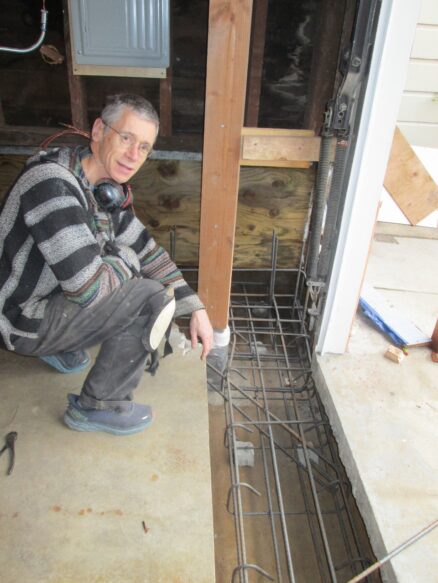
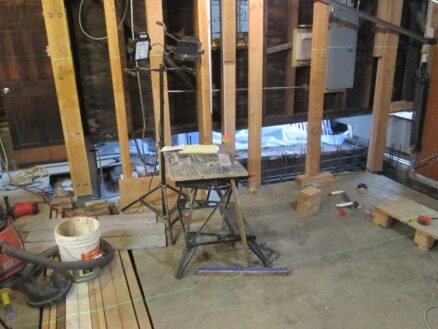
Here it is with all the rebar done on one side and I’m starting to build formwork for the walls. Concrete is so labor intensive: All the reinforcing steel has to be carefully put in the right place and held there. Then you have to build two very solid walls (forms) — one each side — that are only temporarily there to hold the wet concrete. Wet concrete is very heavy. If I skimp on the forms it may sag or bulge – or worse: collapse – while pouring the concrete.
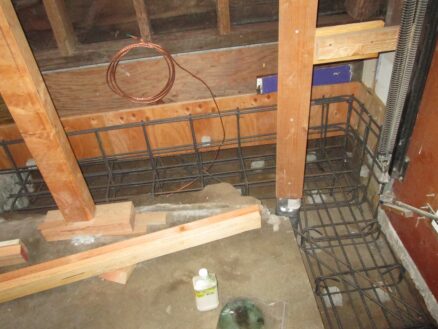
Still more rebar and formwork to do…
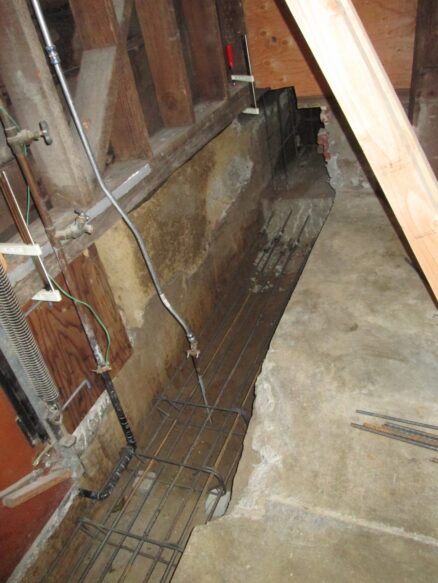
Rebar done:
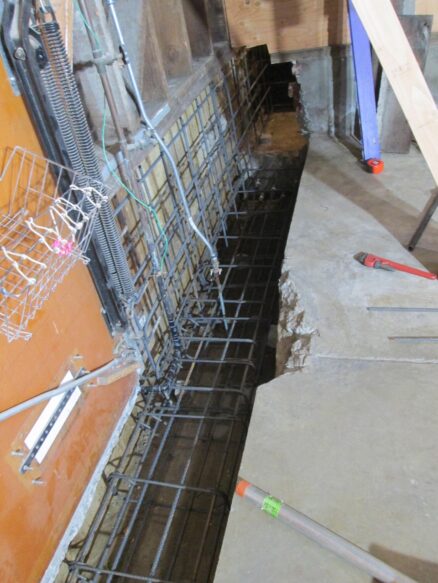
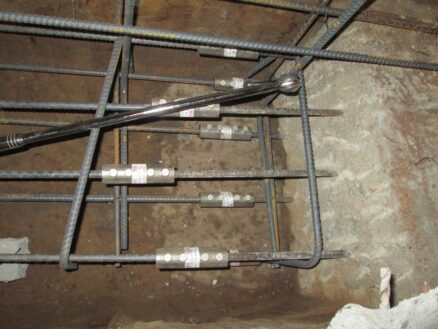
Something I’ve been using a lot to join the rebar when I’m connecting to a footing that I poured before are mechanical rebar couplers. There are different types, but the ones I’m using have bolts in them that have sharp points. You push the rebar in each side, and then tighten the bolts onto the rebar until the bolt head snaps off.
This would have been much easier with an air impact wrench (the type mechanics use on car wheels and make the sound drrrrrvvvffff). By hand I had to use a long breaker bar and it was a few hours of very hard work.
… much later …
Pour day! Here’s a pic of the concrete truck and the pump truck (on the right). The pump truck pumps the concrete through that large hose. It’s much easier to place the concrete by aiming a hose than running back and forth with wheelbarrows! It’s an expensive day that takes a lot of preparation. I also have to hire an inspector to take concrete samples that will be tested to confirm that the concrete is strong enough.
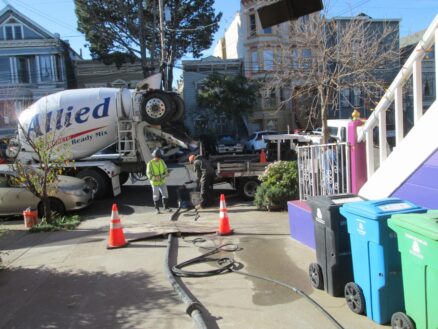
It’s a Friday afternoon and the shadows are getting long. But the pour is finished.
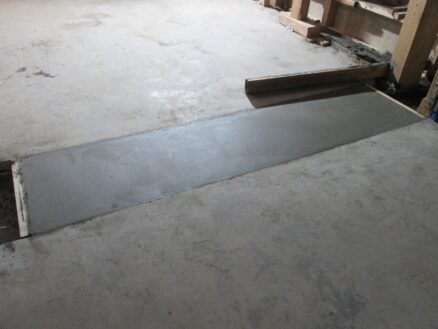
Now I need to do a lot of cleanup. I also poured a small piece of the slab back at the same time so I can get the car into the garage again. This will be the first time I’ve tried to do a hard smooth trowel finish on concrete.
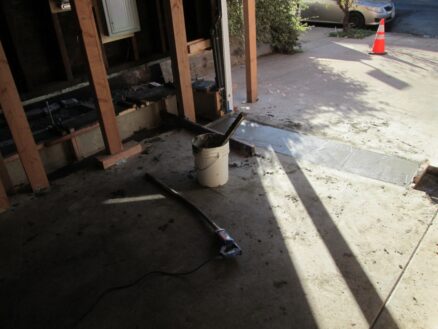
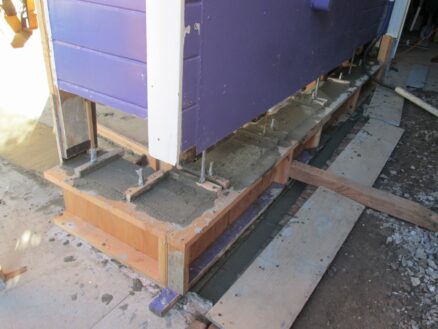
Concrete is poured and vibrated in all the forms and they’re holding fine. All the anchor bolts are held in place with pieces of wood screwed to the top of the form.
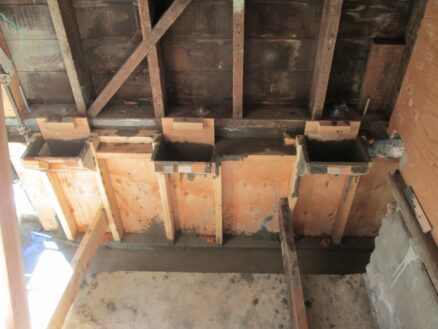
This part of the pour was tricky because I couldn’t get to the top of the wall to pour the concrete in (there’s the existing wood wall in the way above.) So we made hoppers on the side of the form to fill the concrete from the side. Once the concrete was all in, we pushed down pieces of plywood to close off the hopper and hopefully match the rest of the wall. We’ll see when we take the formwork off!
Finishing a slab happens in many steps, and you have to wait for moisture on the surface of the concrete to go away between each step. The first two passes were with a wood or magnesium trowel. Then I did three passes with a steel trowel. It felt a lot like doing plaster, but I had more time.
But this photo is so much more fun. Arwen looks huge!

