So much done, yet so much to do

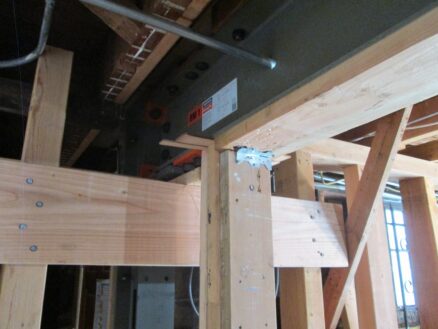
I’ve finished two of the three foundation pours, and the steel frame is now solidly supported. This is the connection between the beam and the column at the new steel moment frame.
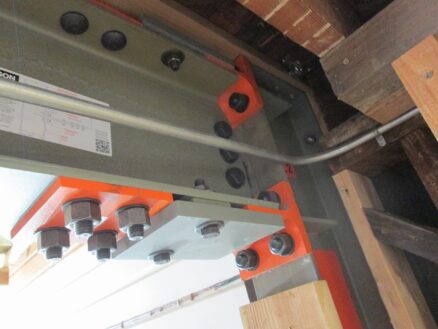
When I was jacking the moment frame into place, I was checking the level of the frame, and how tight it was against the floor, so I wasn’t looking down at the concrete slab. When I looked down I saw that the jack had so much load on it that it had cracked the floor slab. The loads on this are really big, in the region of 20,000lbs.
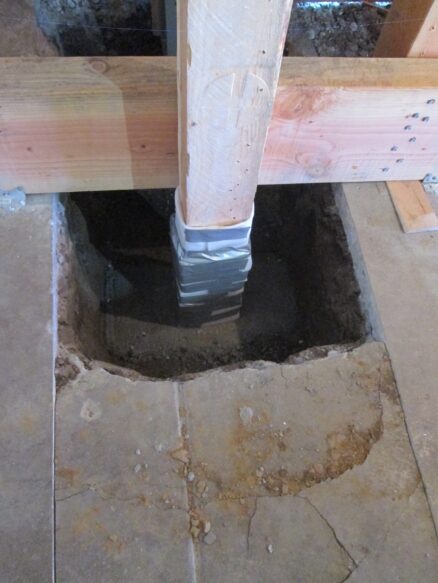
So I decided to put an extra post in under the steel frame to support it while I dug out around it, instead of relying on posts supported on the slab. If the slab cracks under those posts like it did under the jack it would be “very bad” (ie I’d be the engineer whose house collapsed.)

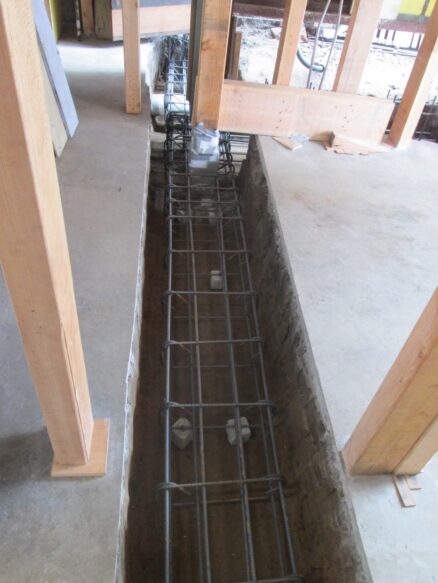
I dug a hole down to the bottom of where the new footing would be, then about 8 inches deeper, so I could put a reinforced concrete footing down below to support the post on. The new footing will be poured around this post and above the temporary footing. I’ll pull out the post once the frame is supported on the new concrete.
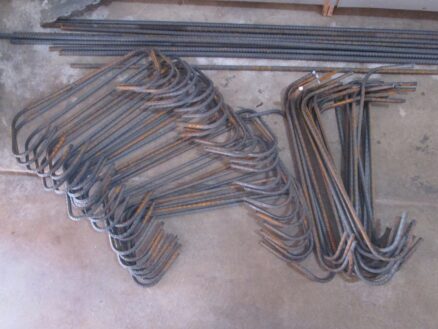
I had to get a bit of a production line going to make all the pieces for the rebar.
The sewer pipe goes right through where the foundation will be. I dug out around it very carefully.
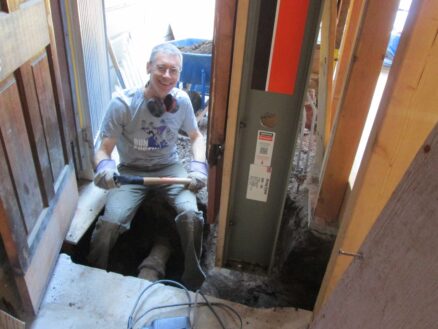
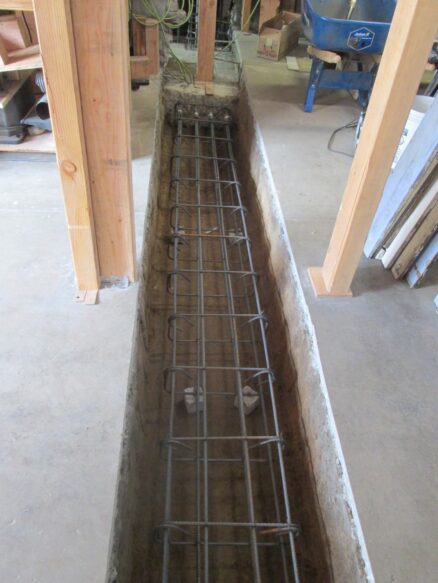
Tying rebar is one of the hardest jobs. You’re usually leaning down, probably into a ditch below ground level, and working with spiky sharp tie wire. Plus it’s a bit of a mind twister trying to figure out what order to assemble it all so things are layered correctly and can fit.

This face is the closest I could get to a smile.

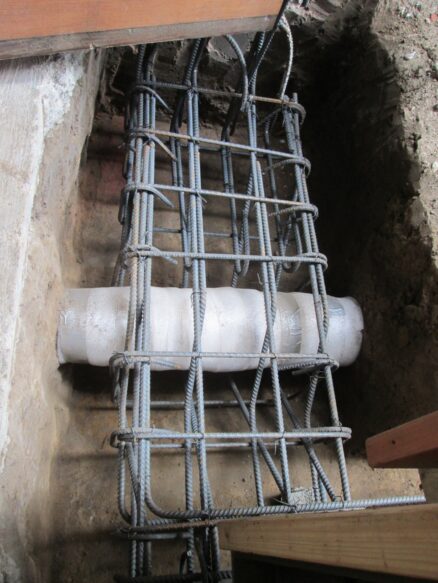
I wrapped the sewer pipe in flexible foam wrap to protect it from the concrete and allow the two to move slightly differently. The reinforcing around the opening got pretty complicated.
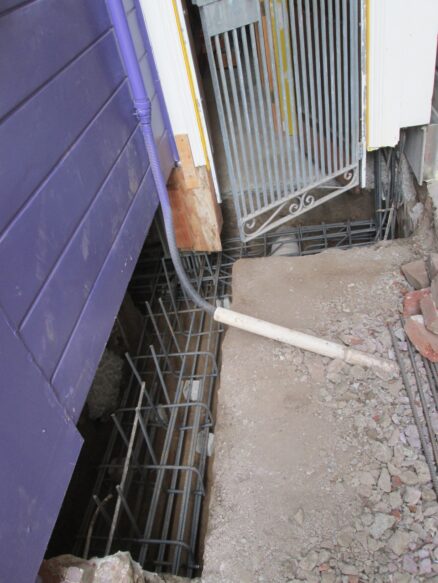
One tool I’ve been using a lot is a laser level. It can beam out a line in three axes, perfectly level and vertical and all at 90 degrees to each other. It makes it so much easier to line things up and get them level and square. This would be so hard without one.

This is the wall right after the concrete pour.
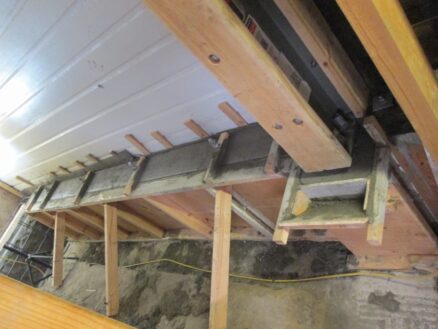
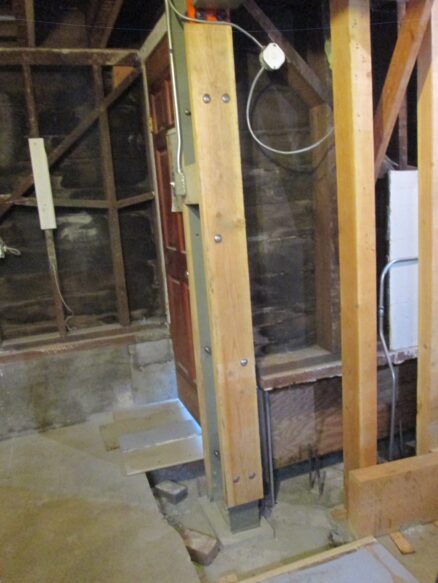
Here I’ve taken off some of the formwork. The steel frame is supported on concrete!
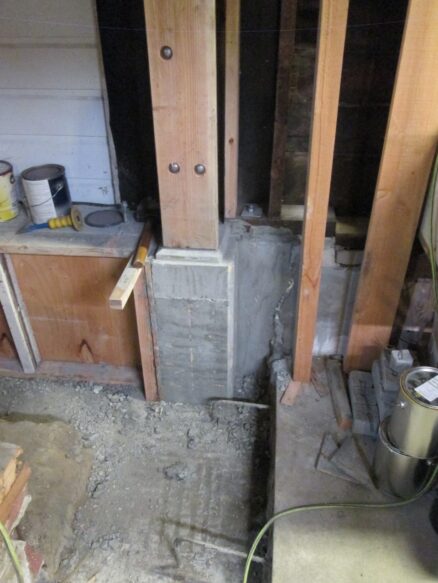
People ask how close to complete I think I am on this foundation project. And when I say “oh, about 50% complete” they are surprised. But I still need support the front of the house, dig out the old brick, concrete and soil, tie rebar and do the third concrete pour, and then build walls on it and pour back the garage slab. Plus rebuild the landing and redo all the tilework we tore out.

Then I need to fix all the plaster I damaged doing this.

A pretty painted lady

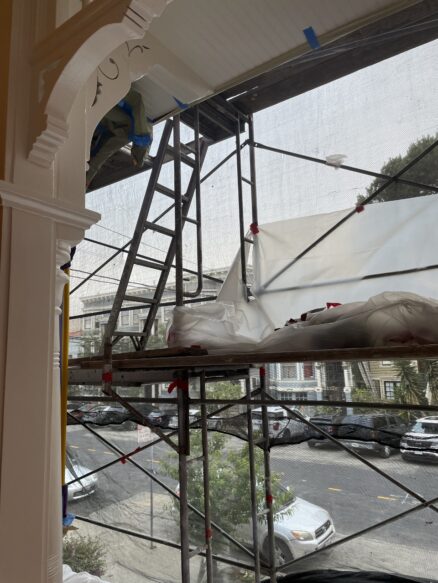
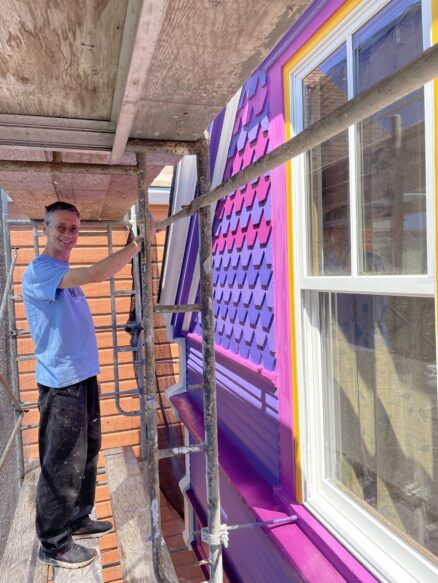
My sibling came to visit – and helped put in windows that I bought about fifteen years (!) ago for the upstairs. First we had to put up scaffolding, which is rather a scary endeavor so high up.

It was surprisingly easy to get the old aluminum window out of there. Then there was a gaping hole in the front room.

First step was to add a center jamb. In retrospect, I wish I’d thought about making this thinner in the middle – the windows could have been about an inch wider.

There was a lot of shimming, and adjusting to get the windows to fit right. But they went in nicely. Still need to finish off the inside, though.

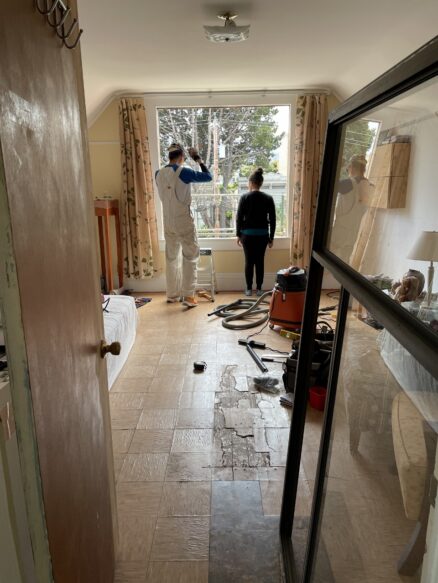
I decided to strip the paint off the window sill, because latex paint seems to have a soft sticky quality about it that I really don’t like on shelves, window sills, etc. But the wood is going to need some careful repair.

We also got to have some time exploring, and drinking coffee – I even made latte art.

Right before they left, we stopped in at the happy vegan. The location is truly unpleasant – but it’s takeout only and we loved the food.

While we were up the scaffolding, we got a close look at the state of the paint on the front of the house: It really wasn’t good; the ornament was starting to come loose, there was exposed wood, and lots of peeling paint. My sibling gave me an earful about how I need to stop delaying and hire someone to paint it, or the decoration will be irreparably damaged.

So we did: Our lady was hiding behind sheets of plastic and screens for the month of July while our painter labored away.

I took a cycling vacation in France while they were working on it. And came home with Covid. Again.

But as the colors started appearing, it got more and more exciting.

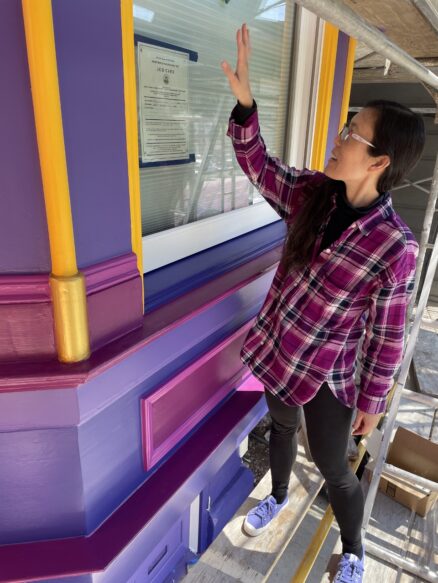
Here’s mole discussing the paint colors around the windows. We generally stuck with the initial plan that mole and I made, but there were some last minute tweaks. Can you guess who picked the colors?

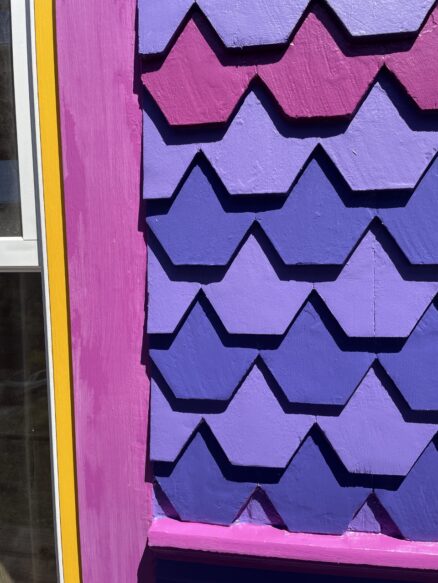
Our painter felt that the way we’d colored the tiles wouldn’t show up well from below. I think he was right, but we didn’t want to ask him to re-paint them.

note from mole: the painter really didn’t want us to go with any of these colors! he thought they were too dark, too bright and not traditional. but in the end i think he was really pleased with it. he even had a sign made to put out front.

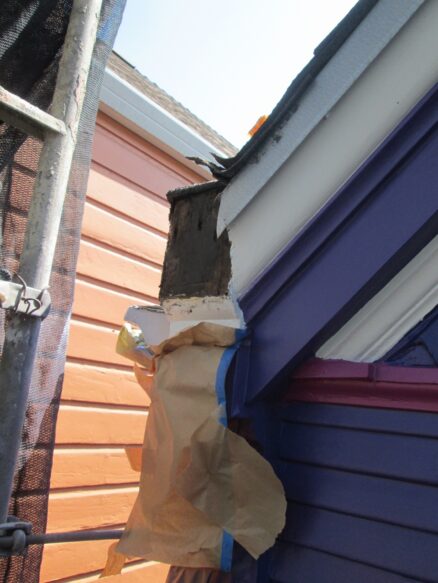
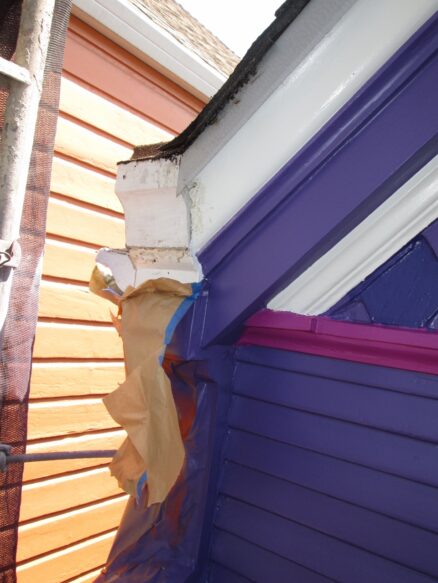
There was one decorative piece of molding that had been destroyed by the roofers many years ago. It had always bothered me, so while the scaffolding was up, I repaired it.

I saw a photo of the house around 1906 and it had decorative finials on top of the part I’d repaired. I was sure I had a copy of that photo somewhere, but can’t find it. Luckily for us, I think most of the decoration has survived.

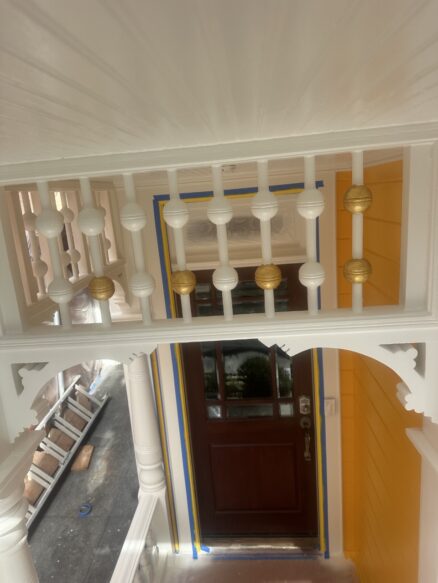
Here’s the final decoration getting finished. At first I was thinking it would look nice in silver. In the end we went with gold accents because it was more traditional and stood out better.

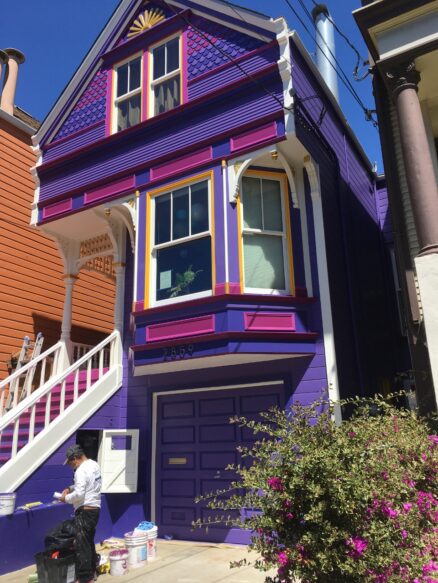
So here she is in all her glory. She’s a painted lady again.

When it was first done, mole said it looked like Disneyland. I heard someone walking by saying it looked “right out of Alice in Wonderland”.

I regularly see people taking photos in front. So I think people appreciate the bright colors.

Here’s the original mockup. I did the line drawing and mole came up with all the colors and placements. mole said it was like a really big, high-pressure print project.