what do real contractors do?

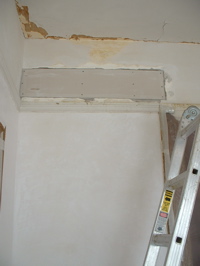
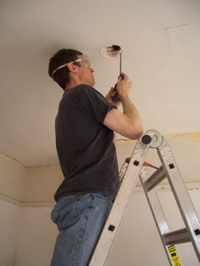
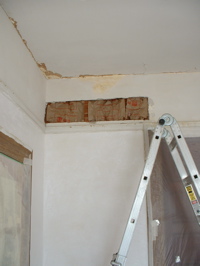
Last year — or was it the year before that (how time flies) — when we were working on Popo’s living room, I put insulation over the top of the sliding doors. I couldn’t get to the whole width, because part of the wall was in the hallway. I never got round to installing it, so now we are working on the office, this was the last chance.
adding insulation over sliding doorgyp board over insulation

Above left, I’ve cut out a piece of plaster, and shoved insulation between the joists. Above right, gyp board on, and starting to repair the plaster.
split and damaged window casingdamaged window sill after stripping paint

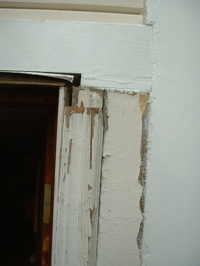
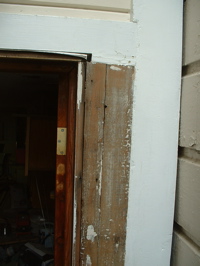
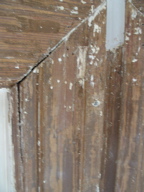
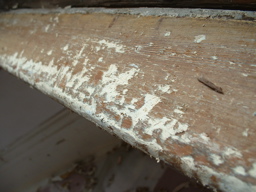
After stripping the paint off the window frames, some parts are in quite poor shape. The window sill (right) seems to have lots of notches taken out of it. Not sure how this happens? Because of settlement (left), the casing on this window is split, and the corner does not fit. There are also many holes where different curtains have been screwed to the frame.
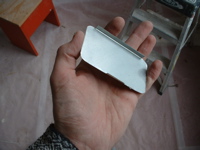
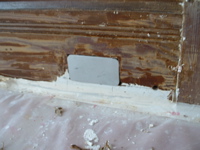
sheet metal cover that clips over plugs to protect them when stripping paintplug cover in place

Janeen, when she was stripping paint off the baseboards in the living room, discovered that if your trowel slips into the plug while you are working (accidentally), it makes lots of sparks, and burns a hole into the trowel and plug. This time, I made a sheet metal cover that clips over the plugs so that I can protect them (and me) while stripping the paint off the plug. Worked great!
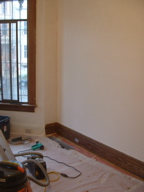
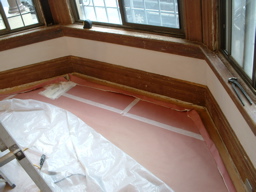
starting to strip the baseboardsaround the bay window

Working around the room, it’s exciting when the wood starts to reappear under years of paint. Most of the trim in this room is in very good shape.
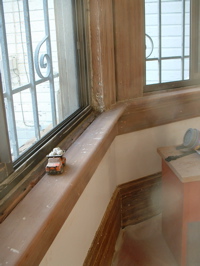
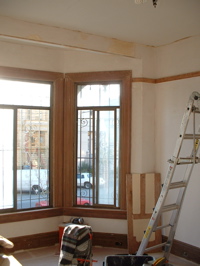
window sill after sanding and fillingbay windows after sanding

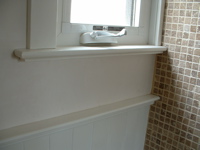
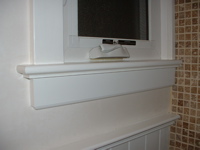
After sanding and filling, the window frames are starting to look really nice. It’s almost ready for stain.
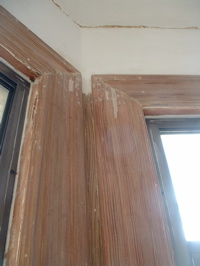
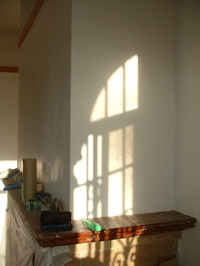
window casing after repairing splits, filling, and sandingsunlight on the wall

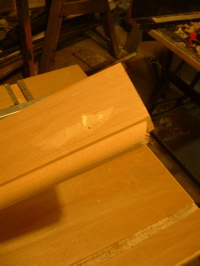
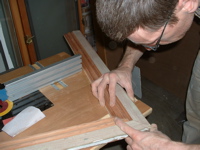
Above left is the casing that was split. I took it off, glued and clamped it, re-mitered the corner, nailed it back in,  filled, and sanded. Slow work. The sun looks really nice in this room in the afternoons. I’ve also stripped the paint off the mantle shelf.

meticulous j.

Hmm. How did this happen? I wonder if there’s a market for a meticulous builder?
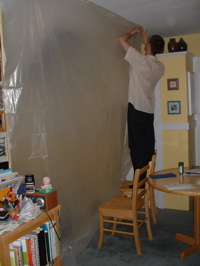
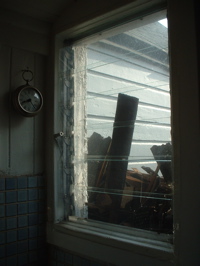
putting up plasticRoofing piled outside our kitchen window

We’ve been planning to replace the roof for a couple of years, almost. Last year, we just didn’t have enough money to pay for it. This year, there hasn’t been four straight rain-free days since before December. Wednesday evening, we got a phone call saying the contractor would be here at 7:30 the following morning to start! I put up plastic and moved our table away from the skylight, which is being replaced.

When they arrived, it was a storm of activity. I had to go to work, but Janeen took the photo above right. They tore off three or more layers of roofing by lunch time.
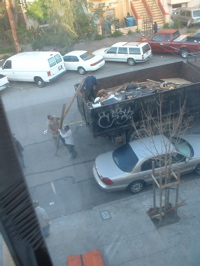
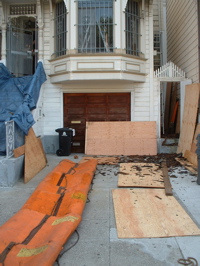
one dump truckin front of the house

The photo above left shows one of the two dump trucks needed to haul away all the debris. In front of our house became a regular construction zone. If you look at the photo above right, you can see the ladder inside the windows of Janeen’s office. Nobody parked in our driveway that day: there was stuff flying everywhere off our roof. I think there were twelve people on our roof simultaneously.
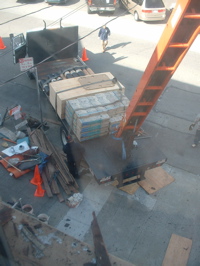
truck with multistory conveyorroofing piled at top of roof

To get all the roofing off the roof, the contractors used a big orange chute. Well, for the stuff that didn’t go flying in all directions. To get new shingles and plywood onto the roof, they used a truck mounted conveyor belt. Above right you can see all the shingles piled onto the top of the roof, the plywood is installed, and they are starting to put the underlayment on. This is the end of day one.

At this point, I called the contractor. He was supposed to be installing a new skylight. It is bigger than the old one, so new framing is needed, but they haven’t done any framing, and are covering everything up with plywood and roofing already. I told him they are going to need to strip off the plywood, so they can install the skylight. He told me not to worry, everything is under control, and if they need to take off the plywood, they’ll do that…
loose pipe in our closetNew fancy skylight

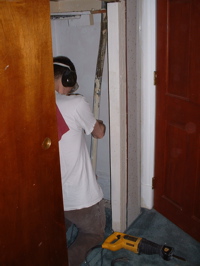
Above left, I’m taking out an old abandoned pipe that fell through into the closet when they were stripping off the roofing.

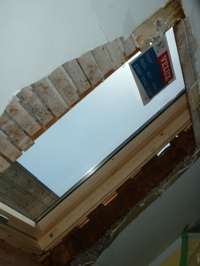
At the end of day two, the roofers walked in with the skylight, and said: The skylight is bigger than the opening (duh?), so they are going to just lay it on top of the roof and the opening will be smaller underneath! I told them they had to reframe, so that the skylight fit into the opening properly. That’s the last I saw of them. When I called the contractor, he sounded flustered. Seems the roofers had not understood that they were installing a larger skylight.

The next day when I got home, they’d partially reframed the opening, and set the skylight on top still (the opening is still too narrow). They then proceeded to try to seal up outside, but the manufacturer’s flashing did not fit (because the skylight is supposed to fit into the opening, not sit on top of the roof). The roofers adhered a bunch of roofing goop around the flashing, nothing was fitting properly, so they jammed everything in place and left.

Well, that lead to a “nice” meeting between me, the contractor, and the roofers. Apparently, when cleaning up after nothing was fitting, a bunch of “extra” parts got thrown out, so they can’t even install the skylight properly until they re-order those parts. Right now, it’s temporarily waterproofed for the rain, and the contractor is ordering new flashing and parts. At this point, I’m rather disappointed that the roofers didn’t read the installation instructions (I did!), as they’ve obviously not installed one of these skylights before (at least not properly).

The contractor is being extremely helpful, and keeps promising that he’s going to make sure it’s all done right. He’s made sure everything is temporarily water tight, and the roofers have always cleaned up very well. We’ve had no leaks, and he’s not asked for a penny until it’s all complete and we’re happy. It’s just a pity this skylight is turning out to be such a pain. If I did this again, I’d install the skylight, and let them do all the roofing. Everything would be done by now. Lesson learned.

Popo and her niece KimberlyPopo and her brother-in-law Willy

Popo got some special visitors: Her brother-in-law Willy (Popo’s sister passed away last year), and her niece Kimberly came by for a visit.
janeen with her cupcakes

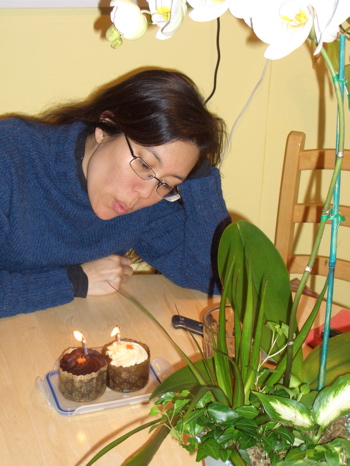
And it was Janeen’s birthday! Her cake was two Black China Bakery vegan cupcakes.

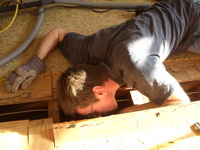
turtle in the hole!

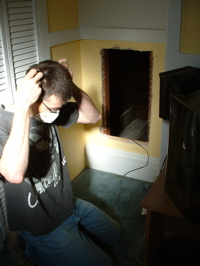
mole, here! it’s been a while since i’ve made a blog post. mathew has been giving me a much needed break from working on the house, but i still take photos and keep him company while he’s working. i also act as his “scrub nurse” when he’s “operating” on the house. i’m very good at retrieving tools, battery packs, ear protection, blah, blah, blah.

let’s get on with this post, mole-style: heavy on the photos, light on the text (because i don’t always know what i’m talking about!)

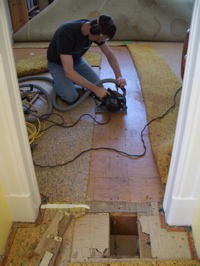
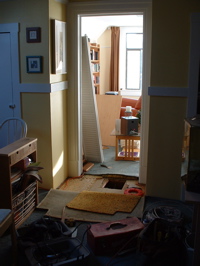
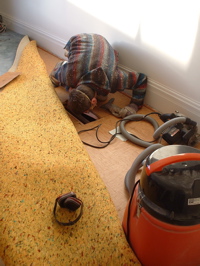
uh-oh,.. when the carpets are pulled up you know what this means, right?

HOLES in my living room floor! (right) mathew trying to figure out the next step.

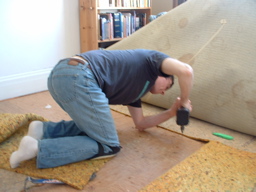
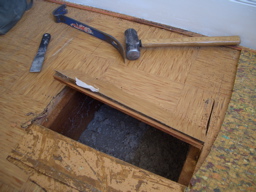
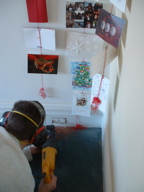
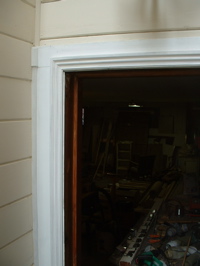
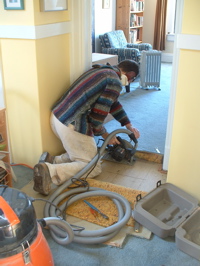
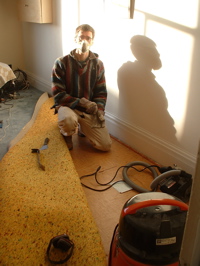
(left) drilling for studs. (right) this is mathew’s way of figuring out the best place to cut so he doesn’t disturb joists or other important stuff. first he used his handy “wizard” tool to check for metal and joists (see 2nd photo at the beginning of the post. it’s an electronic gadget that beeps when it senses something.) mathew’s pencil marks show were the joist is and the drill holes are just to double check.

(left) the cutting begins! (right) seeing what’s what.

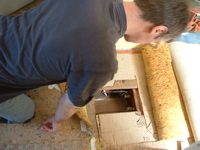
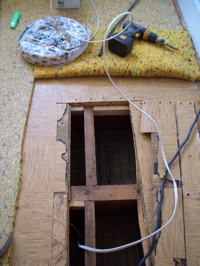
(left) no electrical here! oops. this hole was cut but it turned out it was in the wrong spot. mathew ran downstairs to remeasure the office to find the location of the office light. (right) here he’s opening up an old hole.

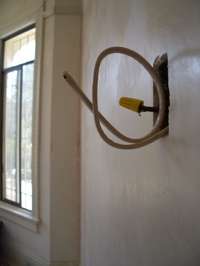
(left) with mathew downstairs in the office i’m waiting upstairs for instructions. a faint, tiny voice says “can you feed the wire through?” “okay,” says mole. (right) i wandered downstairs to see where that one went. it’s for my office light switch! he pulled out some old scary looking wire and replaced it with new wire. he’s also grounding it because my new light switch plate will be metal and i don’t enjoy being electrocuted.

(left) in the office, cutting the hole for the light junction box. (right) back upstairs cutting a pipe. was this from the old gas lights?

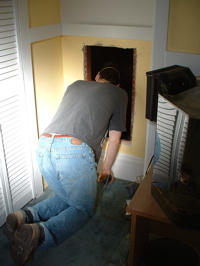
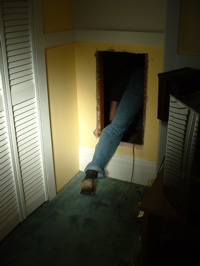
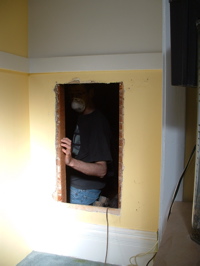
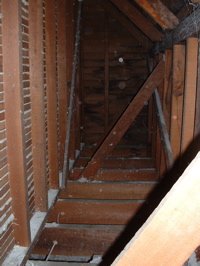
(left) time to go into the dark, hot, insulated crawl space. this is our permanent “door” behind a cabinet near our dining area. (right) now the “fun” begins… earlier mathew was cutting holes in the floor and saying “watch out for that hole!” um, they were pretty obvious,.. i wasn’t going to fall in. but that didn’t stop mathew from saying “mole in the hole!” now who’s fallen into the hole?

this was by far the most challenging part of the day. through this small-ish hole mathew would take a peek, then lie down and reach in with a crowbar tool to blindly remove old electrical tube and knob parts. his concentration was impressive and he removed all of them. turtle in the hole!

(left) this is what he was removing. they are ceramic tubes and knobs used for electrical wires a long time ago. he says he’s seen them at building resources. i can’t imagine anyone using them for electrical wiring now, so we can only guess that maybe artists find them useful. (right) the carpet has finally been reinstalled and i’m more than happy to reassemble my living room.

and today is april 1st, april fool’s day and my dad’s birthday! i think he already looked at the blog today, but hopefully he’ll see this tomorrow. happy birthday dad! i love you. (i think this photo was taken in 1977.)

a monster

this post is a catch up. it’s got so much in it, it’s a monster…

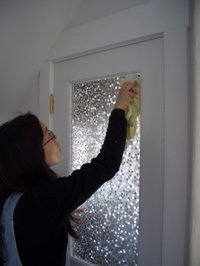
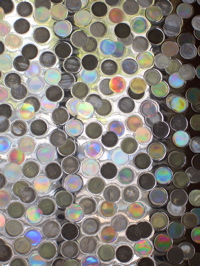
Janeen putting decorative film on back doorclose up of decorative film

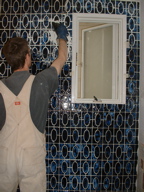
We bought decorative window film for the back door about eight months ago. We used to have a curtain on the other side of this door, but it started to smell really moldy, so I took it off. The decorative window film is intended to obscure the glass. Janeen’s done this once before, putting a plain frosted film on the windows of Popo’s bathroom. This weekend, Janeen put it on our back door. You have to clean the glass really thoroughly, the the film is sprayed with soapy water and squeegeed onto the glass. I’m making it sound easy. It’s meticulous work.

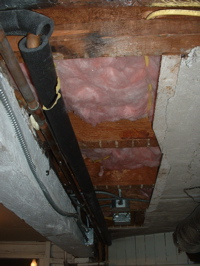
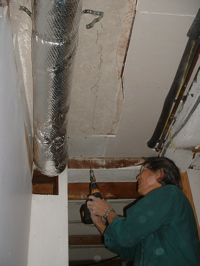
I got tired of trying to stuff insulation into the gap between the ceiling and the floor above, so I tore off the plaster ceiling in part of the garage that still needed insulation.  Quite a mess pulling it all down. It was already falling apart, and had holes, so needed some fixing anyway. Much more enjoyable.

Putting in the insulation was then super fast.

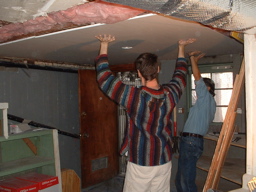
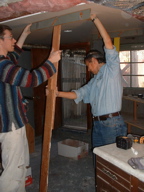
The following week, John helped us to put new gyp board on the ceiling. He came up with T shaped props, so that we didn’t need to hold it up on the ceiling while trying to screw it on.

Some places were really difficult to cut and fit.

John is the master of custom fit. He made a very carefully measured drawing of all the cuts before starting.

There were cutting and sawing noises for an hour, and then…

The floor was covered in powdered plaster dust, but the pieces of gyp board all fit perfectly. Janeen took a photo of the portable tool kit that her dad brings with him in his pockets…

We also spent half this weekend patching the plaster in the office. We’re using ‘hot’ (setting type) joint compound (“Easy Sand 90”) over fiberglass mesh tape and plaster washers. Next week I’ll plaster the lower half of the walls; but above the picture rails, it’s easier to just use a skim coat of the joint compound and sand it. The extra durability of plaster is not necessary where nobody can reach it.

And now that we’ve got the garage and insulation all done, spring is here. The white peach tree that Janeen’s aunt Janet gave us last year is in flower.

Oh, and Janeen knit a monster to give her friend’s son. The pocket on the front holds a baby monster.

knit 3, purl 2, stitch 4

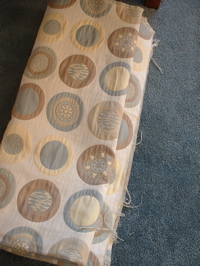
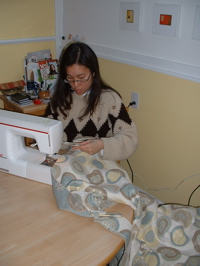
Janeen decided to make curtains for a friend of hers. They went out and bought hundreds of dollars worth of fabric and Janeen had the sewing machine running all weekend, dawn to dusk. [that is not true! since when do i even get up at dawn? -mole] ok, noon to night…

genannecurtain_20091210-2genannecurtain_20091210-1

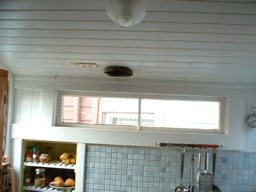
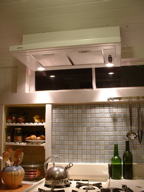
Meanwhile, I went shopping… well, I got a Zephyr hood for the kitchen. The old fan was the fan that came with the house. I cleaned it and reinstalled it last year, but it had two problems: Most annoying is that it had no damper, so we basically had an open hole in our kitchen ceiling letting all the heat out; and it made a racket. I was planning to get a fan with more power, but then this one was on sale at half price. Couldn’t resist saving $200. So, finally we have a working hood in our kitchen that doesn’t sound like a ‘plane taking off.

fan_20091210-2fan_20091210-3

I am a little disappointed in the lower than expected power (the spec sheet and the store said it was 400cfm, but it feels more like 200) and the cheap feeling controls, but it works, and the lights and damper are great. The photo above left is after I’d taken out the old fan. Janeen says it makes our kitchen look like a “Real Kitchen” (above right). To test it out, I made a really spicy Indian inspired lentil dish for dinner.

steps_20091210-2steps_20091210-1

Oh, and I started working on the front steps. Bad timing, really, because rain is coming. I managed to strip the loose paint on most of the steps, but now they have no paint on them and it’s going to rain for a couple of weeks straight. Oops. Hope it doesn’t ruin the wood… Janeen says the photos look like I fell asleep on the steps.

new/old projects

some of you have been asking what we’ve been doing and where the posts have gone… now that popo has moved in the focus has changed slightly.

livingroom1_11.27.09livingroom2_11.27.09

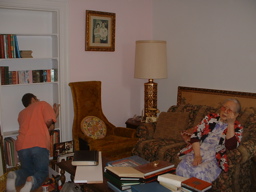
we’ve spent a lot of time finishing popo’s space, hanging photos and making adjustments for her. mathew created built in shelves for her dozens of photo albums in the living room.

painting3_11.27.09

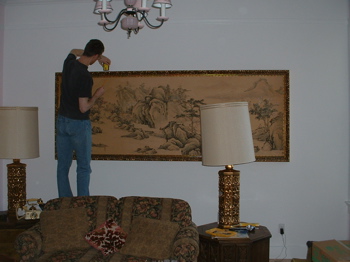
here mathew is hanging her very large chinese painting.

upstairs4_11.27.09upstairs5_11.27.09

last weekend we got to do something we hadn’t done in a long time, we continued working on our unit upstairs.

upstairs6_11.27.09upstairs7_11.27.09

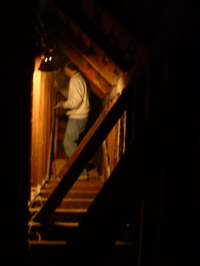
mathew climbed into the crawl space to check on wiring.

electrical8_11.27.09electrical9_11.27.09

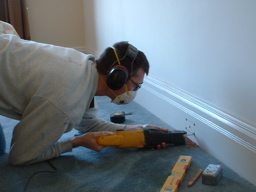
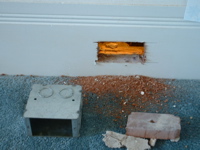
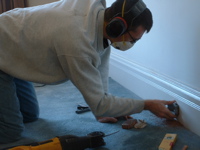
our living room upstairs had one electrical outlet. one! so mathew cut some holes in the baseboard. (left) yes, those are christmas cards. no, they are not from this year. i never took them down from last year…

electrical10_11.27.09electrical11_11.27.09

and together we worked on the wiring and put in 2 new outlets and rewired the old one. hopefully soon we’ll work on adding outlets on the other side of the room. this will involve cutting a hole in the wall so mathew can climb through. previously we had access to that side before the bathroom walls were done so we were able to insulate that side of the house but didn’t have time for the electrical work.

crawlspace12_11.27.09mathew13_11.27.09

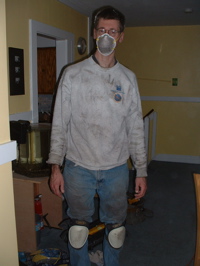
and we finally finished insulating this one side of the living room. we cut fiberglass insulation down in the garage, carried it upstairs in a big bag and i passed it to mathew through the opening. it was a tiring, strenuous, dirty process. in some places mathew was dangling over the rafters sliding insulation under parts of the living room floor. at some point i couldn’t even see him because he was lost in some tiny crawl spaces. (right) he was extremely happy when he was done! he had bruises and scrapes all over his body but was ready for dinner and a good night’s sleep.

is it winter yet? the temperature has really dropped. hope everyone is staying warm and well.

where were we?

this is what happened two weekends ago.

wainscotingwainscoting2_53009

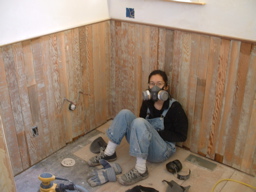
on saturday i sanded the wainscoting.

marble3_53009marble4_53009

while mathew was down in the garage cutting and shaping the white marble that will go around the downstairs bathroom window.

vacuuming5_53009grout6_53009

(left) vacuuming, prepping for grout. (right) grouting. notice the new marble frame around the window?

grout7_53009window8_53009

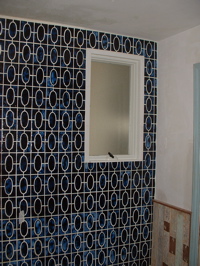
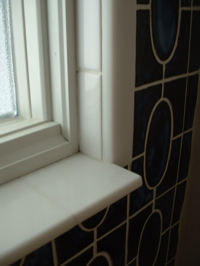
(left) after grout has been applied. (right) white recycled tile and new marble window frame and sill.

letterpress9_53009letterpress10_53009

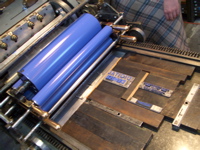
on sunday i deserted mathew to attend my first of three letterpress classes at san francisco center for the book…

letterpress11_53009letterpress12_53009

door13_53009door14_53009

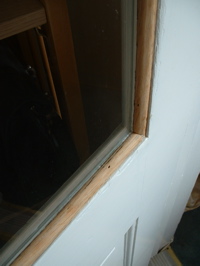
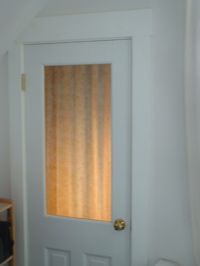
at home mathew had installed glass in the upstairs bedroom back-door.

router15_53009router16_53009

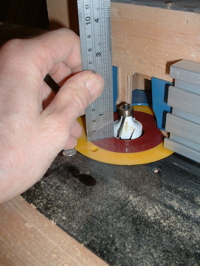
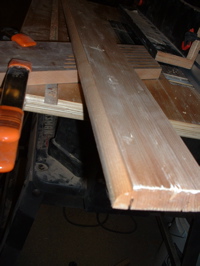
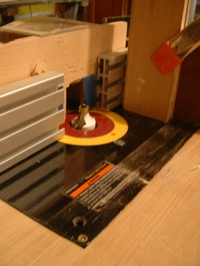
here he is creating trim on the router table he made. this is the last piece needed to finish the upstairs bathroom window, for some reason it wasn’t added last year.

router17_53009router18_53009

creating the curve that faces out.

window19_530091window20_530091

(left) without lower trim. (right) after mathew added the trim and finished caulking the gaps. nice, huh?

exterior21_53009exterior22_53009

apparently it was a day of odds and ends and completing unfinished projects. here is the exterior side door on the garage. (left) old, ugly, peeling trim. (right) trim removed.

wood23_53009wood24_53009

(left) this looks like a good piece of wood to reuse… (right) this is what happens when the router decides to get creative and goes astray… [I was learning how to use the router table to make trim, so I figured the garage door beside the garbage cans is a good place to start. I had to set up guides at the side and top of the board to hold it firmly in place as it slides through the router, or it gets the dents shown above. – turtle]

trim25_53009trim26_53009

the new exterior door trim before and after paint. possibly a little too beautiful for an exterior garage door? hopefully the garbage, recycling and compost bins will appreciate the new decor!

happy 2009

paintcolors

we spent hours sanding and filling the door taken from the basement. this photo shows where a piece of wood had been used to fill where the door handle had been moved, many years ago. janeen counted the layers of color. it was archeology:

  1. dark green
  2. dark grey green
  3. apple green
  4. dark brown
  5. medium grey
  6. mint green
  7. medium grey (again – i guess they decided they liked the color)
  8. cream
  9. pale turquoise
  10. off white
  11. white

janeenbiskitjoinerscrewing and glueing the door extension

we then added a piece of wood to the bottom of the door. the door from the garage is shorter than the opening upstairs by about 5 1/2″. We just added a piece of 2×6 from my offcuts pile onto the bottom of the door. janeen used the biscuit joiner to cut slots for wood ‘biskits’ that will hold the new piece of wood to the bottom of the door. she also screwed in two 6″ long bolts to help clamp the wood while the glue dried.

it’s not ideal. panel doors are built with vertical pieces on each side, and horizontal pieces connected between them. the vertical side members help to prevent the horizontal pieces from warping. the piece we added has no vertical pieces, so it may warp. the bolts may help. we’ll see.

woodshavings_20090103dumpy's palace

the next day, i planed the wood flush with the face of the door.

above right: dumpy has a palatial new home. janeen finished off most of the trim painting in the front entry foyer.

begin demo of closet doorlookingupcloset_20090103

meanwhile, i tore out the makeshift ceiling and walls in the closets between the bedroom and the living room and framed in a wall between the living room and the bedroom. our plan is to create a bookshelf on the living room side, and a closet on the bedroom side out of this short passage between the rooms.

I made a hatch to get at the space over the closet in case I need to get to the plumbing under the bathroom above, and added in wiring for a light in each of the three closets.

janeensviewframing closet

above left: the view janeen saw of me on new years day. on the right, the framing is installed.

installing gypcloset ceiling

we got most of the gyp board on.

janeenfastdoorsjaneendoors

janeen painting the trim around the living room doors.

halllightclosehall light

i cleaned up the light in the entry hallway. you’ll have to look back to see how it looked before. but i really like the retro patterned glass. i also painted the cover plate at the top of the light to match the walls: janeen calls it a Mercedes hubcap.

bathroom doorbathroom door open

ok, one last thing: this door between the bedroom and the bathroom was closed up. we are planning to re-open it. here you can see how insulation and a wall was framed in front of the door. get ready for ugly.

holiday progress

electricalelectrical

to rewire lights downstairs, mathew had to open up the floor upstairs between our dining room and living room.

electricalelectrical

he also had to open up the floor in the living room.

uninsulatedgas pipe

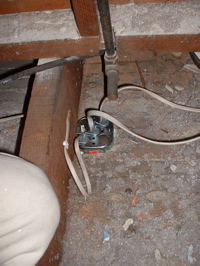
(left) and he spent a lot of time in the last uninsulated crawl space next to the living room. (right) here is the new junction box mathew installed, next to the gas pipe that used to run downstairs for the gaslights.

tapetape

my parents came over on saturday and helped with tape masking, trim filling, sanding and painting.

janeenparents

mathew worked on electrical wiring while i painted trim and closet/cabinet interiors (green!)

owieowie

late that night we pulled up the special green paint masking tape and sadly it pulled up the primer and 2 layers of color. it didn’t happen everywhere but it did do quite a bit of damage, especially for something that was supposed to save us time. more sanding and painting will be needed.

paintpaint

on sunday i finally took some photos of the new pink paint in the living room. and you can see the green closet interior.

anaglyptaanaglypta

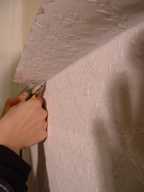
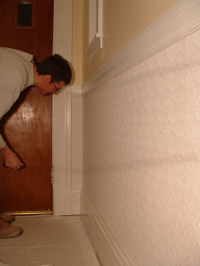
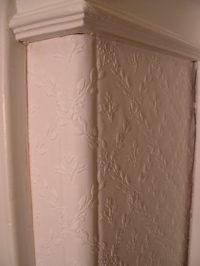
mathew and i spent almost all of sunday installing anaglypta on the wainscoting in the entry foyer and hallway. it is applied like wallpaper but with a heavy weight paste. because it is paper the moisture from the paste can make the paper expand so it is applied to the wall and then trimmed in place.

anaglyptaanaglypta

this new anaglypta is not as obvious as the thicker lincrusta we removed, but because it’s a very frilly, victorian look we like that it doesn’t stand out too much. it will be painted the same semi-gloss white as the trim so it doesn’t add color but subtle texture and interest below the chair rail.

christmas eve

wednesday started early preparing for a christmas celebration with mathew’s family.

it was the warmest the house has ever been, filled with family and lots of yummy baking and cooking.

(left to right) jim, evamarie, reirin, daniel, leonora, turtle + mole.

mathew’s thanksgiving week

mathew took last week off work and got a lot done on the house.

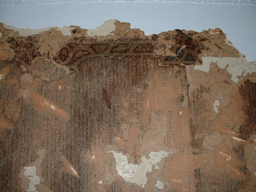
as he was scraping away paint and wallpaper he found this interesting wallpaper border above a door frame and wanted to add another one to replace it. this restoration has been all about keeping the original details of the house. i’m not sure how i feel about more wallpaper but we’ll see…

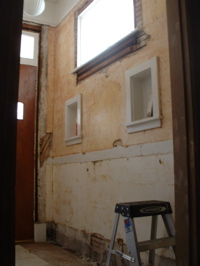
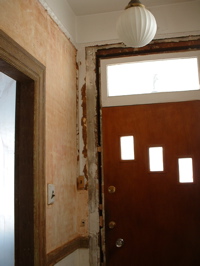
there’s something really beautiful about the bare original plaster. mathew loves the mellow, variations in color. it looks like old walls in europe.

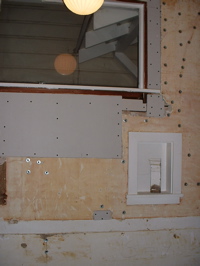
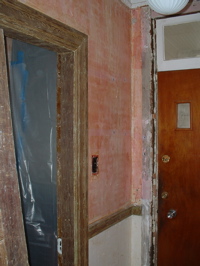
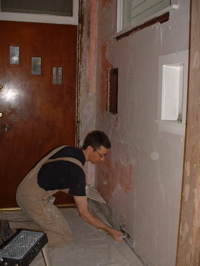
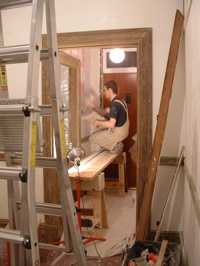
the next step was filling in gaps with gypboard then using plaster washers to hold on loose plaster. and next was the pink plaster weld paint, to hold the plaster to the surface.

and then plaster! all of this happened while i was in my office through that plastic door next to the front door.

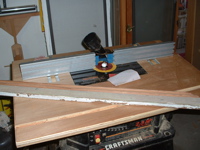
another project mathew has been working on is creating a router table from an old table saw stand he had. he finally got to use it in making the entry window frame more decorative.

recently mathew’s mom was questioning mathew’s “vacation” time spent on the house, i guess she didn’t find it very restful, but working on the house is all mathew thinks about, it’s all he really wants to do. he isn’t the type of person to watch television (ever!) or sit and read a book or paint or draw. he was incredibly happy last week and this week, back at work, he’s incredibly grumpy…