
A friend texted me asking if I knew of a place that a UCSF student could rent for the rest of the year. Hmm. I guess if she doesn’t mind ongoing construction outside her room, she could get low rent… “I just need a couple of weeks to get the room ready.” Gulp.
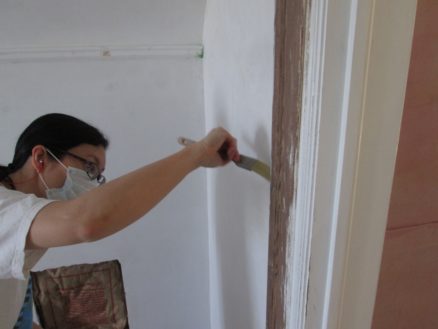
Here’s mole painting the trim in the room. Need to get the baseboards on, the whole room painted, and the floor tile fixed. Plus get some furniture together. Not to mention the bathroom…
Oh, and I also added plugs. There used to be no outlets on this side of the room. When we first got the house, I really didn’t like the plugs in the baseboards, so downstairs I moved them all to the walls. But I’ve grown to really appreciate this old detail. It fits better with the character of a house built in 1902. So now I always put them in the baseboards.
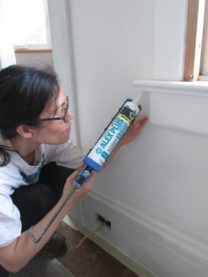
Mole is super good with the AlexPlus. I love the caulking tool: it makes perfect caulked joints possible. Before I got that tool, I’d try to get the caulk line just right when first applying it. But any stops or bumps and there’s a dimple… then your fingers get involved, and the whole thing turns into a mess. This tool makes it so clean.
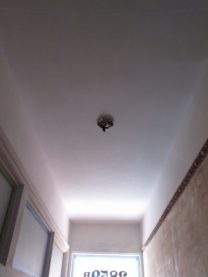
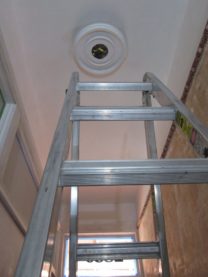
For the ceiling, we ordered a small medallion to go around the junction box. Mole says the hardest part of this project was getting the ladder downstairs by herself without killing herself and the walls.
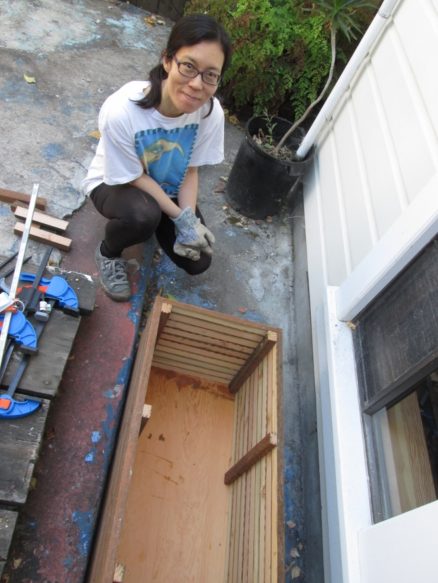
Meeeeanwhile…. Mole decided to build a planter.
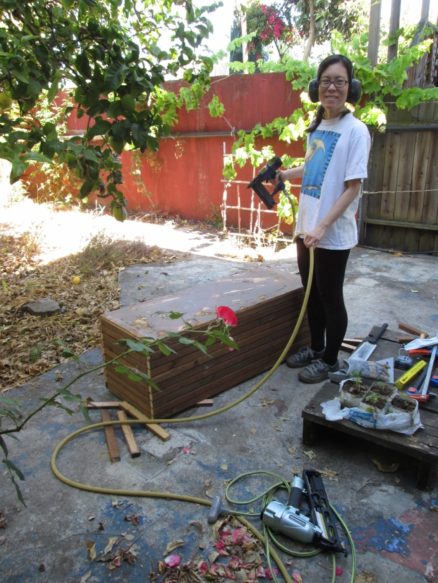
All scrap wood left over from making the fence. The most expensive part was the potting soil.
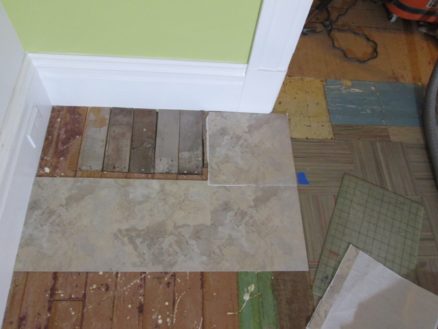
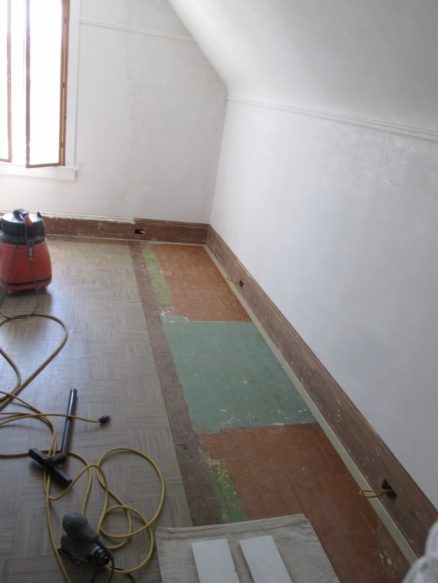
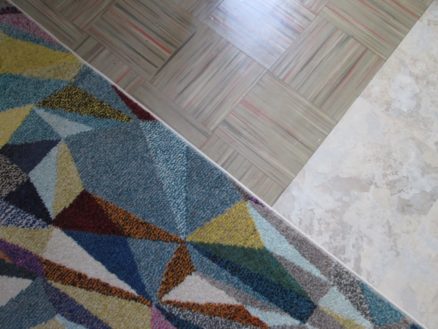
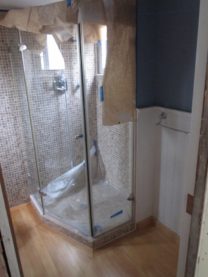
Where the old closets had been, there was no floor tile. The eventual plan is to put some type of nice flooring in like bamboo or hardwood. But we have a deadline! So I got some self-adhesive vinyl tile at home depot.
I didn’t take this photo. You probably guessed that.
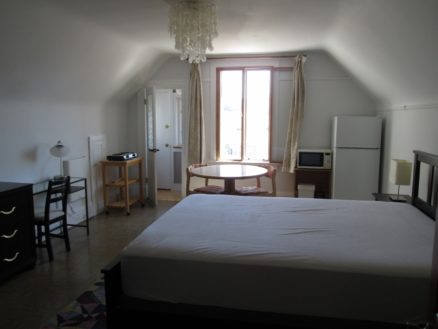
I’m still planning to work on the kitchen and living room, so this is an almost studio. The room is quite big, so it fits the table, fridge, microwave and a hot plate. They need to use the bathroom sink for dishes though.
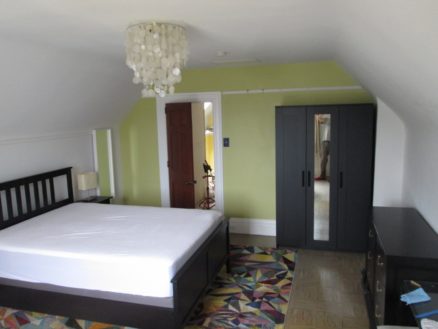
Phew. Room ready. We couldn’t find a tall armoir (wardrobe) that would arrive in time — everywhere seemed to be out of stock, or shipping was weeks out. Mole found the wardrobe on the right above (an Ikea) on Craigslist. Damn it was heavy. We brought it home strapped on the roof of the trusty Civic. But I couldn’t face hauling it upstairs, so we took it all apart first, and reassembled upstairs.
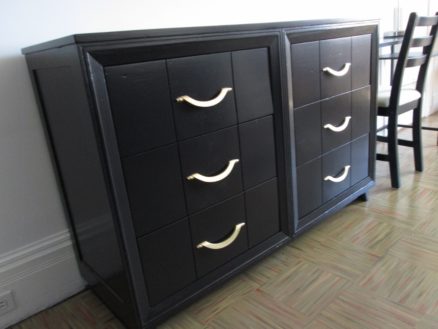
I often forget to take “before” photos. The dresser above was left in the garage when we got the house. It was a really sad looking thing. It had a corner missing from one of the drawers, holes where it looked like someone had attached a padlock (!), cigarette burns and scratches on the top, all in a fetching greenish-brown. But it’s a quality piece of furniture made out of solid wood. I filled the damaged wood, painted it with black paint, and then put a couple of coats of polyurethane over the paint. The brass handles are original, I just polished them, and gave them a few coats of lacquer.
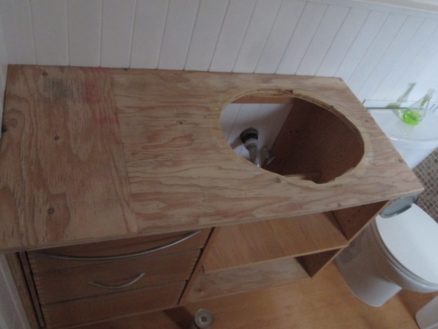
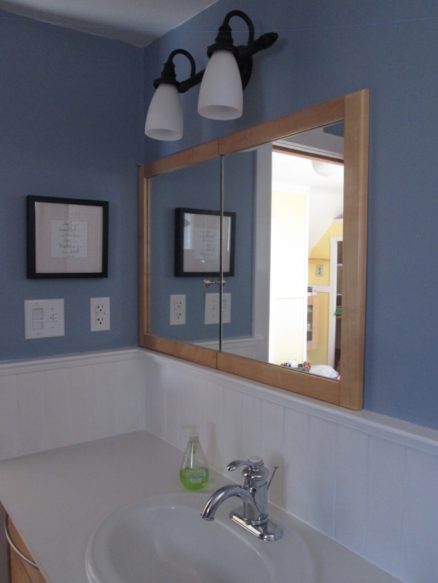
Which brings me to the bathroom: This was our counter top in the bathroom for ten years. It was a left-over piece of plywood that wasn’t even wide enough, so I’d added a piece on the left. Even with a coat of polyurethane, it was never durable or attractive.
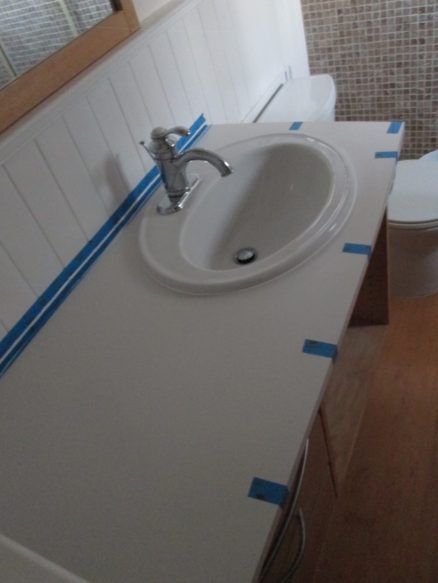
Given the time constraints, I decided to just order some Formica to stick on the plywood. The web bit me a bit, because I thought it was a darker cream color. Never done Formica before and wow the contact adhesive is smelly, but it’s a fast process. I have a flush trim bit for my router, so it was very easy to trim to size.
If you’ve ever tried to use silicone caulk, you know that getting a good result is one of the most difficult things in the world. When I combine blue tape with the caulk tool, I think I have a recipe for perfect silicone caulk. I lay out the blue tape so it is just slightly clear of the finished edge of the caulk. Then I caulk the gap and use the tool to smooth it and walk away. The blue tape prevents the caulk getting onto the neighboring surfaces, so there’s no cleanup or fiddling around that may mess up the caulk. Wait a couple of hours for the caulk to skin over before removing the tape. Voila!
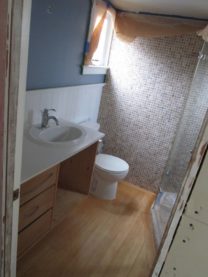
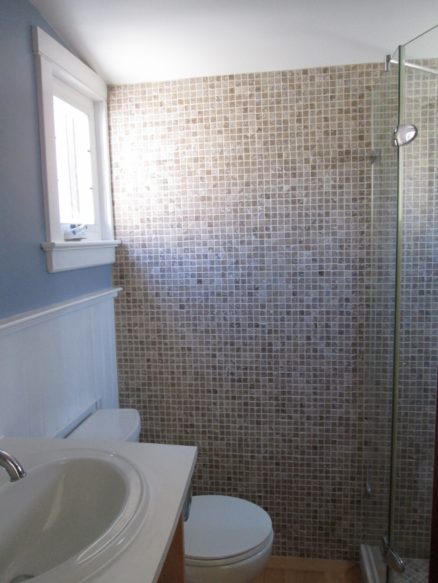
I also sanded and varnished the floor because the girls had scratched it up so much. They may look soft and furry, but that’s just to hide the claws. This floor is Alaska Yellow Cedar – very resistant to rot and quite soft, but I’ll not put wood on a floor in a bathroom again: A lot of people leave a bath mat outside their showers (our tenants downstairs did). Any dampness in this mat will rot the floor quite quickly. Even the cedar.
And then the really hard work (truly): I sanded the ceiling. When we originally did this bathroom, I plastered the walls and ceilings and was so in love with the subtlety of the bare plaster that I varnished it. Problem was, the varnish started peeling – maybe some incompatibility with very alkaline plaster (?) But to re-paint, now I had to get all the varnish off the plaster.
It looks so much nicer than when we lived there! I like the paint (same color we used in the laundry room). And a white ceiling is much nicer than the peeling varnish. I still know it’s my plaster under there…
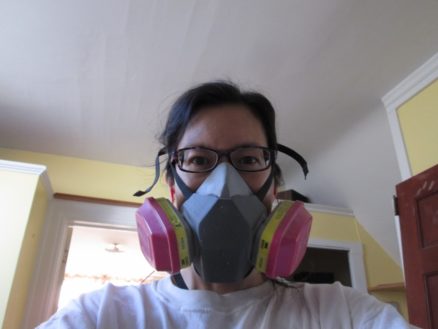
Mole selfie.