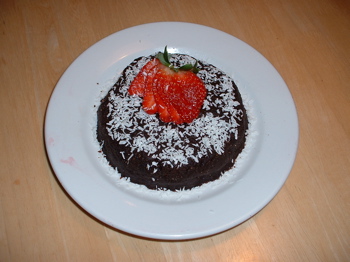
raw, vegan, chocolate cake

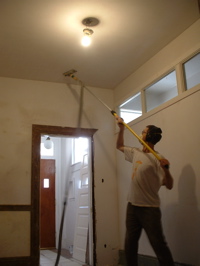
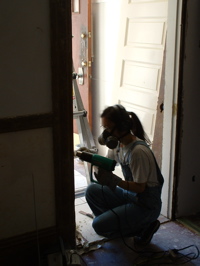
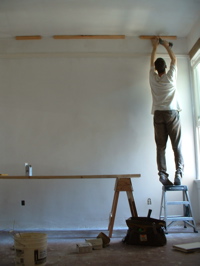
on wednesday my cousin larry came to help with the house.

larrylarry

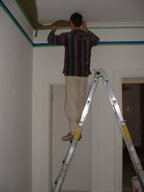
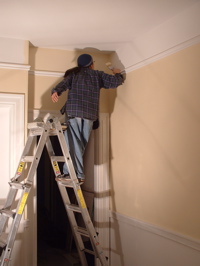
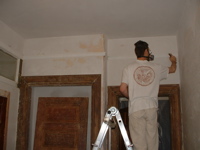
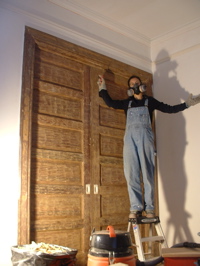
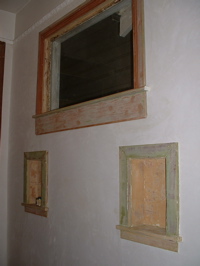
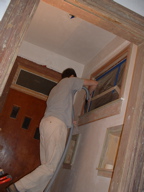
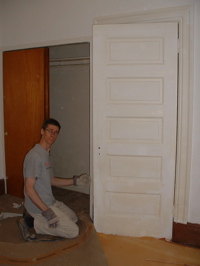
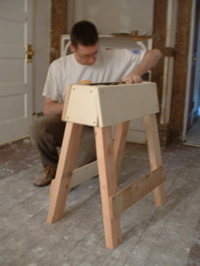
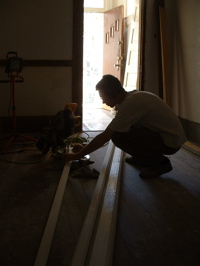
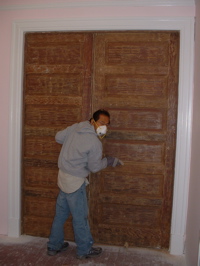
before having lunch at Herbivore, larry and i painted closets. after lunch we did some shopping at Rainbow then came back for more painting and sanding. here larry is sanding the double doors in the living room.

cake

for dinner larry created a tasty and satisfying raw, vegan salad and chocolate cake. yum. thanks larry! please feel free to visit anytime!

happy 2009

paintcolors

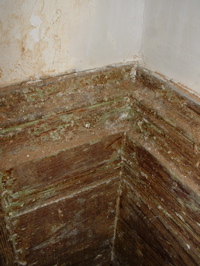
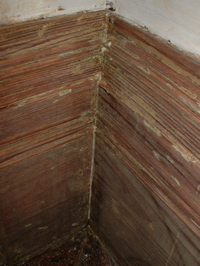
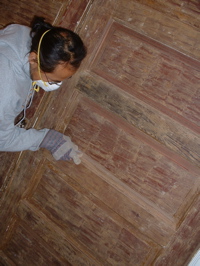
we spent hours sanding and filling the door taken from the basement. this photo shows where a piece of wood had been used to fill where the door handle had been moved, many years ago. janeen counted the layers of color. it was archeology:

  1. dark green
  2. dark grey green
  3. apple green
  4. dark brown
  5. medium grey
  6. mint green
  7. medium grey (again – i guess they decided they liked the color)
  8. cream
  9. pale turquoise
  10. off white
  11. white

janeenbiskitjoinerscrewing and glueing the door extension

we then added a piece of wood to the bottom of the door. the door from the garage is shorter than the opening upstairs by about 5 1/2″. We just added a piece of 2×6 from my offcuts pile onto the bottom of the door. janeen used the biscuit joiner to cut slots for wood ‘biskits’ that will hold the new piece of wood to the bottom of the door. she also screwed in two 6″ long bolts to help clamp the wood while the glue dried.

it’s not ideal. panel doors are built with vertical pieces on each side, and horizontal pieces connected between them. the vertical side members help to prevent the horizontal pieces from warping. the piece we added has no vertical pieces, so it may warp. the bolts may help. we’ll see.

woodshavings_20090103dumpy's palace

the next day, i planed the wood flush with the face of the door.

above right: dumpy has a palatial new home. janeen finished off most of the trim painting in the front entry foyer.

begin demo of closet doorlookingupcloset_20090103

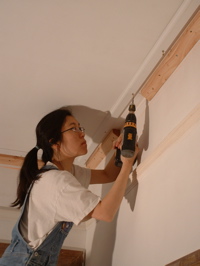
meanwhile, i tore out the makeshift ceiling and walls in the closets between the bedroom and the living room and framed in a wall between the living room and the bedroom. our plan is to create a bookshelf on the living room side, and a closet on the bedroom side out of this short passage between the rooms.

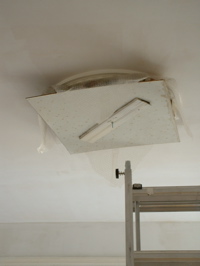
I made a hatch to get at the space over the closet in case I need to get to the plumbing under the bathroom above, and added in wiring for a light in each of the three closets.

janeensviewframing closet

above left: the view janeen saw of me on new years day. on the right, the framing is installed.

installing gypcloset ceiling

we got most of the gyp board on.

janeenfastdoorsjaneendoors

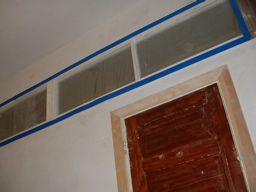
janeen painting the trim around the living room doors.

halllightclosehall light

i cleaned up the light in the entry hallway. you’ll have to look back to see how it looked before. but i really like the retro patterned glass. i also painted the cover plate at the top of the light to match the walls: janeen calls it a Mercedes hubcap.

bathroom doorbathroom door open

ok, one last thing: this door between the bedroom and the bathroom was closed up. we are planning to re-open it. here you can see how insulation and a wall was framed in front of the door. get ready for ugly.
tuesday

tuesday was a house day.

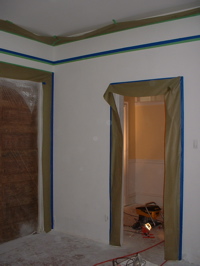
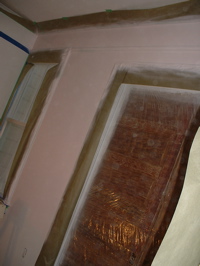
i sealed the heating ducts with aluminum tape while mathew masked the crown moulding, picture rails and door frames in the living room.

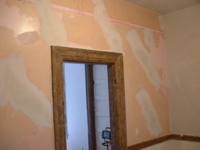
(left) ready for spraying. (right) the color in the living room is a very pale pink (i’ll take a daytime photo soon.) my grandmother loves pink and we thought it would be fun to give her a cheerful, fun color, but when the paint first went on, it was late at night and i was worried i made a bad choice. but now that it has dried and we have seen it in natural light we like it more and more.

on this night we were up till 1:30 painting and i added color above the picture rails and gave the walls a second coat.

way behind schedule

sorry, too much time has gone by since my last post. 1) we’ve been busy. 2) i’ve been lazy. 3) we’ve barely taken any photos (there’s only so much paint stripping you can photograph.) 4) mathew was in new york visiting his brother. 5) and there was one more reason that i’ve forgotten…

mathew installing new picture rail in the hall. (he wanted me to mention that this was a two-person job. i helped and took photos afterwards.)

(left) yay! i stripped all the paint on the door frame and double doors between my office and the living room. (now i just need to sand them…) (right) the foyer with new plaster and stripped wood, ready for paint.

(left) foyer baseboards after paint stripping (ick.) (right) baseboards after sanding (ahh.)

this time around we’re painting with an industrial paint sprayer, this involves masking everything we don’t want painted.

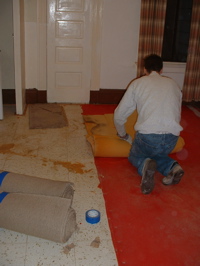
mark moved out at the end of november. mathew opened the door that was sealed shut between the bedroom and living room. and on monday he pulled up the carpet to find foam padding and linoleum.

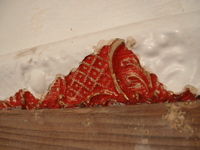
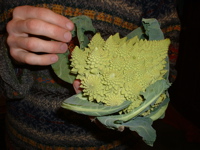
(left) the picture rail in the foyer. unfortunately in most places it has been stubbornly unstripable. the paint just chipped off of this section to reveal red and gold underneath. (right) we received this weird cauliflower cousin in our organic box delivery today. i’m sure many of our smarty-pants friends and family know what this vegetable is called. i don’t feel like looking it up at the moment, but we thought it was really cool looking.

where were we..?

we are so behind in posts that this one is actually from 2 weekends ago!

so, my “clever system” for holding up the medallion overnight wasn’t so clever because the unsupported edges drooped. i came up with another “clever system” of attaching a piece of wood to the center of the metal light fixture box. (right) ta da! the unpainted medallion.

(left) mathew sanding the ceiling, it’s the nicest, smoothest ceiling by far. (right) me stripping paint, what i spend the majority of my weekends doing.

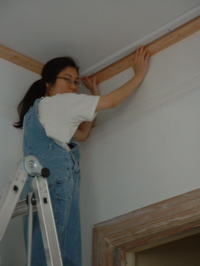
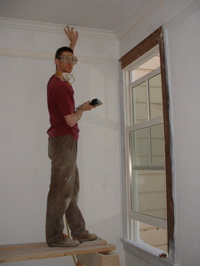
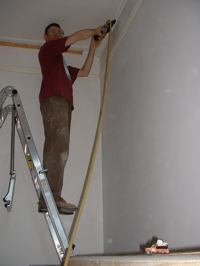
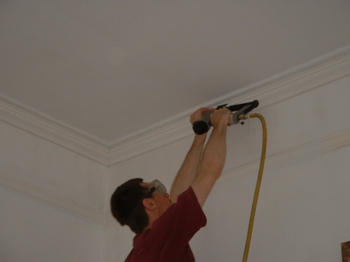
(left) mathew made two saw horses to help in installing the crown moulding in the downstairs living room. while we worked together mathew stood on the saw horse platform while i stood on the tall ladder. (right) here mathew is attaching backing pieces of wood for the crown moulding.

(left) cutting the first layer of crown moulding. (right) holding the first piece in place.

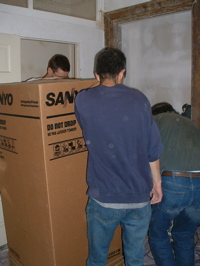
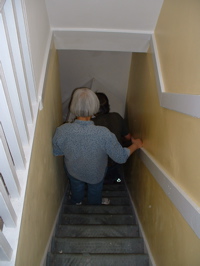
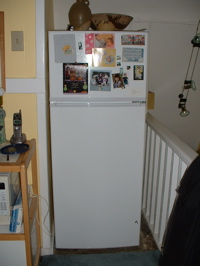
(left) we had a brief interruption as my parents and older brother stopped by to help us move our new refrigerator from the garage and up two flights of stairs. the process was a little stressful so there are no photos of the actual move. (right) the old refrigerator leaving.

(left) my dad being goofy. (right) the new refrigerator is 4 inches narrower (!) than the old one but it was the only model that would fit up our stairs. and it’s an energy star model, so it’s earth friendly.
(left) back to crown moulding installation. (right) mathew cutting the final pieces by hand. these final pieces overlay the earlier pieces and because they’re grooved and set at an angle it takes some clever cutting and assembling to get it all to lay just right.

the rest of the weekend was spent paint stripping and prepping for plaster and paint. hopefully i can create another post before thanksgiving. mathew is home this week so there’s lots of progress…

on vacation

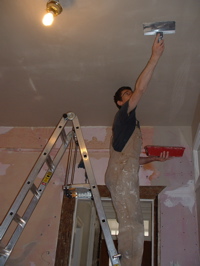
i took the week off work to try to make things go faster. it has been quite successful. so far, i’ve done two more skim coats on the ceiling.

skim coating the ceiling

i’ve also plastered the remaining two walls in the entry hallway. above right, i’m plastering the wall that’s westmost in the entry hallway. that’s the door to the entry foyer and front door.
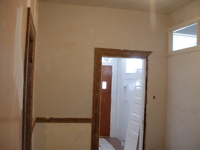
second wall completed plaster, looking into entry foyerlooking towards living room, final wall

after plastering that wall in the morning, i moved onto the last wall in the afternoon. i can never judge how much plaster to mix; i always mix too little. you are supposed to coat the whole wall, then double back and put a second coat from the same mix. if you do that, the plaster behaves a lot better, it’s easier to smooth, and it is much more predictable and strong. it’s all supposed to be out of the same mix, and the plaster sets in 20 minutes. yep, gotta move really fast.

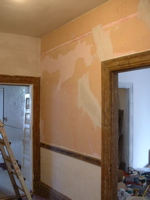
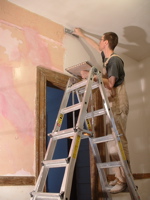
looking towards kitchen and living room, with last wall to be plastered on the rightmathew putting plaster on the wall above the door

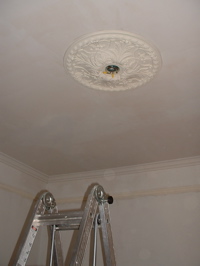
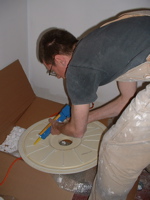
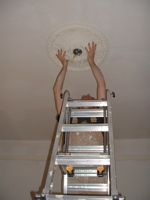
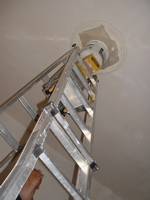
in the living room, i added a junction box where there were just two wires sticking out of the ceiling (for the light). then, this evening, janeen and i installed the medallion. i put glue on the back side, then fit it up around the junction box.

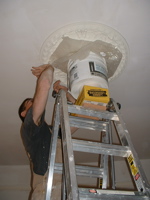
there are two tricky parts: getting the medallion aligned with the room, and holding it up while the glue sets. janeen came up with a really clever system; we put bubble wrap over a bucket, then set the bucket on top of the ladder, and spaced it up with a box and some pieces of wood.

temporary support for the medalion while glue sets