Mole says: “That’s an attractive title.” I think she’s being sarcastic.
The fascia is the finish board that is attached around the edge of the roof to cover up the framing underneath. We’ve been working on putting that onto the laundry room roof.
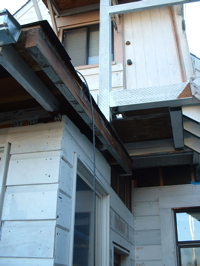
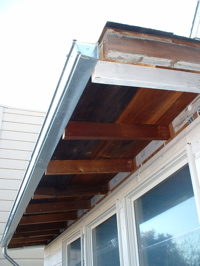
This is how it looks before the fascia is installed. I had temporarily attached the gutter to the end of the rafters that stick out and support the roof overhang.
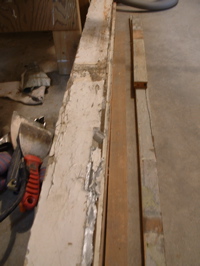
As usual for us, we re-used old wood. This wood was the siding on the laundry room before. It’s not Redwood, but it’s old-growth Douglas Fir. The photo above left shows the condition of the paint on the wood: bad! And there was a lot of other stuff stuck to it, such as duct tape (waterproofing?) and caulk. After many hours of removing the old paint with a heat gun, though, the wood is in excellent condition.
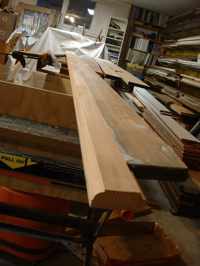
Above right is the piece of wood that will be the fascia. I’ve routed a quarter round decorative edge into the wood. Couldn’t resist.
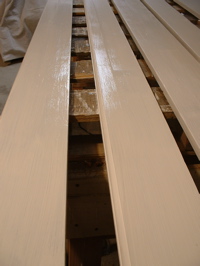
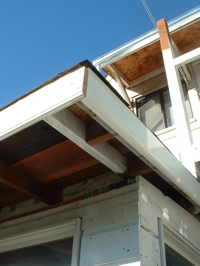
To help the paint last better, we primed the boards on all sides before putting them up. This is supposed to help the wood to be more stable in changing humidity, so the paint lasts better. Above right: The fascia is attached. It looks better already. The framing is still exposed at its under side.
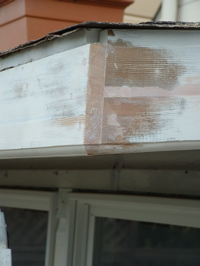
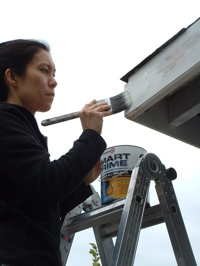
At the corner, I carefully shaped the end of the board so that the decorative edge goes around the corner. Above right: Mole is the best painter there is. No drips, and perfect coverage.
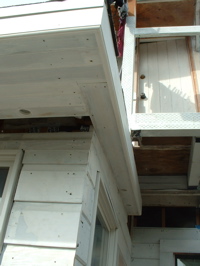
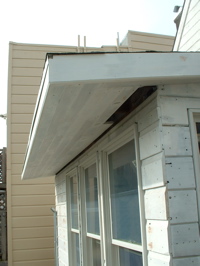
For the finish under the roof overhang, the soffit, I also reused the old wood. Most of the time is spent preparing the boards. Installing them takes relatively little time. I only have one small piece left to install. I’m leaving the gutter off for now, until after we replace the old leaky roof. But the next step is to install the trim around the windows.
