The roofing felt and cement board do not themselves waterproof the deck. On this deck, I’m using the same material that we used in the showers: Kerdi. It’s a polyethylene sheeting that has a fibrous material bonded to both sides so that it sticks to thinset mortar.
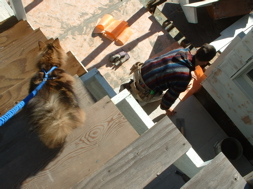
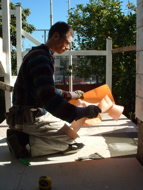
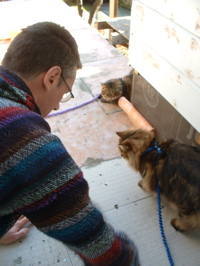
Here I’m sticking down the Kerdi over the cement board. Arwen is watching from the stairs.
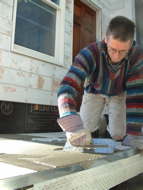
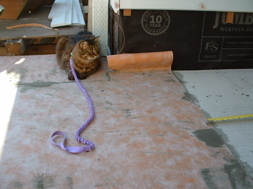
To stick it down, I use the same cement-based thinset mortar that’s used under the cement board, and also will be used under the tile. I spread it out with a notched trowel, and then lay the Kerdi onto it. Then I smooth the Kerdi down with a flat trowel. The problem we were having is the cement board was dry, so it was drying out the thinset mortar before I could spread the sheet down. We had to wet down the cement board with a water sprayer so that we had enough time to stick the Kerdi down properly.
Above right Bella is watching the progress.
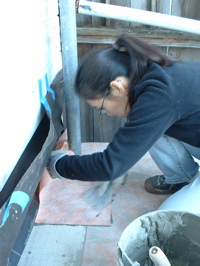
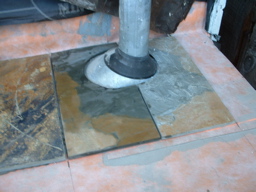
They both really like tiling, I think. Almost as much as plumbing (they love to sit in the shower and watch the water go down the drain.) Janeen got all the difficult parts of the waterproofing – like fitting it around a pipe penetration.
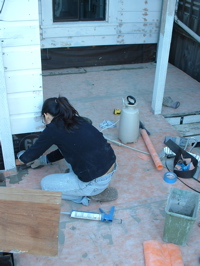
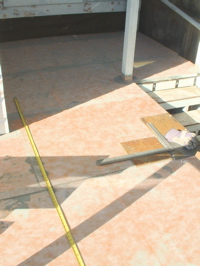
See, another difficult spot: Mole attaching the waterproofing to the side of the building. Above right we are starting to lay out the tile grid. I drew a grid on the Kerdi before starting the actual tile.
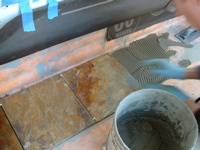
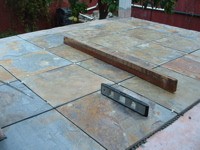
Here are the first tiles. Actually, it’s not tile; we’re using a very colorful slate. We really liked the variety of colors in the slate. Each piece is like a little work of art.
Unfortunately we learned, after buying it all, that this slate has a flaw: The color is made by thin layers of impurities in layers within the slate, so it tends to delaminate. We tried to pick through carefully to avoid the tiles with bad layers in them. Hopefully we caught them all.
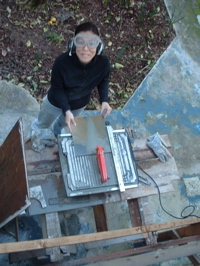
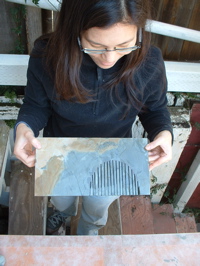
Mole did almost all the cutting. She became the tile-saw queen. Even got into some really complicated cuts to fit the slate tiles around pipes.
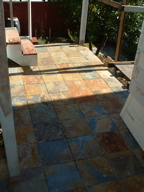
Once all the slate was done, we let it dry for a week. Because the slate has such a rough surface, I used a pre-grouting sealer on the slate before grouting. Hopefully it will make it easier to clean the grout off the surface.
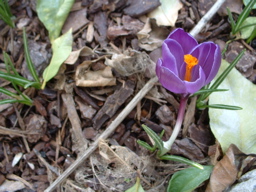
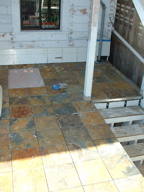
The crocuses are already up! The bulbs we planted under the lemon tree last year have come back this year. So nice. Above right, you can see a rectangle that we left unfinished. I wanted to make a virtual doormat in front of the door, by changing the tile pattern.
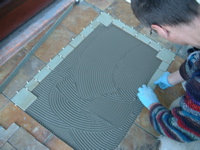
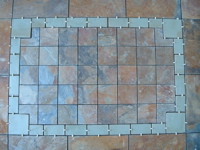
We used some ceramic tile that a friend gave me for the border (the same tile I used on the front porch as an accent tile). In the field, we just cut the same tile as on the rest of the deck to about 1/3 the size.
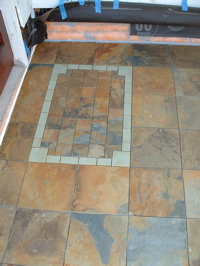
Above left, this is the ‘door mat’ ready to be grouted. Because the tile is so colorful, we chose a grey grout. I had to get mole to pick out colors, because I’ve learned: I wanted to get a really colorful grout… The grey looks really good.
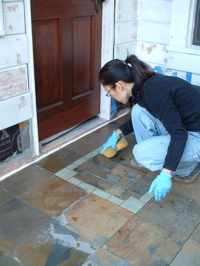
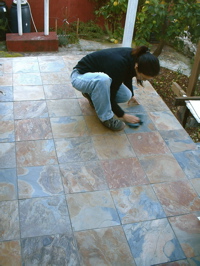
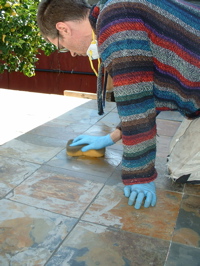
Above left mole is wiping off the grout from the tile surface. Above right, after the grout dries for a couple of hours, we came back with a dry cloth and polished off the haze on the surface of the tiles.
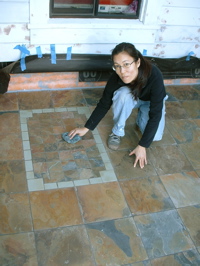
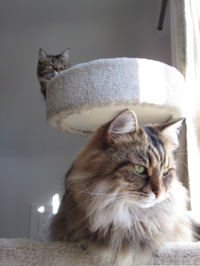
Mole is polishing up the ‘door mat.’ Now we can get back to finishing up the siding! Here’s a pic of Arwen and Bella looking out the window from their cat tree.
