
Now that we’re done with the structural work, I need to fix what I broke.
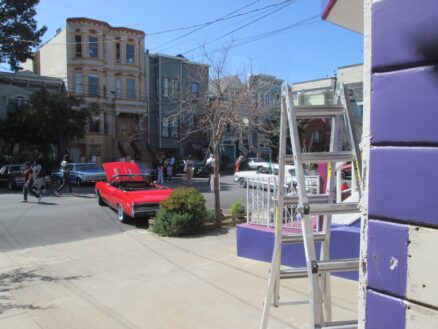
In the blazing sun — while the street was closed for a low-rider car show — I started working on the siding and trim around the garage door.
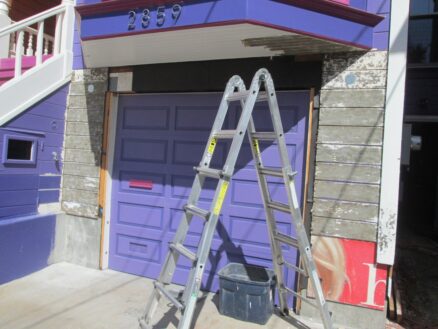
It was hard to see from photographs, but the paint on the siding around the garage door was bubbling up. So I stripped it down to the wood. The reason I’d waited too long on doing all the paint on the front of the house, is I’d wanted to strip it all. It’s prohibitively expensive to hire someone to do that, because it takes a long time. But the bubbling is because one of the layers of paint is not sticking to the layer below it: Probably because one of the times it was painted, the previous paint wasn’t sanded/cleaned properly.
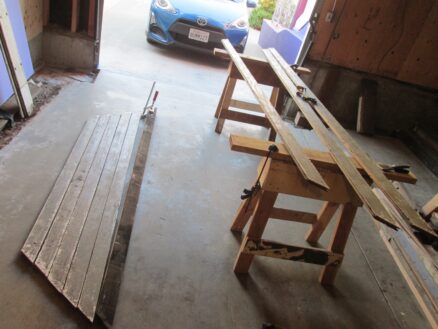
Working on the paint overhead is really hard on the neck and shoulders. I also re-used some old siding and filled in the lower left and right sides. That piece of old plywood with the interesting painting on it served many months. I think it even made it into a google street view.
Only after I’d done all the overhead paint stripping, I thought: While I’m doing this, I should add insulation below the floor. So I pulled all the overhead wood off. Could have done it before stripping and made it so much easier on my neck. Oh well.
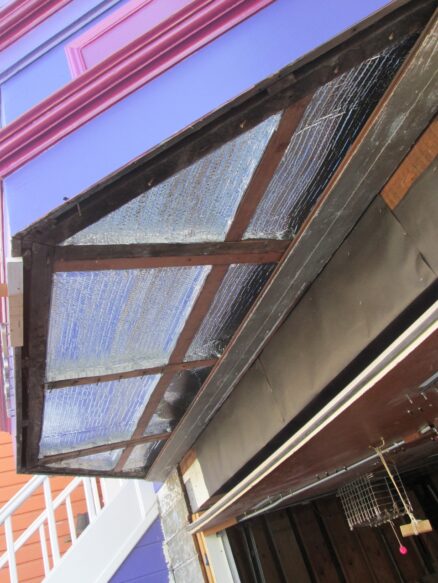
Insulation in. I used a double layer of closed cell “reflectix”–it’s a bit like bubble wrap–with an air gap between. I had to cut each piece to fit with enough to staple to the joists on all sides. I decided on this because I didn’t like the idea of glass fiber batt insulation possibly being a place for insects to nest.
I added some ventilation holes so that moisture doesn’t accumulate in this space. I did add metal mesh on the back side so that large insects can’t get in.
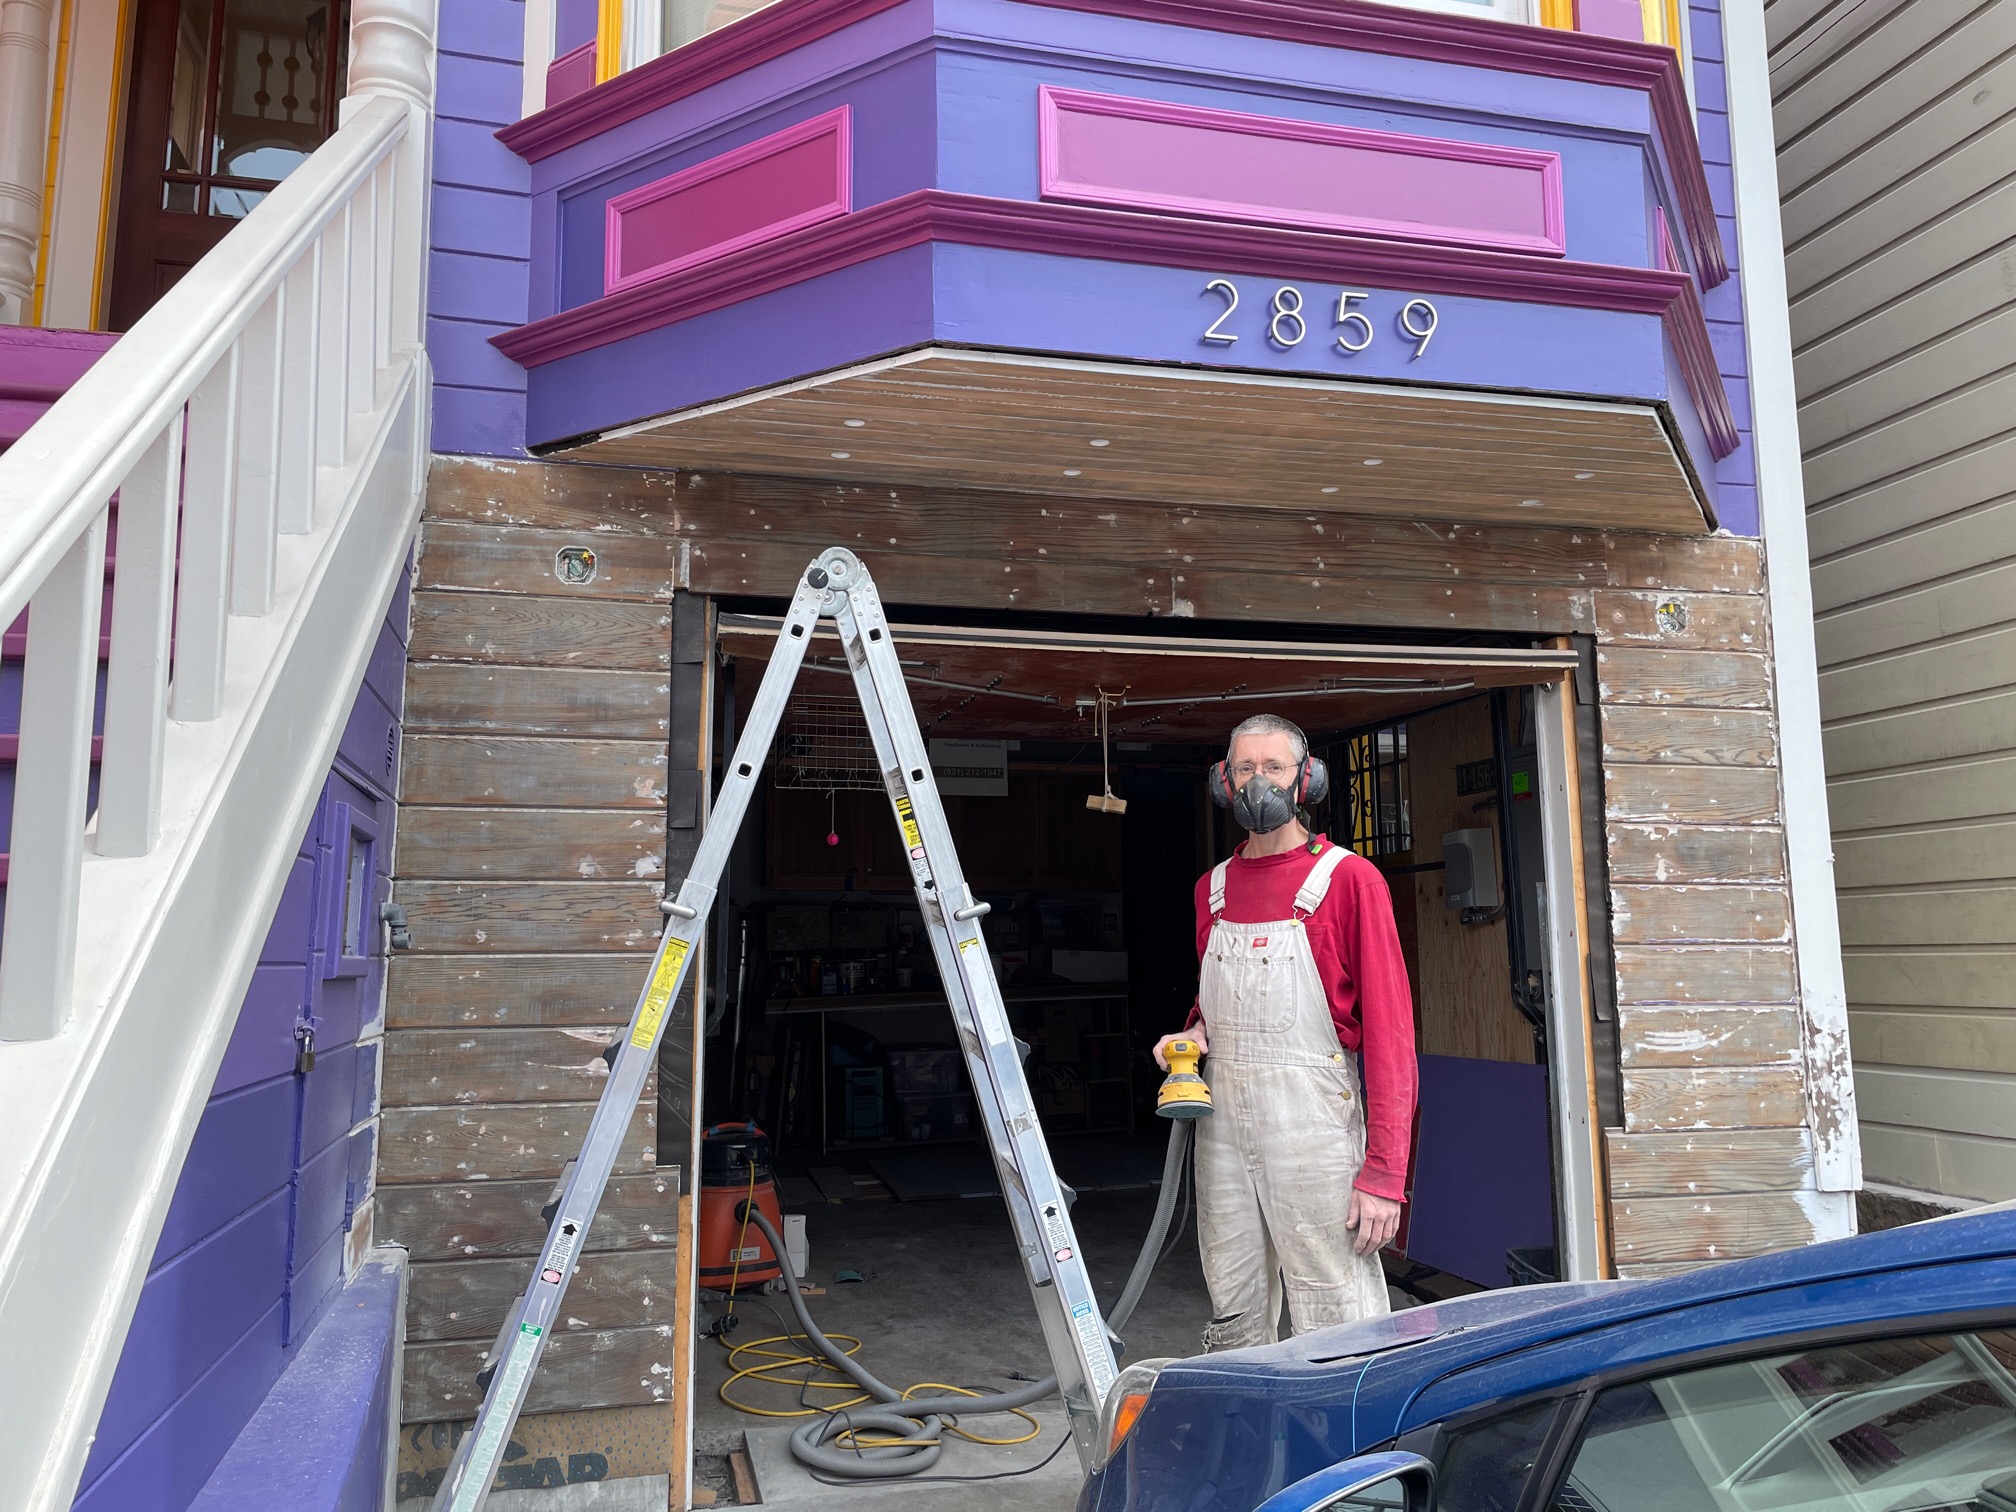
Mole snapped a photo of me after I’d got all the siding back on and was working on filling holes and sanding smooth.

Now it’s getting much nicer than it was before I started: The trim around the garage door was a real botch job before. Now I’ve used some nice cedar with dimensions matching the rest of the house. It’s hard to see from the photo, but I added a piece of quarter round at the inside edge – another Victorian era detail.
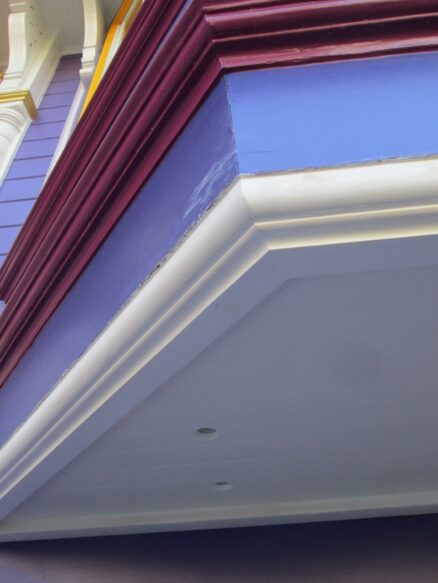
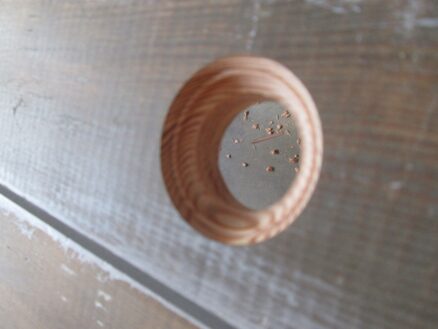
The lower edge of the bay window was always a bit of a mess. They’d used just a piece of quarter round, and butted it against the edge of the ceiling boards. I very much doubt that was original, because it results in exposed end grain.
I changed the detail by making the quarter round extend down a bit, and adding a piece of wood with a coved edge routed into it. In my mind this is a huge improvement because it hides the transition, and also provides a ‘drip’ edge.
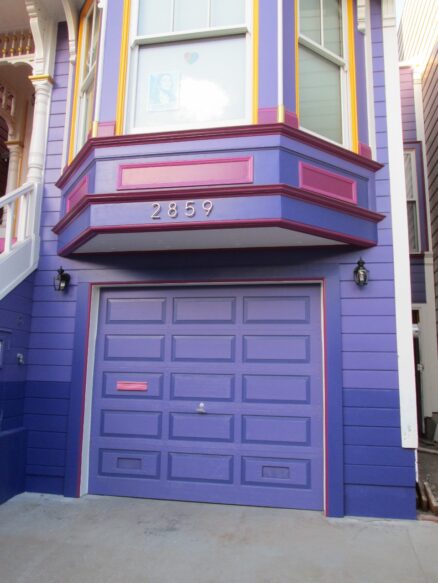
Here she is, painted. I added lights: We bought them about fifteen years ago (!) planning to put them here.
