This has never been a typical remodel project. Mostly, we are trying to restore the house as much as we can, while also making it more comfortable for us.
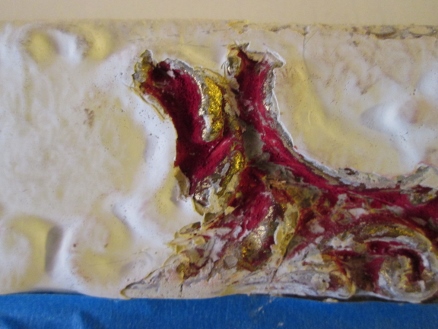
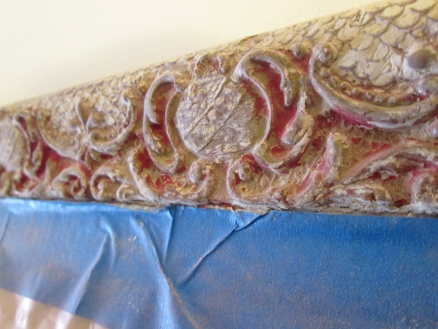
Here’s mole painstakingly restoring the intricate picture rail. It is covered in so many layers of thick paint, that the decoration of it hardly shows. It looks like it was originally red, with gold leaf.
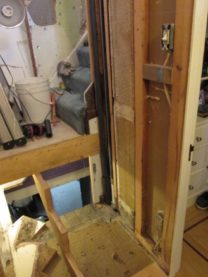
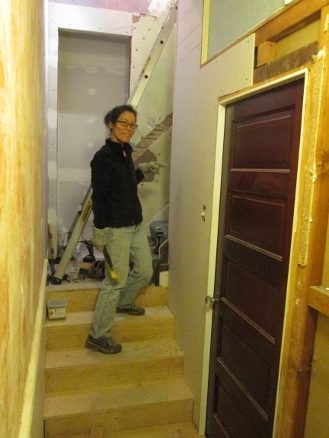
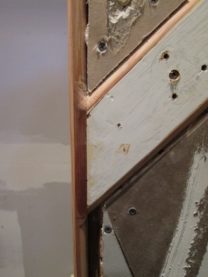
And this is what I’m up to: Embedding a piece of wood to attach the handrail. I’m trying to get a little bit more width in the stairway.
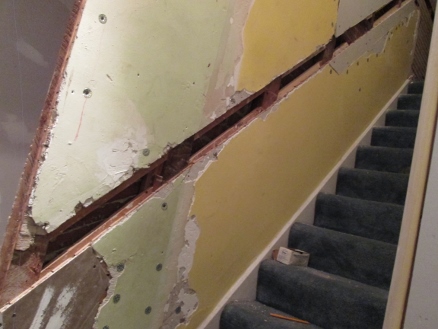
Here are a couple of details at the bottom of the stair. I’m also not going to have trim around the door to the closet. This will be much more modern than the house, but I’m also planning to use the beveled reveal (that traditionally was used at the corner dowels) along the edge of the embedded board and door.

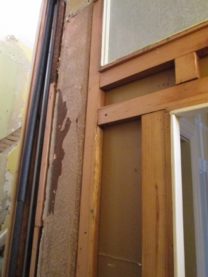
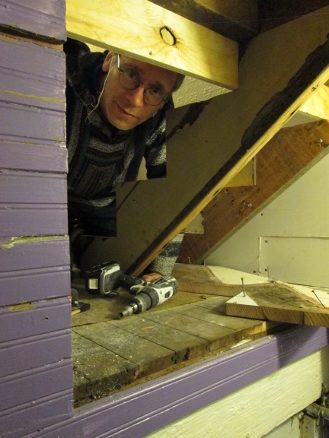
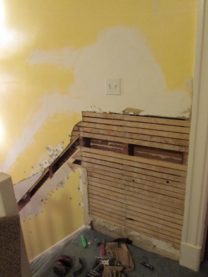
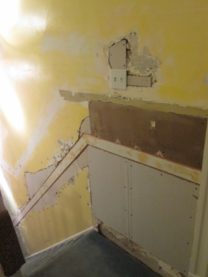
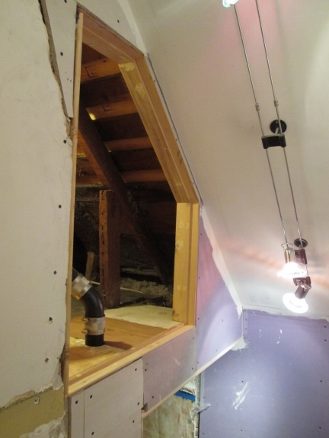
I added the frame for the attic space.
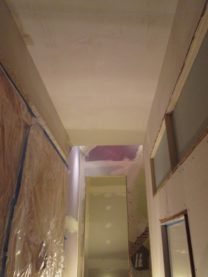
Now back to the upstairs bedroom: Time for plaster.
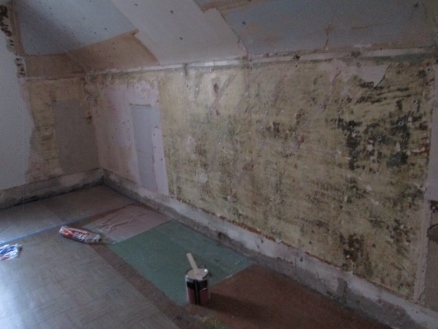
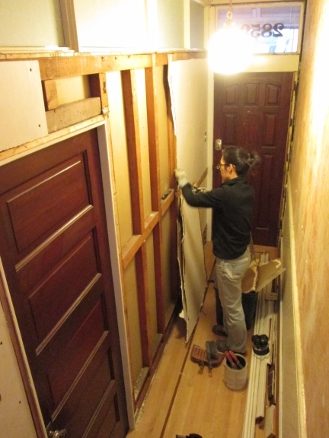
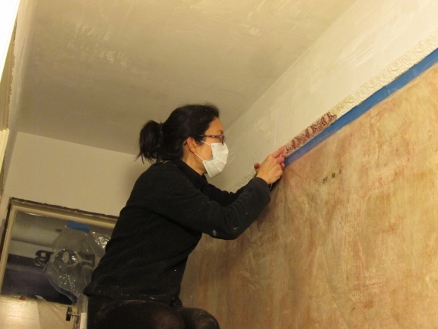
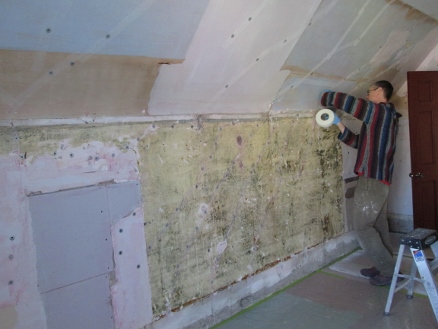
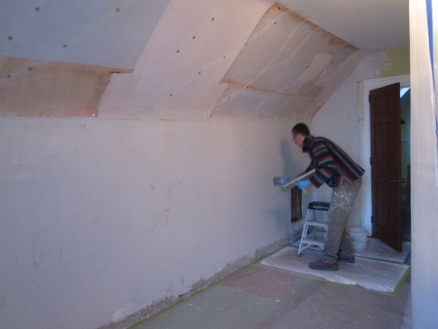
I’ve stripped all the old wallpaper, and anchored the plaster the best I can with screws and plaster washers. Below, mole caught a photo of me adding mesh tape over all the cracks. It turns out that wasn’t enough – but more on that later.
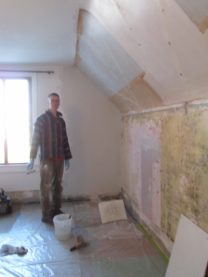
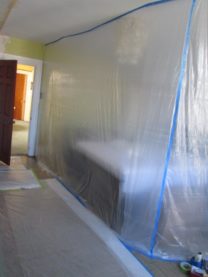
Instead of moving all the furniture out of this room, I put up floor to ceiling plastic sheating — completely sealing it into its own corner quarantine. Never thought I’d use that word so much…
Here I’m plastering the walls. Do I look like I’m enjoying myself?
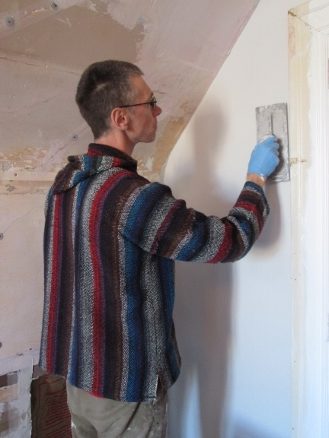
I truly am. Plastering can be such a satisfying project.
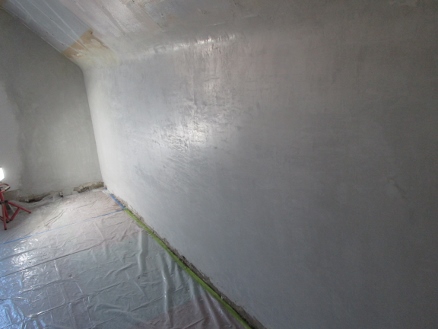
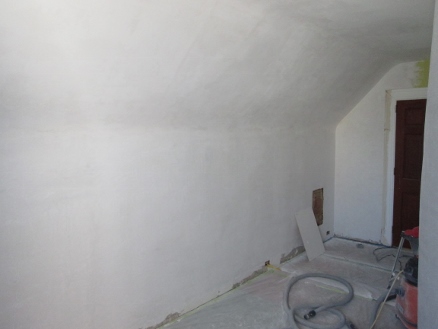
Here’s the wall after plastering. Looking good! The only problem is that the wall developed some hairline cracks a few days after plastering. I filled them with a flexible caulk – they’ll be invisible.
I’m not certain why it cracked (a similar thing happened on some of the downstairs walls), but there are a few possibilities:
- The old plaster may not have been all tight to the old lathe – trying to attach it all with plaster washers is quite a project. Would be quicker to tear it out and replace with drywall.
- The mesh tape I used may not have been enough. Typically, when plasterers (the professionals) do this, they have big wide sheets of mesh that they cover the whole wall with.
- The veneer plaster I’m using is typically part of a two coat system. I skipped the veneer base coat. In future, I’ll always do the base coat first. The base coat also makes it easier to flatten out any surface irregularities.