ceilings are difficult!

today was all about ceilings.

janeen ceilingjaneen ceiling

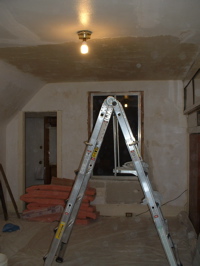
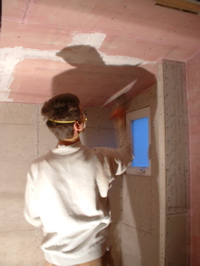
i applied a skim-coat to half of the bedroom ceiling. (it doesn’t look like much from this photo, but it’s a pretty large room.)

mathew ceilingmathew ceiling

bathroom floormathew ceiling

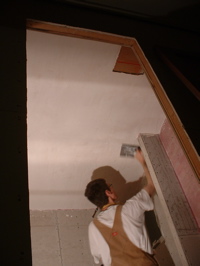
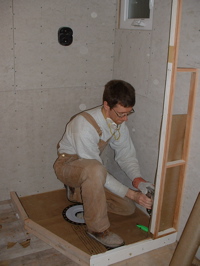
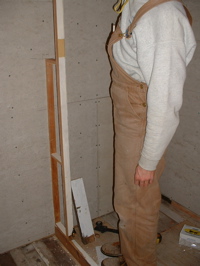
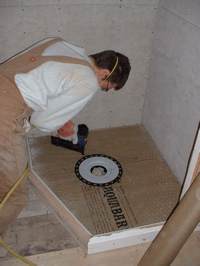
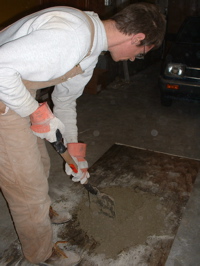
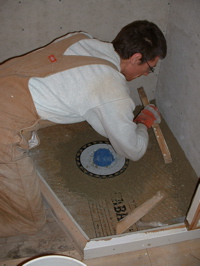
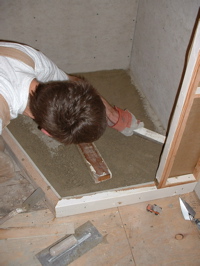
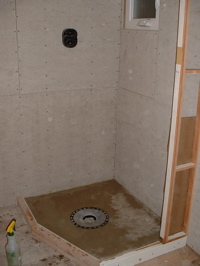
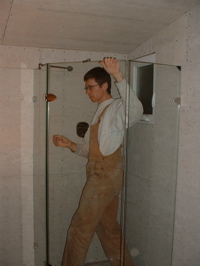
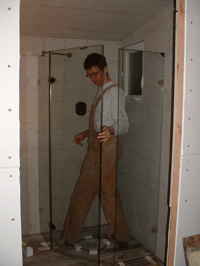
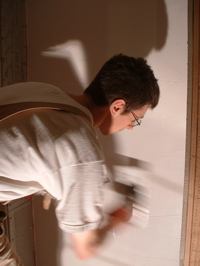
after attaching cement board to the shower wall and base, mathew plastered the bathroom ceiling (and parts of the floor…)

plaster dribblesmathew wall

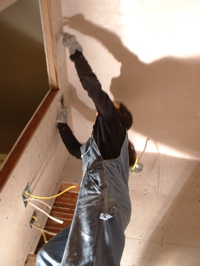
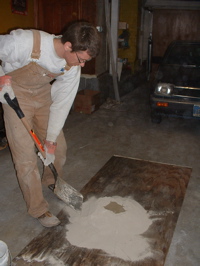
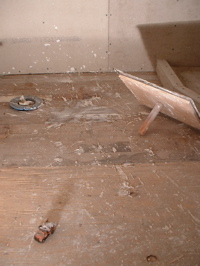
i removed plaster dribbles. after dinner mathew went back upstairs to plaster a bathroom wall. he’s getting quite good at plaster!

during the day we had a visit from auntie em and uncle ken. i forgot to take photos. (and the contrast between the construction site and their nice church outfits was great…) uncle ken brought over some electrical tools and supplies and reviewed the wiring in the house with mathew.

drywall, spackle, chicken wire and mortar

after purchasing more plaster and ordering our tile, we had a productive saturday.

windowdrywall

the bedroom window where mathew pulled off his plaster to repair the leak and rotten wood. i cut drywall to fit.

windowwindow

after the drywall was attached i spackled to fill in the gaps and now it’s ready for plaster. again.

wallwall

wallshower

mathew worked on the little shower wall. (left) making sure it is plumb. (right) attaching moisture barrier paper, then chicken wire to the shower floor.

mortarmortar

mixing mortar in the garage.

drainmortar

applying the mortar to the shower floor. the plastic drain piece needs to be level and properly supported by mortar. the edges of the floor are built up and leveled.

mortarshower

then mortar fills in the rest so the floor slopes towards the drain.

testing…

last night we did a shower test-run.

showershower

shower plan

and this morning mathew decided to add a small wall on the right and change the angle of the shower slightly to give a little more room inside. we then went and ordered 78 square feet of travertine tile that will arrive in 1-2 weeks.