
Seems turtlemole.com got hacked! I think we’ve got it all back in order. Yikes. We got an email from my Mum telling us. Also, a bunch of other sites were down. Seems it was a server issue.
Back to the floors…
work on the downstairs apartment

Seems turtlemole.com got hacked! I think we’ve got it all back in order. Yikes. We got an email from my Mum telling us. Also, a bunch of other sites were down. Seems it was a server issue.
Back to the floors…
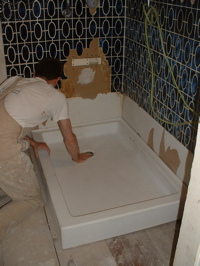
While Janeen filled all the gaps between the backers with plaster, I cut out the gyp board around the base of where the shower receptor (base) will go, and installed cement board that is thinner than the existing board. My goal is to get the receptor to fit slightly into the wall, so that it’s easier to waterproof. We’ll see how that works.
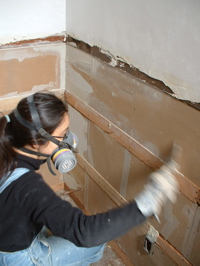
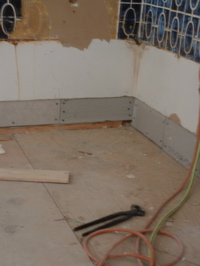
Below left I’m sanding and filling blemishes in the plaster. Cheating! So we started off well. But then I got distracted. First we drove to the plumbing store, and couldn’t find the part we were looking for. Then we went to Flowercraft. I bought three seedlings: a pepper and two tomatoes. the jasmine is already starting to bloom. Amazing to think we plucked a sprig off our neighbor’s plant near our old house, and now we have this!
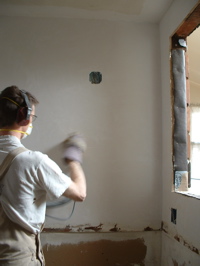
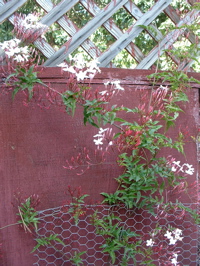
janeen took the photo on the left to show you how fun it is to wait for bulbs to grow. not here yet. not here yet. still not here. still waiting. grass is growing, though.
On the right, John’s apricot tree that he gave us has survived. I thought it died, but it’s thriving. actually, it looks like a bunch of saplings.
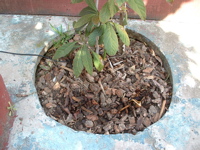
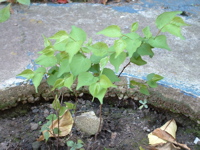
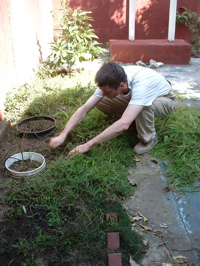
grass: grows only where you don’t want it. getting sidtracked pulling weeds while planting peppers and tomatoes. nice to spend some time outside on such a nice weekend, too.
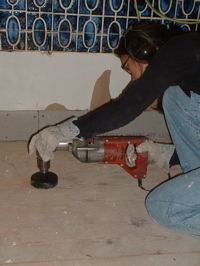
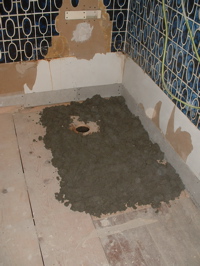
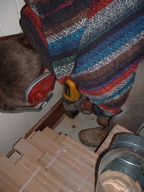
janeen used ‘uncle ken’ to drill a 4″ diameter hole in the floor for the shower drain.
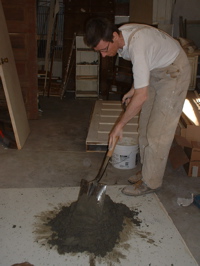
to hold the shower in position and support the base better, we put down a layer of mortar under it. on the photo at right, you can see an error i made: no moisture barrier under the mortar. the water from the mortar has been absorbed by the wood. the wood swelled after we installed the receptor, so it’s not fitting quite right. i’ll give it a couple of weeks to see if the wood shrinks back down. if not: tear out, do it all again, this time right. 🙁
below left: little did I know.
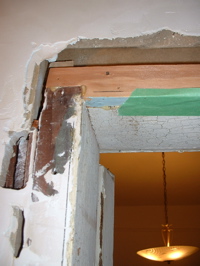
on the right below, i spent a few hours repairing the door frame. When the previous owner’s remodel covered this door, they sawed off part of the frame. I’ve glued and nailed new pieced of wood in the frame to flush it out to the face of the plaster.
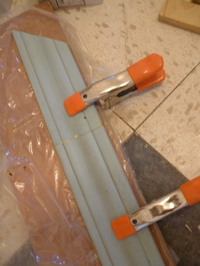
Below left: using clamps and a biskit to glue two pieces of the door trim, salvaged from the other door, so that I can use it for this door. below right: janeen was a paint stripping machine on Sunday: she almost finished all the wainscoting. you can see a huge stack of pieces she’d already done in the background behind her.
after figuring out how to transport 4×8 sheets of plywood with a honda civic (cardboard as padding on the roof, rope, and slow driving), I closed up the wall on the laundry room side.
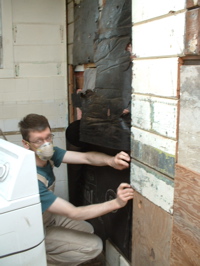
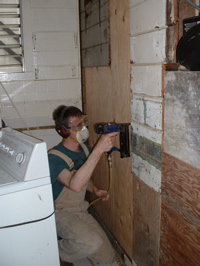
This is actually the exterior wall of the house, and the laundry room has been added at some point — probably as a deck initially, then walls were built around it. The part of the wall I’m filling with plywood is basically the only shear wall on this end of the house. We need a seismic retrofit.
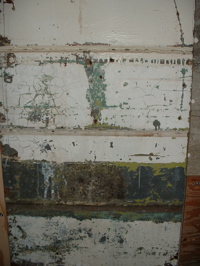
on the left you see some of the old wood siding. janeen loved the look of it, and all the history of paint colors: the first color looks like a dark forest green, with an olive green over it, then a turquoise, then dark green again, and a layer of off-white cream. should we go back to green?
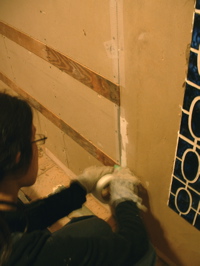
on the right, janeen is covering the gaps in the gyp board with fiberglass mesh tape. she spent most of the day on saturday sanding all the walls to take the gloss off the paint. after the mesh tape, she painted the walls with pink “plasterweld”…
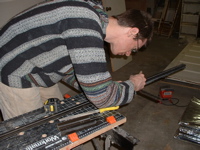
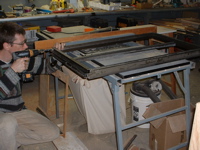
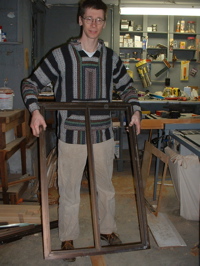
on sunday morning, i cut up and reassembled one of the old windows to make a new window for between the bathroom and the laundry room area. we found a great web site that has all sorts of decorative films to apply to glass. We’ll obscure the glass with one of these films.
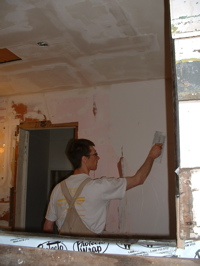
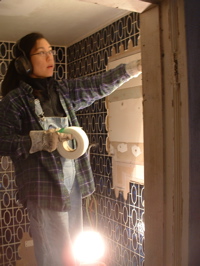
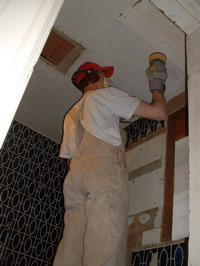
janeen continued taping the walls. she used plaster to fill all the holes and gaps in the wall before i started plastering over it all. sorry, there are few photos of janeen from this weekend. janeen loves the drama and speed that things change when plaster goes on:
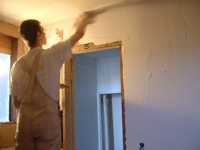
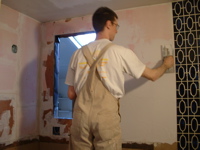
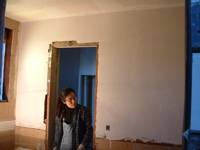
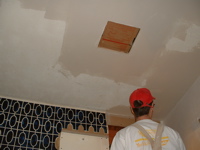
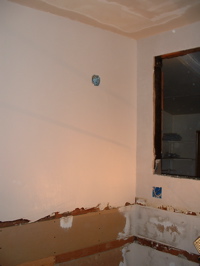
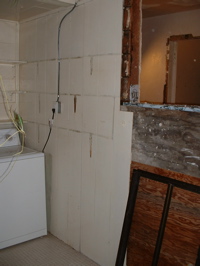
by the end of the evening, i’d plastered the three walls above the height of the wainscote. on the right, you can see the closed up wall in the laundry area, and the window waiting to go into its opening where the door used to be.
except for a family lunch visit on saturday, mathew and i spent the entire weekend in the bathroom downstairs.

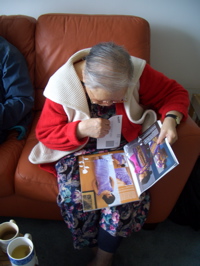
while my mom and i went to pick up burritos from a local taqueria, my older brother, dad and grandmother kept themselves busy with reading material. mathew worked until the food arrived. (right) my grandmother looking at one of my recent knitting magazines.
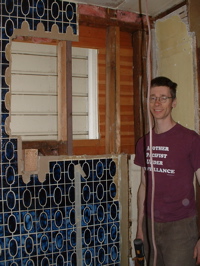
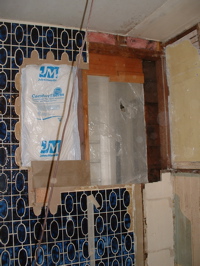
(left) this is where the old window used to be, you can see the white slats of the neighboring house through the opening. mathew had to use a car jack to support the opening while he added a new vertical frame piece for the new window. (i wish i knew the correct words for this…) (right) the location for the new window, which is actually the location of the original window before the previous owners remodeled the bathroom. on another wall we are adding another window in its original location as well. the original door and window placements seem to make a lot more sense! hmmm…
also, something else mathew noticed: in the space above the lowered bathroom ceiling it looks like the bathroom was split into two sections because there is a section of a wall that wasn’t removed in the previous remodel. we’re guessing it must have been similar to victorians we’ve seen in england where the toilet is in one space and the sink and tub in another. this would explain the extra door that was removed that lead from the kitchen to the bathroom.
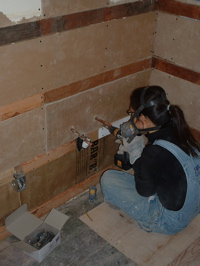
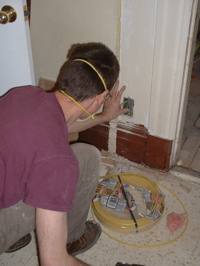
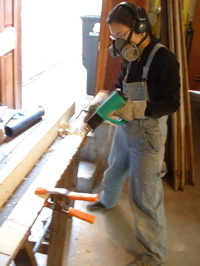
(left) i spent the entire weekend doing exactly what i did last weekend, cutting and installing wainscoting backer-strips and recycled gypboard. here i’m working on an extra challenging piece that had 3 holes for sink pipes. (right) after relocating the window mathew moved onto installing new electrical outlets in the bedroom on either side of the bathroom door. it’s easier to do it while the bathroom walls are open. we were surprised when we moved in that a lot of rooms only had ONE outlet, so mathew has been adding more of them as we go along.
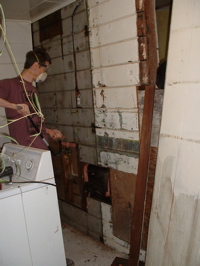
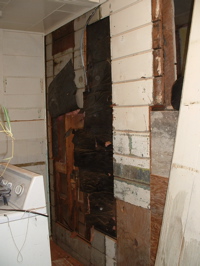
here mathew is removing the once exterior siding on the wall in the laundry room. he needed to move the washing machine to get to this space to work on the plumbing for the shower on the other side of this wall. isn’t it pretty?
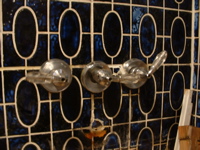
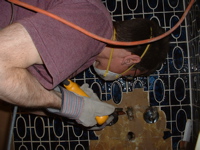
while i worked in the bathroom mathew wrestled with the old shower fixtures trying to remove them from the other side of the wall. the racket he made! they did not want to come out. he thinks corrosion sort of glued them to the pipes. (left) i took this picture hoping to demonstrate the shaking, twisting fixtures, levers turning and metal plates spinning. quite a funny scene. you’ll just have to imagine it… (right) but it wasn’t at all funny for mathew. in the end he resorted to removing tile and cutting holes with a power saw to remove the old fixtures. yet another example of while he says plumbing is his least favorite activity.
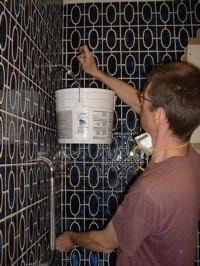
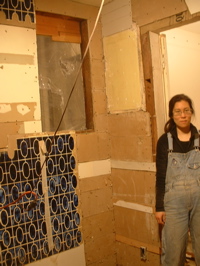
(left) at the end of the evening he had new shower pipes installed and the temp gauge thingy installed and was testing the hot and cold pipes for leakage. so far so good! (right) i finally finished installing every piece of gypboard in this room and i was tired. don’t i look tired?
hope everyone had a good weekend!
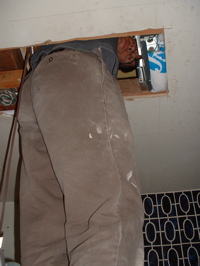
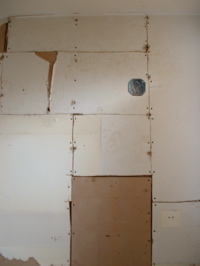
sunday started with mathew’s head up in the ceiling. he was wrapping the vent air duct with duct insulation (imagine thick aluminum foil bubble wrap) and he was pretty grumpy. [there was not enough room to turn around, and I kept hitting my head on the old gas pipe that comes out of the ceiling. -turtle] (left) his mood was understandable considering the confined space and the angle he had to work in! (right) i always love the unexpected art that comes from the walls in progress. it looks unconventional now but will soon be beautiful.
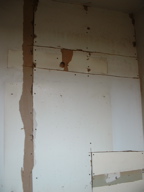
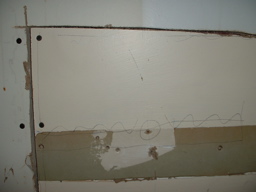
more patchwork wall “art” ready for plaster. of course most contractors would tear everything out of a room and dump it into landfill, they would install brand new gypboard and use drywall tape and be done. during the entire remodel/restoration of this house mathew and i have tried to be as environmentally conscious as possible, this includes recycling and reusing everything that we possibly can. it takes more time, but we produce the same if not LESS trash than our neighbors who are not restoring their homes!
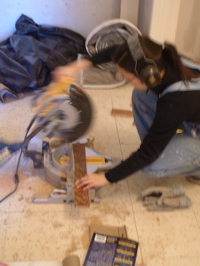
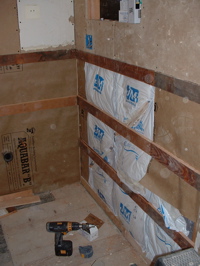
while mathew worked on the ceiling vent fan, i cut and installed recycled wood backer strips for the wainscoting to attach to. [we used backer strips instead of a whole plywood backer because we could reuse old scrap wood, and we had the old wallboard to reuse (otherwise it would end in the landfill). we’d have had to buy new plywood backer. -cheapturtle]
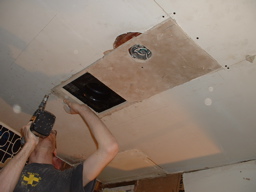
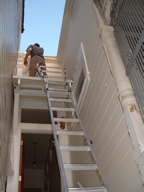
[mole said i love cutting thin “dangerous” pieces of gyp board, when she saw me cutting out this piece of board to fit in the ceiling. they usually break, but the board that’s been used in this bathroom has fiberglass embedded in it, so it holds together well.] when mathew finished with the vent fan he brought the ladder outside to do more roof leak prevention. [actually, it’s more like leak-guesswork. i thought i’d got it twice already and it’s still leaking. we’ve got tarp hanging down the side of the house, and roofing tar pasted all over the roof. i’ll leave the drip catcher under the leak just in case… – turtle]
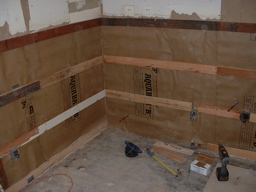
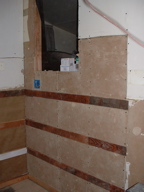
(left) while mathew was outside i continued cutting and installing backer strips on the bathroom walls. i felt like a carpenter! the process involves measuring between studs, cutting wood to fit, pre-drilling holes on end pieces (so that they don’t split) and screwing the pieces onto the studs. (right) and before i stopped for the night, i cut and installed gypboard between the backer strips, on one of the walls.
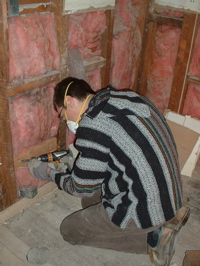
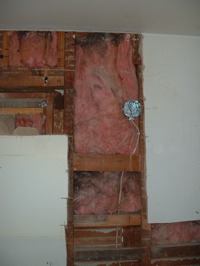
the day started with preparing to close up the walls. here are some photos of mathew’s correct wiring.
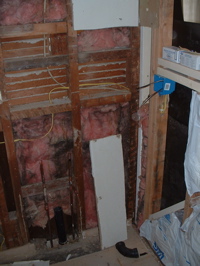
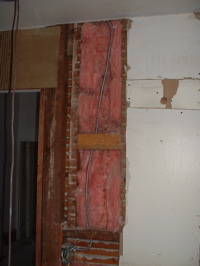
the wires are grouped and run through holes in the center of studs. there are junction boxes and wires enclosed in metal tubes.
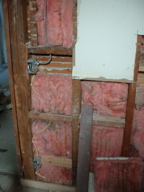
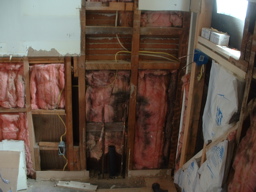
metal plates were also added later to further protect the wires.
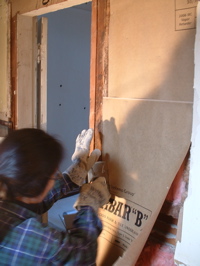
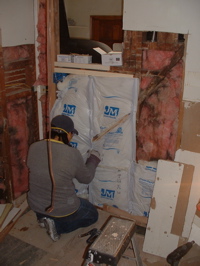
(left) i got started covering the exposed fiberglass insulation with moisture barrier paper. this paper contains a layer of tar so when it’s cut it smells like roofing tar. (right) our friend stef arrived and helped with the barrier paper and stapling the insulation to the studs.
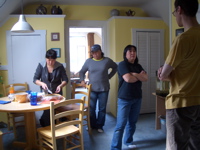
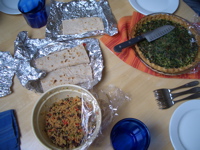
and then stef’s sisters mae and nancy arrived with lunch! (left: nancy, stef, mae) lunch was delicious and included spinach quiche, roasted vegetable and hummus lavash sandwiches, quinoa salad and garlic bread. mmmmm! i often wonder if there will ever be a “Gee Sisters Catering.” or maybe “3 Sisters Catering”?
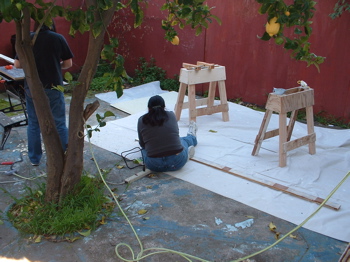
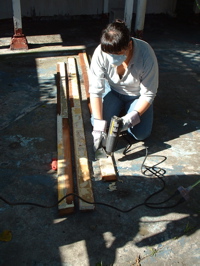
mae and nancy worked outside stripping wainscotting panels with heat guns. meanwhile, on the other side of that red fence it sounded like a child was having a birthday party.
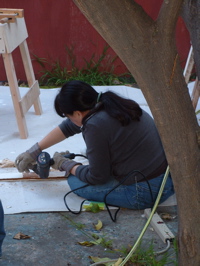
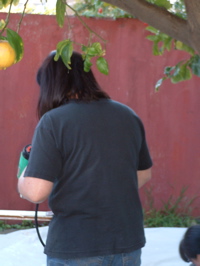
stef snuck outside to take these photos of her sisters. i guess they didn’t hear her, notice there are no objections? no hands in front of faces..? photos nancy and mae would approve of?
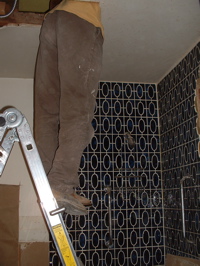
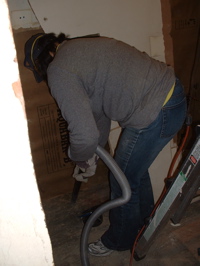
in the bathroom we made fast progress with stef’s help. (left) mathew was up on a ladder both inside and outside as he installed the new vent. (right) stef tidying up our construction site.
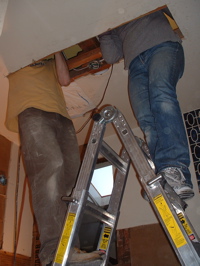
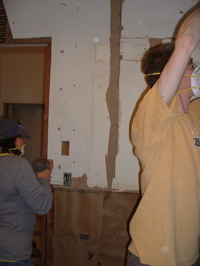
(left) as i cut insulation, mathew and stef installed it above the lowered bathroom ceiling. (right) and here stef and mathew puzzle pieced the gypboard back into place and screwed it to the studs. i helped too. unfortunately i forgot to take photos after stef and i finished the barrier paper, before the gypboard went back up. things move that quickly with three people! (and mathew says stef is really good at this stuff.)
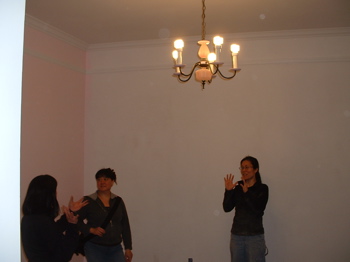
before everyone left mathew snapped some photos.
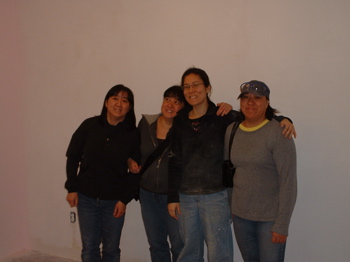
we are always so grateful for the gee sisters’ generosity, time, food and friendship! we feel very lucky to have them in our lives.
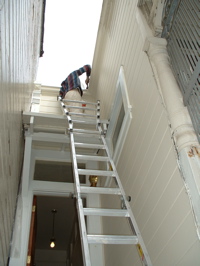
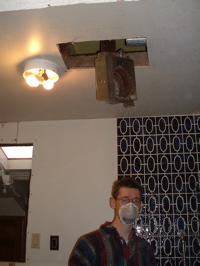
(left) with all the crazy rain we’d been having, small leaks were appearing on one side of the house, mostly where there are weird wall/roof connections. so mathew was up on the roof last weekend fixing what he could before the next storm hit. (right) and then it was back to work on the downstairs bathroom. here he’s just removed the vent (i’m not sure i would be standing below it, but that’s just me…)
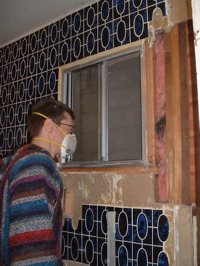
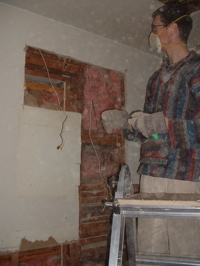
(left) here mathew is planning where the new window will go. it needs to move to the right because as it is now it would be partially inside the shower and partially outside… and it’s a crappy, leaky, aluminum window too. (right) here he’s cutting open the wall and getting REALLY upset at the irresponsible wiring someone has done.
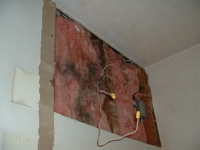
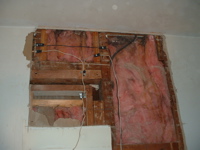
he kept calling it “spaghetti junction” (i’m not sure if this is an official electrical term from his books or if he just made it up…) but here’s the problem: they’ve run individual wires right next to the gypboard so if anyone were to cut or nail into the wall they’d hit a live wire. he says the wires should be black or white showing which are live and which are neutral, and they should be grouped and run through holes in the middle of the studs and/or placed behind metal plates, NOT wrapped with electrical tape then stapled to the studs. freaky.
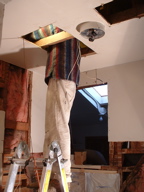
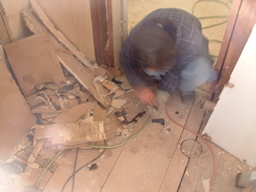
(left) here mathew is pulling out all the bad wiring. during a previous remodel, the ceiling was made much lower in the bathroom so there is lots of space above the ceiling. (right) here i am sorting through the debris from mathew’s demolition. i’m sorting nails for recycling, tile for reuse, wood for composting and everything else for trash.
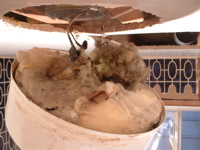
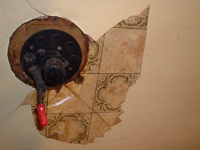
(left) another shocking electrical find… the ceiling light must have had a mouse (or something? it wasn’t still there,) living in it many years ago. it had burrowed a hole in the fiberglass insulation and gnawed all of the plastic insulation off one of the wires. a fire waiting to happen!? that mouse must have had a miserable, short life. humans can’t stand fiberglass exposed to bare skin and lungs, imagine living IN it? (right) when mathew was down in the garage i climbed up the ladder to take a look around and on the ceiling found the original gas lamp fixture and this really cool wallpaper/tile pattern peeking out from underneath the plaster and paint…
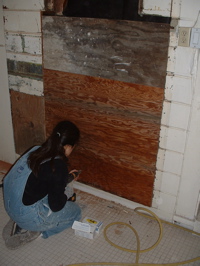
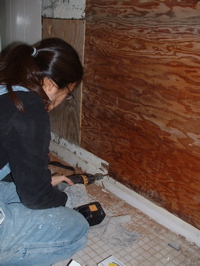
sunday evening i was cleaning tiles for reuse and mathew thought i should do something more exciting: screwing up plywood where the old bathroom door way used to be. earlier i also helped with installing insulation and barrier paper on this wall but we don’t have photos of it.
hope this was an okay post. mathew said my previous post “rainy weekends” wasn’t very good..!
this is what happened 2 weekends ago. i’m not even going to try and give any excuses for why i’ve been so slow…
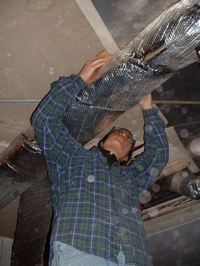
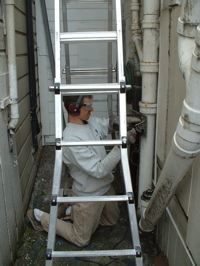
(left) me insulating mathew’s “squct”. (right) mathew outside making LOTS of noise cutting and removing old cast iron pipes.
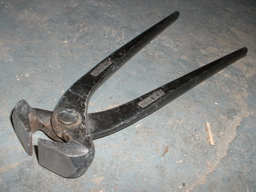
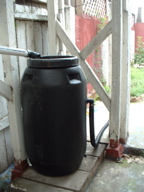
(left) one of my favorite tools: the nail puller. (right) one of mathew’s new tools: a rain barrel.
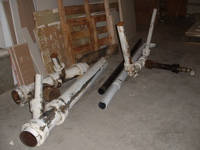
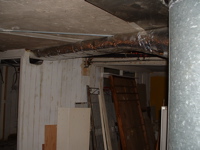
(left) mathew’s strange pipe garden collection in the garage. (right) the new “squct” is now much friendlier to mathew’s head/height.
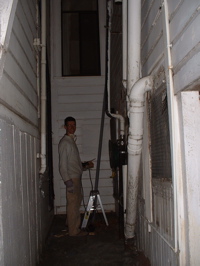
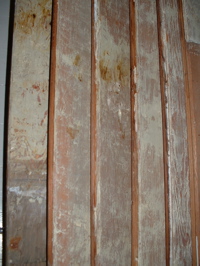
(left) for most of the afternoon i helped mathew install new pipes outside the house. it was raining but not pouring. sorry this photo is kind of dark, we work pretty late… (right) and when i wasn’t helping i was stripping wainscotting panels. these are done, although it’s probably hard to tell. next they’ll need sanding, filling and painting.
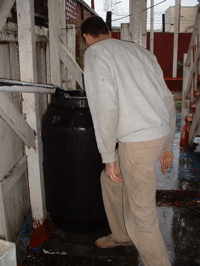
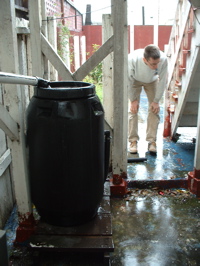
we’ve been getting so much rain over the last few weeks. mathew finally attached the roof rain spout to the barrel. he was so excited when the rain started saturday night that he ran downstairs to check it but there wasn’t that much rain yet. by sunday morning it was full!
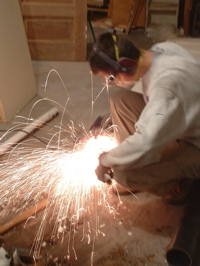
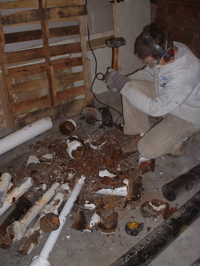
mathew cutting and hammering all that old rusty cast iron pipe, making it smaller to fit in the trash. what a big noisy mess he made! strange that you can just destroy cast iron with a hammer….
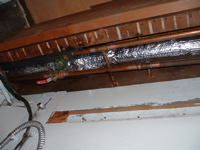
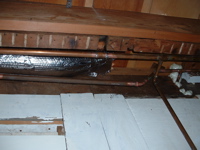
pipe photos mathew took. i don’t know if he was just documenting or wanting to describe something…
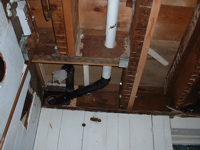
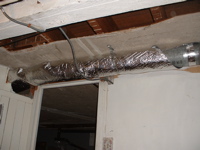
more pipes, and ducts. the plumbing and heating ducts are now done and the work can continue upstairs in the bathroom.
soooo… it’s been a couple of weeks since our last post. two weekends ago we took some time off from the house.


i saw friends in the bay area while mathew was in new york visiting his brother, misha.
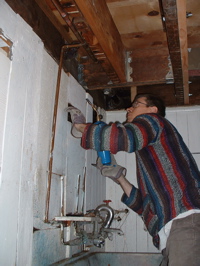
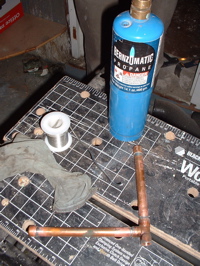
last weekend: valentine’s day marked 15 years that mathew and i have been together. and how did we celebrate? with plumbing! i helped with cleaning and prepping recycled copper pipe, while mathew (left) added them to the bathroom plumbing. (right) i even sweated (soldered) my first joints! sorry, no action photos, i think mathew must have been supervising so that i didn’t burn anything… i was nervous but it was quite easy. and mathew says that none of my joints had leaks. yay!
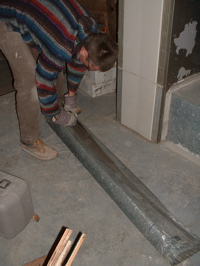
later mathew decided to take a perfectly good, round heating duct and make it rectangular. (left) he started by stomping on it. at that point i couldn’t figure out where he was going with it or how it would end up…
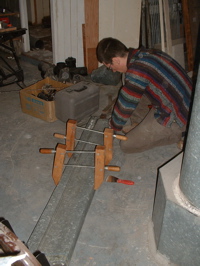
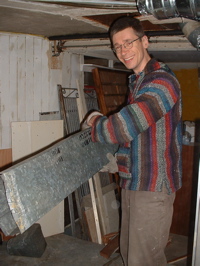
but it’s mathew. so, of course it turned out just fine. (right) his finished “squct” (square+duct)!
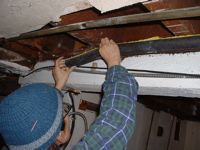
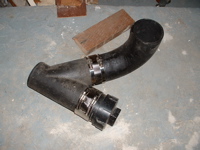
(left) meanwhile i was putting insulation on hot water pipes. (right) and connecting cast iron pipes (heavy!) with rubber connectors and metal clamps.
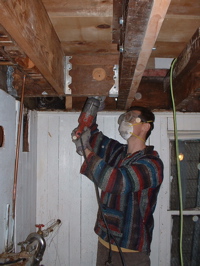
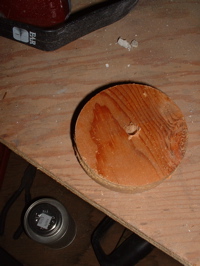
(left) mathew drilling a hole in a fir joist below the bathroom, for a pipe to run through. (right) that circle cut from wood nearly 100 years old, smelled so amazing, like really sweet, warm pine. too bad you can’t smell it, all you get is this photo.
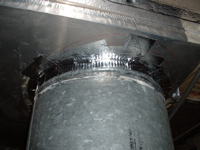
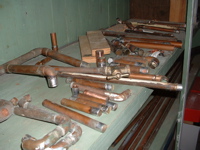
(left) a heating duct connection that i sealed with aluminum tape. (right)) our recycled “plumbing store”! magically it always has exactly what we need, even the lengths are just about perfect.
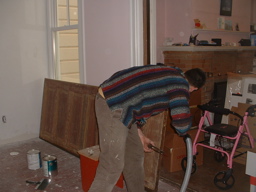
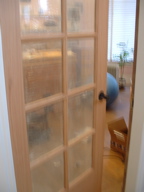
(left) on monday morning mathew was downstairs working on something that felt and sounded like an earthquake. i went downstairs and found him working on the double, sliding doors in my office. somehow he’d removed one side and was cleaning the track. (right) and i’m excited to introduce you to my new office door! sorry, i hadn’t removed the plastic film on the glass yet,… and the photo is blurry… but isn’t it pretty?
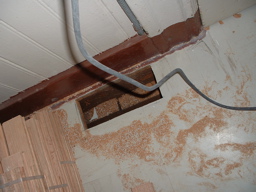
while i sat in the kitchen, quietly cleaning tile for re-use, mathew came along and cut a hole in the floor. i have often mentioned his love of cutting holes in floors… this one is for a heating duct and will eventually have a register, hopefully a pretty one.
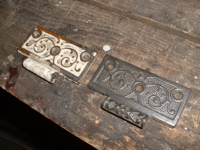
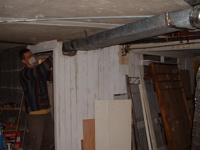
(left) it is exciting to know that the beautiful victorian hinges that came with the house (that were covered in gloopy paint) can be cleaned up and made to look like new again, thanks to a heat gun and a wire brush. (right) mathew’s squct installed!
the gee sisters, mae, nancy and stef, generously spent super-bowl sunday helping us with the house.
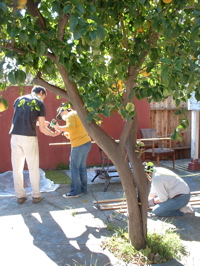
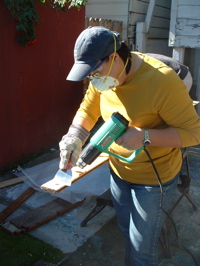
it was a warm day, perfect for stripping paint in the backyard. (left) mathew, stef and nancy setting up their work stations. (right) stef getting started stripping paint and adhesive from wall panels that we will re-use as wainscotting in the downstairs bathroom.
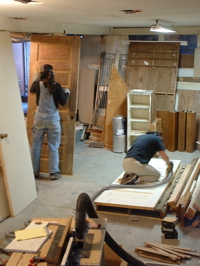
(left) nancy using mae’s new heat gun. these volunteers bring tools! (right) in the garage, mae and i sanding doors. mae became obsessed with sanding this entire door today. mathew thinks he may have found someone even more meticulous than him…
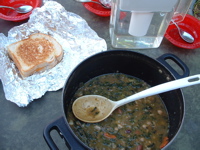
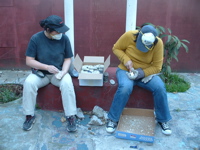
(left) mae’s delicious lunch of spinach and bean soup and grilled cheese sandwiches. i’ve said it before and i’ll say it again, we are completely spoiled, our helpers even bring lunch! we had a nice picnic outside. (right) later in the day stef and i cleaned tile, this process looked a lot like shucking oysters. mae took a break from her sanding to see what we were doing.
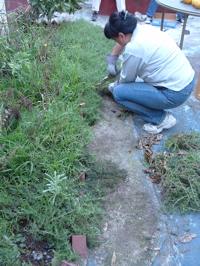
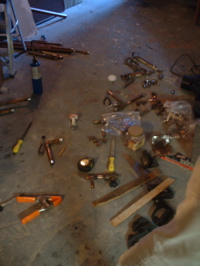
(left) nancy decided to trim the very overgrown garden ground cover. (right) mathew’s plumbing work station. soon after there was major plumbing drama in the garage.
before our friends left, we had a late afternoon/evening dessert of berry shortcakes that nancy made. they were extremely photogenic but so yummy i forgot to take photos!
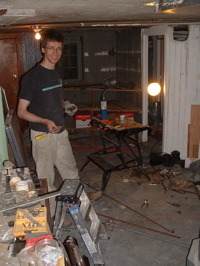
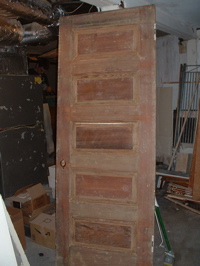
plumbing and sanding went late into the night. actually, it is almost 11pm and we haven’t had dinner yet and mathew is still downstairs working as i write this post…