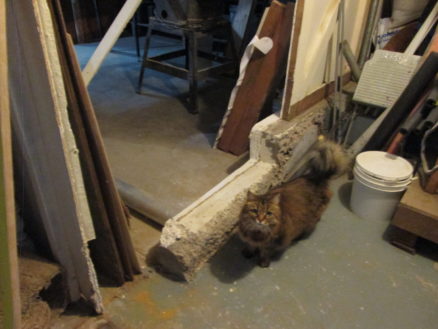
Well, I did one more thing in the garage first: There was a wall around the back of the workshop area that prevented me from putting long pieces of wood through the table saw.
The only tricky part was that there was a concrete curb I had to chip out. No this wasn’t a load bearing wall – but I think it was the edge of where they excavated to when they put in the Garage in the 1960’s.
OK, on to the main topic: My neighbor’s son died in February of 2021 and at the time I decided to make a bench to commemorate him. Something solid (strong and heavy) would both represent him well, and prevent someone walking off with it. Here’s my initial sketch.

I made the whole bench out of old wood that had come out of the house when Nick and I demolished that strange room on the back of the house. The seat and the posts I made by laminating smaller pieces together with glue. The seat back is one of the shelves that had been in the garage; it is a single piece of redwood measuring 2 inches thick, and over 14 inches wide – I doubt I could find another piece of redwood like that these days. The strongest connections are mortise and tenon – so that’s what this bench must have. I had a lot of fun carving these connections.


Oh, and while I was making this bench, mole was working on a piece of furniture too. She’d sanded and urethaned the wood parts, and now was on to the part she actually enjoys:


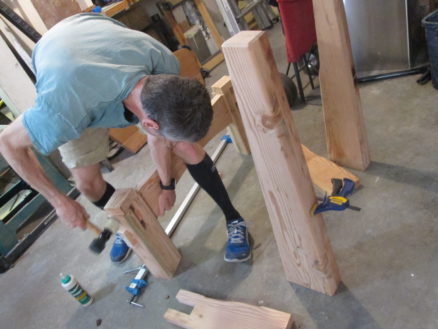
The most tricky connection was the front to the posts, because the posts are skewed. The tenon enters the post at approximately 7 degrees off perpendicular. Once I’d got that all fitted, I cut the mortises for the sides as square tenons – one of which goes through the front mortise, locking it in.


Here’s a test fit of all the connections – don’t mind the compression socks 😉 The seat attaches at the front with tenons from the front posts.

Even that large piece of redwood wasn’t quite wide enough for the back rest, so I glued another piece to the bottom. I didn’t come up with an elegant way to attach the back rest, so I’ll just screw it in from the back. The screws will have oversize holes to allow the wood to move.


Final glue-up:

I used a clear stain on the seat and the back rest, but the frame I stained a bit darker. Some of the wood on that is pressure-treated, so has a green color. The stain made things look better.

Here I am putting the bench in the front. I placed it on four bricks, and added some anchor straps to the wall, just to make sure it doesn’t walk off somewhere.

The only remaining part is a nice solid cast brass plaque to attach to the seat rest. I’ve ordered it, but it takes about 5 weeks to make. I love how the tree shades this bench during the hottest part of the day.


