Mole is out of town this weekend, so that leaves me to update. This weekend I concentrated on trying to get upstairs ready for paint. Actually, we’ve been working on that for months…
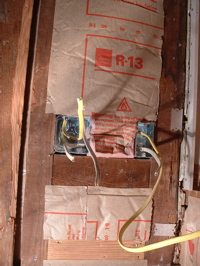 When uncle Ken came to visit last week, one of the first things he commented on was that in the bathroom, I’ve only used a single box to put the GFI (ground-fault interrupter) plug into. This box has a lot of wires in it, and GFI plugs take up more room than normal plugs. He recommended replacing the box with a double box and a ‘plaster guard’ on the front that reduces it for a single outlet. Exactly what the wiring book says, too. Should have read the instructions.
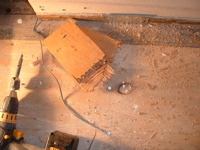 This turned out to be quite an effort. It’s always disappointing to have to tear apart work i’ve already done, too. We already had the gyp board up on one side of the wall, and the cement board on this side. fortunately i hadn’t plastered it yet.
when i installed the boxes the first time, i’d added a piece of wood as a backer to make it easier to screw the boxes in. unfortunately, since the wall is so thin, there was not space for this as well as the double box and the plaster guard. i had to tear out both boxes, and carefully drill out the piece of wood backer i’d installed – without damaging the drywall on the back side – then screw the boxes back in against the studs. getting them aligned and set at the right depth took quite a while.
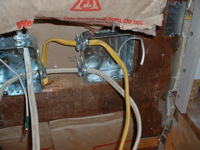
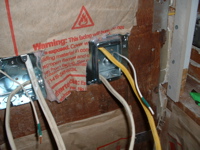
Above left shows the boxes installed. Right is with the plaster guard on.
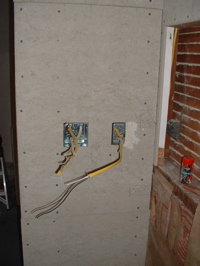
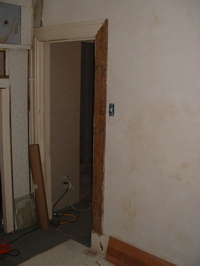
Ahh, backer board is back on. Had to move the hole over slightly because the plaster guard centers the opening on the double box and the stud set the location for the box. Above right shows the trim going back on around the door into the bedroom. Exciting… Janeen stripped the paint off the vertical piece months ago.
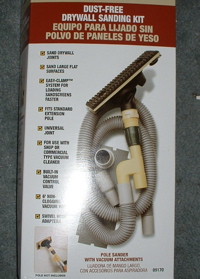
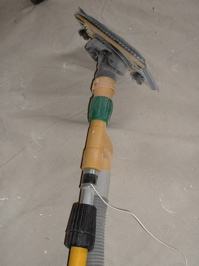
Got a new toy in the mail this weekend: a ‘dustless’ sander. It uses sanding screens and attaches to the vacuum cleaner, so the dust is sucked straight in. nice. except that the sanding motion and the constant air flow through the thing generates so much static electricity i felt like a spark plug! In the photo above right you can see the solution: i attached a piece of wire to the pole and fixed it to the plumbing. ahhh.
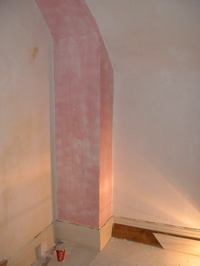
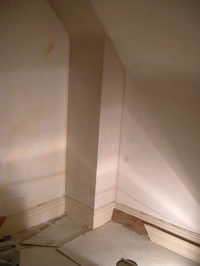
Plastered the bump-out in front of the chimney. ready for paint!
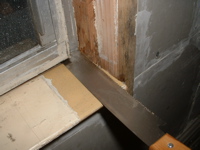
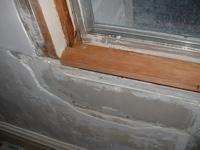
The rotten window. To fit a new sill on the inside of the window, I trimmed off the vertical pieces of wood on each side of the window flush with the top of the trim. Using a piece of scrap wood helped getting the saw aligned. Above right you can see the test-fitting.
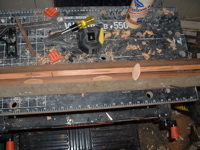
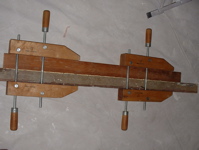
I glued the new piece of wood to the old sill after trimming off the old rotten wood. To hold the pieces of wood together, I used ‘biscuits’. Using a specialized tool, these oval-shaped pieces of wood are really easy to install, and when glued, the join is quite strong. I’ll clamp it over night and attach it tomorrow…
