After pounding away at nails on the new plywood for a couple of days, I ran out and bought a new nail gun. My hammering of nails managed to crack the plaster over the kitchen window. Need to fix it again. I don’t understand the mechanics of it, but somehow a nail gun can shoot a whole nail in with less noise, and much less rattling of the wall. One less thing to fix if I’d only known.

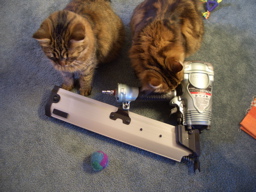
Do you think this could be part of a superhero Halloween costume? Of course, the cats need to inspect a new tool: Knitted ball or nailgun – decisions, decisions…

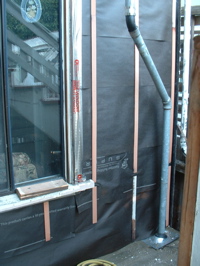
For my birthday (41!) I got a dual fluffy-cat-hug. Then I went and put the water resistant paper (“Super Jumbotex”) on the wall with the new plywood. I layer it staggered by half a sheet, so there’s always at least two sheets thick on the wall. Instead of nailing the siding directly to this, I read it’s better to leave a gap behind the siding. The gap allows any moisture that makes it through the siding to run down the wall and not be trapped between the paper and the siding. I’ve used 1/4″ thick strips of redwood stapled over the Jumbotex paper with stainless steel staples. I’ll use stainless steel screws to screw the siding to the wall through these strips.
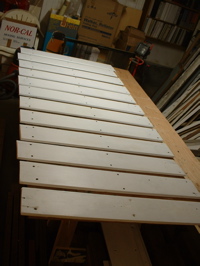
After hours of sanding the old siding boards, Mole put a couple of coats of primer on both sides.
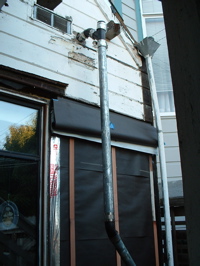
I’m not sure if it’s a building code requirement, or just one plumber’s interpretation of it, but there used to be three drain pipes running up here: One for the roof drain, one for the vent for the kitchen sink downstairs, and one of the drain of the kitchen sink upstairs. Seems to me it’s less cluttered to just have one pipe with sufficient diameter for both kitchen sinks, and one for the downspout. So I changed that.
Right now it’s quite far from the wall. There’s going to be a stair landing on the right of the top of the window. When that’s in, it will be easier to work on the siding over the window. I’ll also put a proper wall jack for the plumbing penetration. Caulk really does not seal these penetrations properly.
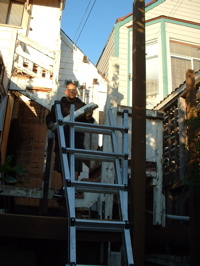
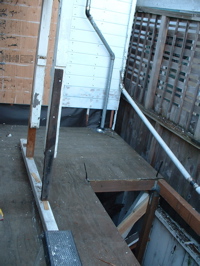
We’ve started on the second phase of the stairs. Last weekend, with Nick’s help, we tore out half of the upper part of the old stair. Ahh, so open! Now we need to build the new stairs. Above right, you can see that I’ve put most of the old siding back on. On the right of the photo is my neighbor’s fence, which I’m planning to cover (once the stairs are in).
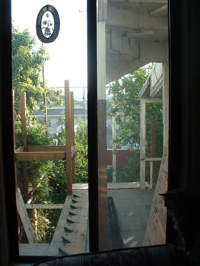

Here’s the view out the kitchen window downstairs. You can see the stringer for the new stair lying on the deck. Above right is Arwen using Bella as a pillow. Since we came back from LA they have been more cuddly together.
