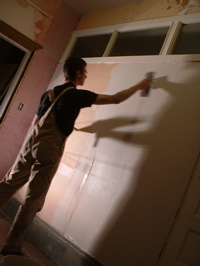
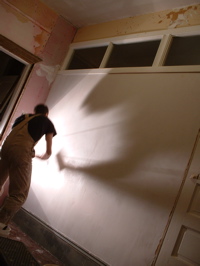
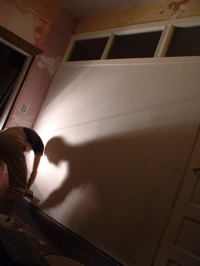
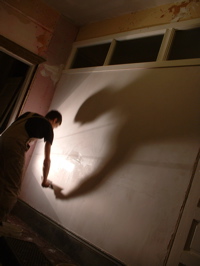
This weekend we did quite a lot. The old anaglypta, while quite nice, was rather badly damaged, and had so many coats of paint, it was difficult to see the pattern. janeen took some photos (the color was white — something funny with the incandescent bulb made it look orange…)

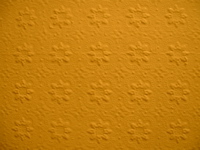
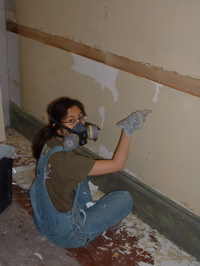
so we bought some new anaglypta wall paper, but have to remove the old stuff first. a multi step process. at first, we tried using the heat gun. slow and messy. then i attacked it with a scraper. the paper separated in the middle leaving a layer of paper on the wall. we then used wallpaper remover to get down to the plaster.
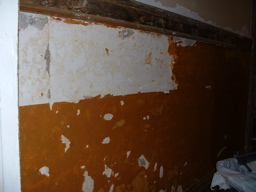
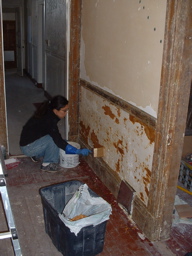
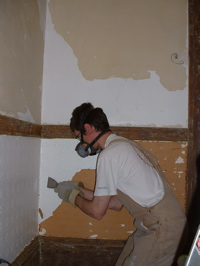
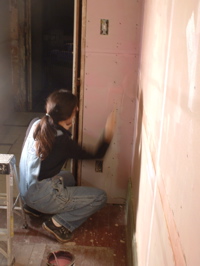
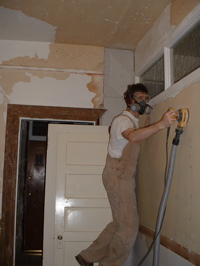
above right, janeen painted all the walls with pink plasterweld. she kept finding more loose paint, and so eventually almost every square inch of walls had been scraped clear of paint. i think janeen made two full garbage bags full of paint scrapings from this one room alone. i sanded all the walls and ceiling, and washed the walls and ceiling with tsp.
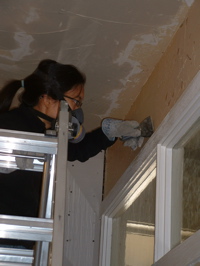
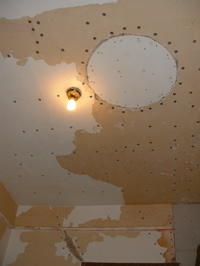
here you can se the state of the ceiling. all the little dots are plaster washers. i probably put up more than 200 plaster washers on the ceiling and on the walls. in the pictures below, i’m adding tape along all the cracks. took a long time to tape around a circle. lots of little pieces of tape.
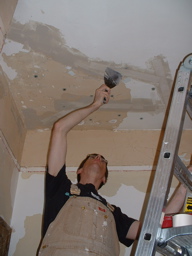
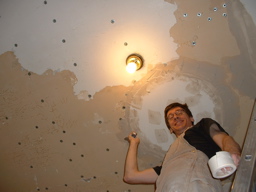

this is the first of three skim coats of lighweight joint compound that i put on the ceiling. it’s starting to look more even.
we then finished preparing the walls for plastering, and we plastered the wall between our hallway and the entry hallway. janeen likes the shadows…
