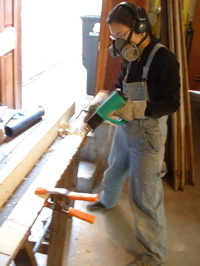
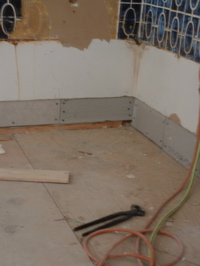
While Janeen filled all the gaps between the backers with plaster, I cut out the gyp board around the base of where the shower receptor (base) will go, and installed cement board that is thinner than the existing board. My goal is to get the receptor to fit slightly into the wall, so that it’s easier to waterproof. We’ll see how that works.
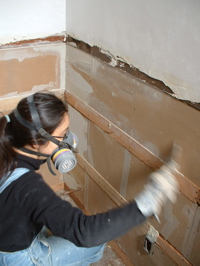
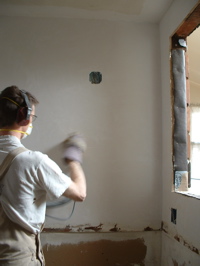
Below left I’m sanding and filling blemishes in the plaster. Cheating! So we started off well. But then I got distracted. First we drove to the plumbing store, and couldn’t find the part we were looking for. Then we went to Flowercraft. I bought three seedlings: a pepper and two tomatoes. the jasmine is already starting to bloom. Amazing to think we plucked a sprig off our neighbor’s plant near our old house, and now we have this!
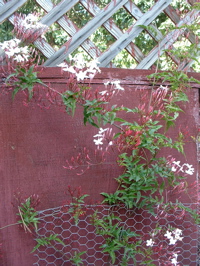
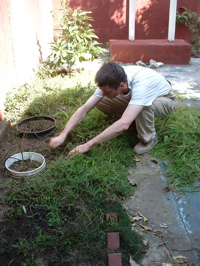
janeen took the photo on the left to show you how fun it is to wait for bulbs to grow. not here yet. not here yet. still not here. still waiting. grass is growing, though.
On the right, John’s apricot tree that he gave us has survived. I thought it died, but it’s thriving. actually, it looks like a bunch of saplings.
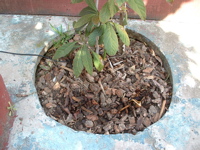
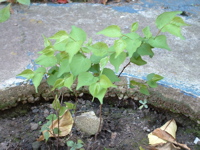
grass: grows only where you don’t want it. getting sidtracked pulling weeds while planting peppers and tomatoes. nice to spend some time outside on such a nice weekend, too.
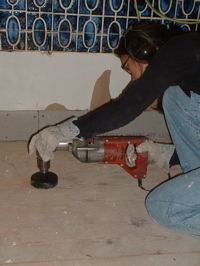
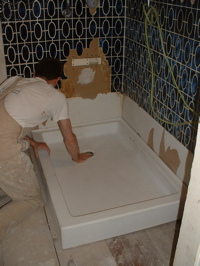
janeen used ‘uncle ken’ to drill a 4″ diameter hole in the floor for the shower drain.
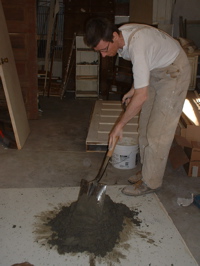
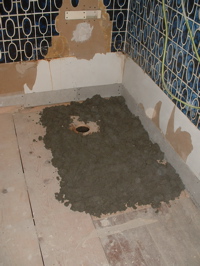
to hold the shower in position and support the base better, we put down a layer of mortar under it. on the photo at right, you can see an error i made: no moisture barrier under the mortar. the water from the mortar has been absorbed by the wood. the wood swelled after we installed the receptor, so it’s not fitting quite right. i’ll give it a couple of weeks to see if the wood shrinks back down. if not: tear out, do it all again, this time right. 🙁
below left: little did I know.
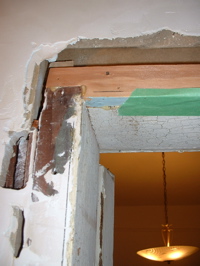
on the right below, i spent a few hours repairing the door frame. When the previous owner’s remodel covered this door, they sawed off part of the frame. I’ve glued and nailed new pieced of wood in the frame to flush it out to the face of the plaster.
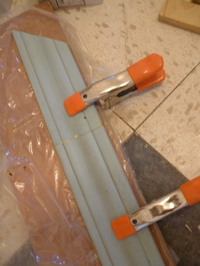
Below left: using clamps and a biskit to glue two pieces of the door trim, salvaged from the other door, so that I can use it for this door. below right: janeen was a paint stripping machine on Sunday: she almost finished all the wainscoting. you can see a huge stack of pieces she’d already done in the background behind her.
