If you haven’t heard the term: “catification” is the process of making a house designed with only humans in mind into a more three dimensional space that allows cats to feel comfortable.
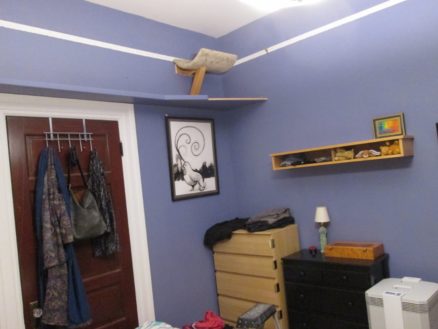
Ever since we moved downstairs, the girls have not been getting along very well. The space downstairs is comfortable from a human perspective, but for cats, being stuck on floor level is not optimal. Ideally, they need to be able to traverse around a room without even touching the floor: Hot lava!
So of course, I had to play them some rock music on my massive electric guitar:
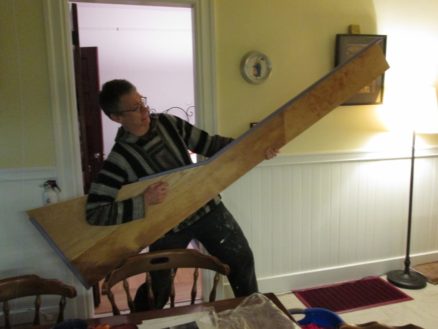
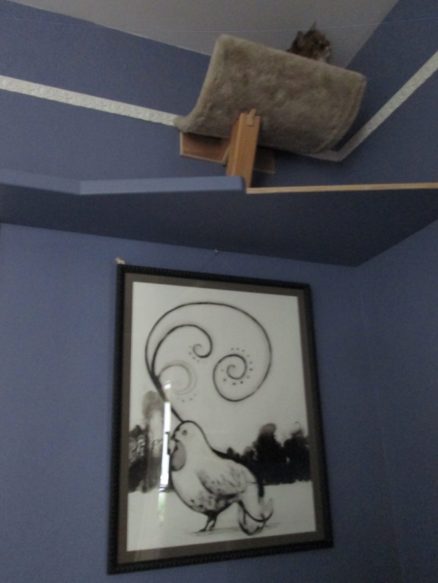
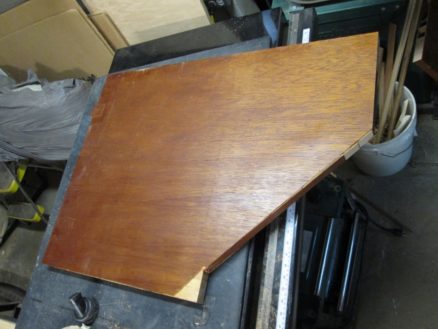
No, that’s a shelf. The triangular piece is an offcut from my desk. Perfect to make the corners into better hangout spots. I painted it to match the walls, and put up a shelf I made about twenty years ago at Rousseau street.
Well, it’s a start. They can go from the air filter, up to the shelf, along the wall, and down the cat tree. The bedroom is slightly more catified.
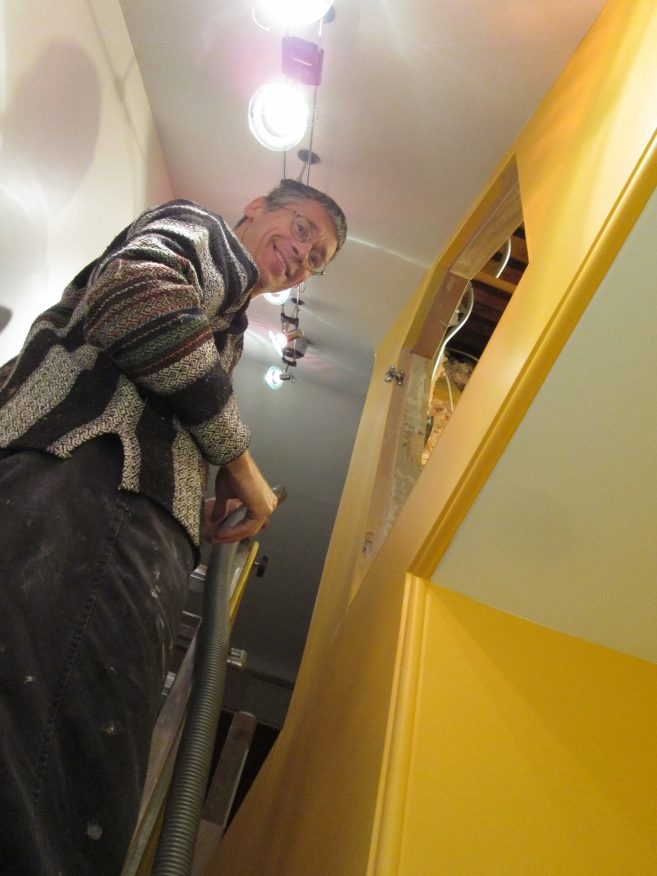
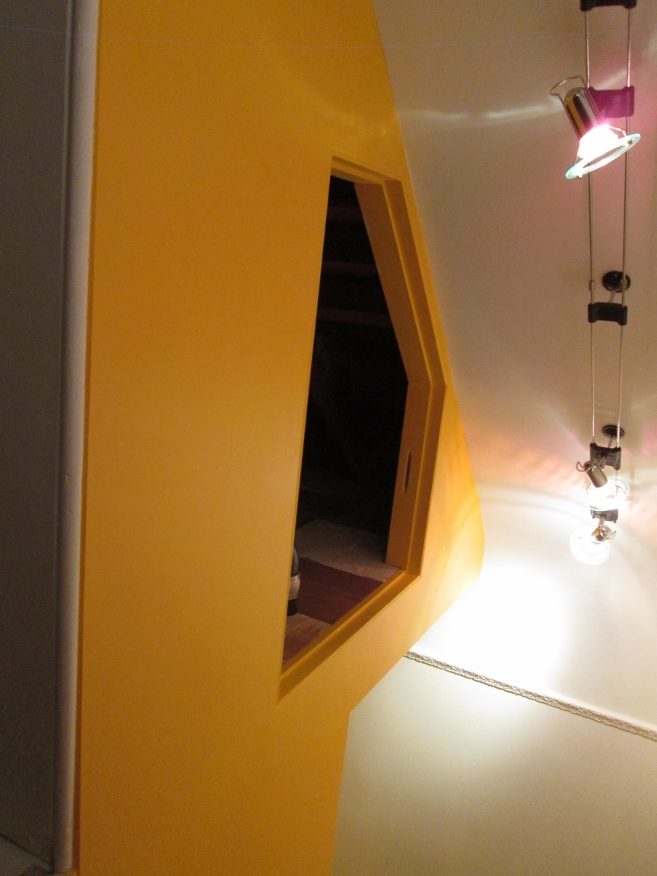
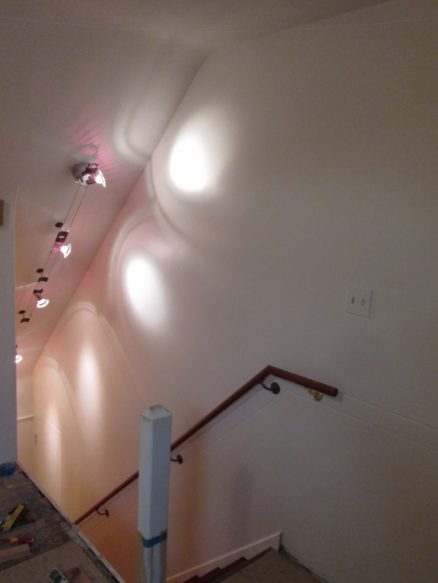
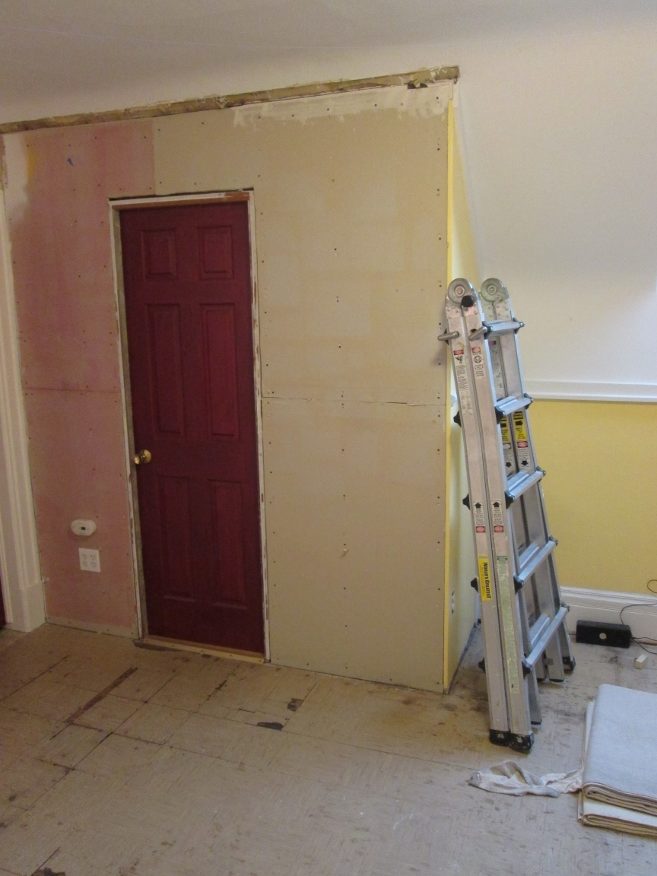
When I raised the ceiling in the hallway upstairs, I created a small closet to access plumbing and electrical stuff. This space used to be accessed by climbing through the attic space.
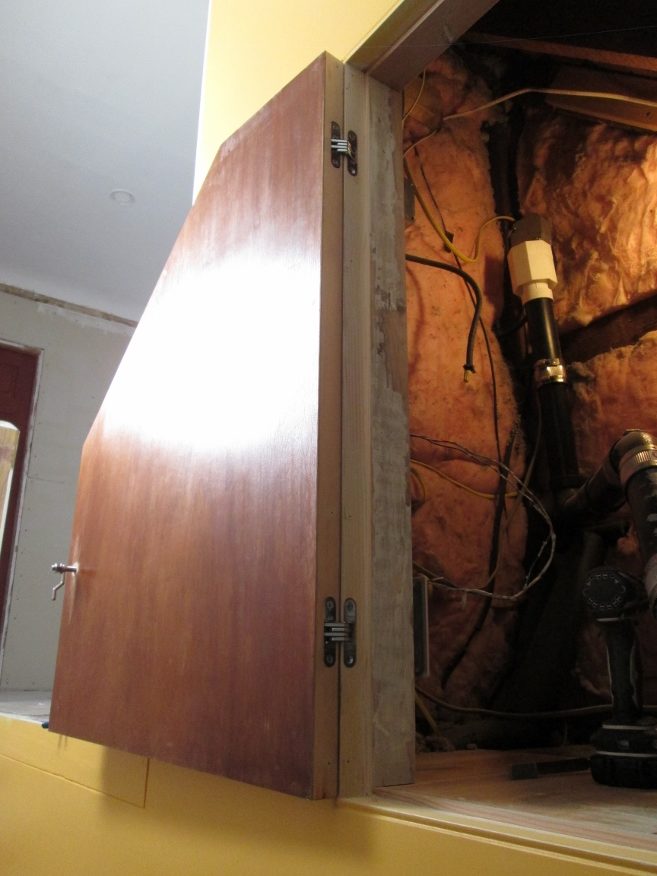
I made a custom little door to fit the opening (out of an old door).
Because it’s me doing this, I have to make it a bit more complicated. So I was trying to figure out how to make the door as flush as possible. I found something called “hidden hinges”. They fit into routed slots on the door, and because of some very clever mechanism, they allow the door to open 180 degrees, and the hinges fold up into themselves when the door closes. My mistake: I chose not to pay the $20 to buy the pre-made jig (I figured I could just make my own). There goes a weekend!
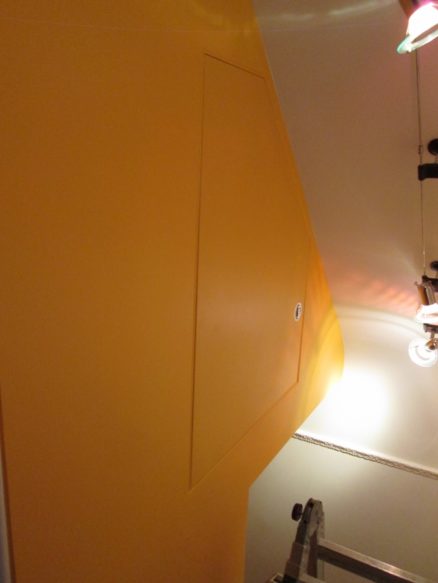
I bought a marine door latch that sits flush with the door. It’s not completely invisible, but I’m quite happy with how it came out.
oh, and I love the patterns the lights make on the other wall…
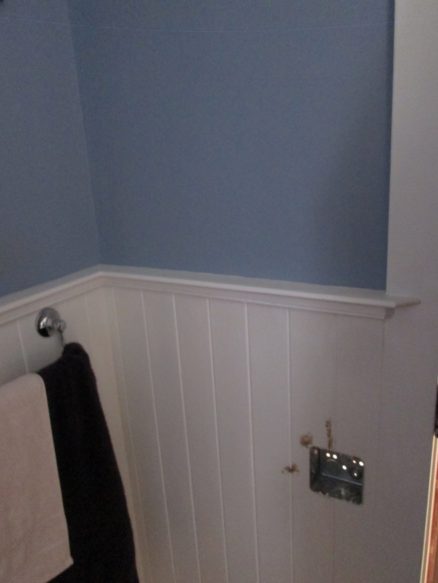
I never thought about them before, but I’ve come to really like towel warmers. They sound like such a luxury: Warm towels! But they are also quite useful because they help to dry wet towels faster, so they don’t go moldy smelling. The only difficulty: They need a plug.
Originally, I had put just a regular towel rail here, and a towel warmer in another corner of the bathroom. Even though I went to architecture school, I’m still surprised by how I really need to live in a space to know how it will work. I had assumed air from the heating vent would dry things. Didn’t really work, and the towel warmer was in an awkward place. So I decided to move it.
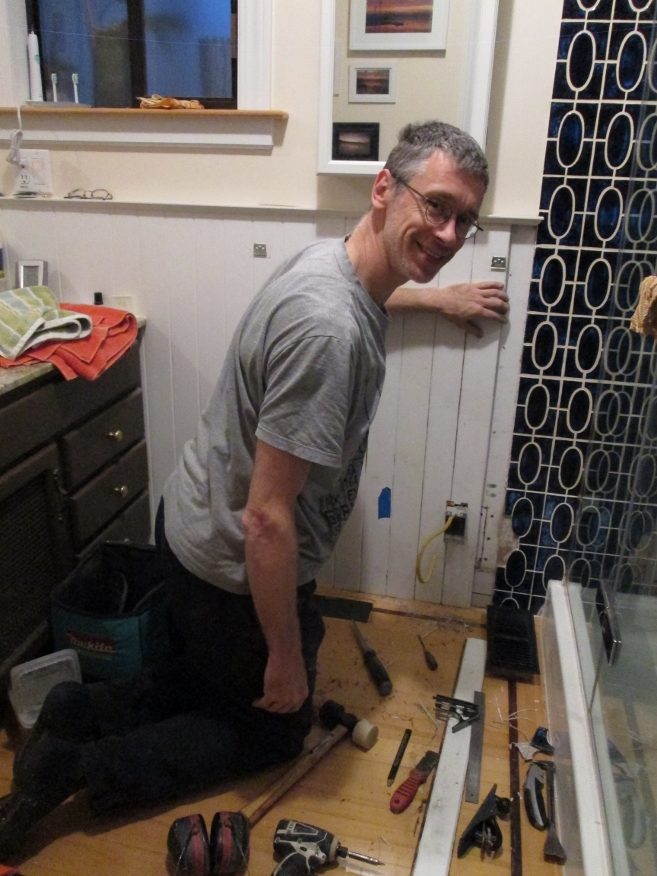
Mole caught a photo of me as I was closing the wall back up. I often forget to take photos.
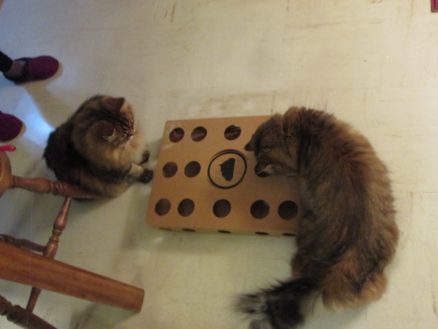
We bought a new litter box for the girls with higher sides: Arwen! Modcat are value added: They include a game for the cats with the litter box packaging.
oh, and upstairs: I also put that towel warmer in. There’s no heating upstairs (yet?) so I got a larger one, hoping it will help to warm up the bathroom a bit in the winter. Same process: I need a plug.
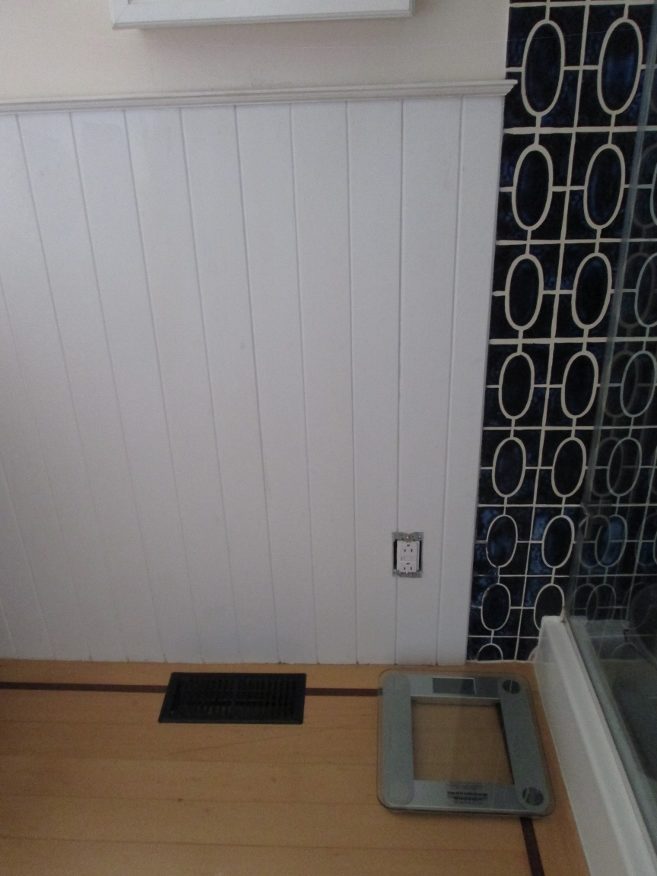
This time, instead of tearing off the finishes inside the bathroom, I took off the drywall outside. I’d been planning this (ten+ years ago), so never plastered the walls.
Here it is installed. It was a bit tricky because the thickness of the wood wainscot below meant I had to add little spacers where it attaches at the top. I think eventually I’m just going to remove that wainscot below: Too fiddly for such a small bathroom.
when we went into lockdown (the first time) I thought: “I’ll just spend a lot of time working on upstairs and get it all finished.” Hahahha
Well, in spite of (or possibly because of?) the debacle of 2020, a few good things happened. Most notably, the majority of Americans were able to spot incompetence after four years of having it rubbed in our faces. And I got to vote for the first time in my life.
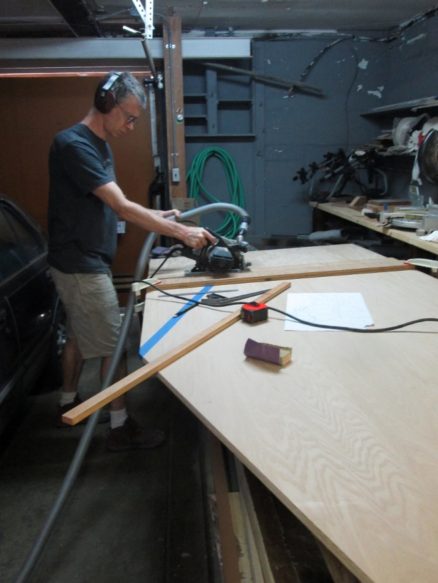
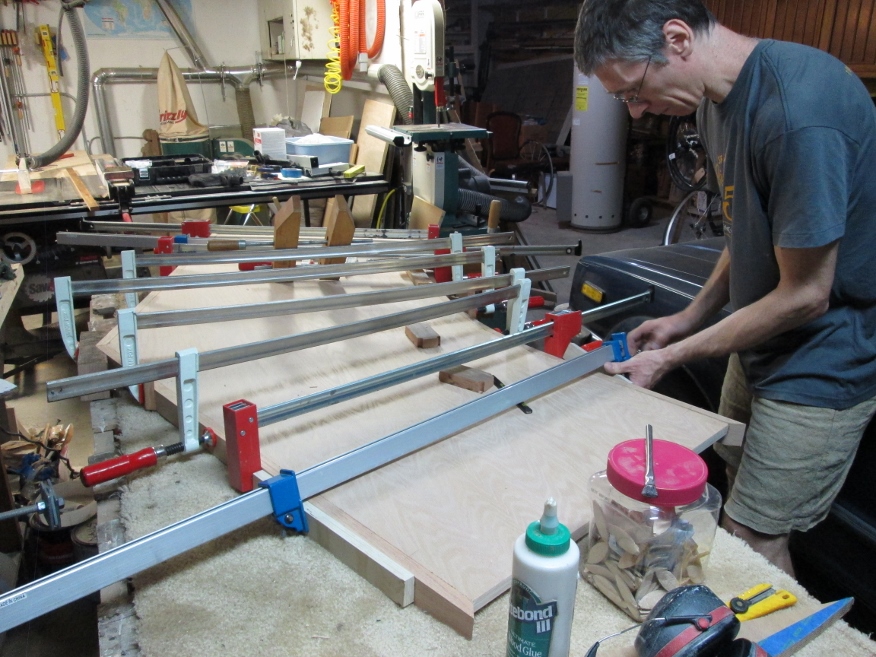
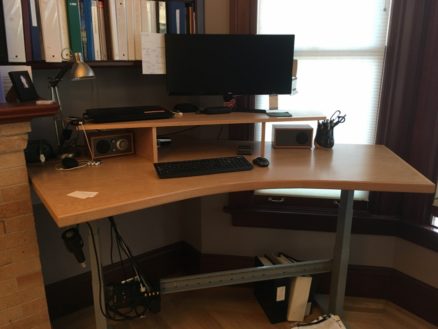
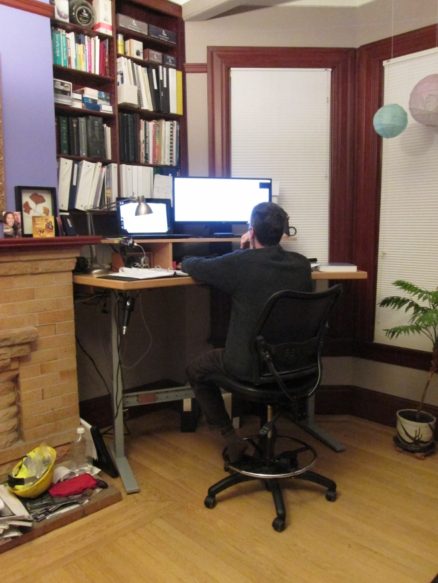
I ordered the mechanism for an adjustable height standing desk about.. three years ago.. and it’s been sitting in boxes in the garage since. I finally got enough prodding to stop delaying, and built the top for it. Of course, because it’s me, it was a little complicated.
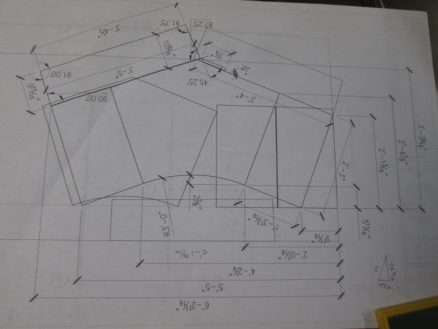
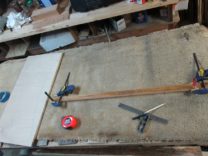
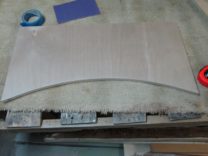
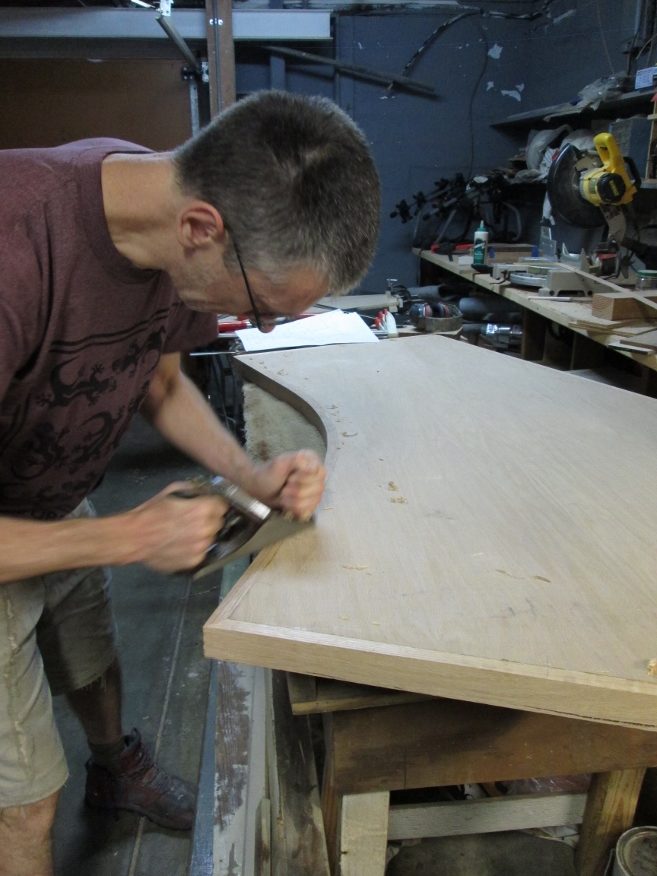
I wanted it to fit into a corner in our office that’s next to the bay windows, so it has a 45 degree back. But the complicated part is the front: it curves. I used a piece of wood and some clamps to draw the curve, and cut a template out of a scrap piece of wood.
I found that putting a piece of masking tape on the top of the plywood makes the veneer on the top of the plywood splinter less.
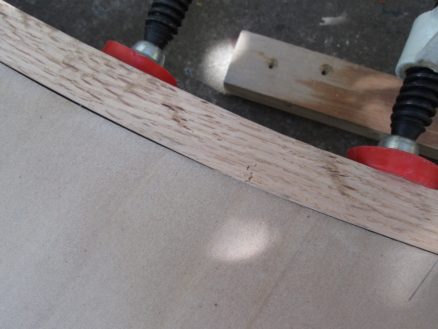
The tricky part: I’m using oak veneer plywood, so I need to finish the edges with a piece of solid wood… and it needs to curve.
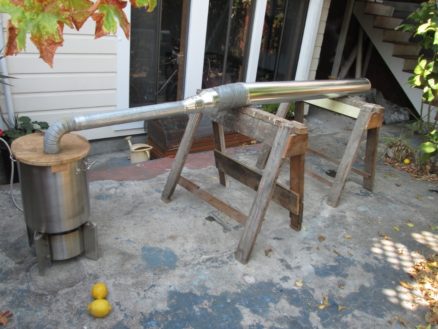
I’ve never steamed wood before, so after a bit of youtube research, I found a video with some guy making a steamer out of plastic piping. Looked quite simple: I had some old ABS pipe lying around, I figured I could make a simple wood top for the large kettle I use to brew beer, and channel the steam through another piece of flexible plastic hose from my shop vac. I put the piece of wood I wanted to steam inside the ABS pipe, and started up the steam. Just like the video.
Don’t believe what you see on youtube: The steam melted the pipes!
First the flexible plastic pipe became very flexible (similar to warm bubble gum). I quickly disconnected that – didn’t want to ruin it. I then connected to the ABS pipe with some pieces of metal pipe. Then the ABS pipe started melting!
I couldn’t get enough steam to properly bend the wood, so it split when I bent it. I don’t know how that youtuber made it work… I ended up with a bunch of Salvador Dali inspired pipes, but the wood didn’t bend.
Second try: This time all in metal. I bought a piece of metal heating duct to steam the wood in. Once the water started boiling in the kettle, steam was hissing out of all the cracks. I left the wood in there for almost an hour: My neighbors were very curious! It worked.
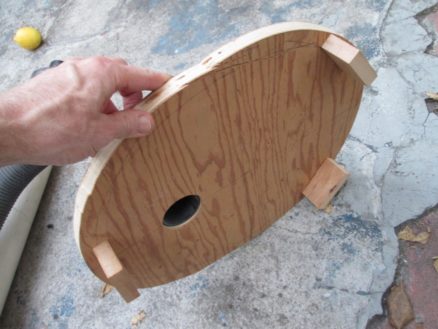
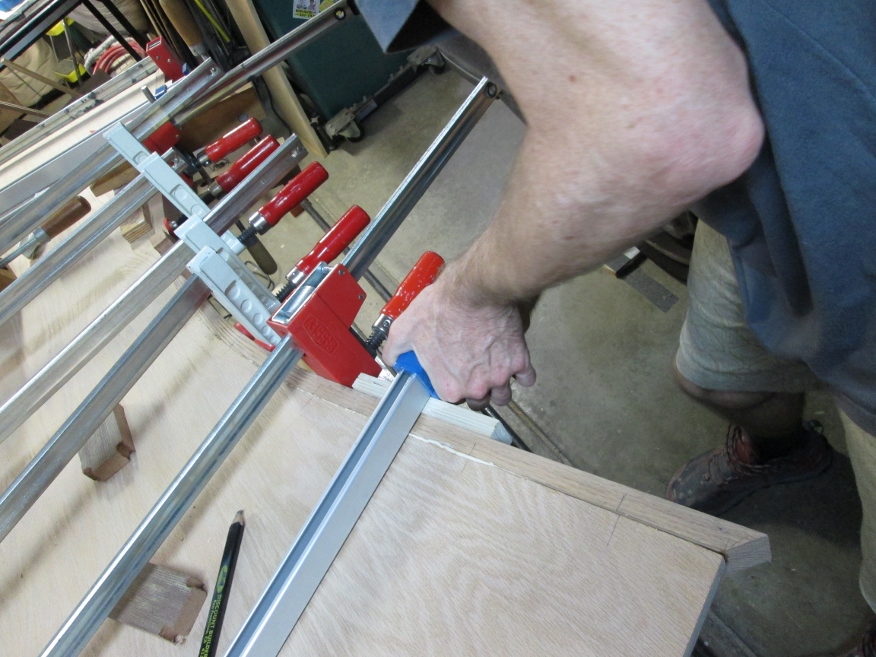
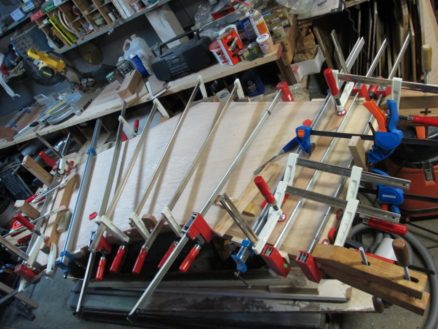
Here I’m gluing the curved wood edge onto the plywood. You can never have too many clamps…
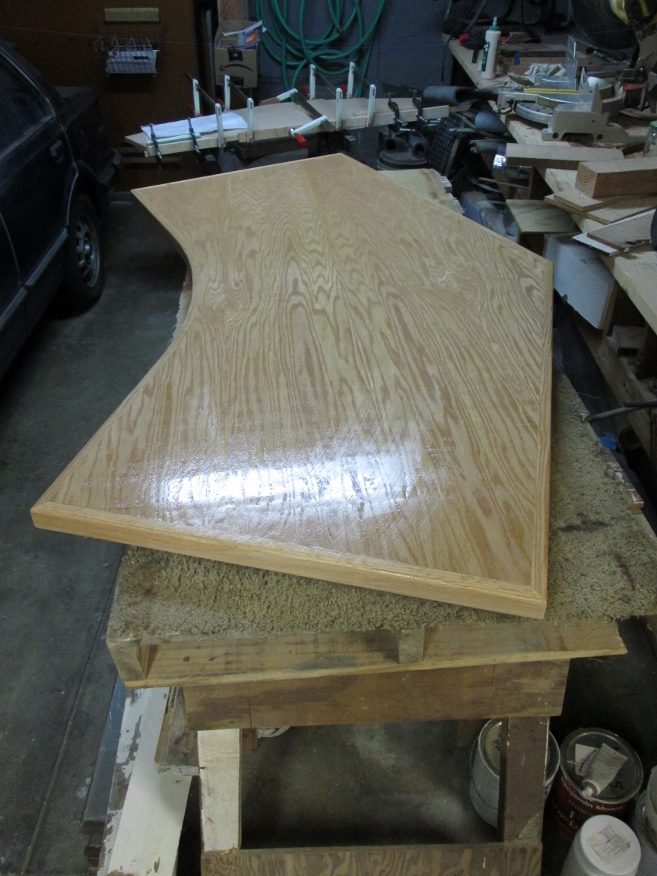
The curved edge came out quite well.
My star trek command center.
It will never look this neat again, so I’d better post a photo:
… not that getting a fully adjustable desk is guaranteed to make my ergonomics any better, though…
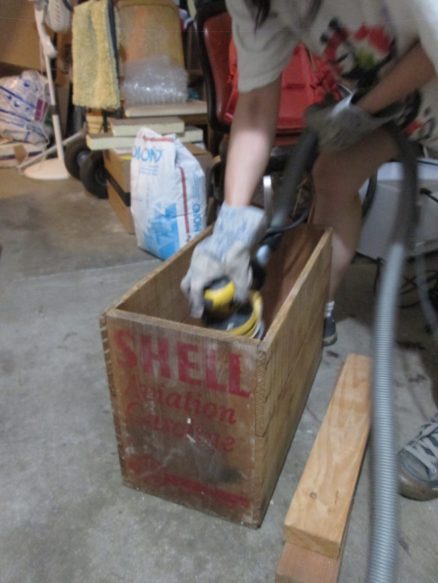
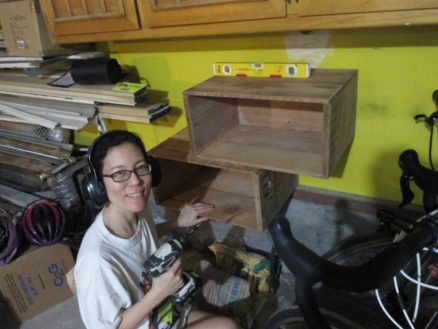
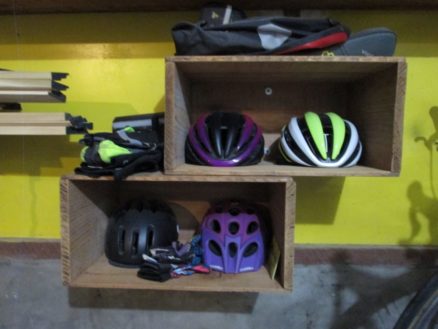
Meanwhile…. We’ve never had anywhere decent to put our bike helmets. They were always balanced precariously on boxes and bags of building materials. So mole decided to make some shelves from a couple of old boxes that we found in the attic of the house.
Shell aviation fuel(?)
So neat!
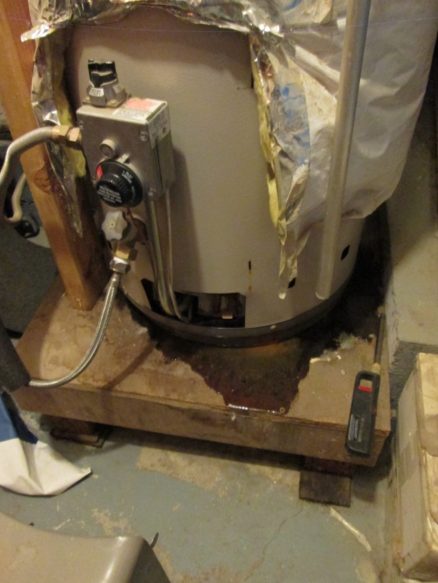
I was wondering when this would happen: Hot water tanks must be one of the most wasteful inventions that are still part of houses. They are planned obsolescence incarnate. This large heavy contraption is in every house in the country, wastes energy all day long every day, and in the best cases may last fifteen years: you can even buy water heaters that are only expected to last five years!
The previous owners bought a good quality one that lasted about fifteen years, but it finally started leaking. 2020.
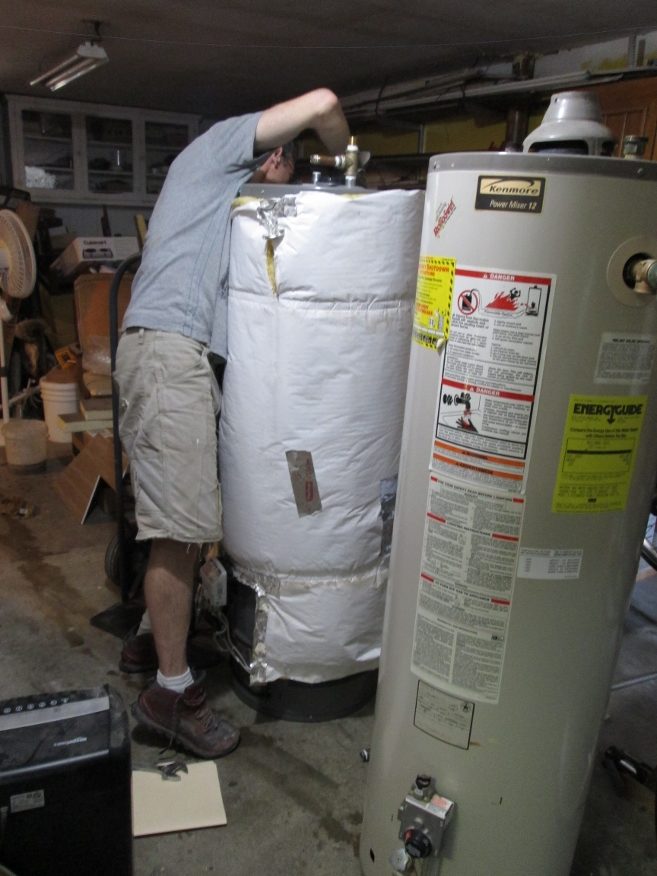
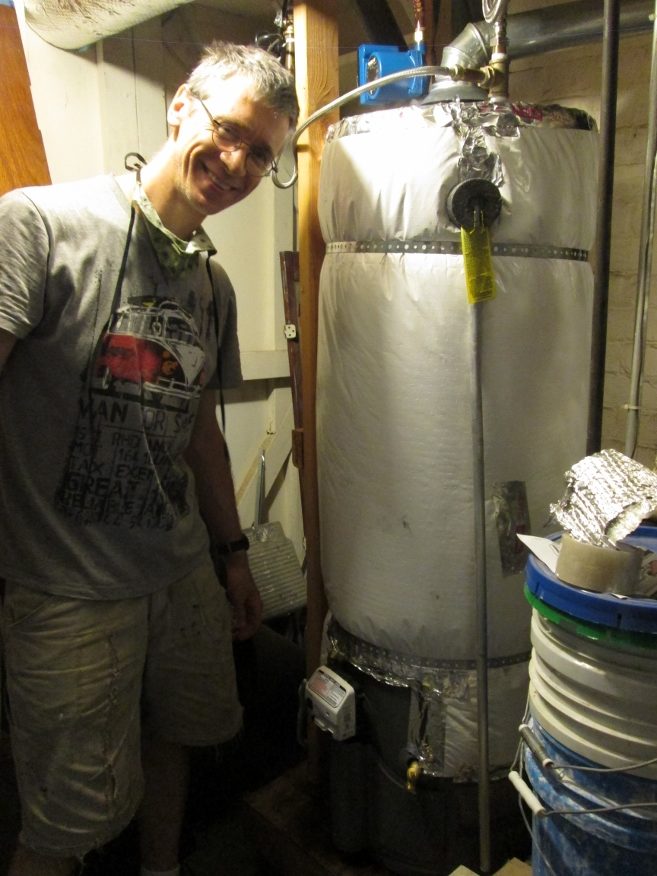
Luckily we can get anything delivered, including water heaters! I transferred the insulation blanket from the old one – I figure any extra insulation on a tank of hot water is a good thing.
Oh, and if 2020 didn’t have enough going on, it was also my fiftieth. Friends of mine threw big parties on theirs. For years I’d been thinking about the party I wanted to throw. I guess 51 is the new fifty?
Not all was lost, though: mole made me this incredible vegan chocolate torte. You all missed out.
I did get to see some people for my birthday, though. Friends put together a great bike ride up mount tam. It was incredibly foggy, cold and wet, but I was a very happy fifty-year-old. And I also went to visit my dad.
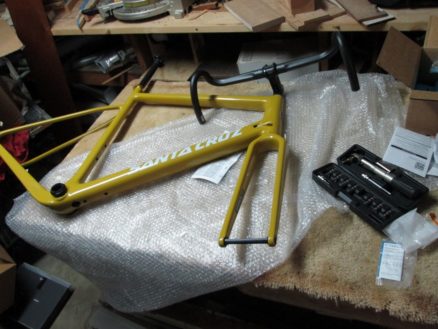
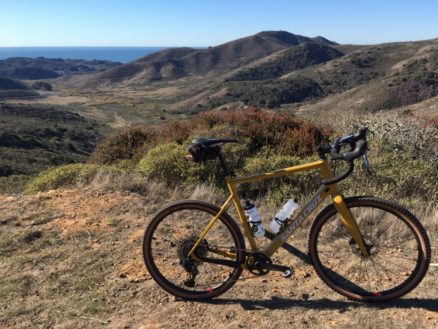
As a fiftieth birthday present to myself I decided to get a(nother) bike: This time, a gravel bike.
Actually buying a bike in 2020 turned out to be rather difficult. So I bought a frame, and all the parts, and put it together myself. And even that wasn’t without many hiccups. The first frame I received was the wrong color. Then it was missing many of the parts I needed to put it together, the most annoyingly difficult of which was one tiny bolt that holds the derailleur on the frame. Oh, and this is the first time I’ve done this. And none of the parts come with instructions.
After a few months of false starts, I finally got it together. Here’s a pic from my first ride: I really have nothing to complain about. Riding on a dirt trail looking out to the Pacific Ocean, with San Francisco in the background on a sunny day in winter, all I could think was “How truly lucky I am.”