Plastering Done

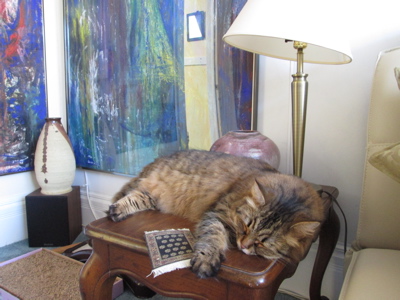
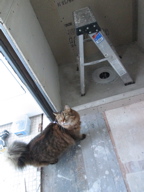
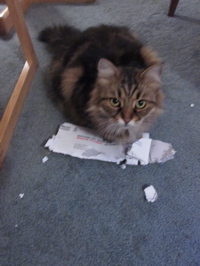
I mentioned before how good Arwen is at shredding paper. Well, she finally got her paws on a bill. I had to piece it back together with tape. “My cat ate it!” Good thing mole is really good at puzzles and found all the pieces.

01-AShred_2013093002-ThruSkylight_20130930

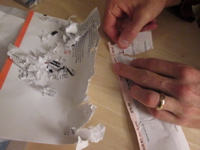
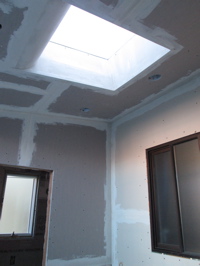
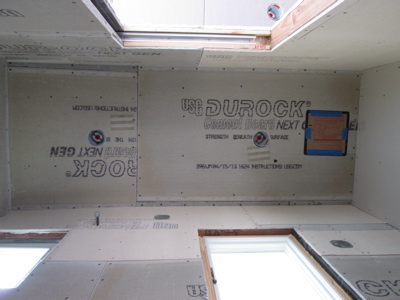
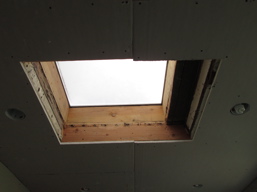
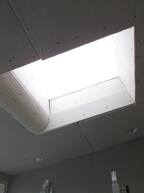
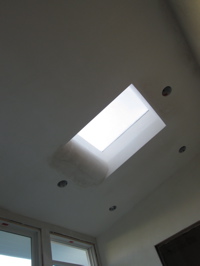
Above left: Unshredding. Above right, looking down through the skylight while I was plastering the ceiling.

03-plasterer_2013093004-skylight_20130930

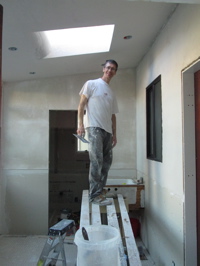
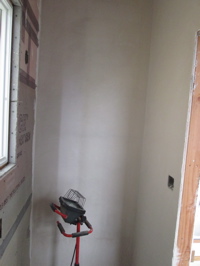
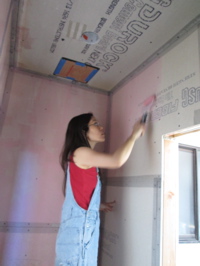
I set up boards over saw horses so that I could reach the ceiling. Plastering the ceiling went quite well. I followed all the directions: “Blue” board as the base, then “Kal Kote” base coat, then “Uni-Kal” veneer plaster.

One problem I’d always had when plastering was there would be small patches of the plaster that would come loose as I was trying to polish the plaster. It was as if that section did not set up as fast. I’ve finally learned that when putting on plaster, the first pass must be very thin – basically scrubbed onto the surface so it’s almost translucent. If it’s too thick, it will get air bubbles under it, and that’s what was happening to me. Then, from the same batch, I come back and build the coat of plaster up to about 1/16 inch thick. This is the first time I’ve done that (the manufacturer’s instructions say to do that — it was just never clear to me how thin the first pass must be). It worked like a dream.

05-moleArwen_20130930

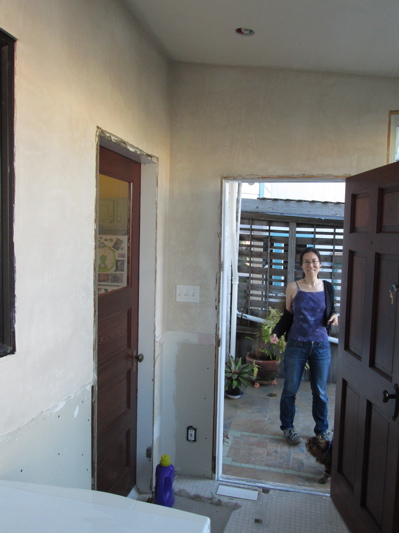
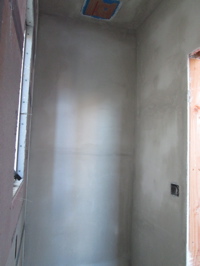
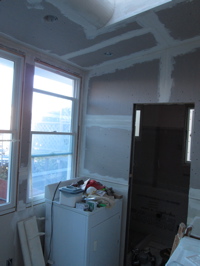
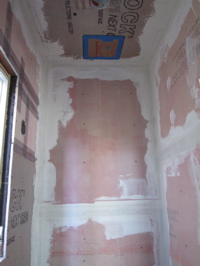
So now the plastering is done in the laundry room. Here’s mole and Arwen coming to inspect right after I’d finished the walls. The plaster was just setting up; it goes a brownish grey until all the water evaporates.

06-arwenRoof_20130930

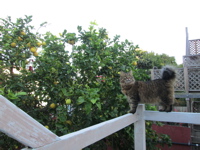
Then Arwen decided to get up to her old tricks and ran up onto the roof. Here she is walking along the ridge, with the sun setting behind her. Must be a great view.

07-bellaRailing_2013093008-bellaWindow_20130930

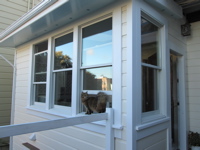
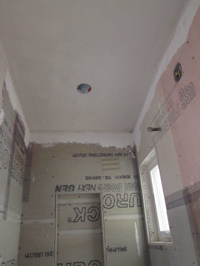
Not to be outdone, Bella jumped up onto the handrail and walked back and forth. Then she walked into the open window of the laundry room.

Tile Shopping

We had a week of hot weather for San Francisco. The poor cats have been losing their summer coats and getting their winter coats at the same time.

03-hotBella_20130909

Above is Bella trying to stay cool.

04-showerPan_2013090905-showerPan_20130909

Continuing on the shower rebuild in the laundry room bathroom, I made the shower pan. Because I’m using Kerdi as the waterproofing membrane, I use their special drain flange, and cast it into a bed of mortar.

06-spdone_2013090907-jaBondo_20130909

Above left is the finished shower pan. Above right mole is putting bondo onto the pressure treated wood we used for the back stairs. The wood gets incised when it’s treated, so has all those holes all over it. Looks much better when filled.

08-ptWood_2013090909-ptFilled_20130909

Above: Before and after filling with Bondo.

10-muntins_2013090911-fancyTile_20130909

Over a year ago I made some balusters for the back stairs. I just got them primed, and will put them up soon.

But the most interesting thing we’ve done lately is go to Fireclay tile and we bought fancy tile for the bathroom. Above right are two nice decorative pieces we’ll add in. The only downside is that this tile is $$expensive$$ !!

12-fancyTile_2013090913-fancyTile_20130909

We went to their ‘boneyard’ and bought a couple of boxes of seconds at about 1/4 the price. Now we need to figure out exactly how much more we need and order it.

01-fancyTile_2013090902-fancyTile_20130909

Some other tile we looked at was at Latch tile in San Francisco. The person working there was super helpful and patient. Above left, cool shapes, but how to use it? Above right, these tiles are beautiful (reminded mole of her parent’s house) — maybe we’ll use a few as accents.

14-daTile_2013090915-bellaInspector_20130909

We’ve been watching a lot of Downton Abbey lately… Funny, with all the fancy stuff “upstairs”, the thing that caught our eye was the tile in the kitchen. We may do something like this on the floor in the laundry room & bathroom. Above right Bella came to inspect right before I started plastering.

16-baseCoat_2013090917-baseCoat_20130909

This is the first time I’ve used basecoat plaster. It’s similar to plaster, but has sand in it. It goes on slightly rough so that the plaster sticks to it properly. Above you can see the ceiling after the basecoat is on and drying.

18-plastered_2013090919-plastered_20130909

On top of the basecoat, I put a finish coat of veneer plaster. I forgot how much I enjoy plastering. Yes, I did get quite a bit in my face and on the floor while working on the ceiling. Still, it’s very satisfying to start out the day with rough uneven surfaces, and end with perfectly smooth white plaster.

20-taping_2013090921-taping_20130909

In the laundry room, I taped all the joints. I don’t need to be very careful with the taping, because it will be covered in veneer plaster.

22-taping_2013090923-taping_20130909

Next: More plaster!

from cobbler to cement board

Our peach tree gave us lots of peaches this year. The tricky thing with peaches–at least the ones on our tree–is they all ripen at the same time.

01-cobbler_20130903

The peaches were not as sweet as last year, so Janeen made lots of peach cobbler. MMmmm. Especially good with vanilla coconut bliss.

02-kittenBag_2013090303-kittenShredder_20130903

Arwen still loves to get into bags. I think she’s amazed at how a space can be created out of a folded up piece of fabric. She loves to be carried around in the bag, too. Oh, and we don’t need a shredder anymore: Arwen does a fine job of it. We have to be careful never to leave anything important out, though.

04-bellaPurr_2013090305-abPaper_20130903

Here’s a photo of me and Bella (above left.) Arwen and Bella are having a discussion about who gets to shred this piece of paper.

06-ceiling_20130903

This is an unusual view: Looking straight up at the ceiling of the bathroom-to-be beside the laundry room. I’ve used cement board on all walls and the ceiling.

07-shower_2013090308-toilet_20130903

Above left is the shower with the niche, and above right is the space for the toilet.

09-plasterweld_2013090310-firstStage_20130903

Here is mole painting on the plaster weld. I’m going to plaster the walls on two sides, and tile the remaining walls. Above right I’ve done a first pass with alkali resistant mesh and plaster over the joints. I forgot how much I enjoy plastering.

11-skylight_2013090312-skylight_20130903

Here’s the skylight in the laundry room. I finally put the drywall around the inside of the skylight. The photo is taken from two opposite sides of the skylight. Above right you can see I have curved the piece where the ceiling steps back (see above left on the right side). Next step is plastering – not sure if I know how to plaster a curve. This will be a challenge.