Cat-in-the-Box

To make up for last post’s absence of kitten-pics, I’m going to over-do it now.

01-sleepingCats_20130728

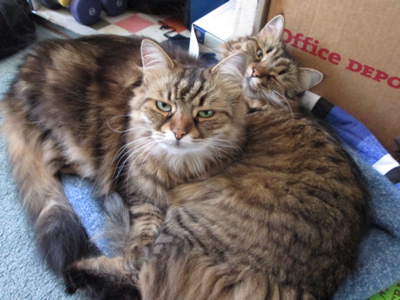
They are getting a bit big to share the same bed now. Bella is looking grumpy because Arwen came along and wanted to snuggle with her.

02-brewing_20130728

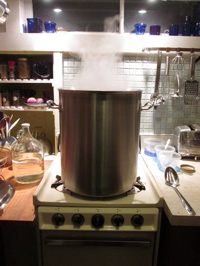
And I made my second large brew (brew #7). Up until now, I’d been making one gallon batches. I’ve moved to 3 to 5 gallon batches. This time five gallons of an Amber Ale. And I had a bit extra, that I put in a separate one gallon jug and fermented with extra hops. The main batch is has one more week of fermentation before bottling.

03-dadBirthday_2013072804-dadJohnCharles_20130728

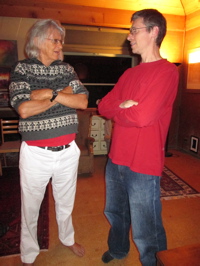
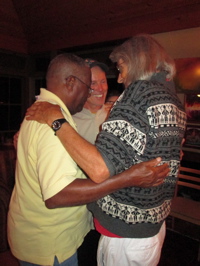
Dad had his seventy fifth birthday this year. Here we are talking at the surprise party that Eva and Elijah threw for him. Above right is a photo with Dad and two of his closest friends: Charles, and John.

05-dadBirthday

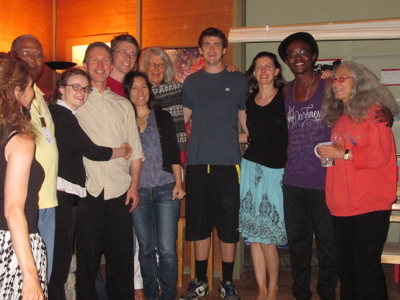
A picture with some of the attendees to Dad’s birthday party.

07b-ArwenAnchor_20130728

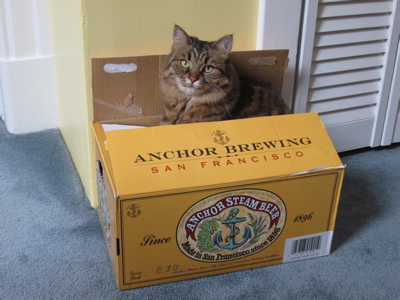
And these photos were irresistible: Above, Arwen; below, Bella. They like Anchor Brewing as much as I do…

08b-BellaAnchor_20130728

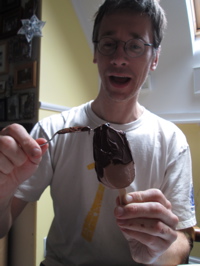
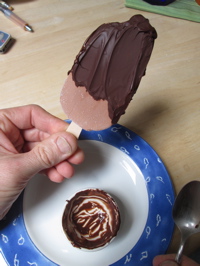
Since I’ve not been eating dairy, one of my favorite things I can’t eat: Haagen-Dazs Dark Chocolate bars. But, now there’s a solution: Coconut Bliss makes coconut bliss chocolate fudge bars. All I had to do is coat it in dark chocolate. Not quite as pretty, but really *dang* good:

09-fudgcicle_2013072810-fudgcicle_20130728

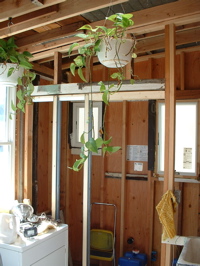
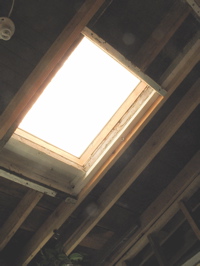
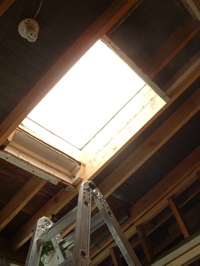
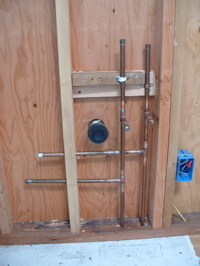
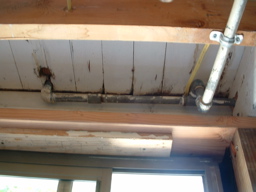
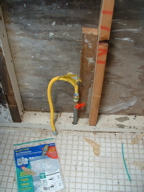
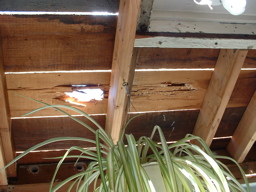
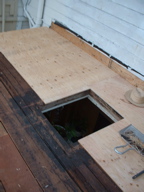
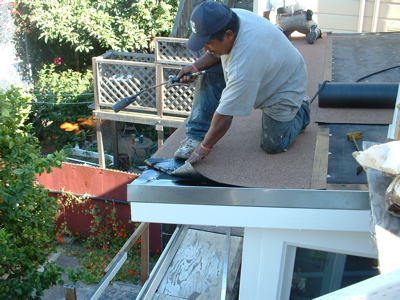
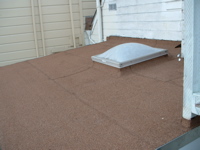
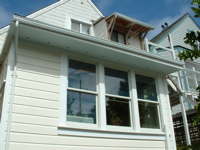
Oh, yes, the reason for the blog: I finished up the wiring and added a ceiling in the small bathroom that’s attached to the laundry room (no photos). Then I put in all the insulation.

11-insulation_2013072812-insulation_20130728

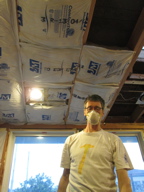
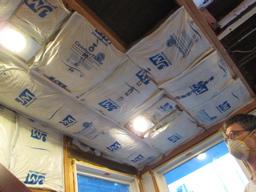
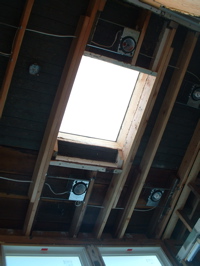
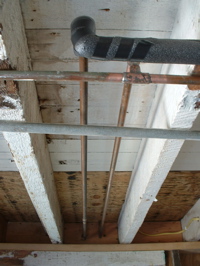
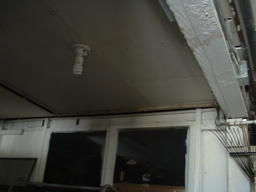
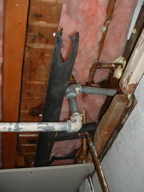
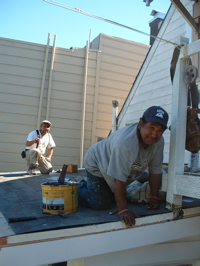
Here I am working on the insulation in the ceiling. We bought ‘encapsulated’ insulation, which is basically fiberglass insulation, with a plastic bag around it. In the past, it was really well made, so that the bag fitted well around the insulation pretty much stopped it from coming out as dust. (The batch we bought this time, though, had terrible quality control: The bags were not sealed up, so basically it was just fiberglass batts with extra sheets of plastic packed with it.)

Next week we’ll put up the drywall.

13-SundayStreetsMaeNancy_20130728

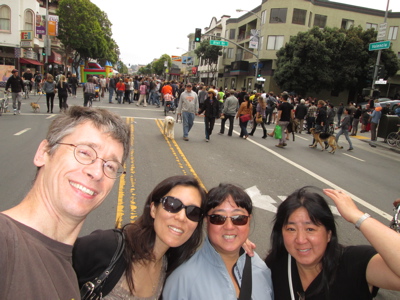
And one more thing: Mae and Nancy came to visit on a cold SF summer Sunday Streets day in the Mission. We walked all the way up Valencia and had a chance to catch up over lunch.


most boring post EVER!

If you are hoping for kitten photos, or even human photos, read no further. I’ll blame this on mole: I can’t take photos of myself doing things.

Now that the roof doesn’t leak any more (well, I assume it doesn’t — it hasn’t rained in quite a while), I can work on the inside of the laundry room. First thing: I put in the framing for a new pocket door. I bought the kit almost a year ago, finally installed it (hiding behind the hanging plants):

01-newDoor_2013072302-skylightBefore_20130723

The one thing that bothered me after the roofing was done is that I failed to buy a new skylight that fit the opening in the roof properly. So, retrofit: the photo above right sort of shows how the framing sticks into the space of the skylight. I spent a day with the reciprocating saw cutting out joists, and putting in reinforcement. Mole said the whole house was rattling from the noise. To me, it looks better…

03-skylightAfter_2013072304-canLights_20130723

But the photo above left really doesn’t show it. Oh well. Above right, I’ve put in new recessed light fixtures. This is going to be a fancy laundry room.

05-plumbing_2013072306-plumbing_20130723

Oh, and the really, really boring stuff: Plumbing. Well, it’s rather exciting when it doesn’t work, I suppose. Here I’m putting in the rough plumbing for the sink and shower. I don’t have the controls yet for the shower, so the pipes just end after they stick through the stud. Above right: the pipes below the laundry room floor.

07-gas_2013072308-gas_20130723

Of all the projects on this house, the most intimidating is gas piping. Everything else, there’s some type of warning or fuse if somethings done wrong. With gas, I guess you smell it: But it feels like if this is done wrong – BOOM! So, I used lots of joint lube, cleaned the threads meticulously, and tightened every joint to the extreme. Above left is the pipe going above the ceiling in the garage, above right, where it transitions to go to the garden room (fancy!).

09-gas_2013072310-gas_20130723

Above left, it tees to go up to the laundry room (for the dryer), and I added a pipe that will allow a stove down in the garden room (beer brewery maybe?). I went over every connection with soap to check for leaks: None! I did find a slow leak in three valves, though, and managed to tighten them up.

Oh, and these photos are the last photos that our first digital camera will take. It finally quit, after over ten years (almost every photo in this blog was taken with it).

Real Pros

When I went to buy roofing materials, the person at Western Gravel & Roofing Supply talked me into hiring a contractor: He was afraid I’d burn down my house with the torch (!) and recommended a contractor who happened to be in line.

What a contrast to the last roofers we hired. These guys were awesome!

01-roof_2013071002-roof_20130710

I did the prep work before the contractor arrived. I forgot to take a photo before I started ripping off the old roof. Above right the photo shows where my foot went through the old rotten wood!

03-rotten_2013071004-plywood_20130710

Above left is the view from below. That piece of wood had to be replaced. One top of the old wood, I installed plywood. This is both to provide better earthquake resistance, and to span over weak old wood.

05-insulation_2013071006-thePros_20130710

Now the pros showed up. Actually, they told me they’d arrive at 3pm, so I thought I had time to finish the prep before they got here. They arrived three hours early. So they helped me install the insulation for free (I added 2″ of rigid insulation on top of the roof). Above right, Enrique and his assistant smile for the camera.

07-torch_20130710

This is the reason the roofing supply salesperson didn’t want me doing the roofing myself: Notice the 18″ long flame coming out of the torch? This is on low. Here, Enrique is melting the back of the modified bitumen roofing, so that it seals down to the roof. Each strip is melted to the previous strip to make a continuous membrane over the roof.

08-corners_2013071009-almost_20130710

Ironically, after watching the roofers, I realized that fitting the roofing around and over all the tricky corners was where their skill and experience really helped. It would have taken me weeks to do this, and it probably wouldn’t have been done as well in the end. Pick your battles!

10-finishing_2013071011-done_20130710

One more photo as they finished up, and here it is done. Beautiful, eh? I managed to salvage the old skylight; took some serious chipping and heat-gun action to get it off the old curb. I’ll probably replace it one day, but for now, it’s fine.

12-gutter_2013071013-garden_20130710

So now we’re done with the outside of the laundry room. All I had to do after they finished the roof is to put the gutter on and paint it. Here’s photos with the scaffolding down.

14-todo_2013071015-closeup_2013071016-closeup_20130710

Now I can start working on the inside without worrying that it will get ruined by rain. Sometimes, it really is worth getting the pros.