a monster

this post is a catch up. it’s got so much in it, it’s a monster…
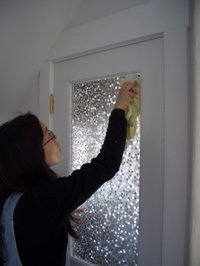
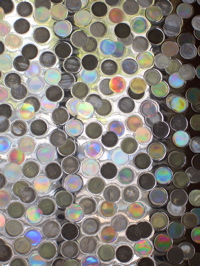
Janeen putting decorative film on back doorclose up of decorative film

We bought decorative window film for the back door about eight months ago. We used to have a curtain on the other side of this door, but it started to smell really moldy, so I took it off. The decorative window film is intended to obscure the glass. Janeen’s done this once before, putting a plain frosted film on the windows of Popo’s bathroom. This weekend, Janeen put it on our back door. You have to clean the glass really thoroughly, the the film is sprayed with soapy water and squeegeed onto the glass. I’m making it sound easy. It’s meticulous work.
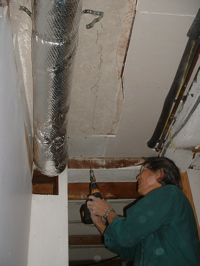
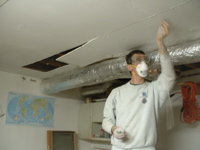
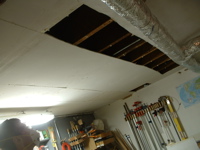
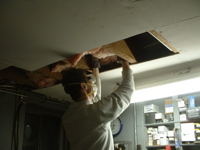
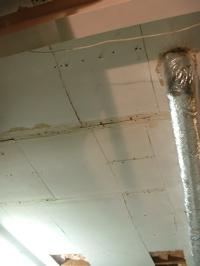
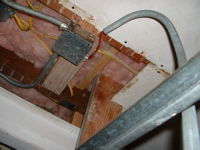
I got tired of trying to stuff insulation into the gap between the ceiling and the floor above, so I tore off the plaster ceiling in part of the garage that still needed insulation.  Quite a mess pulling it all down. It was already falling apart, and had holes, so needed some fixing anyway. Much more enjoyable.

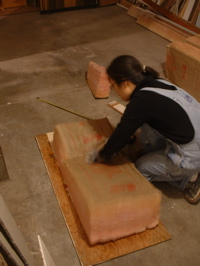
Putting in the insulation was then super fast.

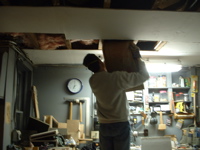
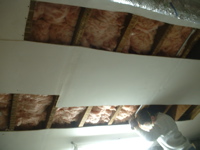
The following week, John helped us to put new gyp board on the ceiling. He came up with T shaped props, so that we didn’t need to hold it up on the ceiling while trying to screw it on.
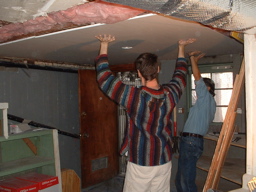
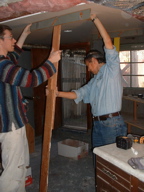
Some places were really difficult to cut and fit.

John is the master of custom fit. He made a very carefully measured drawing of all the cuts before starting.

There were cutting and sawing noises for an hour, and then…
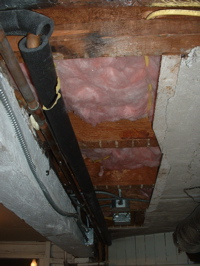
The floor was covered in powdered plaster dust, but the pieces of gyp board all fit perfectly. Janeen took a photo of the portable tool kit that her dad brings with him in his pockets…

We also spent half this weekend patching the plaster in the office. We’re using ‘hot’ (setting type) joint compound (“Easy Sand 90”) over fiberglass mesh tape and plaster washers. Next week I’ll plaster the lower half of the walls; but above the picture rails, it’s easier to just use a skim coat of the joint compound and sand it. The extra durability of plaster is not necessary where nobody can reach it.

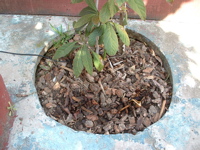
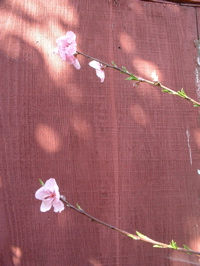
And now that we’ve got the garage and insulation all done, spring is here. The white peach tree that Janeen’s aunt Janet gave us last year is in flower.
Oh, and Janeen knit a monster to give her friend’s son. The pocket on the front holds a baby monster.

stuffing fiberglass

Spring. We spent the first half of the weekend with Janeen’s family visiting; Popo kept talking about how many lemons were on the tree and insisted that Janeen’s mum bring lemon pie for her. Before they left, Jason and John went out to the garden and picked more lemons. The photo below is just one branch — after picking two bags of lemons. We’ve probably got two boxes of lemons still on the tree! Lemonade, anyone?

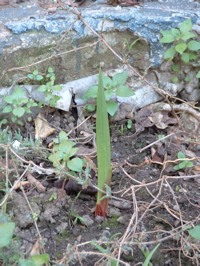
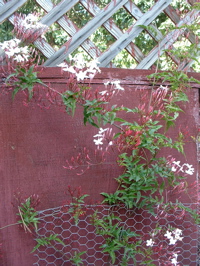
The peach tree is starting to flower, as is the jasmine. Janeen planted some freesia bulbs, and the gladiola bulbs Janeen planted last year are already starting to pop through the soil. The jasmine is really growing well on the East wall of our garden; quite amazing from just a twig that we took from a neighbor’s fence and rooted!

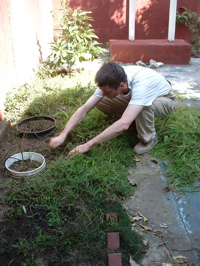
I tore out most of the Ice plant that I’d unwisely bought as cute little plants two years ago (it has very nice blue/purple flowers, but it overtakes the whole garden in a hurry), and sprinkled native California wildflower seed in its place. The snails had a great winter, practically eating everything — except the ice plant of course. I must have found fifty of them. Janeen took a photo as I was filling up a third container. The problem with urban gardens: Nature is all out of balance. Where are the hedgehogs, frogs, toads, snakes, caterpillars and birds when we need them?

We moved on to the garage ceiling on Sunday. I’ve left open holes in the gyp board for about a year, planning to stuff insulation in. I’d been procrastinating, because it’s such unpleasant work.

First we cut out strips of the gypsum board on the ceiling. The best method so far seems to be multiple passes with a utility knife to just cut through the board. (I’ve tried cutting it with a saw — messy! and it risks damaging the joists).

Using a magnet, I can find the nails, so that I can carefully cut around them. By not damaging the board when I take it down, we can reuse it.

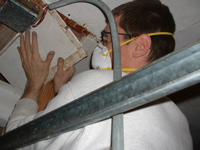
Finally, cutting and stuffing the insulation batts in between the joists is really unpleasant. Even with a dust mask, goggles, gloves, and long sleeves, it gets everywhere. I should have just rented the insulation blower, and used blow-in insulation: a) it’s easier — drill a hole and blow it in b) it gives better insulation — fills the cavity completely c) it improves the fire resistance of the house d) it’s recycled e) did I say it’s a lot easier? Can’t think why I came up with the hair-brained idea to do this. The only advantage I can think of is that it’s much easier to service wiring within the ceiling space when there’s fiberglass batt insulation.

One really itchy, sweaty, awkward day later, half of the work had been done.

The cut out ceiling pieces fit right back in like a jigsaw puzzle. Almost no waste.

Fitting the gyp board was difficult around the new electrical box and the bracing I’d added to the beam over the garage door. We had to dismantle part of the conduit so I could slide the board underneath it. It’s no surprise the work takes us so long!

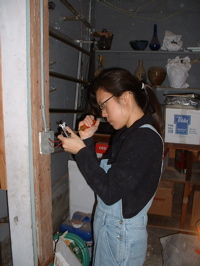
Janeen wired in the three-way switch again.

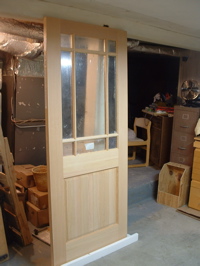
When Janeen’s family was visiting, John helped us pick up our new front door. It needs to be cut to fit into the door opening, and stained and sealed. Exciting.

déjà vu

we’re reached the point in our remodel where everything is starting to look familiar because we’ve done it once before.

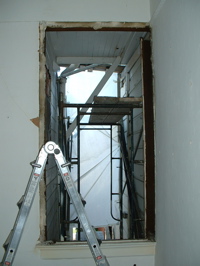
scaffoldingscaffolding

similar to when we were working on the living room on this level, mathew rented scaffolding to prep and install the bedroom and bathroom windows.

mathewmathew

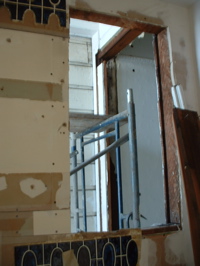
first he removed all the interior and exterior window trim and then he removed the big bedroom window.

wallwindow

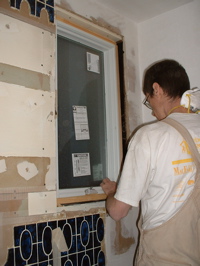
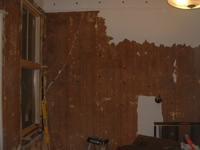
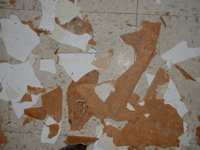
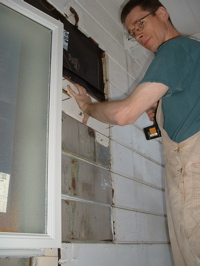
(left) while all of this was going on, i came up from the garage, took a break from stripping wainscoting and noticed how easily the paint/plaster/wallpaper chipped off the bedroom wall. (right) and i helped mathew install the bathroom window. he set up shims on the window sill inside and had me hold them in place while he inserted the window from the outside. he had me use the level to make sure the window was aligned correctly then he screwed it in place from outside.

stairswindow

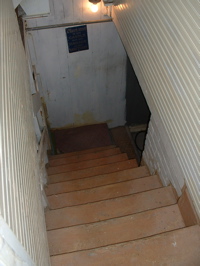
(left) next it was time to install the giant bedroom window, but first we had to carry it upstairs from the garage. this was no easy feat, check out the size of the stair well… mathew estimates the window weighs about 100 pounds, and the stairwell is so tight that mathew has to duck every time he walks up or down the stairs. we took the window out of the box and it has these big vinyl fins all around the window, which make it easy for attaching to the outside of the house, but impossible to hold onto or place down on the floor to rest. so we struggled with carrying this window, carefully up this stairwell without hurting the window, the walls or ourselves. let me just say, it was tiring and STRESSFUL. if it were daytime we probably should have carried it up the outside stairs, but since the box had already been taken apart and mathew was determined to install the window that night… we had dinner then came back to install it.

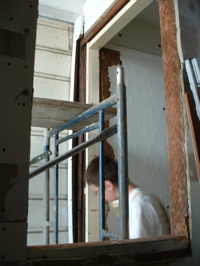
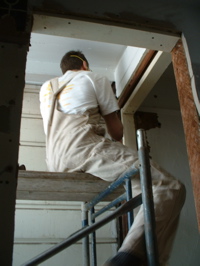
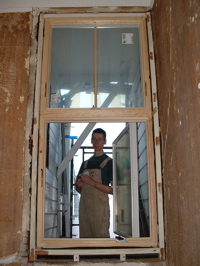
(right) this photo was taken the next morning, AFTER the installation. installing the window was stressful but not as much as carrying it upstairs! the tricky thing was that the window had to be passed through the opening then lifted up into place and installed from outside while standing on the scaffolding. at that point the scaffolding was set up to reach above the window; i had the idea to remove the top bars so that we would have room to maneuver the window outside.

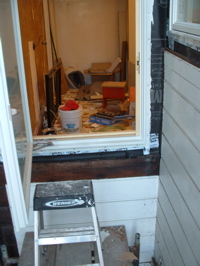
first i went outside onto the scaffolding while mathew passed the window through the opening to me while climbing outside too. then i went back inside and placed the shims on the sill while mathew tried to balance the window on it’s crazy vinyl fins. next he lifted the window into place on top of the shims. it took some adjusting, adding shims until the window was level. we passed tools to each other through the new bathroom window. and while mathew was screwing the entire window in place i was holding a light up in the bathroom window so he could see what he was doing. what a night!

wallchips

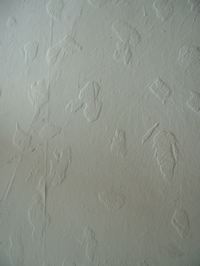
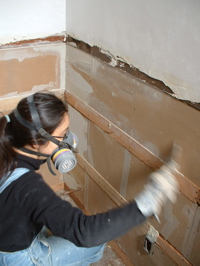
(left) before all of that, i was having fun chipping off the paint/plaster/wallpaper in the bedroom. that splodgy plaster technique (see white wall photo above) is really ugly but i managed to make the room even uglier! (right) mathew took this photo of the chips on the floor but that was nothing. they were seriously everywhere!

windowwindow

on sunday mathew worked on sealing around the new windows and replacing the exterior siding and trim.

janeenmathew

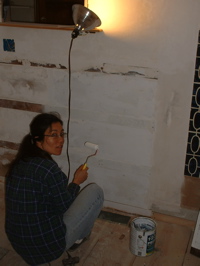
i painted the gypboard and backer strips where the wainscoting will be installed, just one more moisture barrier.

wainscotingbulbs

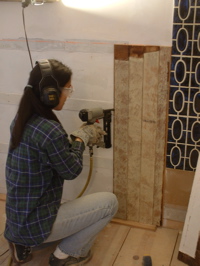
(left) and then i got to work installing the wainscoting. because of the uneven floor i have to measure for each piece then cut them on the miter saw. mathew taught me how to use the air-powered nailer, a tool i never thought i’d use, because i hate the gun-like quality and the NOISE involved. it was after i’d installed quite a few of these tongue in groove boards that i realized it was a very simplified version of installing flooring. so, in the end i did get to learn something about flooring! you might wonder why these boards are so ugly… they are RECYCLED. these are the boards i’ve been stripping downstairs in the garage, eventually they will be painted white. in a way, this is MY project: i stripped the boards (with the help of the gee sisters!), i cut and installed gypboard and backer strips, now i’m cutting and installing the boards, next i’ll sand and paint them. except for the painting, mathew did this entire process for the upstairs bathroom in 2008.

(right) the gladiolus (bulbs i planted) have finally arrived!

done plastered

While Janeen filled all the gaps between the backers with plaster, I cut out the gyp board around the base of where the shower receptor (base) will go, and installed cement board that is thinner than the existing board. My goal is to get the receptor to fit slightly into the wall, so that it’s easier to waterproof. We’ll see how that works.

janeen filling gaps in plasterboardbaserepaired

Below left I’m sanding and filling blemishes in the plaster. Cheating! So we started off well. But then I got distracted. First we drove to the plumbing store, and couldn’t find the part we were looking for. Then we went to Flowercraft. I bought three seedlings: a pepper and two tomatoes. the jasmine is already starting to bloom. Amazing to think we plucked a sprig off our neighbor’s plant near our old house, and now we have this!
mathew touching up plasterjasmineflwrs

janeen took the photo on the left to show you how fun it is to wait for bulbs to grow. not here yet. not here yet. still not here. still waiting. grass is growing, though.

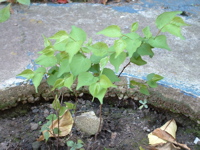
On the right, John’s apricot tree that he gave us has survived. I thought it died, but it’s thriving. actually, it looks like a bunch of saplings.

waitingforbulbsdads tree: apricot

grass: grows only where you don’t want it. getting sidtracked pulling weeds while planting peppers and tomatoes. nice to spend some time outside on such a nice weekend, too.

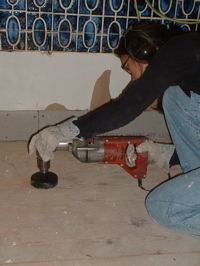
janeen used ‘uncle ken’ to drill a 4″ diameter hole in the floor for the shower drain.

mathew sidetrackedjaneen boring - i mean drilling

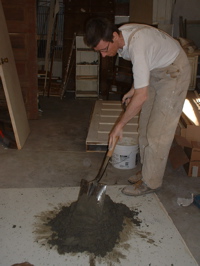
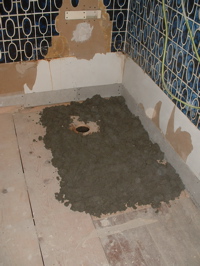
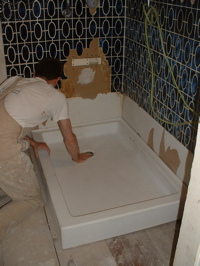
to hold the shower in position and support the base better, we put down a layer of mortar under it. on the photo at right, you can see an error i made: no moisture barrier under the mortar. the water from the mortar has been absorbed by the wood. the wood swelled after we installed the receptor, so it’s not fitting quite right. i’ll give it a couple of weeks to see if the wood shrinks back down. if not: tear out, do it all again, this time right. 🙁

mixing mortarforgot to put moisture barrier

below left: little did I know.

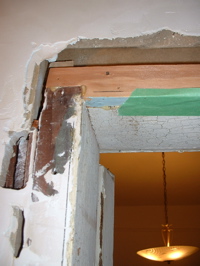
on the right below, i spent a few hours repairing the door frame. When the previous owner’s remodel covered this door, they sawed off part of the frame. I’ve glued and nailed new pieced of wood in the frame to flush it out to the face of the plaster.
installing receptorrepair frame

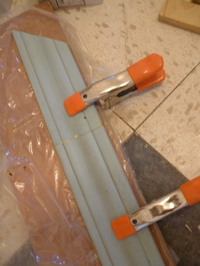
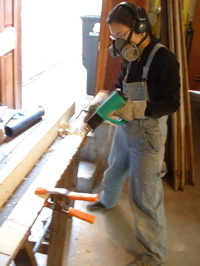
Below left: using clamps and a biskit to glue two pieces of the door trim, salvaged from the other door, so that I can use it for this door. below right: janeen was a paint stripping machine on Sunday: she almost finished all the wainscoting. you can see a huge stack of pieces she’d already done in the background behind her.
salvage trim for doorjaneen stripping (more paint)