2 years, today

today is mathew’s mum’s birthday, happy birthday sue! (well, technically, it’s no longer the 24th in england but it’s still her birthday in california for another 6 hours.)

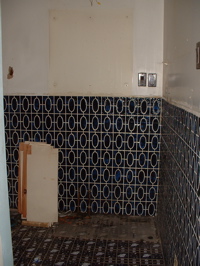
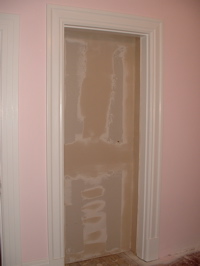
it’s also the anniversary of the day we bought this house and it marks two years that we’ve been remodeling/restoring this victorian!

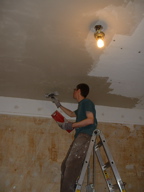
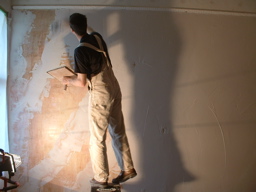
i was going to create a before and after gallery but i realized it’s going to take a lot more time to look through all the photos from the last two years. so you’ll just have to wait for that. in the mean time here is what happened this last weekend.
floor1_8.22.09floor2_8.22.09

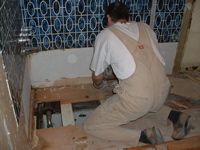
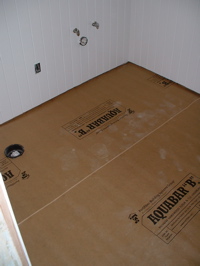
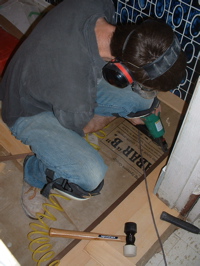
on friday mathew started installing the floor in the downstairs bathroom. first the water barrier paper, then the cedar border with walnut feature border.
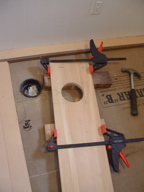
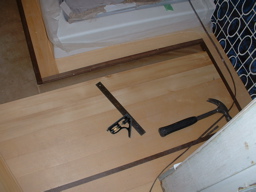
hole3_8.22.09floor4_8.22.09

the flooring continued on saturday. (left) mathew used MY technique for cutting holes into multiple pieces of tongue and grooved wood! (right) here’s a tricky bit near the shower base, a corner going around the border and a narrower strip.
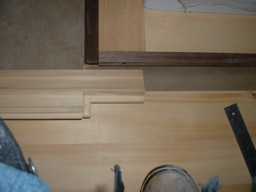
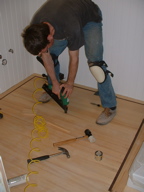
floor5_8.22.09floor6_8.22.09

(left) here mathew is showing how he used the router to cut the wood to fit around the corner (i’m sure there’s something more technical he’d like to explain but i don’t know what it is!) (right) fitting and nailing the last piece! it gave him pain when the router ate the edge of the wood but it was the last good piece of cedar he had so he had to make it work and filled it later.
vanityholes1_8.22.09vanityholes2_8.22.09

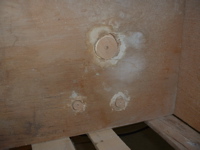
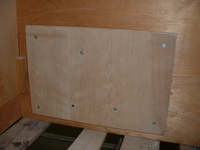
there were 3 holes that the previous owners drilled in the bottom of the bathroom vanity for the plumbing (odd, shouldn’t the plumbing have come through the wall and the opening at the back of the vanity?) i drilled wood circles to fit the holes then attached them with glue and screws to a piece of wood on the underside and filled them with filler.
dad7_8.22.09mom8_8.22.09

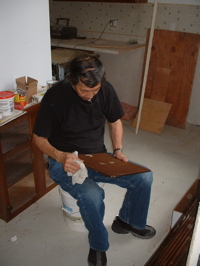
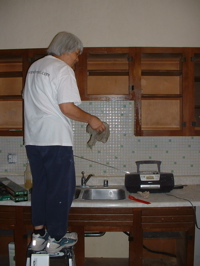
(left) my dad filling the holes where the old kitchen cabinet handles were. (right) my mom cleaning the cabinet. mathew kept walking in wondering if the music was bothering her. i thought it it was funny how she mentally tuned out the led zeppelin and billy idol that kfog was subjecting her to!
doors9_8.22.09doors11_8.22.09

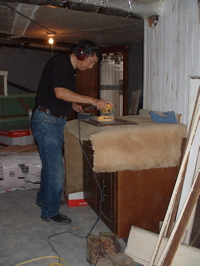
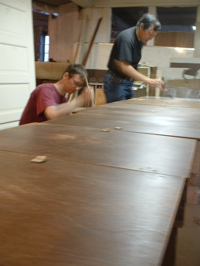
downstairs my dad sanded the cabinet doors and then painted them with oil based primer. normally we use water/latex based paint but mathew bought oil based primer this time because he was worried about the paint sticking well to the old cabinet doors.
mom10_8.22.09janeen12_8.22.09

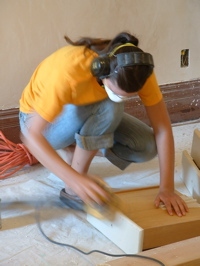
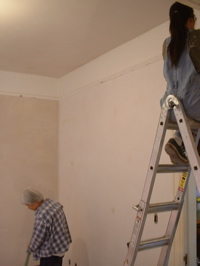
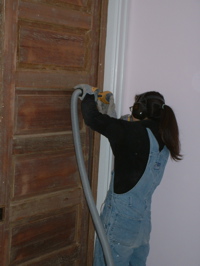
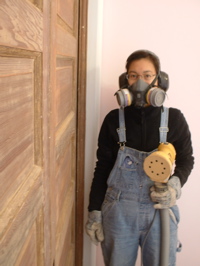
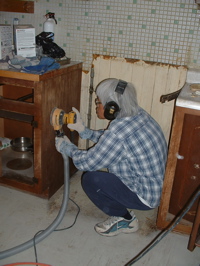
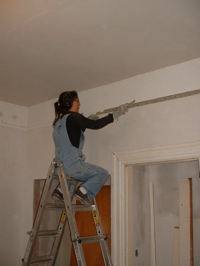
(left) “mathew’s learn-by-doing home remodeling school” introduced my mom to the power sander. (right) and i spent practically all of sunday up on my ladder chipping away paint from the picture rail.
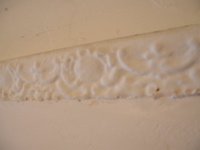
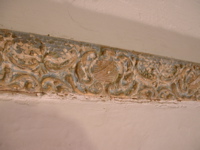
picturerail17_8.22.09picturerail18_8.22.09

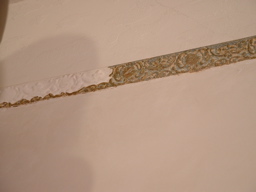
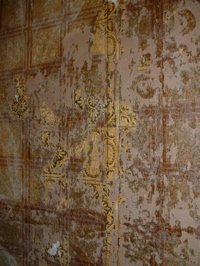
this is what i’ve been spending hours chipping away at. (left) gloopy with years of paint and filler. (right) i couldn’t take a photo that really showed what this looked like. the raised bits are metallic gold and the background is a gradation from medium blue to a light teal blue. we’ll be repainting this white but it’s fun to see what it originally looked like and the details will be a lot sharper once painted again. plus the groove at the top of the picture rail has now been cleaned out so it will be ready to hold pictures soon.
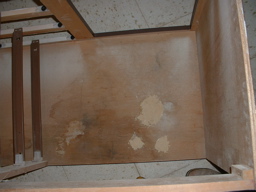
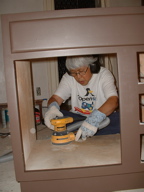
vanity13_8.22.09mom14_8.22.09

(left) here are my filled holes at the bottom of the vanity. (right) and here my mom is becoming a pro at the power sanding, sanding the filler and surface smooth. when she and my dad work on their rental property remodels they usually sand by hand so she was amazed by how fast the power sander could finish in minutes what might normally take hours.
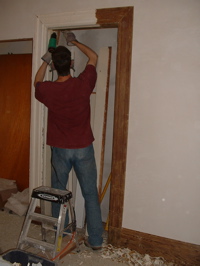
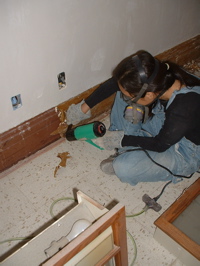
trim15_8.22.09baseboards16_8.22.09

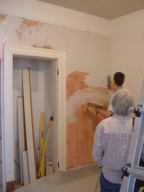
after my parents left we proceeded to poison the air. (left) mathew stripping a closet door frame. (right) while i stripped baseboards.
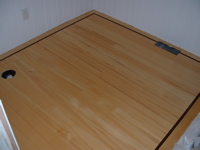
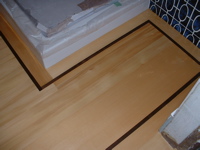
floor19_8.22.09floor20_8.22.09

how the bathroom cedar floor looks after 3 coats of poly.

fast flying weeks

how is it already saturday and i haven’t created a post for last weekend?

mathewmathew2_8.14.09

(left) this is what mathew’s thursday night looked like. (right) this is friday morning.

wall3_8.14.09wall4_8.14.09

(left) at first we’re always amazed by how great the plaster instantly looks after weeks of cracked plaster, plaster washers and mesh tape. and then we immediately forget how bad it used to look and we take it for granted as just another wall. remember all the hours spent chipping paint, steaming wall paper, attaching plaster washers, mesh tape and plaster weld paint? (right) mathew demonstrating how smooth and reflective this plaster is. he says this was the most satisfying wall in this room. or maybe he said it was the most satisfying wall of his entire plaster career.

wall5_8.15.09rail6_8.15.09

(left) saturday, the last wall to plaster, it gave him some pain. even though i think he’s really skilled with the plaster, there’s still more to learn.

i visited my grandmother with my parents that afternoon. she has been in a really good mood lately. my mom thinks she’s happy about having decided she will live with us,… again. but i still wonder if she will change her mind,… again.
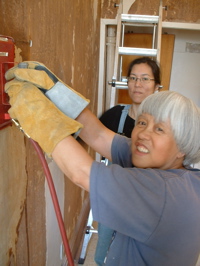
(right) picture rail i’m stripping by chipping the paint with a putty knife. i’ve found that this is the best way to preserve the trim with all of its victorian details. the heat gun seems to melt the details right off and chemical stripping is just plain gross and evil. i should take some close up photos so you can see what i’m staring at for hours at a time…

dad7_8.16.09painting8_8.16.09

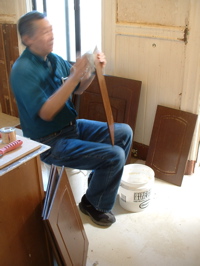
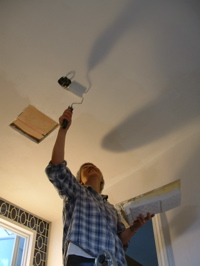
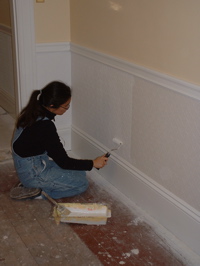
on sunday my parents came by to help. they’ve decided to devote their weekends to the house until it’s done. since they are both retired they say they can work hard for two days then rest for five. (left) my dad is removing all of the kitchen cabinet doors and labeling them so we know which ones go where. (right) my mom and i are putting one more coat of paint on the bathroom ceiling, walls and wainscotting. although we look like we’re just standing around talking…

eva9_8.16.09dad10_8.16.09

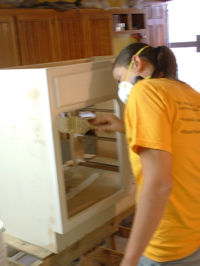
(left) mathew’s sister eva dropped by to help too! she walked in sipping a fragrant mug of philz coffee (an extremely popular coffee shop nearby.) she has just moved back to california from minnesota. we’re happy to have her help and we’re happy to have her back in the bay area! here she is sanding the old vanity drawers that will be repainted and put back into the bathroom. (right) my dad happily cleaning dozens and dozens of kitchen cabinet doors, removing years of someone else’s cooking grease.

window11_8.16.09eva12_8.16.09

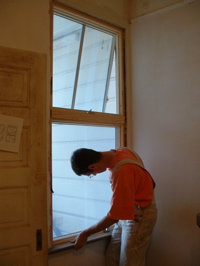
(left) when mathew wasn’t taking photos or managing all of our projects he was running up and down between the garage and bedroom to re-fit the window trim to the new window. (right) eva in the garage priming the vanity after sanding it.

momja13_8.16.09trim14_8.16.09

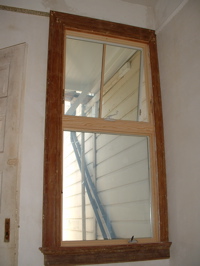
(left) my mom sweeping up little bits of paint that i keep making as i chip away layers on the picture rail. (right) mathew’s window trim in place. it was a bit tricky because the new window is slightly different in size than the old one, so replacing the trim involved some piecing and extending. this trim has been paint stripped with a heat gun and will be sanded and painted again.

i’ll do my best to get this weekend’s post up before next weekend rolls around!

hope everyone is having a good summer.

our generous volunteers

last saturday i started my weekend by going to see the new harry potter movie with my childhood friend, marisa, who i hadn’t seen since october 2007! i returned to find a house full of busy bees…

dadmom

my dad was drilling holes for blow-in insulation. my mom was priming the bathroom walls and ceiling. mathew was working on electrical wiring. everyone was very engrossed in their projects. i walked to the local store to buy paint then helped my mom with the primer.

mathewdad

mathewmathew

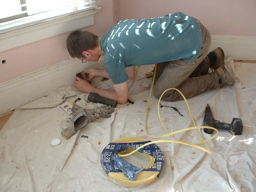
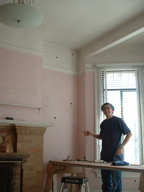
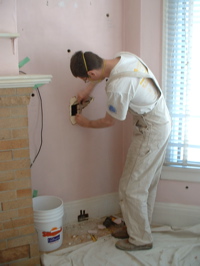
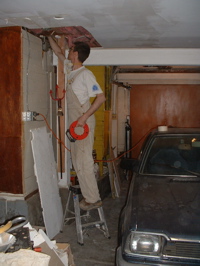
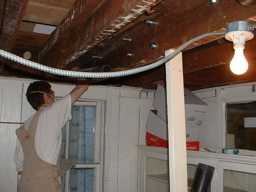
on sunday mathew continued with his electrical work adding new outlets and networking cables. this usually starts with cutting holes upstairs (above left) then stringing wires through to the garage downstairs (above right.) it sounds simple but it can be very frustrating if the wires don’t behave and have trouble moving through the walls. last weekend mathew says he spent 5 excruciating hours on one outlet trying to pull wires through at an impossible angle.

momdad

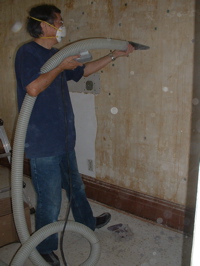
meanwhile my parents and i worked on installing the cellulose insulation into the walls where my dad had drilled holes in the downstairs bedroom, kitchen and office.

medad

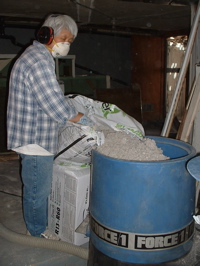
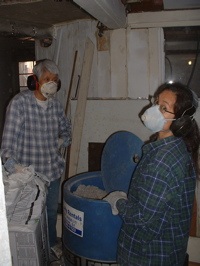
in the garage, my mom and i were doing the noisy, dirty work of filling the machine hopper with the insulation material while upstairs my dad had the peaceful job of filling the holes and working the machine through a remote control.

his job did have some drawbacks as the reducing nozzle is only an inch wide so it would often get jammed and the whole process would have to stop. and it wasn’t often easy to un-jam the nozzle. also, sometimes there’s confusion with the switches on the remote control, if you turn off the agitator but not the blower, when you pull the nozzle out of the wall, you will shower yourself in snowy, grey, dusty recycled fibers. mathew and i have both experienced this and i think my dad did too.

mathewkitchen

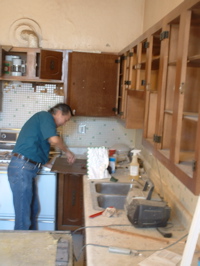
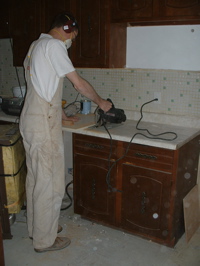
in the late afternoon i heard a loud noise coming from the kitchen. what i found was mathew cutting the countertop. this downstairs kitchen is HUGE, possibly twice the size of an average san francisco kitchen, with way more cabinets than anyone could ever need. our plan is to eliminate some of the cabinets and bring the refrigerator closer to the stove and sink, then add a built in bench to create a dining area near the window.

larrylarry

last weekend felt a bit like we had tag-team volunteers, just hours after my parents left on sunday night, my cousin larry appeared. and as if he had known we hadn’t gotten a chance to go shopping and were running low on food, he brought all kinds of organic fruits and vegetables for us!

on monday morning larry got to work painting around the trim in the bathroom with a paintbrush, later he filled in the walls with a roller, then painted the window trim and wainscoting. he gave the room two coats on monday and another on tuesday. we think the bathroom looks great and it’s exciting to see it becoming finished. the floors are next…
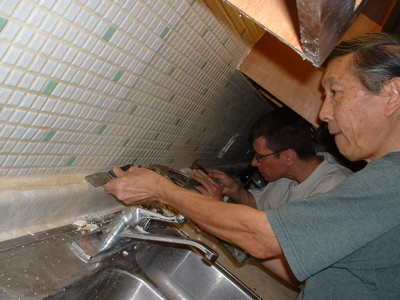
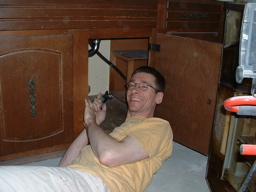
we are so grateful to our generous volunteers. not only do they give their valuable time but they always seem to bring food. THANK YOU!!!!!! we know that mathew and i can be a bit perfectionistic and we sometimes have people working on things they’ve never done before, but we truly appreciate all of your efforts and enjoy spending time with you. with your help we are getting closer to our goal and one day will be able to spend time with you that doesn’t involve dust masks, work clothes or tools.

help!

So now we’ve got a real deadline: Po-Po has decided that, in fact, she does want to move in here. We gave her a firm date of the end of September. We need to finish the kitchen, bathroom and bedroom by then!

Janeen’s parents came here both days last weekend, and they worked really hard. I also took a few days off work to get the kitchen moving faster.

01_kitchencabs-09071602_kitchencabs-holes

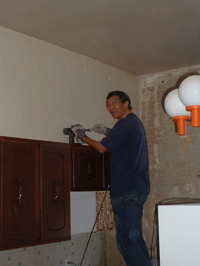
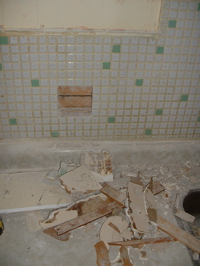
I took down the cabinets to get wiring in for additional plugs and under cabinet lights. It was surprisingly quick to string the wires in and add the plugs. Had to cut some new holes into the tile, and big gashes into the wall…

05_kitchen-wiresin06_kitchen-wiresin2

Then John showed up and fixed all my messes. He patched in tile where I’d broken it out.

03_kitchen_plug07_kitchen-johnmixing

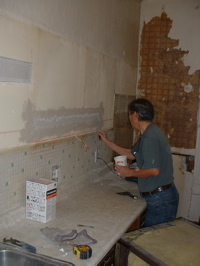
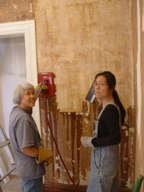
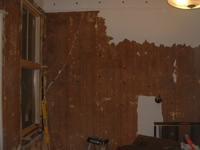
And taped and plastered over the holes in the walls. Meanwhile, Janeen and her mum worked with a wallpaper steamer that we’d rented to take all the old wallpaper and many layers of paint off the walls in the bedroom.

09_kitchen-patching08_bedroom-steaming

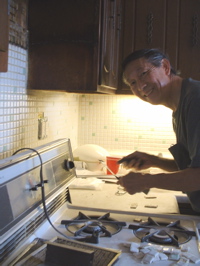
The photo below shows John and me getting perfectionist about the caulk on the edge of the old tile. The person who had put in the tile had failed to polish off the grout from the surface of the tile when they put it in, so the tile all had patches of grout; we scraped and chipped it off. They’d also used grout where they should have used a flexible caulk – at the interface between the counter top and the tile – so it had cracked; chipped that off too.

15_kitchen-chippingcaulk

The photo below is of me plumbing the dishwasher drain hose into an “air gap”. Previously, it had been directly fed into the drain, but the air gap prevents water backing up in a blocked sink and emptying into the dish washer (a good thing, I’d say). Janeen and Judy had become pros with the steamer by now. I wish we’d known about this tool before.

10_kitchen-plumbing11_bedroom-steaming

Not content with a solid day of work, they came back for more punishment the next day. John caulked the gaps in all the wainscot boards and helped me put the cabinets back in. Janeen and Judy moved on to steaming the kitchen. The photo below right shows them installing plaster washers as a team. I think Judy thought her job (assembling the screw onto the washer) was too easy.

12_bathroom-caulkingwainscot16_bedroom-plasterwashering

I went and hid down in the garage and put the final coat on the door that goes to our hallway. I think John thought the steamer looked like fun, so he took it and did a wall.

13_halldoor17_kitchen-johnsteaming

Below left you can see the mess we’ve got the kitchen into. Not quite finished steaming off the wallpaper here. We suspect that grease in the air has made the wall paper much more water resistant, so steaming in the kitchen went very slowly. The special scoring tool would cut right through the wallpaper and damage the plaster, so it wasn’t much help. Sanding the wallpaper helped a bit. Below right shows the kichen cabinets back up, and the new under cabinet lights on.

19_kitchen-majorcleanup20_kitchen-cabinetsup

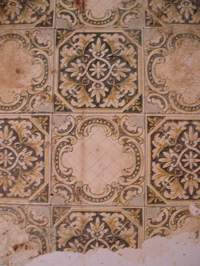
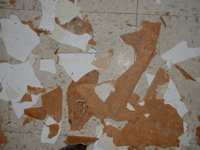
Here are a couple of photos of the old wallpaper in the kitchen.

04_kitchen-wallpaper18_kitchen-oldpaper

déjà vu

we’re reached the point in our remodel where everything is starting to look familiar because we’ve done it once before.

scaffoldingscaffolding

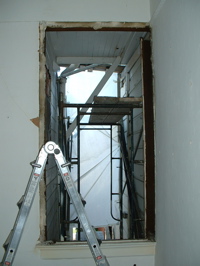
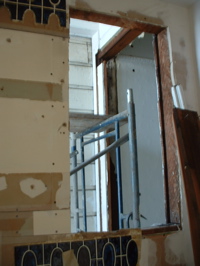
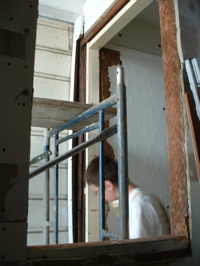
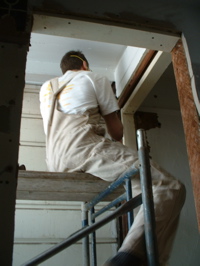
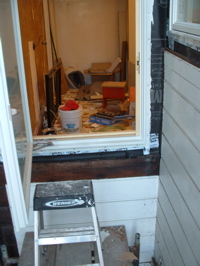
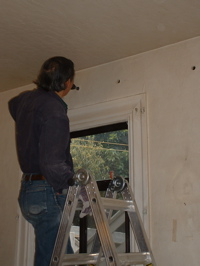
similar to when we were working on the living room on this level, mathew rented scaffolding to prep and install the bedroom and bathroom windows.

mathewmathew

first he removed all the interior and exterior window trim and then he removed the big bedroom window.

wallwindow

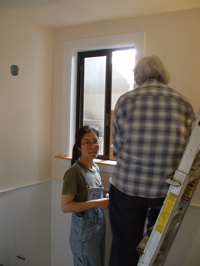
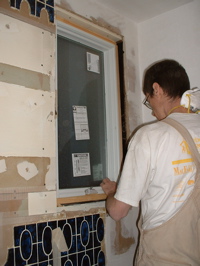
(left) while all of this was going on, i came up from the garage, took a break from stripping wainscoting and noticed how easily the paint/plaster/wallpaper chipped off the bedroom wall. (right) and i helped mathew install the bathroom window. he set up shims on the window sill inside and had me hold them in place while he inserted the window from the outside. he had me use the level to make sure the window was aligned correctly then he screwed it in place from outside.

stairswindow

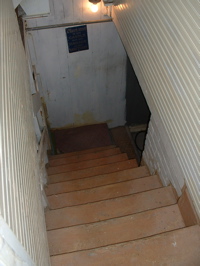
(left) next it was time to install the giant bedroom window, but first we had to carry it upstairs from the garage. this was no easy feat, check out the size of the stair well… mathew estimates the window weighs about 100 pounds, and the stairwell is so tight that mathew has to duck every time he walks up or down the stairs. we took the window out of the box and it has these big vinyl fins all around the window, which make it easy for attaching to the outside of the house, but impossible to hold onto or place down on the floor to rest. so we struggled with carrying this window, carefully up this stairwell without hurting the window, the walls or ourselves. let me just say, it was tiring and STRESSFUL. if it were daytime we probably should have carried it up the outside stairs, but since the box had already been taken apart and mathew was determined to install the window that night… we had dinner then came back to install it.

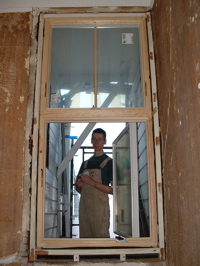
(right) this photo was taken the next morning, AFTER the installation. installing the window was stressful but not as much as carrying it upstairs! the tricky thing was that the window had to be passed through the opening then lifted up into place and installed from outside while standing on the scaffolding. at that point the scaffolding was set up to reach above the window; i had the idea to remove the top bars so that we would have room to maneuver the window outside.

first i went outside onto the scaffolding while mathew passed the window through the opening to me while climbing outside too. then i went back inside and placed the shims on the sill while mathew tried to balance the window on it’s crazy vinyl fins. next he lifted the window into place on top of the shims. it took some adjusting, adding shims until the window was level. we passed tools to each other through the new bathroom window. and while mathew was screwing the entire window in place i was holding a light up in the bathroom window so he could see what he was doing. what a night!

wallchips

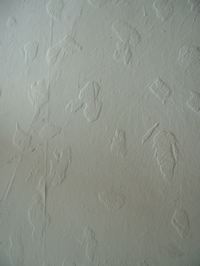
(left) before all of that, i was having fun chipping off the paint/plaster/wallpaper in the bedroom. that splodgy plaster technique (see white wall photo above) is really ugly but i managed to make the room even uglier! (right) mathew took this photo of the chips on the floor but that was nothing. they were seriously everywhere!

windowwindow

on sunday mathew worked on sealing around the new windows and replacing the exterior siding and trim.

janeenmathew

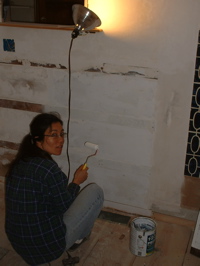
i painted the gypboard and backer strips where the wainscoting will be installed, just one more moisture barrier.

wainscotingbulbs

(left) and then i got to work installing the wainscoting. because of the uneven floor i have to measure for each piece then cut them on the miter saw. mathew taught me how to use the air-powered nailer, a tool i never thought i’d use, because i hate the gun-like quality and the NOISE involved. it was after i’d installed quite a few of these tongue in groove boards that i realized it was a very simplified version of installing flooring. so, in the end i did get to learn something about flooring! you might wonder why these boards are so ugly… they are RECYCLED. these are the boards i’ve been stripping downstairs in the garage, eventually they will be painted white. in a way, this is MY project: i stripped the boards (with the help of the gee sisters!), i cut and installed gypboard and backer strips, now i’m cutting and installing the boards, next i’ll sand and paint them. except for the painting, mathew did this entire process for the upstairs bathroom in 2008.

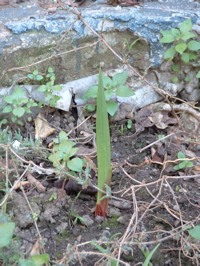
(right) the gladiolus (bulbs i planted) have finally arrived!

all over the place

last weekend we spent all of our time in the downstairs bathroom. this weekend we worked in and around the bathroom and we had helpers.

dadmom

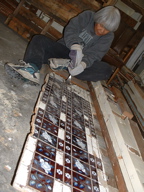
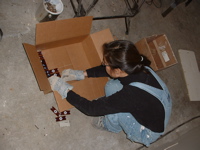
my dad was in the downstairs bedroom drilling holes in the wall for blow-in insulation. my mom and i were in the garage pulling nails from wood, then separating floor tile from particle board, saving any reusable tile to donate to Scrap.

mathewjaneen

mathew was in the bathroom cutting and pulling up floor boards and making tons of noise. i’m sure he was doing more than this but i don’t know exactly what he was doing. (maybe he’ll add to this.)

kitchendad

later my mom and i moved upstairs to sort through the blue wall tile that we’ll need to reuse and fill in the gaps in the bathroom. and my dad drilled more holes in the kitchen wall. the system is: you drill holes at the top between all the studs, then you drop a string down with a weight to find where the fire blocking horizontal wood pieces are, this is about half-way down the wall where the blow-in insulation would be stopped within the space, then you drill another hole below the fire blocking.

janeenjaneen

i spent most of sunday sanding the double-doors in the living room downstairs, first the large flat surfaces with the power sander and then the smaller and curving parts by hand. i spent about 5 or 6 hours on this.

joistjoist

mathew was working on moving and replacing joists below the bathroom. the previous owners had cut out parts of the joists: BAD. and the new layout of the bathroom causes the plumbing to move, so a couple joists needed to be repositioned.

vent prepducts

in the evening we moved on to heating ducts in the garage. the new bathroom layout means these will get moved around too. mathew is hoping something can be done so that the new ducts will NOT be the perfect height for hitting his head on…

ductstinman

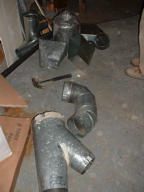
mathew pulled apart all the pieces leading from the furnace to the bathroom and i scraped off the asbestos tape. (right) now we’ve got enough old and new parts for an interesting tinman…

last weekend

i’ve really been dragging my feet with making these posts…

doordoor

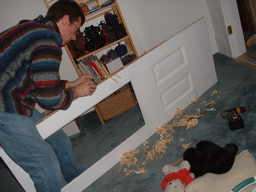
(left) last friday mathew planed the door so it would fit into the door frame, as the bears watched.

closetanaglypta

(left) the closets are now completed with drywall. (right) and the anaglypta gets some paint.

bathroombathroom

(left) a hole that shows the right side of the door that leads into the bathroom from the bedroom. the original owners had closed this door but left the door and frame on the bedroom side. (right) toilet removed.

mathewbathroom

(left) and next goes the sink and vanity. and the cabinets and mirrors.

tapingbottle

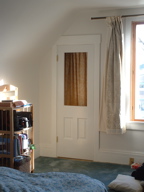
(left) all four closets now have drywall and taping done. we worked together in cutting and installing the drywall as well as taping with topping plaster. (right) morning sunlight streaming into the upstairs bedroom.

hope everyone had a good week!

happy 2009

paintcolors

we spent hours sanding and filling the door taken from the basement. this photo shows where a piece of wood had been used to fill where the door handle had been moved, many years ago. janeen counted the layers of color. it was archeology:

  1. dark green
  2. dark grey green
  3. apple green
  4. dark brown
  5. medium grey
  6. mint green
  7. medium grey (again – i guess they decided they liked the color)
  8. cream
  9. pale turquoise
  10. off white
  11. white

janeenbiskitjoinerscrewing and glueing the door extension

we then added a piece of wood to the bottom of the door. the door from the garage is shorter than the opening upstairs by about 5 1/2″. We just added a piece of 2×6 from my offcuts pile onto the bottom of the door. janeen used the biscuit joiner to cut slots for wood ‘biskits’ that will hold the new piece of wood to the bottom of the door. she also screwed in two 6″ long bolts to help clamp the wood while the glue dried.

it’s not ideal. panel doors are built with vertical pieces on each side, and horizontal pieces connected between them. the vertical side members help to prevent the horizontal pieces from warping. the piece we added has no vertical pieces, so it may warp. the bolts may help. we’ll see.

woodshavings_20090103dumpy's palace

the next day, i planed the wood flush with the face of the door.

above right: dumpy has a palatial new home. janeen finished off most of the trim painting in the front entry foyer.

begin demo of closet doorlookingupcloset_20090103

meanwhile, i tore out the makeshift ceiling and walls in the closets between the bedroom and the living room and framed in a wall between the living room and the bedroom. our plan is to create a bookshelf on the living room side, and a closet on the bedroom side out of this short passage between the rooms.

I made a hatch to get at the space over the closet in case I need to get to the plumbing under the bathroom above, and added in wiring for a light in each of the three closets.

janeensviewframing closet

above left: the view janeen saw of me on new years day. on the right, the framing is installed.

installing gypcloset ceiling

we got most of the gyp board on.

janeenfastdoorsjaneendoors

janeen painting the trim around the living room doors.

halllightclosehall light

i cleaned up the light in the entry hallway. you’ll have to look back to see how it looked before. but i really like the retro patterned glass. i also painted the cover plate at the top of the light to match the walls: janeen calls it a Mercedes hubcap.

bathroom doorbathroom door open

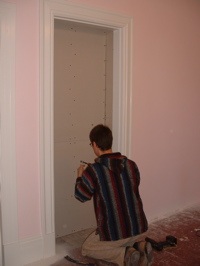
ok, one last thing: this door between the bedroom and the bathroom was closed up. we are planning to re-open it. here you can see how insulation and a wall was framed in front of the door. get ready for ugly.