The siding is all on, and now the trim is going on. It’s all starting to look much better.
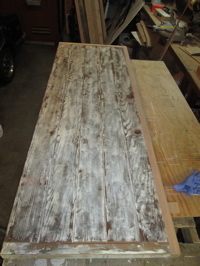
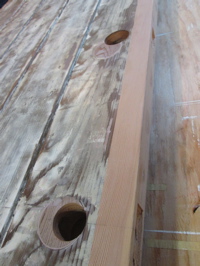
The old back door was a peeling mess. It was also too short, and wasn’t square. Oh, and it was starting to come apart, too. So why did I save it? Not sure – but I did. Above left after I’d stripped off all the paint, and added pieces of wood at the side, top and bottom to make the door the correct size. I also glued it back together. This door was actually a home-made door by one of the previous owners, probably. Above right, I had to fill in the old holes for the door handle and lock, and re-drill because the door changed size.
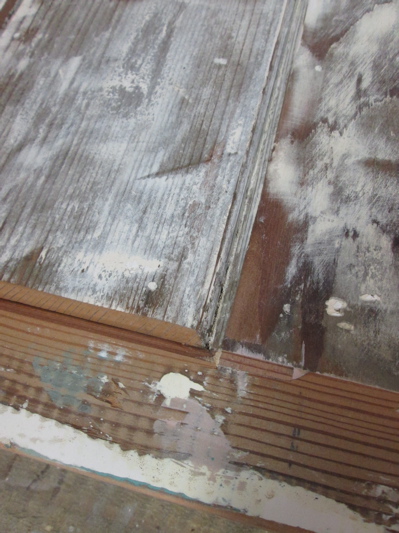
They made the door by building a frame, attaching a veneer plywood on the inside, and vertical redwood v-groove siding on the exterior. When I extended the top and bottom of the door, I used a solid piece of wood the full thickness of the door. To match the old v-grooves, I added a horizontal groove at the joint: If you can’t hide it, make a feature out of it!

Here’s an 8 second photo of the lunar eclipse from our back porch…
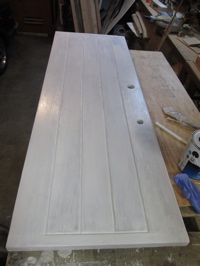
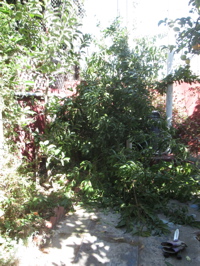
Above left, here’s the door after priming. Above right: Someone climbed over our fence and landed on our peach tree. It got completely broken. There is a small limb left, but it was the one that grew towards the fence, so it’s not looking promising for this tree. The main trunk got broken off by the clumsy oaf. This happened in the middle of the morning, yet we didn’t see anyone, and because there’s construction across the street, we didn’t hear anything either. Sad.

We got our welcome packets for AIDS/Lifecycle 2016! Bella loves the boxes.
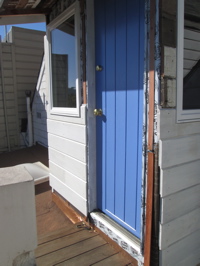
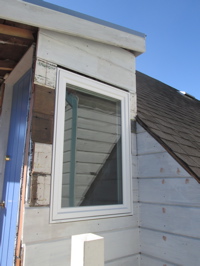
Here’s the door painted. Janeen picked out the paint color, but the paint store didn’t mix it quite right (she picked a slightly greyer blue). Above right, finishing up the siding. The old pieces on the left are just serving as spacers – they will be covered by the trim that goes around the window.
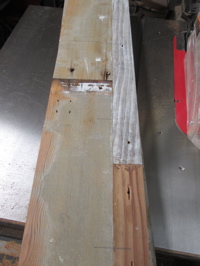
I ran out of the original siding. The lumber yard sells v-groove siding, but it’s thinner, and doesn’t have quite the same vertical dimension as the siding on the house. So I had to make some more (or buy some custom-milled). Besides, I have loads of wood sitting around that I need to use up.
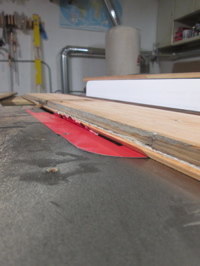
Above left, first I glued pieces of redwood or cedar together to make boards of the right width. Then I beveled one edge on the table saw (above right).
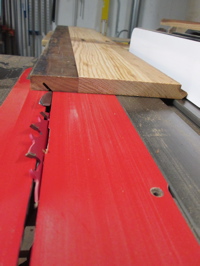
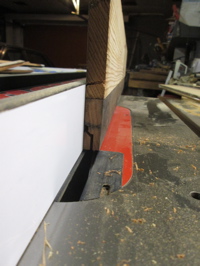
Then I have to make the tongue side, with the bevel, so first I cut the bevel (above left). Then I stand the board up on end, and cut out the wood in front of the tongue (above right).
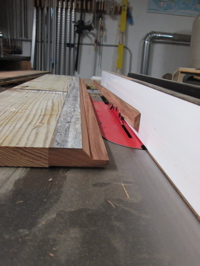
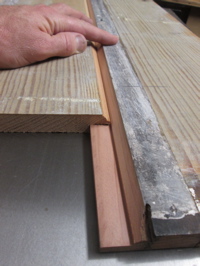
Above left shows the tongue side done. I used a similar process to make the lap side. Above right I’m test-fitting the newly made v-groove siding.
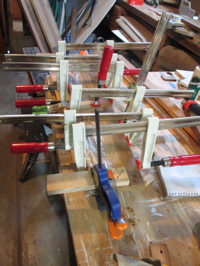
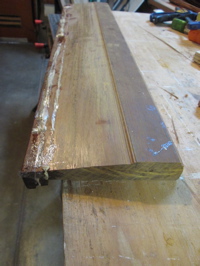
I made a sill for the door. I used the same Ipe wood that the deck is made from. Above left, I’m not going to drag you through the whole process, but I had to make it a bit wider, so here’s clamping another piece on the front edge. I used polyurethane glue, which bubbles up and makes quite a mess while curing (above right after it’s cured).
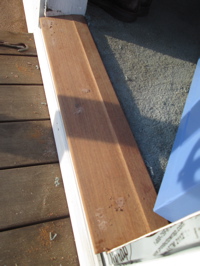
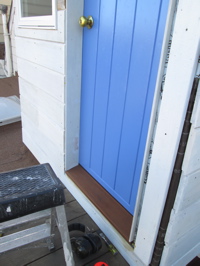
Here’s the door sill installed. Starting to look good.
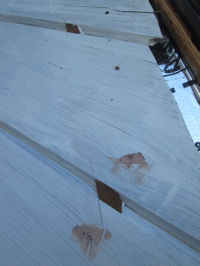
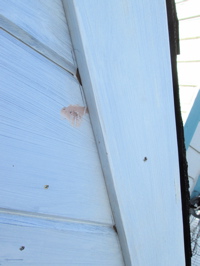
Whenever a piece of trim is installed on v-groove siding, there will be holes left that need to be filled with small v-shaped pieces of wood (otherwise insects use them as nesting places).
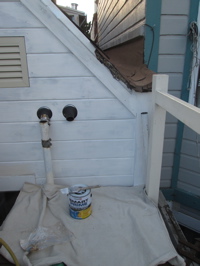
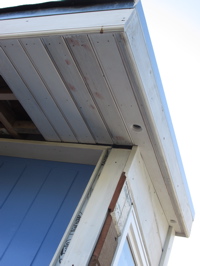
Ahh, finally I have the siding finished at this location. Primed, and ready for the final coat. Above right, I’m starting to put the bead-board on the eve. More on that later!
