today is mathew’s mum’s birthday, happy birthday sue! (well, technically, it’s no longer the 24th in england but it’s still her birthday in california for another 6 hours.)
it’s also the anniversary of the day we bought this house and it marks two years that we’ve been remodeling/restoring this victorian!
i was going to create a before and after gallery but i realized it’s going to take a lot more time to look through all the photos from the last two years. so you’ll just have to wait for that. in the mean time here is what happened this last weekend.
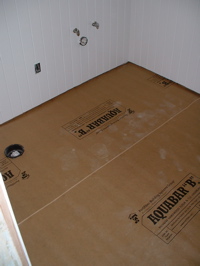
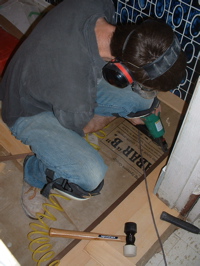
on friday mathew started installing the floor in the downstairs bathroom. first the water barrier paper, then the cedar border with walnut feature border.
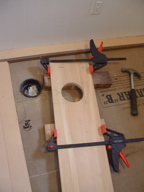
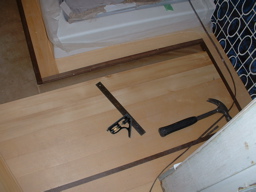
the flooring continued on saturday. (left) mathew used MY technique for cutting holes into multiple pieces of tongue and grooved wood! (right) here’s a tricky bit near the shower base, a corner going around the border and a narrower strip.
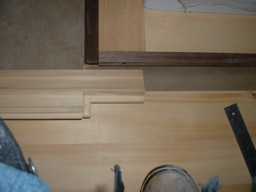
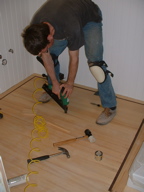
(left) here mathew is showing how he used the router to cut the wood to fit around the corner (i’m sure there’s something more technical he’d like to explain but i don’t know what it is!) (right) fitting and nailing the last piece! it gave him pain when the router ate the edge of the wood but it was the last good piece of cedar he had so he had to make it work and filled it later.
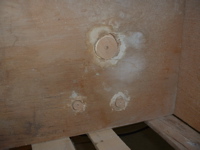
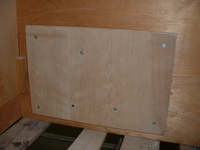
there were 3 holes that the previous owners drilled in the bottom of the bathroom vanity for the plumbing (odd, shouldn’t the plumbing have come through the wall and the opening at the back of the vanity?) i drilled wood circles to fit the holes then attached them with glue and screws to a piece of wood on the underside and filled them with filler.
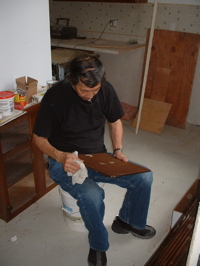
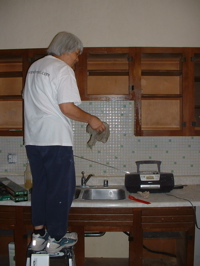
(left) my dad filling the holes where the old kitchen cabinet handles were. (right) my mom cleaning the cabinet. mathew kept walking in wondering if the music was bothering her. i thought it it was funny how she mentally tuned out the led zeppelin and billy idol that kfog was subjecting her to!
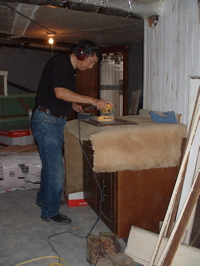
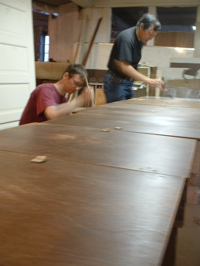
downstairs my dad sanded the cabinet doors and then painted them with oil based primer. normally we use water/latex based paint but mathew bought oil based primer this time because he was worried about the paint sticking well to the old cabinet doors.
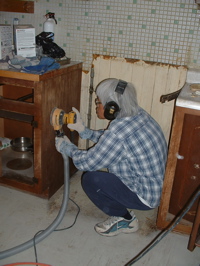
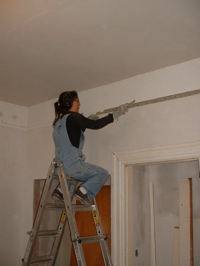
(left) “mathew’s learn-by-doing home remodeling school” introduced my mom to the power sander. (right) and i spent practically all of sunday up on my ladder chipping away paint from the picture rail.
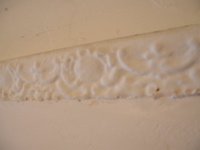
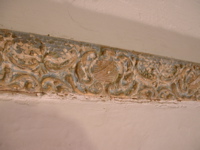
this is what i’ve been spending hours chipping away at. (left) gloopy with years of paint and filler. (right) i couldn’t take a photo that really showed what this looked like. the raised bits are metallic gold and the background is a gradation from medium blue to a light teal blue. we’ll be repainting this white but it’s fun to see what it originally looked like and the details will be a lot sharper once painted again. plus the groove at the top of the picture rail has now been cleaned out so it will be ready to hold pictures soon.
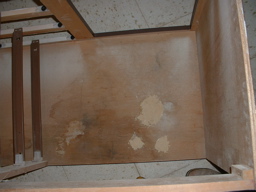
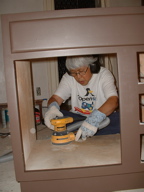
(left) here are my filled holes at the bottom of the vanity. (right) and here my mom is becoming a pro at the power sanding, sanding the filler and surface smooth. when she and my dad work on their rental property remodels they usually sand by hand so she was amazed by how fast the power sander could finish in minutes what might normally take hours.
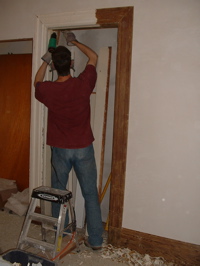
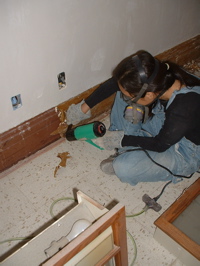
after my parents left we proceeded to poison the air. (left) mathew stripping a closet door frame. (right) while i stripped baseboards.
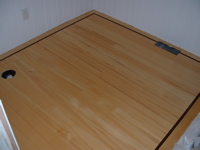
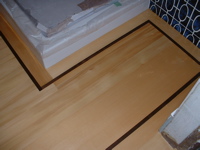
how the bathroom cedar floor looks after 3 coats of poly.
