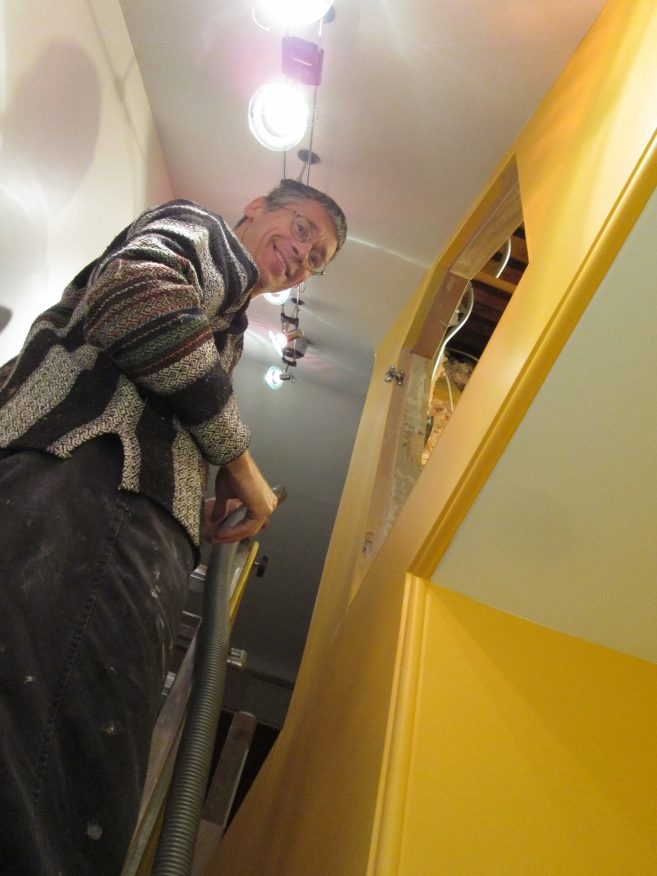
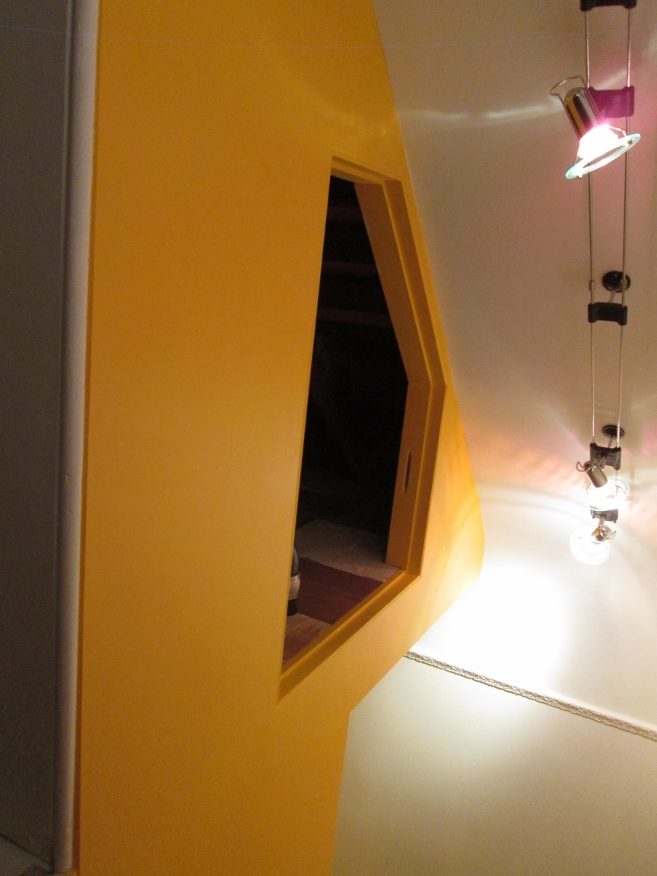
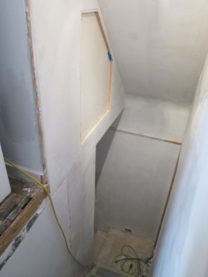
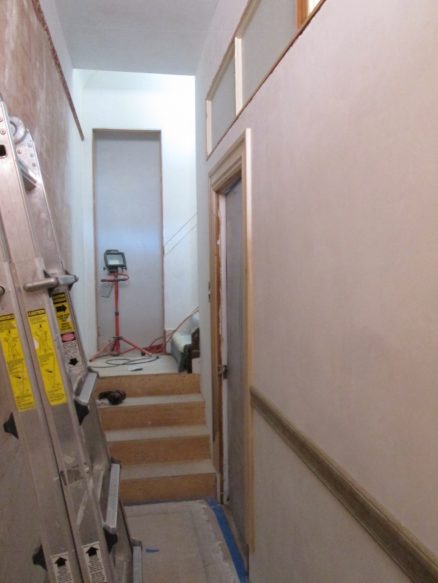
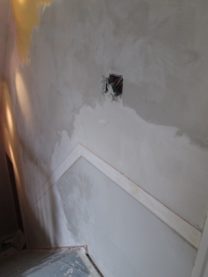
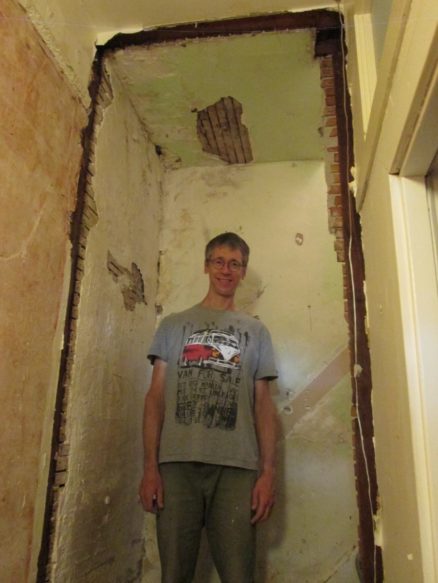
When I raised the ceiling in the hallway upstairs, I created a small closet to access plumbing and electrical stuff. This space used to be accessed by climbing through the attic space.
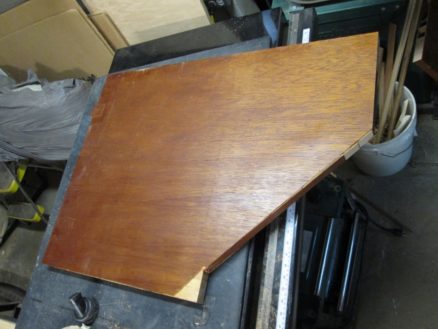
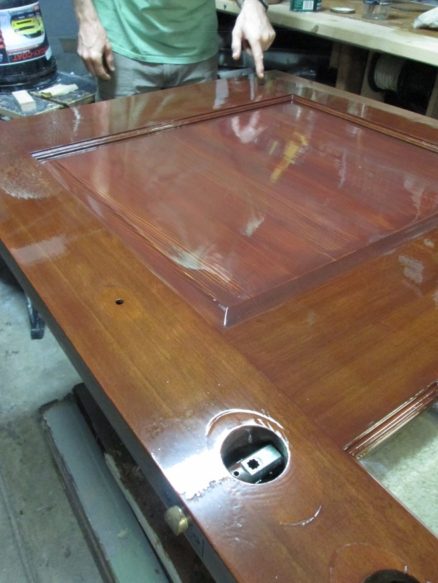
I made a custom little door to fit the opening (out of an old door).
Because it’s me doing this, I have to make it a bit more complicated. So I was trying to figure out how to make the door as flush as possible. I found something called “hidden hinges”. They fit into routed slots on the door, and because of some very clever mechanism, they allow the door to open 180 degrees, and the hinges fold up into themselves when the door closes. My mistake: I chose not to pay the $20 to buy the pre-made jig (I figured I could just make my own). There goes a weekend!
I bought a marine door latch that sits flush with the door. It’s not completely invisible, but I’m quite happy with how it came out.
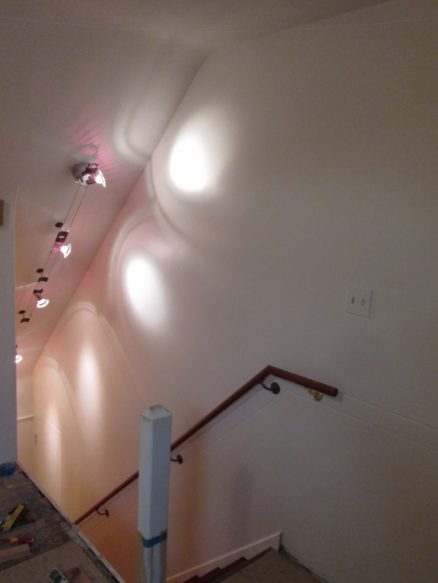
oh, and I love the patterns the lights make on the other wall…
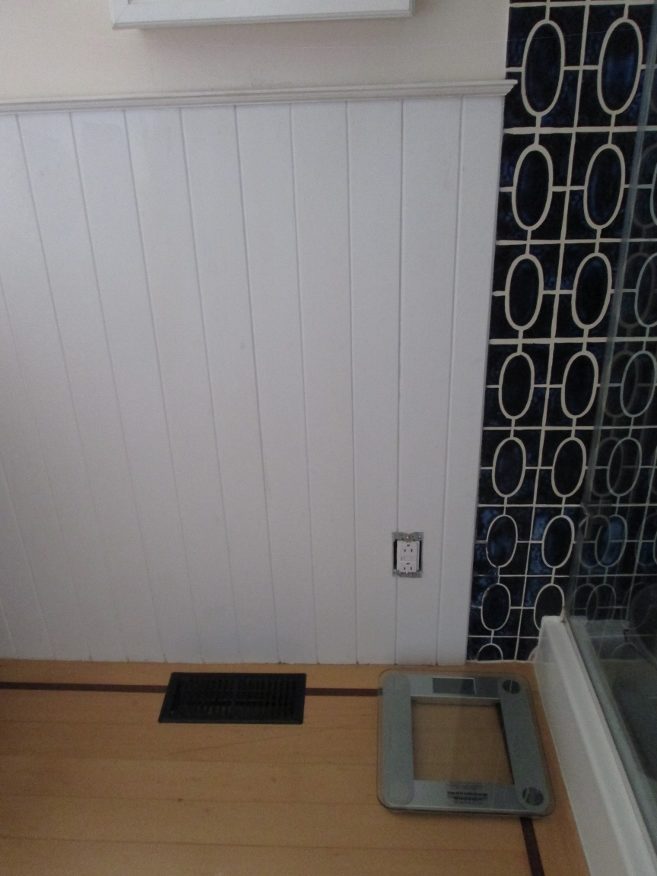
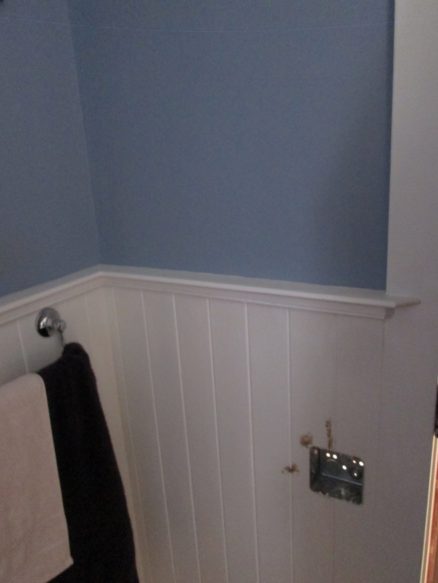
I never thought about them before, but I’ve come to really like towel warmers. They sound like such a luxury: Warm towels! But they are also quite useful because they help to dry wet towels faster, so they don’t go moldy smelling. The only difficulty: They need a plug.
Originally, I had put just a regular towel rail here, and a towel warmer in another corner of the bathroom. Even though I went to architecture school, I’m still surprised by how I really need to live in a space to know how it will work. I had assumed air from the heating vent would dry things. Didn’t really work, and the towel warmer was in an awkward place. So I decided to move it.
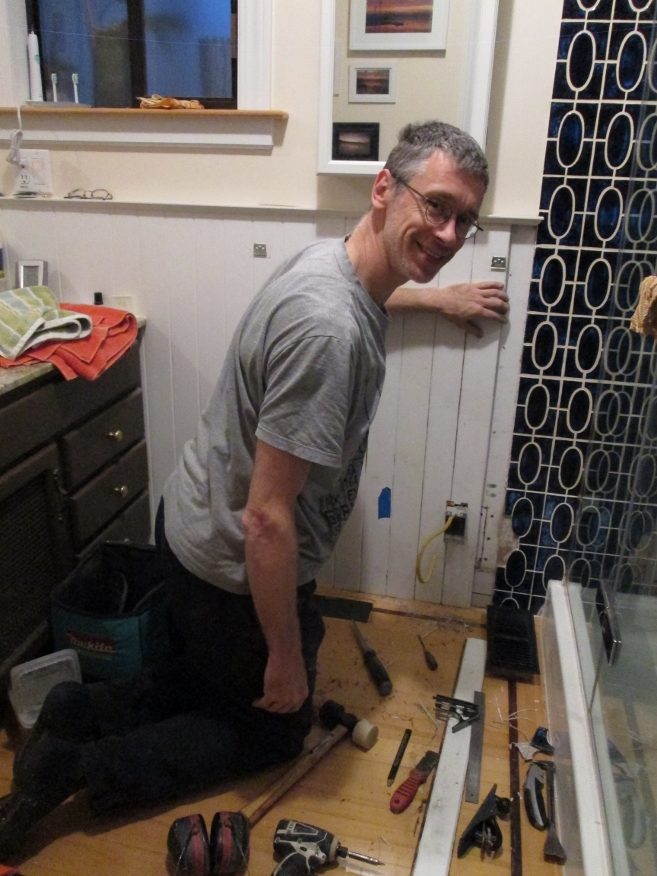
Mole caught a photo of me as I was closing the wall back up. I often forget to take photos.
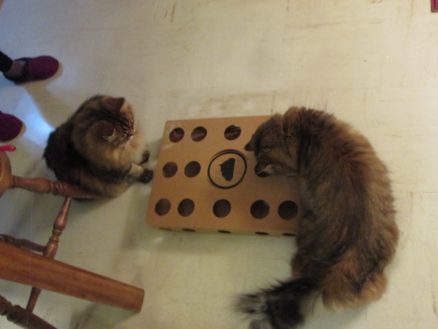
We bought a new litter box for the girls with higher sides: Arwen! Modcat are value added: They include a game for the cats with the litter box packaging.
oh, and upstairs: I also put that towel warmer in. There’s no heating upstairs (yet?) so I got a larger one, hoping it will help to warm up the bathroom a bit in the winter. Same process: I need a plug.
This time, instead of tearing off the finishes inside the bathroom, I took off the drywall outside. I’d been planning this (ten+ years ago), so never plastered the walls.
Here it is installed. It was a bit tricky because the thickness of the wood wainscot below meant I had to add little spacers where it attaches at the top. I think eventually I’m just going to remove that wainscot below: Too fiddly for such a small bathroom.
What a month. 2020 is the year that keeps on taking. Well, we’ve tried to push on with the upstairs work, and almost finished the front hallway and stairs.
And of course, there’s mask making. Janeen’s figured out how to make a mask that fits my very three dimensional face. All other masks squash my nose down, so I have to breathe through my mouth.
Arwen loves helping.
Oh, and as if it wasn’t enough that a selfish minority of people in USA insist on not wearing masks (thus keeping the spread of Covid at high numbers and voiding all the sacrifices in March, April and May) the fire season started early and with a vengeance this year. We were having a 100F+ heatwave in California, and one night a thunderstorm came. It has been a long time since I remember that much thunder and lightning. In SF, it started raining during the storm, and the temperature dropped. At the time, it felt like a welcome break to the heat.
But most places just got lightning which started forest fires all over the state. Within a few days, the smoke was choking everyone: Maybe this would get the anti-maskers to finally put them on?
This Covid pandemic has now been going on so long that we are all exhausted. At first, there was talk of baking bread, cooking, and finding ways to be creative. Then we started protesting about police brutality and BLM. And when things got bad, the president-in-name-only just made things worse. Now I just feel beaten down.
The air quality forces us to keep the windows closed, and we can’t even go outside for a walk in the fresh air. For me, my work is going full blast, but meetings and all coordination has to happen remotely. So I feel lucky that I have work. At the same time, it’s exhausting to try to keep pushing on. Many people seem to be just at 25% at work, so nothing is going smoothly – parents are probably distracted trying to look after their kids at the same time.
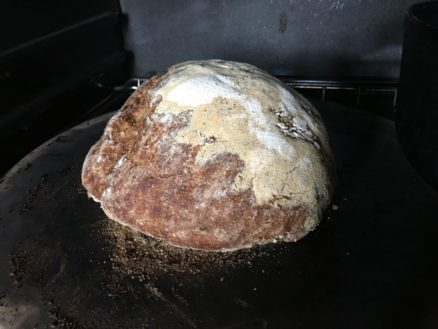
So I decided I had to at least try to keep baking sourdough.
I have even been baking almost wheat-free sourdough loaves for mole. The starter has wheat flour in it, so out of a 500 gram loaf, about 20 grams is wheat flour.
The apple tree gave us a lot of really good Fuji apples this year. We got a couple of boxes of peaches, too. They were tasty, but not as plentiful as other years.
We happened to be working on the house during those really unpleasantly hot days this summer. We masked off the hallway, and I used the sprayer to paint. Once the masking is done, the spraying goes very fast. But I have to wear my full crazy outfit:
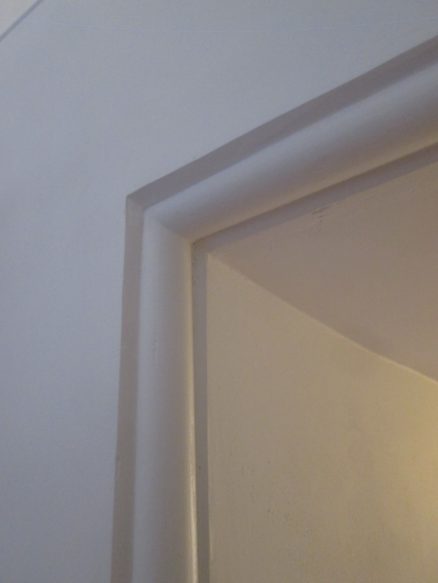
Back to the hallway, here’s the detail at the Victorian corner moulding. Because I didn’t tear out the plaster on the wall, the additional layer of veneer plaster makes it a bit proud of the dowel. But I still like the detail (instead of a sharp corner using a metal bead).
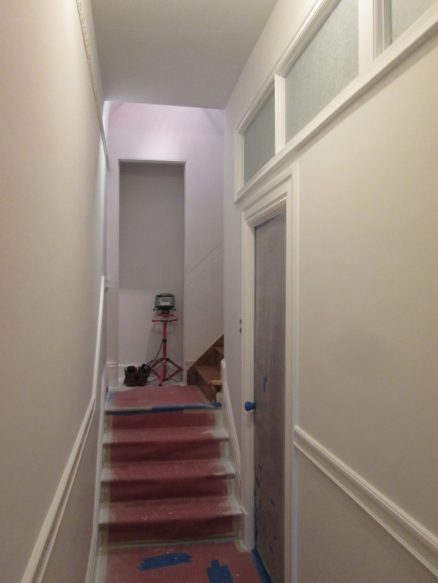
Here’s the hallway with primer on.
Here’s the hallway after painting. Initially I also painted the far wall that yellow, but it was too much. The yellow color continues around the corner, so it reflects on the white wall.
This is how the light switch came out. I accidentally installed it too close to the door, so the moulding didn’t fit. So Mole suggested I build the light switch into the moulding!
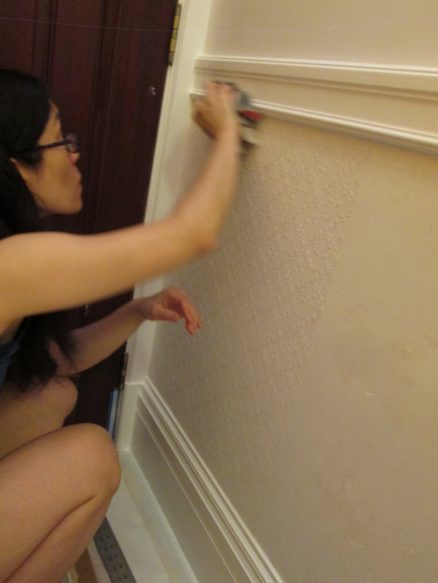
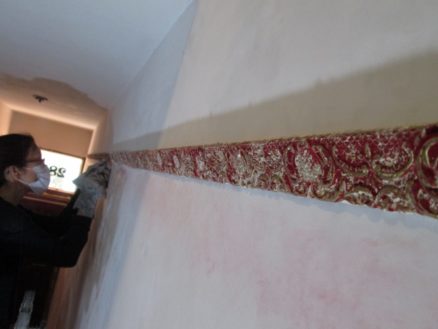
Next step is to put the Anaglypta on the walls below the chair rails. It’s the same as we used at the front of the downstairs.
The textured pattern hides any unevenness in the wall, and adds a subtle decorative finish. I like it.
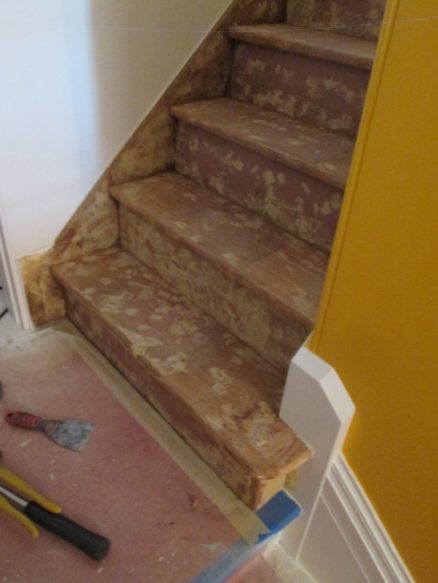
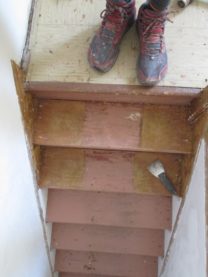
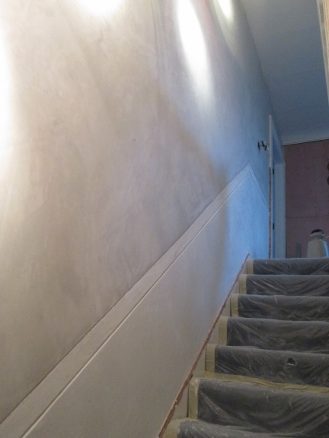
Now the carpet is off the stairs, and the paint stripped, there’s a LOT of filler needed. I also had to take off and glue a couple of the treads together. All the nails and staples from the carpet of the last hundred years left a lot of holes.
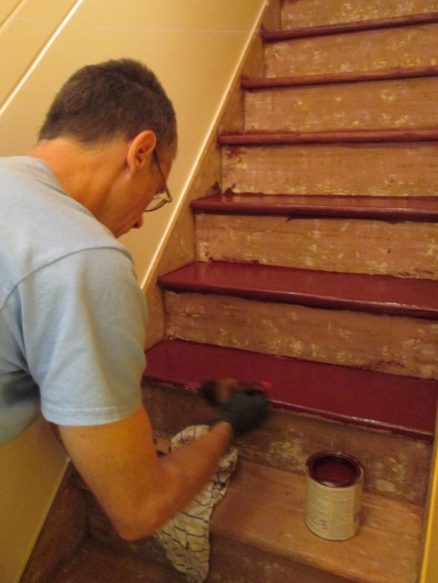
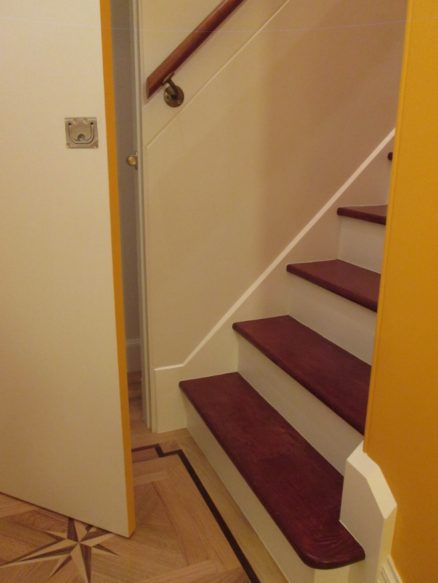
I stained the stair treads with the same stain I used on all the doors downstairs. We plan to put a runner down the center of the stairs so it’s a bit more grippy and padded than plain wood stairs.
It’s coming together. Here’s mole at the bottom of the stairs…
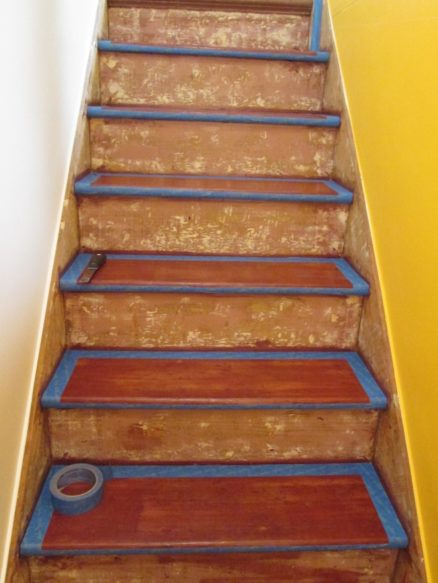
Once the stair treads were stained, and sealed with polyurethane, I painted the risers and the sides white…
Meanwhile: During the heat, I had the windows wide open in the front office. Arwen decided to climb out of them, and jumped across to the front stairs. But then she couldn’t figure out how to get back, so she started scratching on the front door. She also tried climbing up the front door, and tried to jump in the window.
Bella alerted Janeen by calmly sitting inside the front door, staring at it. Luckily Arwen made it home safely. But the door did not fare well. There were scratches all up the front where she grabbed on below the window and tried to get hold with her back claws.
So I took the front door off, sanded and re-stained where it was scratched, and gave it a few coats of spar urethane.
That took a about a week. So I had to make a temporary front door.
And then we had the brown day. It was so dark, we couldn’t see where we were walking without turning turning the lights on. Mole tried to take a photo, but the camera couldn’t do it justice:
Looking out the front, in the middle of the morning, it looked like night time.
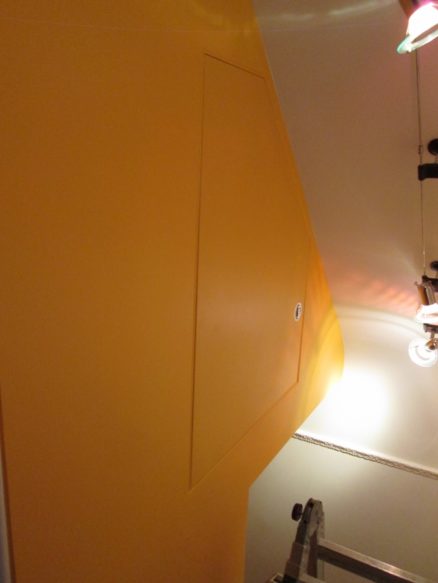
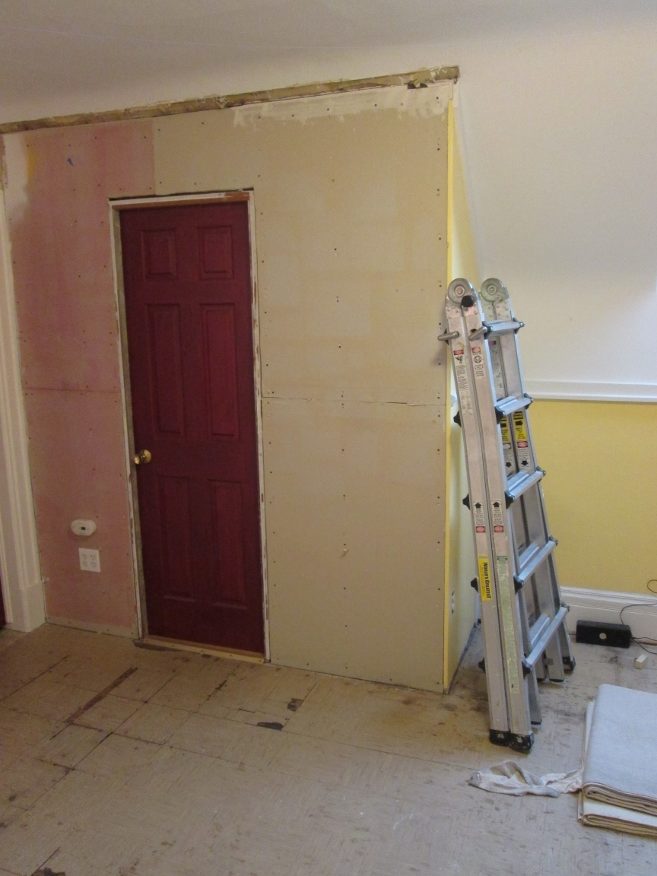
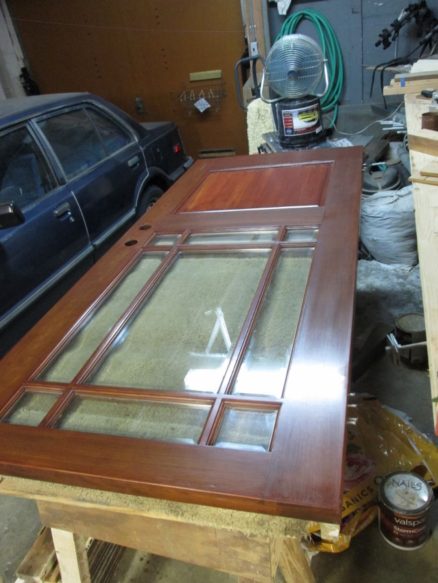
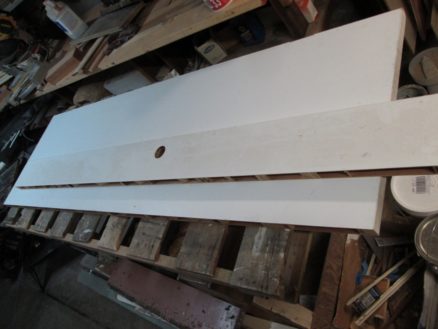
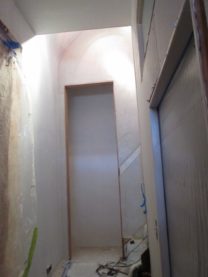
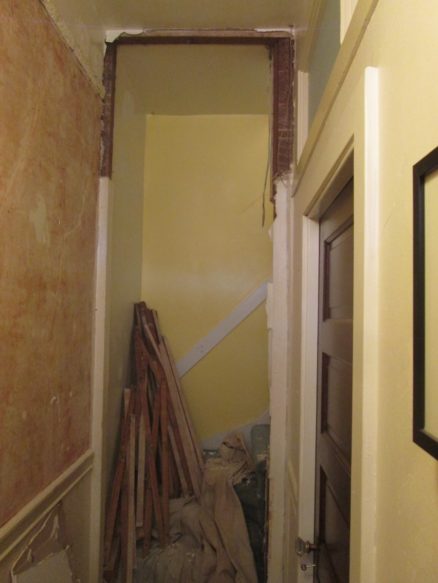
The new hallway closet needs a door, and I had one in the garage left over from (I think) the bedroom door. The previous owners had used this beauty in place of one of the original paneled redwood doors.
I had to cut the width down, and rebuild it because it’s a hollow door. Here I’m mortising the door pull into the door.
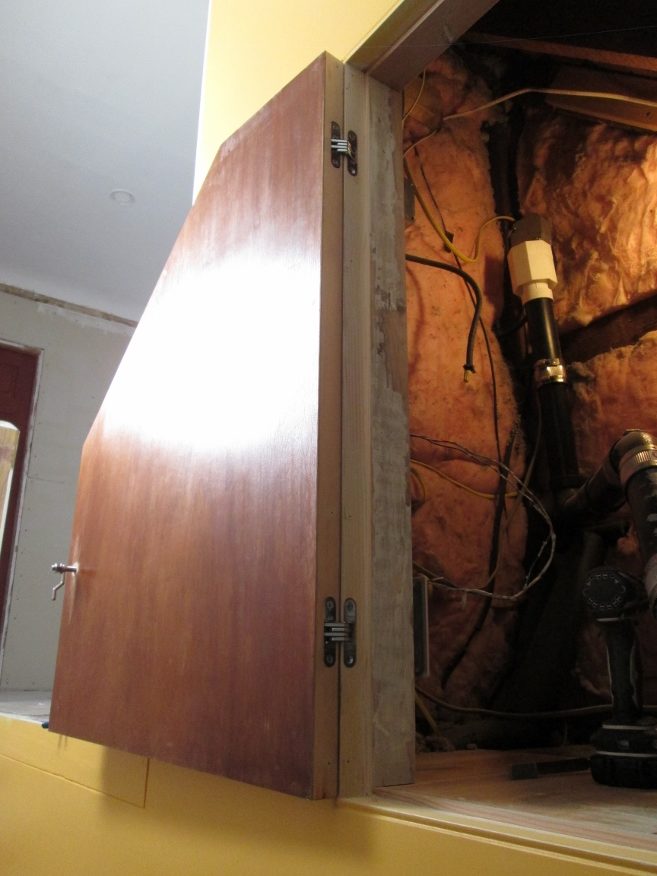
I bought replica cast steel hinges from houseofantiquehardware.com and painted them white. Initially I was thinking of using blind hinges that completely disappear when the door is closed, but they are $75 each, and this door really won’t be invisible anyway.
Here’s the door painted and installed. We painted the edges the same yellow as the wall across, and the rest of the door to match its surrounding wall.
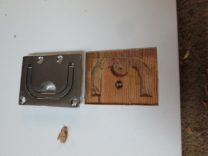
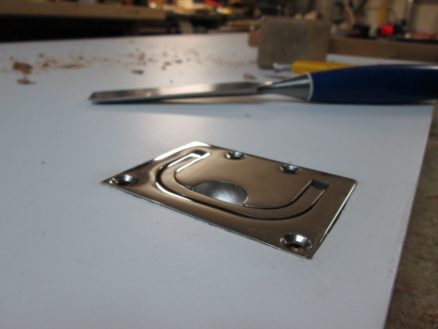
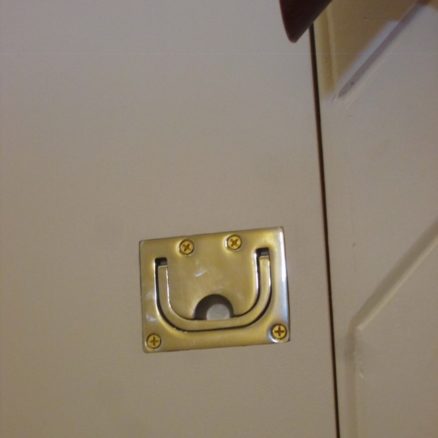
I used a magnetic catch to hold the door closed, similar to a cabinet. i wanted to make a flush door handle so it’s not sticking out as you walk down the stairs. I really like the smiling face on this stainless steel handle (it’s boat hardware).
And yet, there’s more: Mole did the graphic design for Misha’s new CD. It was released purely digitally, so mole put together a few actual physical copies. You can listen to the whole CD here: https://eighttwo.bandcamp.com/album/truth-and-fun
Mole made some door stops. We’ve been using my slippers to hold open/closed the bedroom door. These are much more friendly: They remind me of Totoro.
AND Bella got a new ball. This one is a foam ball that’s bouncy and soft. She’s been playing soccer with it, and also bringing it to us so we’ll throw it to play fetch.
Here’s Bella when mole first gave her a knitted ball as a kitten. She still loves the knitted balls.
Even though covid-time-warp has us (yes I am baking sourdough bread every week) we have been moving forward a little on the hallway.
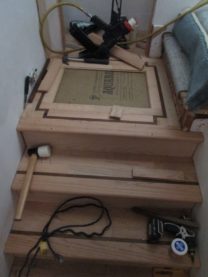
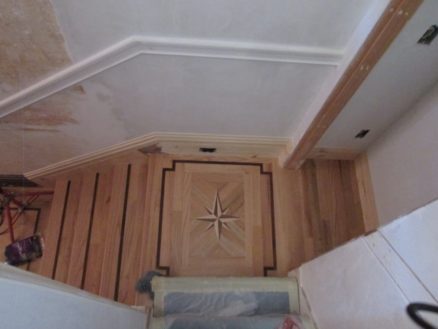
When I was buying the wood for the stairs, the salesperson knew my dad from twenty years ago – he recognized the last name! Above right, I left a space for the new medallion. Dad would sometimes try to talk customers into putting medallions in – and when he did get to do one, he’d be super proud of the result. I’m sure his “beauuutiful, beauuutiful” song was sung while doing those floors.
For our little hallway, I looked online for pre-made medallions, but they were all too big and too fancy. So I did the sensible (?) thing: I decided to make one.
It’s a compass rose – North has a very slight emphasis. It will be set into the floor pointing to magnetic north.
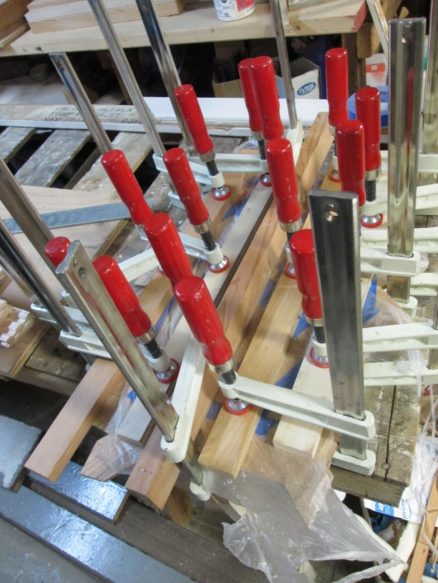
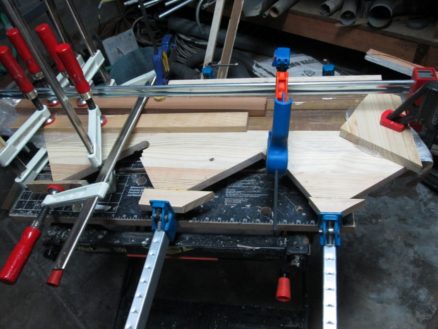
“You can never have too many clamps.” Here I’m clamping the cut-out pieces while they glue to a base of baltic birch plywood.
This is before sanding and polyurethane. Baseboards not in yet…
I’d never thought about it before: Usually you put baseboards on top of the floor, to cover the expansion gap at the edges of the floor. Doing the same on stairs, though, is very difficult. It has to fit the contour of not just one, but all the steps simultaneously. If you’re just off by 1/16 inch on each step, that quickly adds up a to a 1/4″ gap.
I’ve been trying not to damage the carpet on the stairs for the whole time I’ve been working on the hallway. But we don’t want that blue carpet permanently – so why not just take it out?
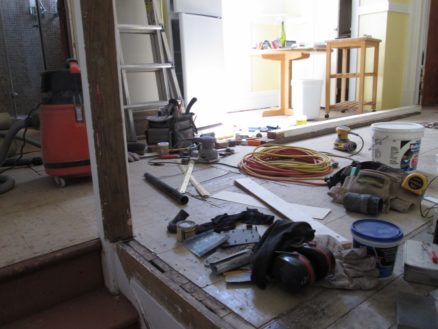
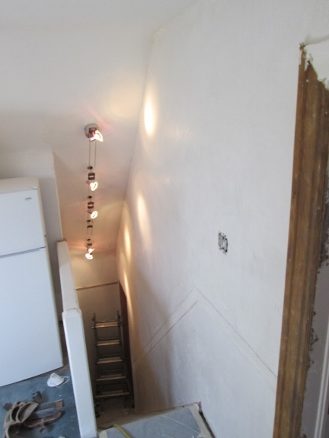
Now we can strip the paint off the sides of the stairs without worrying about melting carpet. Just a quick picture that is the disarray at the top of the stairs:
mole pointed out how cool today’s date is so I had to write it down somewhere.
The front hallway is getting much closer to finished, but still quite a bit to do. This stuff really takes a lot of time. Here are a couple of close up photos: On the right, looking at the ceiling over the stairs, on the left, looking up the stairs. I decided to remove and replace the guard rail here with something more decorative.
When a corner comes up to the ceiling, it presents a bit of a problem. I’m not sure how this would have been handled traditionally. But it was probably done using a pre-made plaster casting, either taking the dowel around the corner, or putting some decoration here.
The photo below left shows how it had been handled in our house. I decided to try to use plaster to make the dowel shape follow the curve of the ceiling. Below right with a rough blockout in basecoat plaster.
It still needs some work, but I think it looks much better than before.
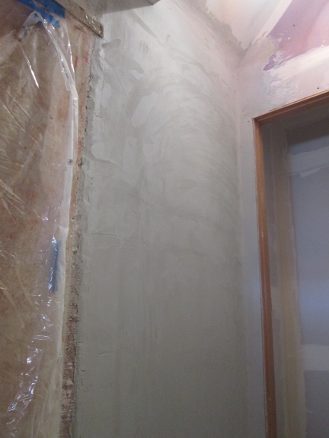
The last wall next to the stairs (on the right of the stairs as you head up.) The photo below shows the wall ready for the base coat of plaster.
Below left with the base coat on, below right with the veneer plaster finished.
Mole caught a couple of photos while I was doing the finish veneer plaster coat. Stairs are a really awkward place to work, because the ceiling slopes, so on my right side I needed to crouch down to reach the piece of wall over the entry. I had to climb down to get more plaster from the bucket every few minutes. And there are a lot of edges that have to be carefully finished around the corner bead.
So now it’s on to putting molding on the doors and windows. This is the back door out of the bedroom upstairs. When I was working on this back porch, we were still living upstairs, so I couldn’t finish the inside of this door. I’ve re-used some of the original trim that was downstairs. Ready for paint.
Here’s a cool pic of mole as she was finishing up restoring the picture rail.
This is the front door before (left) and after (right) I put trim on all around it. I reused old wood, so lots of planing, filling, and routing.
Below left is a close up of the trim on the front door.
Below right, I made a mistake when I put the light switch in: I installed it a bit too close to the door, so it interfered with the frame around the door. Oops. But mole came up with an idea: Build the light switch into the frame. So this is it: I found an old brass cover plate that will make this look really nice.
Almost done with the trim in the photo below. Still need to finish around the windows above.
Again, using pieces of salvaged wood I built up the trim around these windows. Ready for paint!
Oh, and on the other side of this wall, mole put up many of our favorite photos of family and friends.
Yet again, a disaster hits while we have a moron in the white house. As with gwb, the pino was asleep at the wheel, and now we’re going to pay for it.
Had to get that off my chest.
In retrospect, all travel in the US should have been closed until they could get the tests working. But we were blithely traveling around, fully aware of what was going on in China. Before heading to Austin for a short trip, I went to visit dad in Santa Cruz. It was a beautiful day — we played Frisbee on the beach.
AIDS/Lifecycle was still in the plans at the beginning of February, so I went on a training ride. I did not plan to ride this year, so I’ve volunteered as a training ride leader. The ride has been cancelled this year, so now the SF AIDS foundation is scrambling to find funding.
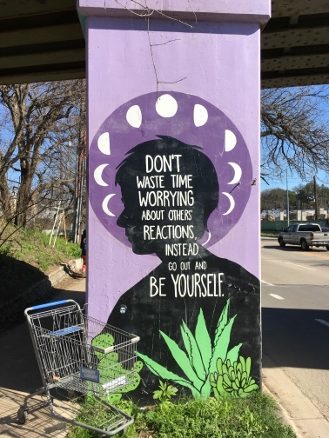
In February I ran my first marathon: Supported by mole, my brother, his girlfriend (and my coach!) and her family I ran the Austin marathon. This was the culmination of a year of training. Here are are exploring Austin and enjoying one of the public sculptures.
Austin is a strange town: It has many very beautiful things, and great vegan food options, but it is also so heavily dominated by cars, that it manages to also be quite ugly. I loved this mural, but why is there a shopping cart abandoned on the sidewalk, far from any shops?
The river through the center of town is the major beauty of Austin. I love how they have put pedestrian walkways on both sides of the river. Clearly everyone there loves it too – it was constantly full of people walking and running. Not pictured: The river is full of garbage!
Marathon Day! Misha and Aja both ran the half marathon, but we all dressed fluorescent. Team Highlighter: If you don’t see us, you ain’t lookin’.
Misha had already finished his race when I eventually got to close to the finish line, so he ran the last half mile with me! This is one of my favorite photos ever:
Aja coached me long distance: I started out a cyclist who kept getting injured running, through two colds and a flu, to finish my first marathon 3:39:02 – twenty minutes faster than my goal!
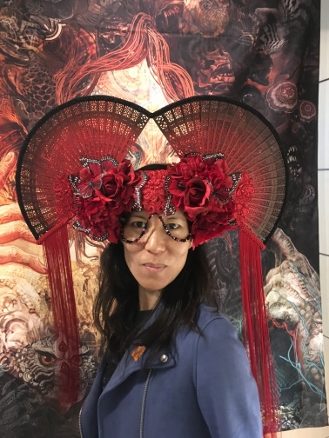
I just had to include this photo: Mole posing in a mask at the Burning Man exhibit in Oakland.
I’ve lived in the US for 33 years, have barely spent more than a couple of weeks back in England, yet I’m still a British citizen. After watching “Fahrenheit 11/9” I decided that had to change. I applied for US citizenship in September, and at the beginning of March, right as Covid-19 started showing up in the US, I had my immigration interview. So I went, and passed the test.
To celebrate, I had raspberries, vanilla and blueberries. One day, when things calm down again, maybe they will reschedule my naturalization ceremony and I’ll be a US Citizen; then I can add one more vote to throw the pino out of office.
Red White and BerriesCitizenship test flash cards made by Aja!
OK, enough reminiscing to days before Covid-19 lockdown. Since the beginning of March, we’ve been pretty much confined to the house. So I decided to try to get more finished.
The day before the lockdown, I ran out and bought plaster. Here I’ve put the base coat on one wall.
Here I’ve got the base coat on the wall up the stairs. It’s really awkward plastering a wall next to the stairs, because setting a ladder up is difficult, there’s not space for me and the ladder, but also I need to reach high up.
Here’s the wall after the veneer plaster coat. It’s still a bit grey as the plaster dries.
Looking down from the top after the plaster is dry: This wall is starting to look nice!
I didn’t stay in the house every day: I went out for a run a couple of times in the last two weeks. Here I snapped a photo looking east on the bay from heron’s point park – about 3 miles from the house.
And no post is complete without:
Here’s Arwen after she decided to jump into one of the kitchen closets (still painted pink from when Po-po lived here).
It’s finally happening: We have moved downstairs, so we can work on the upstairs unit. First: the hallway and stairs to upstairs.
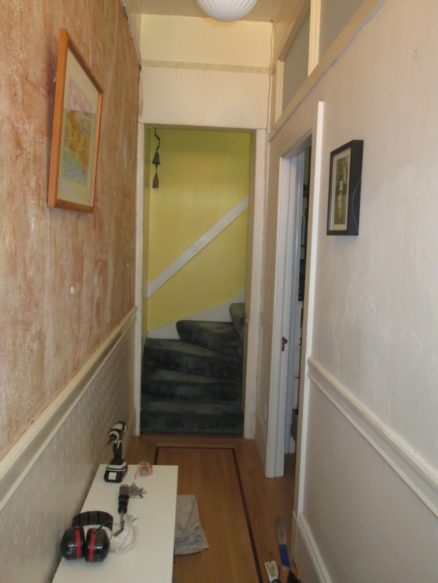
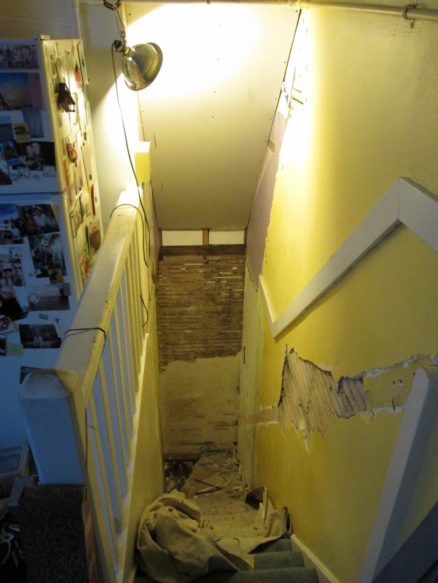
It’s just going to get more ugly for now. Here’s how it started out:
The problems are:
The stairs are steep, and also have ‘winders’ (pie-shaped steps that turn the corner) near the bottom. Both make the stairs more dangerous, so I plan to at least resolve the winder part by making a landing and then extending the stairs three steps into the hall.
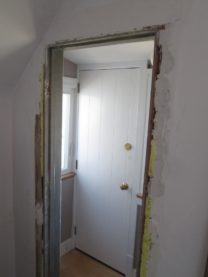
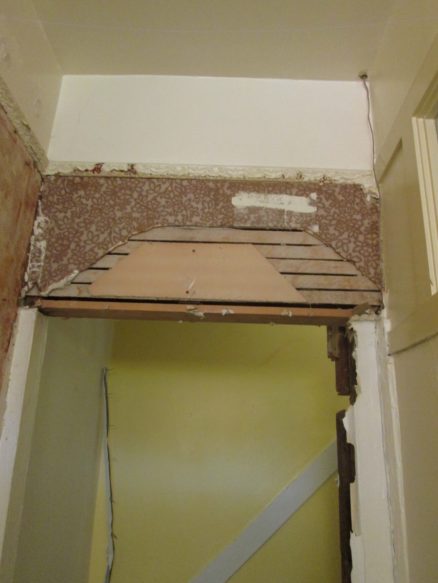
Also, the head room for the stairs is very limited, and it’s made worse because for some reason they left a rather small ‘door’ opening at the bottom of the stairs. I plan to open this up and to raise the ceiling above the stairs, so there is much more head room (I’ll raise it up to the underside of the roof).
There are other miscellaneous problems, like the wiring for the lights is in a pipe on the outside of the wall, the plaster surface is not uniform, and the trim is just a mess.
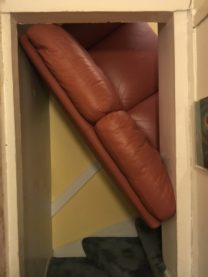
The photos below show the problem we had trying to get our couch downstairs through the stair opening. Surprisingly, we did actually manage to get it through.
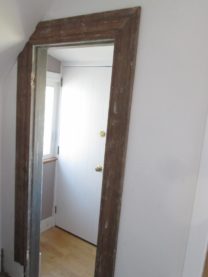
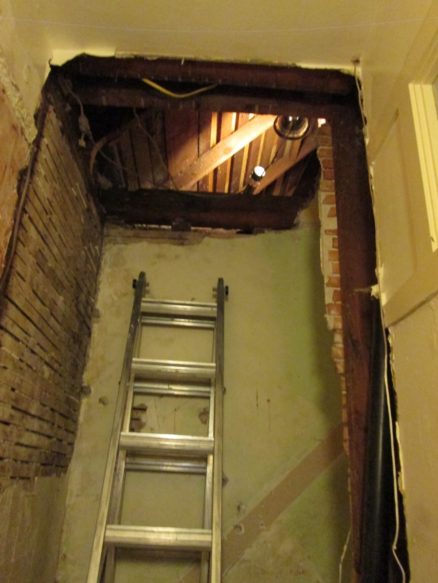
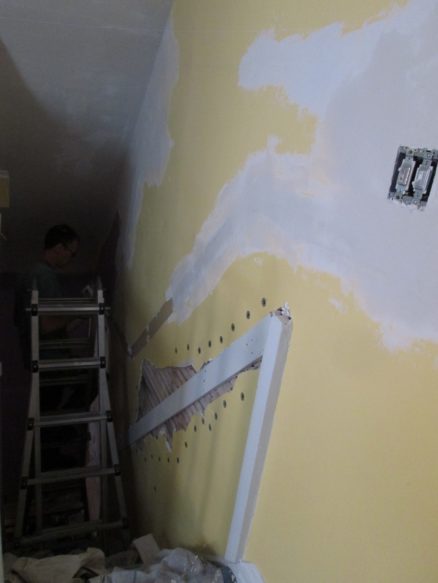
It was quite easy to open up the top of the ‘doorway’. I still made quite a mess — but nothing like what was to come.
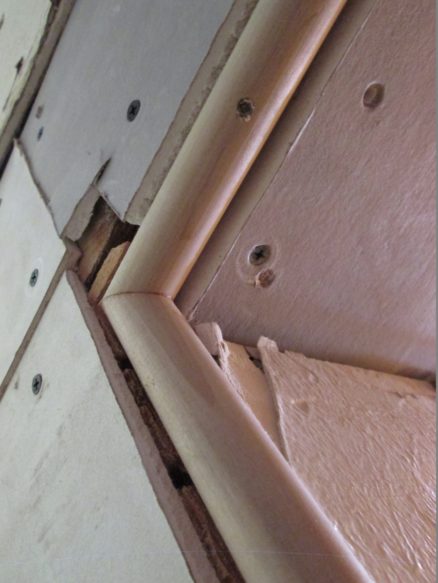
The extra pieces of wood around the opening turned out to be difficult to remove, and removing them made quite a mess of things. I also took the 1/4″ drywall off the walls: It had been used to cover the damaged plaster, but it had got water damage at some point (as most of the house has). The plaster underneath was in terrible condition.
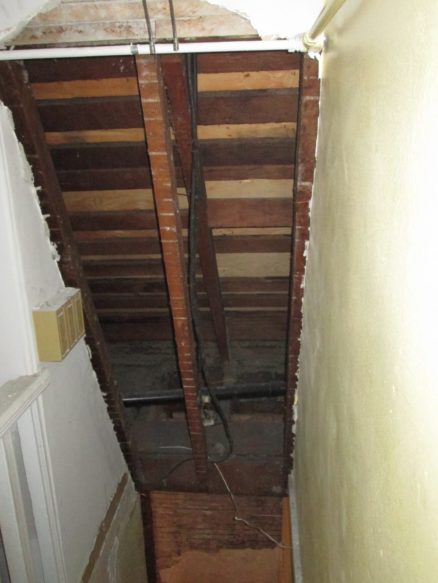
First step in raising the ceiling: Tear off the lathe and plaster. This is going to be a lot of work.
I had to change the framing supporting the roof, and re-route the drain line for the kitchen sink. Also, the wiring for the bedroom had to be moved. And while I was at it, I re-wired the light over the stair and the dining area.
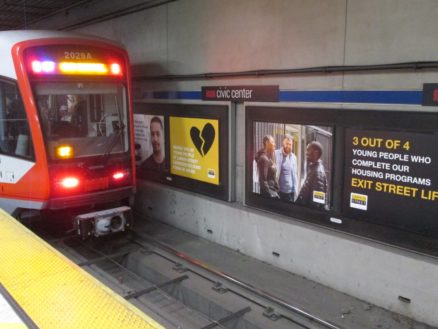
But more interestingly: One of mole’s clients wanted her to design all the posters in the San Francisco Civic Center MUNI station! They were only supposed to be up for a month, but now they are going to be up through the end of the year.
Back to the mess: In the photo above, I’ve finished re-framing to raise the ceiling, but haven’t got it closed off from the attic yet.
I jammed 3″ rigid insulation tightly between the old 2×4 rafters. The old wood is almost 4″ deep, leaving 1″ for a vent gap between the roof and the insulation.
Here’s the new ceiling installed. Doesn’t look much different from before I started, but there’s much more room overhead.
Switches installed, and walls patched (partially).
Here’s something that will be a challenge: Traditional Victorian corner details use a dowel attached at the corner. The the plaster stops at the dowel, but instead of just being a plain round corner, they put a reveal next to the dowel. I’m going to try to reproduce it here.