
The laundry room has been the project that keeps on giving. It started out that I was just going to replace the back stairs in August 2011. Then I ran into problems waterproofing, so I stopped the stairs, and started working on the laundry room. Five years later, it’s finally DONE! So I thought a before-and-after photo post is in order:
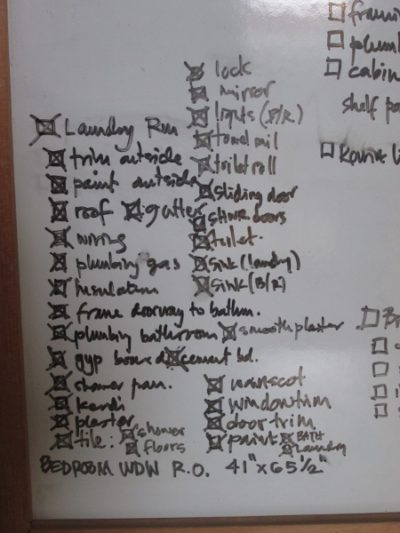
This is the checklist I scribbled on our white board, back when I thought it would be a quick project. I kept adding items as I went. Very satisfying to have all boxes checked.
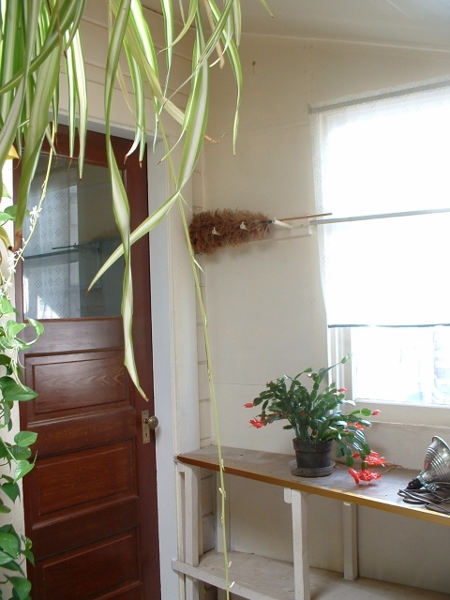

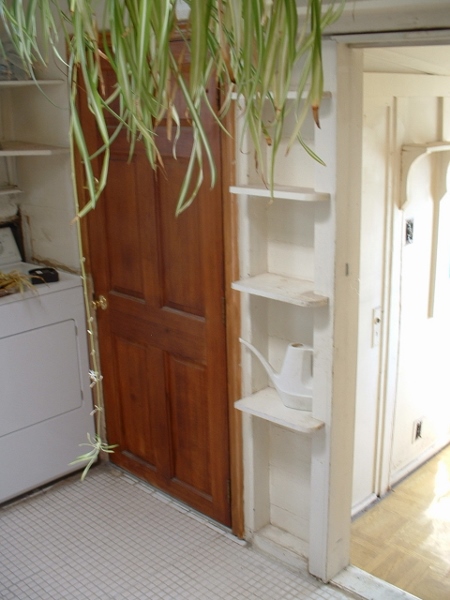
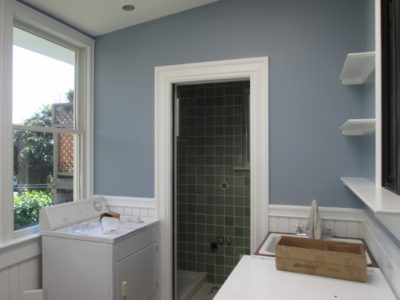
Above left is the back door to the kitchen before. Above right is the same view after, with the door moved to approximately where the window used to be.
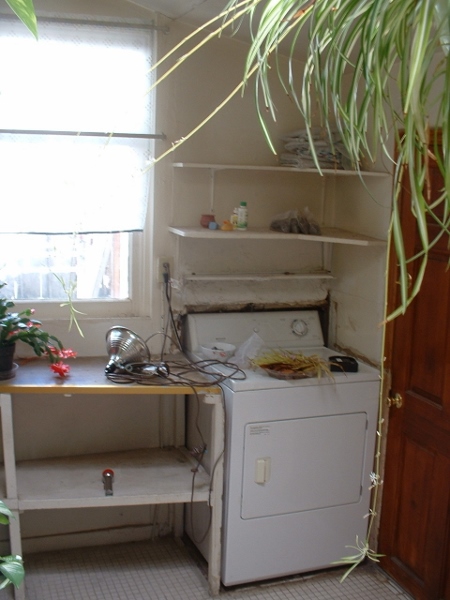
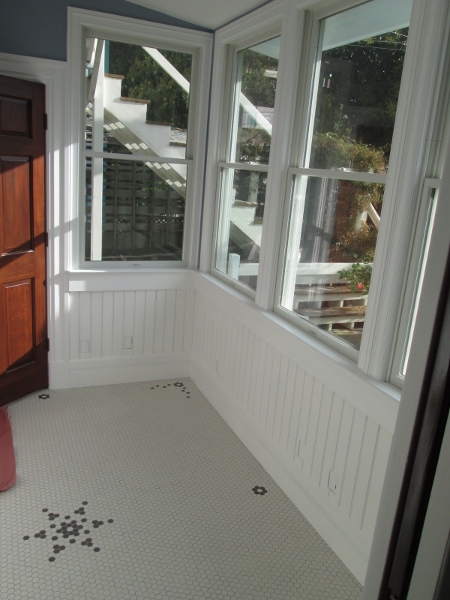
Looking a bit to the right, the dryer used to be jammed into the corner so tightly that the back door wouldn’t open unless you pushed against the dryer. Actually, it was such a tight fit, that the previous owners had cut out part of the back wall to make it fit. You can see the old back door location at the right side of the photo. Now it’s all windows in that area, looking out to the garden. I’ve put a small couch in this space… Hmm, maybe I should have used a photo with the couch in it. Oh well… You’ll have to come visit to see.

Here are two more photos of the old back wall of the laundry room. You can see the door opening into the moldy ‘tear-off’ room. Funny, in these photos it looks so sunny and airy, and you can hardly notice that to walk in there, you have to be under 5′-10″. On the right side is the wood door to the toilet. Actually, it was more like a closet with an always stinky toilet in it.
This is the same side, now. I put a wall all the way across that side, so made the laundry room a little smaller, but a more functional bathroom. Bathroom door is now a nice restored redwood door that I hung on sliders to make it a pocket door.
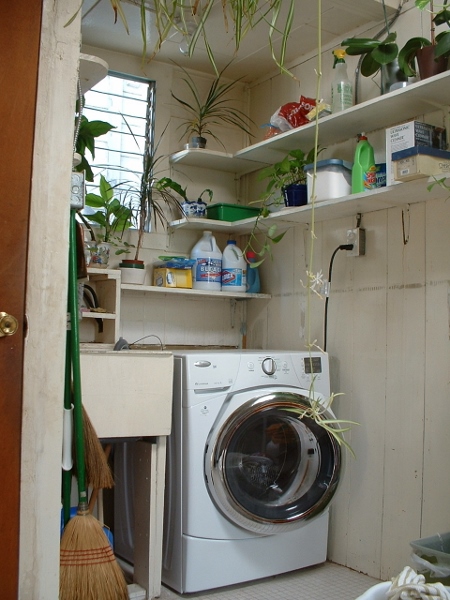

The washing machine is in a similar location, but there’s now a sink behind it, instead of next to it. The new arrangement is not perfect – but was the only way I could figure out how to make this work. One other solution was to not put a sink in this room at all, but I find it so useful to have a utility sink.
This room used to have loads of shelving, so I added some shelves. Living in earthquake country, shelves scare me a bit, so nothing on them yet… We used to have lots of plants in this space, but I’ve found that if I put plants in there now, they die because I don’t go in there often enough to remember to water them.
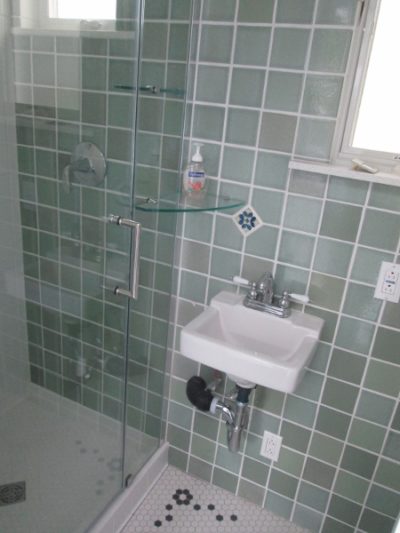
Instead of that stinky little closet with the toilet in it (sorry, no photo), I expanded the space to make a tiny, but functional, bathroom. On the left is the shower.
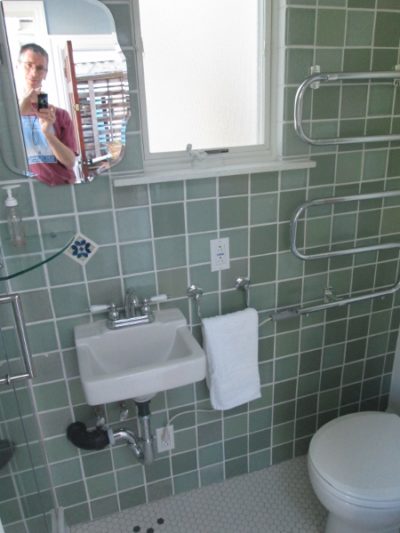
And last weekend, I finished putting up the mirror and an electric towel warmer. There’s no heating in this space, so hopefully this will help a little (?) I’ve still got to figure out how to deal with the power cord – probably just some white wiremold aligned over the grout lines would do it.

prrrrr