
Our peach tree gave us lots of peaches this year. The tricky thing with peaches–at least the ones on our tree–is they all ripen at the same time.

The peaches were not as sweet as last year, so Janeen made lots of peach cobbler. MMmmm. Especially good with vanilla coconut bliss.
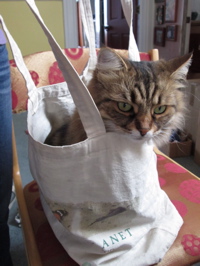
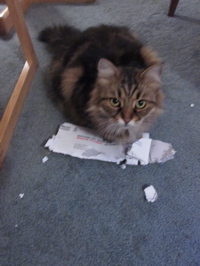
Arwen still loves to get into bags. I think she’s amazed at how a space can be created out of a folded up piece of fabric. She loves to be carried around in the bag, too. Oh, and we don’t need a shredder anymore: Arwen does a fine job of it. We have to be careful never to leave anything important out, though.
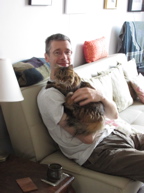

Here’s a photo of me and Bella (above left.) Arwen and Bella are having a discussion about who gets to shred this piece of paper.
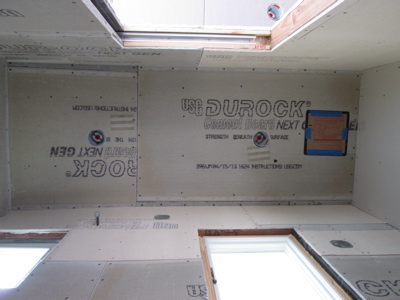
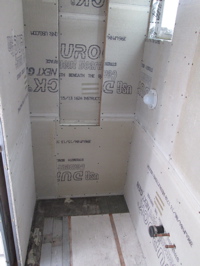
This is an unusual view: Looking straight up at the ceiling of the bathroom-to-be beside the laundry room. I’ve used cement board on all walls and the ceiling.
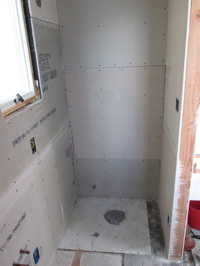
Above left is the shower with the niche, and above right is the space for the toilet.
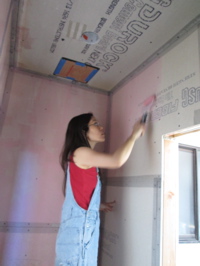
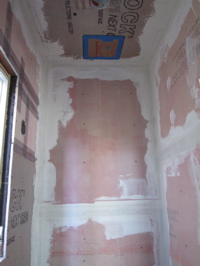
Here is mole painting on the plaster weld. I’m going to plaster the walls on two sides, and tile the remaining walls. Above right I’ve done a first pass with alkali resistant mesh and plaster over the joints. I forgot how much I enjoy plastering.
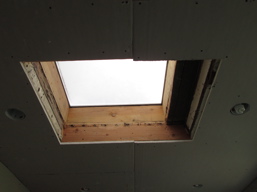
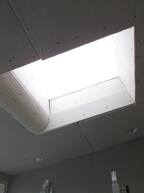
Here’s the skylight in the laundry room. I finally put the drywall around the inside of the skylight. The photo is taken from two opposite sides of the skylight. Above right you can see I have curved the piece where the ceiling steps back (see above left on the right side). Next step is plastering – not sure if I know how to plaster a curve. This will be a challenge.